1. Introduction
The Solarsys DTU-Pro-S is a Data Transfer Unit designed to facilitate communication between Hoymiles HMS and HMT series microinverters and the Hoymiles monitoring platform. It collects operational data from the microinverters and transmits it to the cloud, allowing users to monitor their solar power system's performance remotely via web or mobile application.
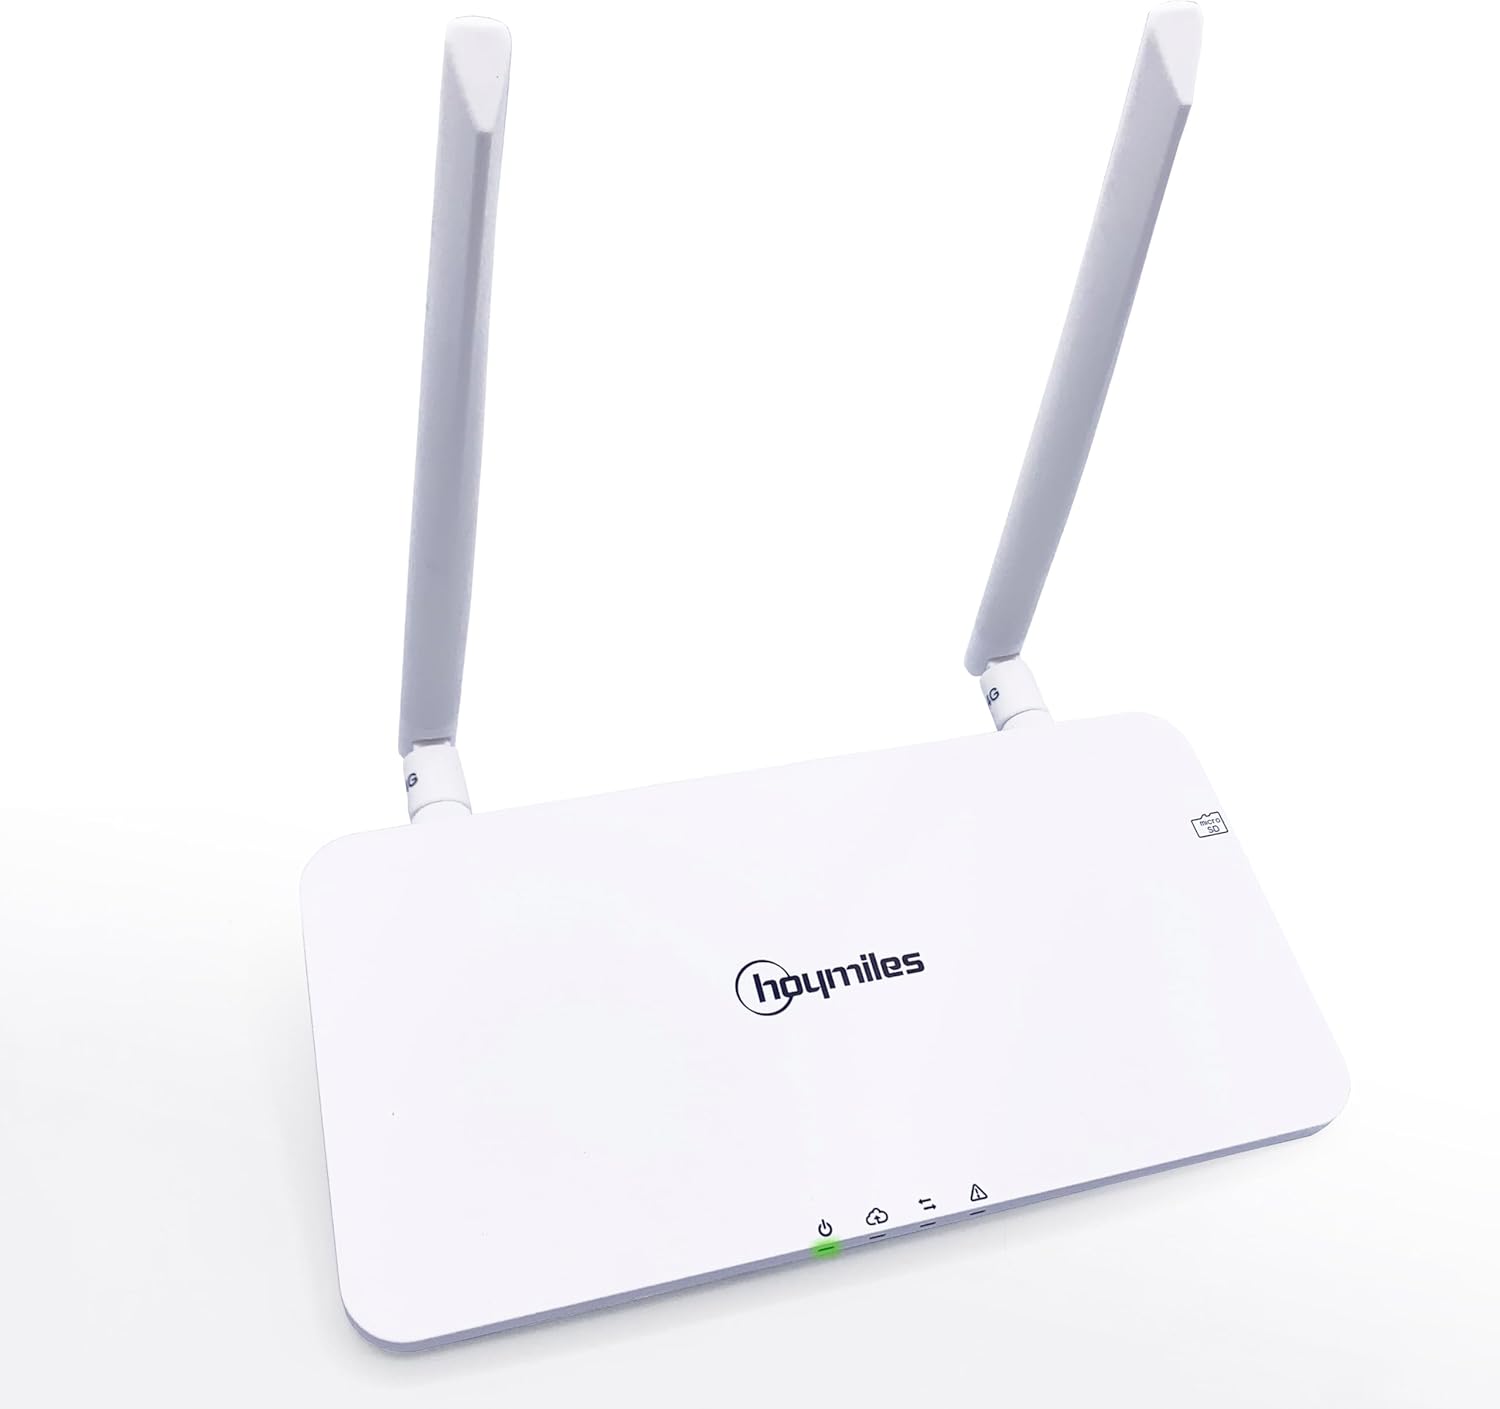
Figure 1.1: Front view of the Solarsys DTU-Pro-S Data Transfer Unit.
This manual provides detailed instructions for the setup, operation, maintenance, and troubleshooting of your DTU-Pro-S unit.
2. Product Features and Compatibility
The DTU-Pro-S offers robust connectivity options and comprehensive monitoring capabilities. It supports various communication interfaces for flexible integration into your solar energy system.

Figure 2.1: Rear ports of the DTU-Pro-S, including RS485, Ethernet, USB, and power input.

Figure 2.2: Key features indicated by icons: Wi-Fi, SD card slot, RS485, Ethernet, and home monitoring.
2.1. Compatibility with Microinverters
The DTU-Pro-S is specifically designed for compatibility with Hoymiles HMS and HMT series microinverters. Refer to the table below for detailed compatibility information across different DTU and microinverter series.

Figure 2.3: Compatibility matrix showing DTU models and their support for various microinverter series (MI, HM, HMS, HMT) and functions like confine/zero export.
2.2. Monitoring Capabilities
The DTU-Pro-S enables real-time monitoring of your solar system's performance through a user-friendly web portal and mobile application. You can view energy production, individual panel data, and system status.

Figure 2.4: Overview of the monitoring interface accessible on various devices.
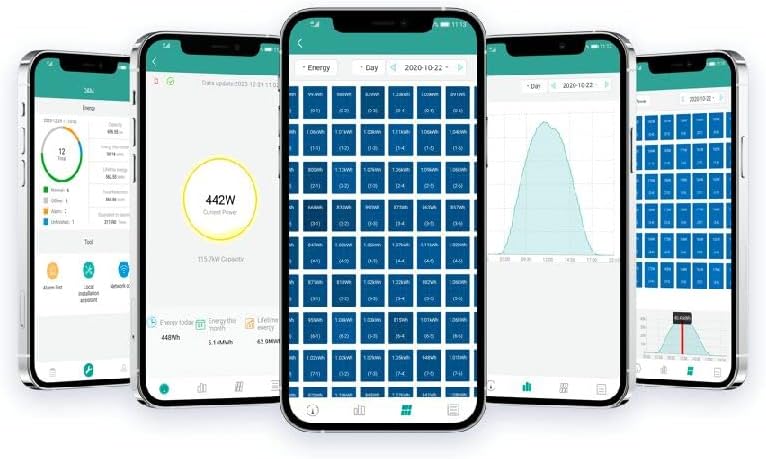
Figure 2.5: Detailed views of the web monitoring platform, displaying system performance and individual microinverter data.

Figure 2.6: Screenshots of the mobile application, providing on-the-go access to system data.
3. Setup Guide
3.1. Unboxing and Package Contents
Upon opening the package, ensure all components are present and undamaged.
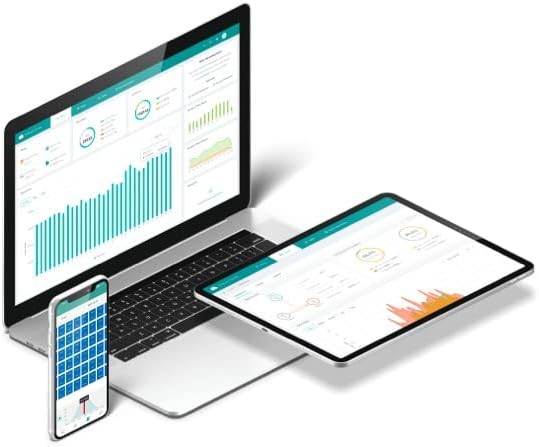
Figure 3.1: Contents of the DTU-Pro-S package.
The package should contain:
- 1 x DTU-Pro-S Data Transfer Unit
- Power adapter (if included)
- Antennas (if detachable)
- User Manual (this document)
3.2. Physical Installation
- Choose a Location: Select a central location within range of your microinverters and a stable Wi-Fi or Ethernet connection. Ensure it is protected from direct sunlight, moisture, and extreme temperatures.
- Attach Antennas: If your DTU-Pro-S comes with detachable antennas, screw them firmly into the designated connectors on the unit.
- Power Connection: Connect the provided power adapter to the 5VDC port on the DTU-Pro-S and plug it into a standard electrical outlet.
3.3. Network Connection
The DTU-Pro-S supports both Wi-Fi and Ethernet connectivity for data transmission.
- Ethernet Connection (Recommended for Stability):
- Connect one end of an Ethernet cable to the Ethernet port on the DTU-Pro-S.
- Connect the other end of the Ethernet cable to an available LAN port on your router or network switch.
- Wi-Fi Connection:
- Ensure the DTU-Pro-S is powered on.
- Access the DTU's configuration interface (usually via a local IP address or a dedicated app) to select your Wi-Fi network and enter the password. Refer to the Hoymiles documentation for specific steps on initial Wi-Fi setup.
3.4. Microinverter Communication
The DTU-Pro-S automatically establishes communication with nearby Hoymiles HMS and HMT series microinverters. Ensure the microinverters are powered on and within the DTU's communication range.
For advanced setups or integration with other systems, the RS485 port is available. Consult the Hoymiles technical documentation for details on RS485 communication protocols.
4. Operating Instructions
4.1. Initial Power-On and Status Indicators
Once powered on, the DTU-Pro-S will initiate its startup sequence. Observe the LED indicators on the front panel for status updates:
- Power LED: Indicates the power status of the unit.
- Network LED: Indicates network connectivity (Wi-Fi or Ethernet).
- Communication LED: Indicates successful communication with microinverters.
Refer to the product's quick start guide or Hoymiles official documentation for specific LED behavior and their meanings.
4.2. Accessing the Monitoring Platform
To view your solar system's data, you will need to access the Hoymiles monitoring platform. This can be done via a web browser or the dedicated mobile application.
- Web Portal: Open a web browser and navigate to the Hoymiles monitoring portal URL (e.g., global.hoymiles.com). Log in with your registered account credentials.
- Mobile Application: Download the Hoymiles mobile application from your device's app store (e.g., App Store for iOS, Google Play Store for Android). Install the app and log in with your registered account.
Once logged in, you will be able to view real-time and historical data, including energy production, individual panel performance, and system alerts.
5. Maintenance
Regular maintenance helps ensure the longevity and optimal performance of your DTU-Pro-S.
- Cleaning: Periodically wipe the exterior of the unit with a soft, dry cloth to remove dust. Do not use liquid cleaners or abrasive materials.
- Firmware Updates: Ensure your DTU-Pro-S firmware is up to date. Firmware updates often include performance improvements, bug fixes, and new features. These updates are typically managed through the Hoymiles monitoring platform. Follow the instructions provided within the platform for any available updates.
- Environmental Check: Regularly inspect the installation environment to ensure it remains free from excessive dust, moisture, or extreme temperatures that could affect the unit's operation.
6. Troubleshooting
This section addresses common issues you might encounter with your DTU-Pro-S.
- No Data on Monitoring Platform:
- Check if the DTU-Pro-S is powered on and its Power LED is illuminated.
- Verify network connectivity. Ensure the Network LED indicates a stable connection (Ethernet or Wi-Fi). If using Wi-Fi, confirm the network settings are correct.
- Check the Communication LED. If it's not indicating active communication, ensure microinverters are powered and within range.
- Confirm your account credentials on the monitoring platform are correct.
- Intermittent Data Loss:
- Check for network instability. Consider using an Ethernet connection if Wi-Fi signal is weak or unreliable.
- Ensure there are no new obstructions or sources of interference between the DTU and microinverters.
- DTU Not Responding:
- Perform a power cycle: Disconnect the power adapter, wait 30 seconds, then reconnect it.
- Use the RST (Reset) button on the back of the unit (refer to Figure 2.1). A paperclip or similar pointed object may be needed to press the button. Consult the official documentation for short press vs. long press reset functions.
If issues persist, contact Solarsys or Hoymiles technical support for further assistance.
7. Specifications
| Attribute | Value |
|---|---|
| Brand | Solarsys |
| Manufacturer | Elfcam |
| Model Name | Hoymiles DTU-Pro-S |
| Model Number | DTU-Pro-S |
| Dimensions | 32 x 25.3 x 12.2 cm |
| Weight | 620 g |
| Power Source | Solar Energy (via adapter) |
| Output Power | 150 W |
| Efficiency | 95.0%, 97.5% |
| Output Voltage | 230 Volts (AC) |
| Total Power Outlets | 1 |
| Color | White |
| Components Included | DTU-Pro-S unit |
8. Warranty and Support
8.1. Warranty Information
Specific warranty terms and conditions for the Solarsys DTU-Pro-S are typically provided at the point of purchase or can be found on the official Hoymiles or Solarsys website. Please retain your proof of purchase for warranty claims.
Information regarding guaranteed software updates is currently unknown. It is recommended to check the manufacturer's official channels for the latest updates.
8.2. Technical Support
For technical assistance, troubleshooting beyond this manual, or warranty inquiries, please contact your product vendor or visit the official Solarsys or Hoymiles support websites. You may find additional resources and FAQs on their respective support pages.
Solarsys Store: Visit Solarsys Store on Amazon