Introduction
This manual provides detailed instructions for the installation, operation, and maintenance of your Thermaltake CTE T500 Air Snow E-ATX Full Tower PC Chassis. Designed with Centralized Thermal Efficiency (CTE), this chassis prioritizes optimal airflow and cooling performance for critical components. Please read this manual thoroughly before beginning assembly to ensure proper setup and to maximize the performance and longevity of your system.
The Thermaltake CTE T500 Air Snow is a full tower chassis featuring a unique 90-degree rotated motherboard design, enhancing thermal efficiency by centralizing heat sources and optimizing airflow pathways. It comes equipped with three 140mm CT140 White fans and offers extensive support for both air and liquid cooling solutions.

Image: Front-side view of the Thermaltake CTE T500 Air Snow E-ATX Full Tower PC Chassis, showcasing its white finish and perforated front panel for airflow.
Key Features
- CTE Form Factor: Engineered by Thermaltake for Centralized Thermal Efficiency, optimizing airflow to critical components.
- 90-Degree Rotated Motherboard: Centralizes the CPU and other main components for enhanced cooling.
- Extensive Cooling Support: Accommodates multiple radiators (up to 420mm front, 360mm rear) and numerous fans (up to eleven 140mm/120mm fans).
- Pre-Installed Fans: Includes three 140mm CT140 White fans for immediate cooling performance.
- Tempered Glass Side Panel: A 4mm tempered glass panel provides a clear view of internal components.
- Optimized Airflow: Channeled airflow design ensures efficient heat dissipation.
- Dust Protection: Features fine, removable filters on the top, front, bottom, rear, and right sides for easy cleaning and dust prevention.
- Convenient I/O Ports: Top-mounted USB 3.2 (Gen 2) Type-C x 1, USB 3.0 x 2, and HD Audio x 1 for easy access.
- Flexible Storage Options: Supports up to four 3.5" HDDs or six 2.5" SSDs.

Image: The CTE T500 Air Snow chassis with internal components installed, highlighting the 90-degree rotated motherboard and centralized layout for optimal cooling.

Image: A visual comparison illustrating the traditional motherboard orientation versus the 90-degree rotated motherboard design of the CTE T500, which enhances airflow pathways.

Image: Side-by-side view of the Thermaltake CTE T500 chassis in both white (Snow) and black variants, demonstrating the design and tempered glass panel.
Specifications
| Category | Detail |
|---|---|
| Model Number | CA-1X8-00F6WN-00 |
| Case Type | Full Tower |
| Dimensions (H x W x D) | 615 x 275 x 516 mm (24.21 x 10.83 x 20.31 inches) |
| Net Weight | 15.3 kg / 33.7 lbs |
| Side Panel | 4mm Tempered Glass x 1 |
| Color | White (Snow) |
| Material | SPCC / ABS |
| Motherboard Compatibility | Mini ITX (6.7" x 6.7"), Micro ATX (9.6" x 9.6"), ATX (12" x 9.6"), E-ATX (12" x 13") |
| Expansion Slots | 7 |
| Drive Bays | 4 x 3.5" or 6 x 2.5" |
| I/O Ports | USB 3.2 (Gen 2) Type-C x 1, USB 3.0 x 2, HD Audio x 1 |
| PSU Support | Standard PS2 PSU (optional), Max length: 180mm |
| CPU Cooler Max Height | 195mm |
| VGA Max Length | 385mm |

Image: An internal view of the chassis with overlaid measurements indicating maximum clearance for CPU coolers, VGA cards, and power supply units.
Setup and Installation
The CTE T500 Air Snow chassis is designed for ease of assembly. All panels are removable to facilitate component installation. Follow these general steps for building your system:
- Prepare the Chassis: Remove the side panels, top panel, and front panel to gain full access to the interior.
- Install Motherboard: Mount your E-ATX, ATX, Micro ATX, or Mini ITX motherboard onto the 90-degree rotated motherboard tray. Ensure all standoffs are correctly aligned.
- Install CPU Cooler: Install your CPU cooler. The chassis supports coolers up to 195mm in height.
- Install Graphics Card (VGA): Insert your graphics card into the PCI-E slot. The chassis supports VGA cards up to 385mm in length.
- Install Power Supply Unit (PSU): Mount your standard PS2 PSU in the designated area. The maximum PSU length supported is 180mm.
- Install Storage Drives: Utilize the drive bays for 3.5" HDDs or 2.5" SSDs. The chassis offers flexible mounting options.
- Cable Management: Use the integrated Velcro straps and ample space behind the motherboard tray to route and secure cables for a clean build and unobstructed airflow.
- Install Additional Fans/Radiators: Refer to the "Cooling System" section for detailed fan and radiator placement options.
- Connect Front I/O: Connect the front panel cables (USB, HD Audio, power/reset switches) to your motherboard.
- Reassemble Panels: Once all components are installed and cables managed, reattach all panels securely.

Image: An exploded view illustrating the various fan mounting points within the chassis, providing options for comprehensive cooling configurations.
Cooling System
The CTE T500 Air Snow is designed for superior thermal performance with extensive fan and radiator support. It comes with three pre-installed 140mm CT140 White fans.
Pre-Installed Fans:
- Front (intake): 1 x 140mm CT140 fan (1500rpm, 30.5 dBA)
- Top (exhaust): 1 x 140mm CT140 fan (1500rpm, 30.5 dBA)
- Rear (intake): 1 x 140mm CT140 fan (1500rpm, 30.5 dBA)

Image: Detailed view of the three 140mm CT140 fans pre-installed in the chassis, highlighting their placement for optimal airflow.

Image: Two CTE T500 chassis configured with liquid cooling, demonstrating the design's ability to move CPU and GPU closer to the front panel for improved thermal dissipation.
Fan Support:
| Location | 120mm Fans | 140mm Fans |
|---|---|---|
| Front | 3 | 3 |
| Top | 2 | 2 |
| Right | 1 | 1 |
| Rear | 3 | 3 |
| Bottom | 1 | 1 |
| PSU Cover | 1 | 1 |

Image: A visual guide detailing the maximum number of 120mm and 140mm fans that can be installed in various positions throughout the chassis.
Radiator Support:
| Location | AIO Radiator Support | Custom Liquid Cooling Radiator Support |
|---|---|---|
| Front | 120mm, 240mm, 360mm, 140mm, 280mm, 420mm | 120mm, 240mm, 360mm, 140mm, 280mm |
| Top | 120mm (AIO only) | - |
| Rear | 120mm, 240mm, 360mm, 140mm, 280mm | 120mm, 240mm, 360mm, 140mm, 280mm |

Image: A visual representation of the various radiator sizes (120mm, 140mm, 240mm, 280mm, 360mm, 420mm) that can be mounted in the front, top, and rear positions of the chassis.
Storage Options
The CTE T500 Air Snow chassis provides versatile storage options to accommodate your needs:
- Supports up to 4 x 3.5" HDDs or 6 x 2.5" SSDs.
- Dedicated mounting points and brackets are available for secure installation of your storage devices.

Image: An illustration of the hard disk drive (HDD) mounting locations within the chassis, demonstrating how 3.5-inch drives can be installed.

Image: An illustration of the solid-state drive (SSD) mounting locations within the chassis, demonstrating how 2.5-inch drives can be installed.
Front I/O Ports
The front I/O panel is conveniently located on the top of the chassis for easy access to peripherals and audio connections.
- 1 x USB 3.2 (Gen 2) Type-C Port
- 2 x USB 3.0 Ports
- 1 x HD Audio Jack (combined headphone/microphone)
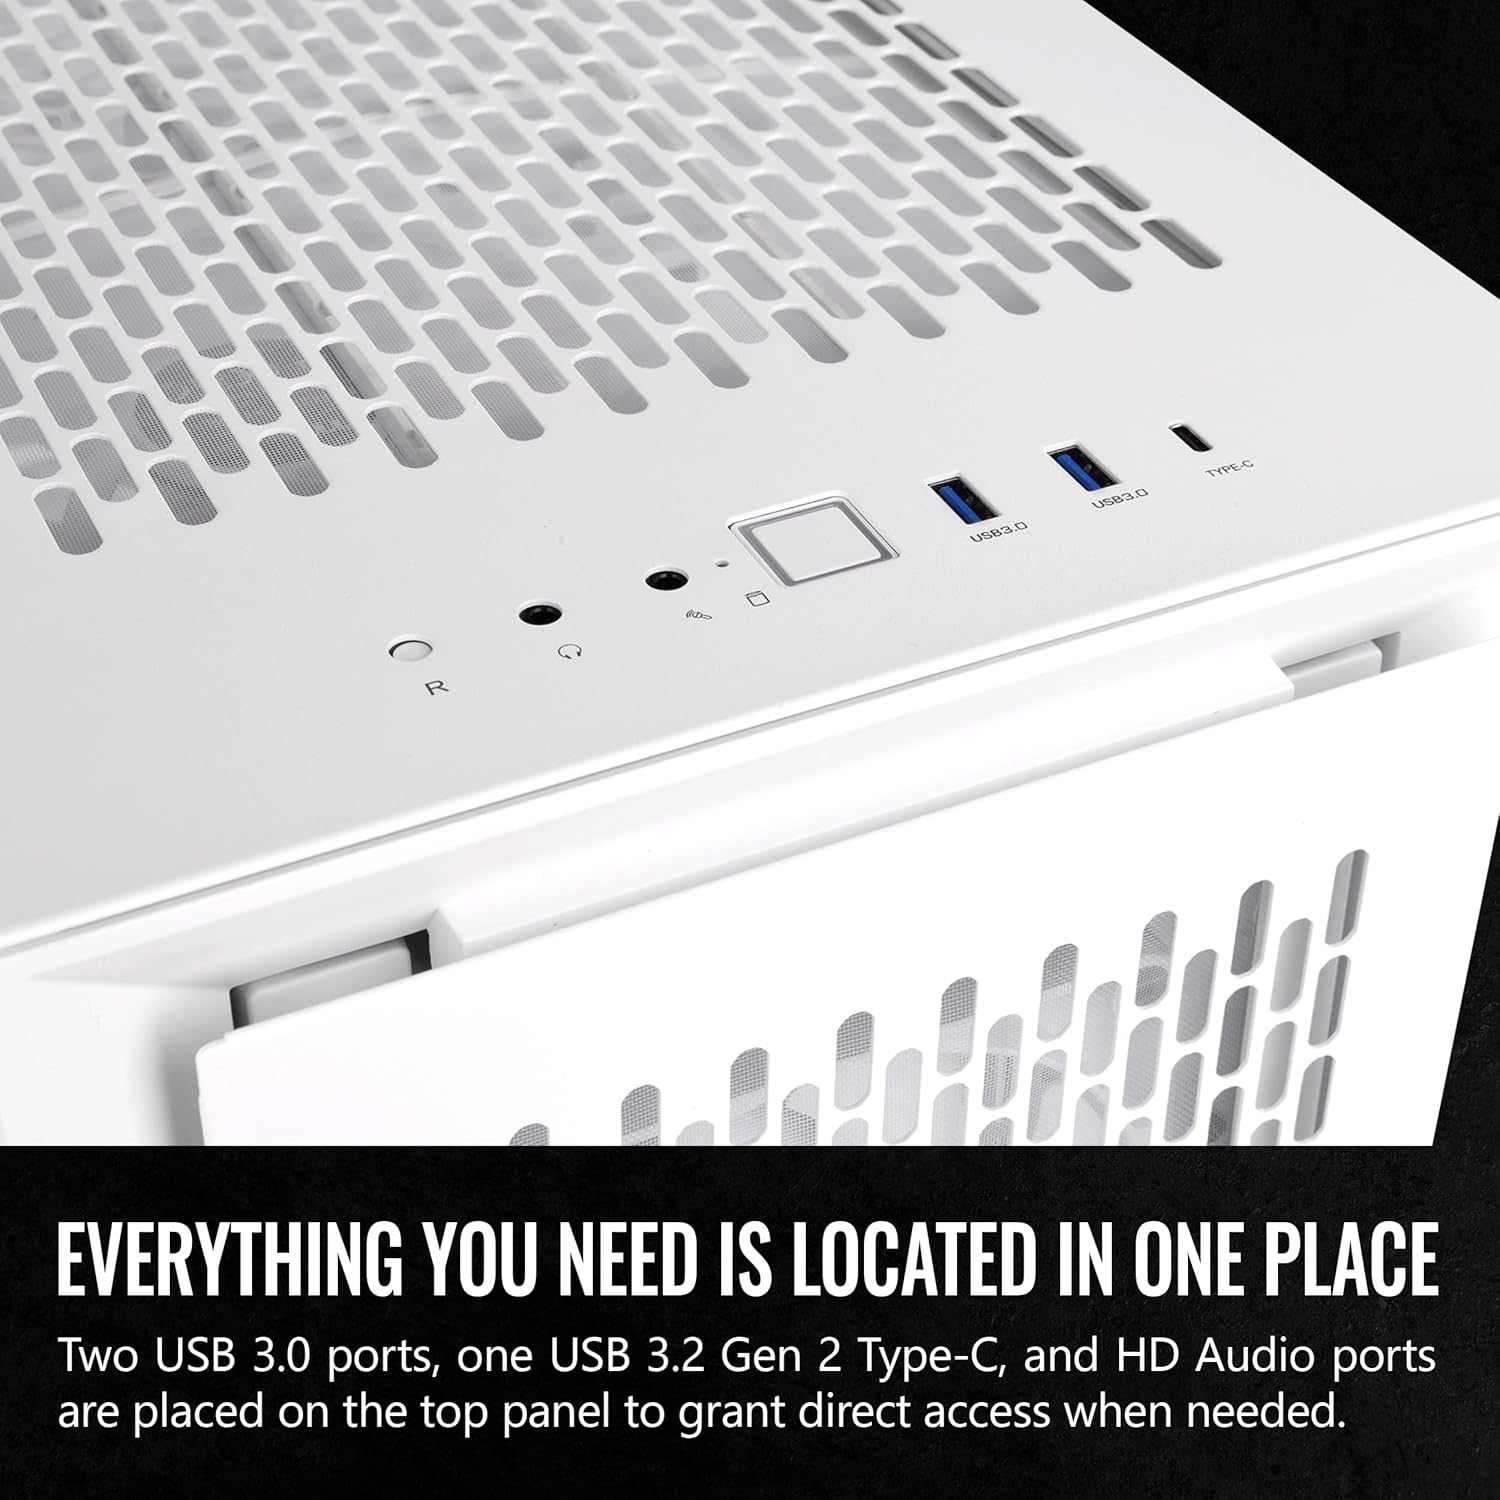
Image: A close-up view of the top panel, showing the USB 3.0, USB 3.2 Type-C, and HD Audio ports for convenient connectivity.
Maintenance
Regular maintenance of your chassis helps ensure optimal performance and extends the lifespan of your components. The CTE T500 Air Snow features easily removable dust filters.
- Dust Filter Cleaning: The chassis is equipped with fine, removable dust filters located on the top, front, bottom, rear, and right sides. Regularly remove and clean these filters to prevent dust buildup and maintain efficient airflow.
- Interior Cleaning: Periodically use compressed air to remove dust from internal components and fan blades. Ensure the system is powered off and unplugged before cleaning.

Image: An illustration demonstrating the easy removal of dust filters from various parts of the chassis, facilitating routine cleaning and maintenance.
Troubleshooting
This section addresses common issues you might encounter during or after building your PC within the CTE T500 Air Snow chassis.
- System Not Powering On:
- Ensure the power supply is properly connected to the wall outlet and switched on.
- Verify all power cables from the PSU are securely connected to the motherboard, CPU, and graphics card.
- Check that the front panel power switch cable is correctly connected to the motherboard's F_PANEL header.
- High Component Temperatures:
- Confirm all fans are spinning and oriented correctly for optimal airflow (intake/exhaust).
- Ensure CPU cooler and GPU fans are functioning.
- Clean dust filters and internal components to prevent airflow obstruction.
- Verify thermal paste application on the CPU.
- USB Ports Not Functioning:
- Check that the USB 3.0 and USB 3.2 Type-C cables from the front panel are securely connected to the corresponding headers on your motherboard.
- Audio Jacks Not Functioning:
- Ensure the HD Audio cable from the front panel is correctly connected to the audio header on your motherboard.
- Verify audio drivers are installed and updated.
For further assistance, please refer to your motherboard and component manuals or contact Thermaltake customer support.
Warranty and Support
Thermaltake products are manufactured to high quality standards. For information regarding warranty coverage, terms, and conditions, please refer to the warranty card included with your product or visit the official Thermaltake website.
For technical support, product inquiries, or replacement parts, please contact Thermaltake customer service through their official channels. Keep your proof of purchase for warranty claims.
Official Thermaltake Website: www.thermaltake.com