1. Introduction
This manual provides detailed instructions for the safe and efficient operation of your FAMILY 200 PRO Computerized Sewing Machine. Please read this manual thoroughly before using the machine to ensure proper function and to maximize its lifespan. Keep this manual in a safe place for future reference.
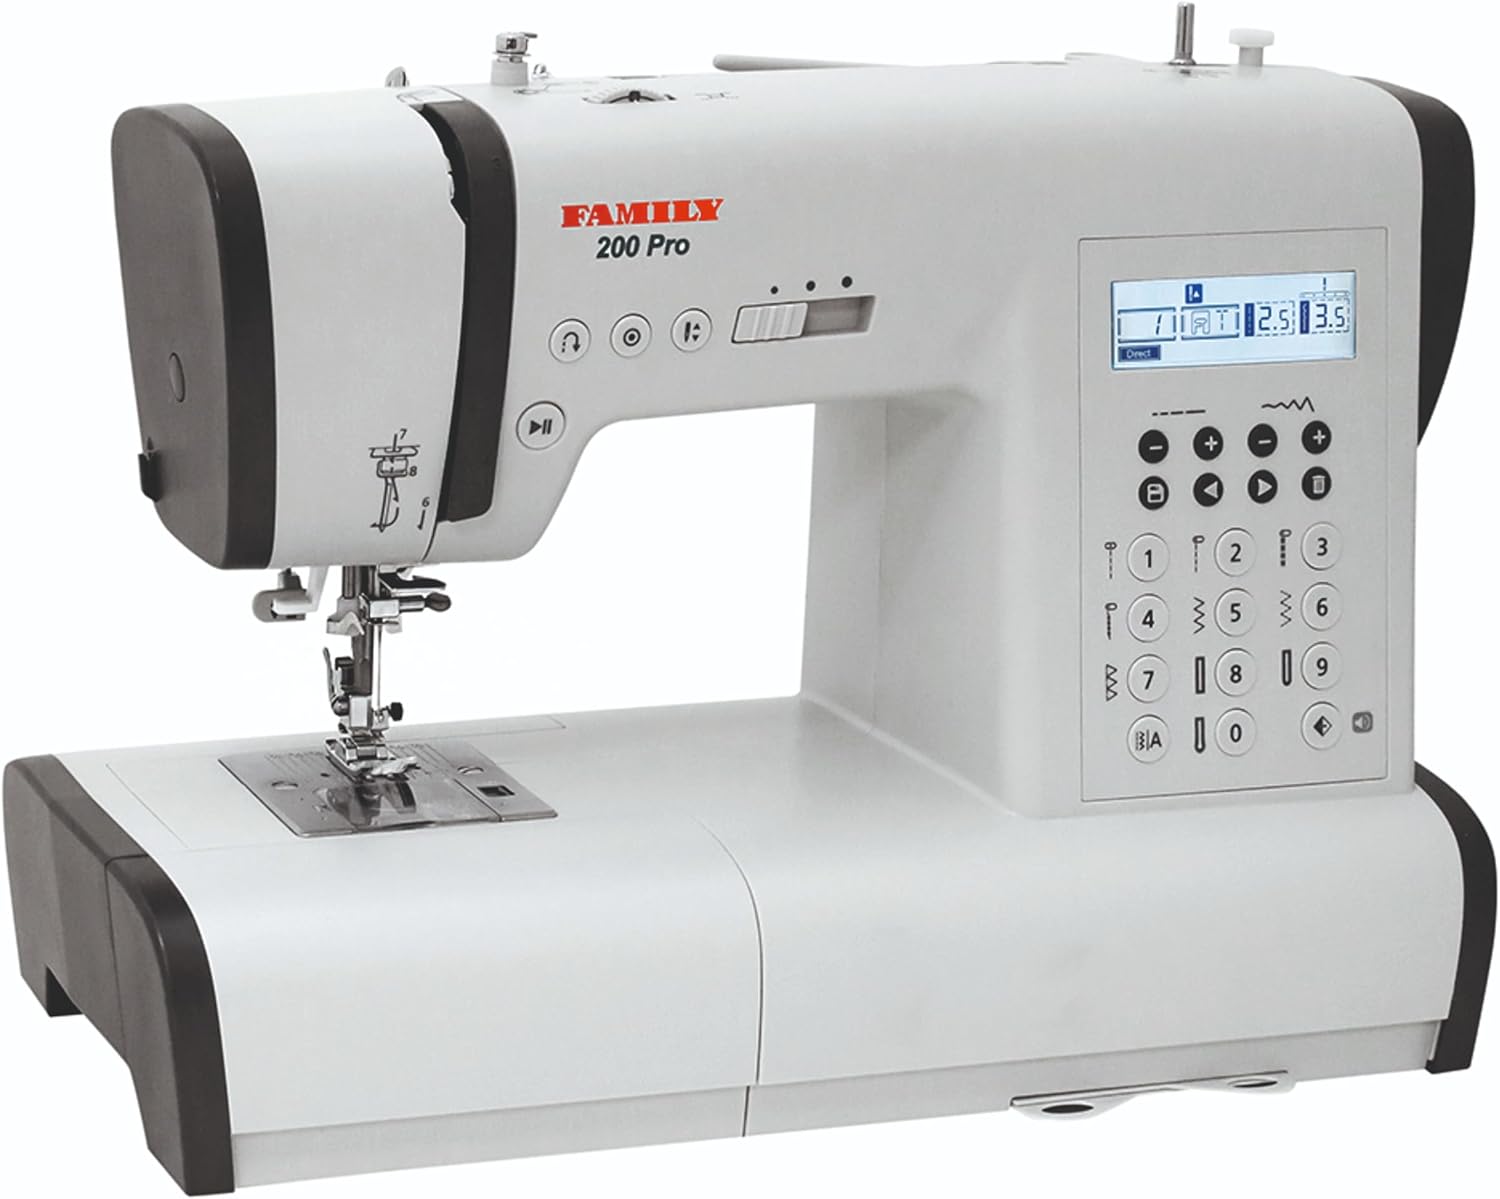
Image 1.1: The FAMILY 200 PRO Computerized Sewing Machine, a versatile tool for various sewing projects.
2. Important Safety Instructions
When using an electrical appliance, basic safety precautions should always be followed, including the following:
- Read all instructions before using this sewing machine.
- Keep fingers away from all moving parts. Special care is required around the sewing machine needle.
- Always use the proper needle plate. The wrong plate can cause the needle to break.
- Turn the sewing machine off when making any adjustments in the needle area, such as threading the needle, changing the needle, threading the bobbin, or changing the presser foot.
- Always unplug the sewing machine from the electrical outlet when removing covers, lubricating, or when making any other user servicing adjustments mentioned in the instruction manual.
- Never operate the machine if it has a damaged cord or plug, if it is not working properly, or if it has been dropped or damaged.
3. Machine Components and Accessories
Familiarize yourself with the various parts of your sewing machine and the included accessories.
3.1 Main Machine Features

Image 3.1: Key features of the FAMILY 200 PRO, including the needle up/down function, top-loading bobbin, and LCD screen with control buttons.
- Needle Up/Down Feature: Allows for precise pivoting on corners and curves.
- Top Loading Rotary Hook: Reduces vibration and thread jams, with a transparent cover for monitoring thread supply.
- LCD Screen and Buttons: Displays stitch settings and adjustments, providing quick access to essential stitch applications.
- Start/Stop Button: Operates the machine without the foot control.
- Speed Adjustment: Controls sewing speed for various tasks.
3.2 Included Accessories

Image 3.2: The comprehensive accessory kit included with the FAMILY 200 PRO sewing machine.
The following items are included in the box:
- 7 Presser Feet: All-purpose foot, zipper foot, transparent satin stitch foot, overlock foot, blind hem foot, button sewing foot, automatic buttonhole foot.
- Seam marker foot
- Large and small screwdrivers
- Bobbins
- Needle set
- Seam ripper with a brush
- Extra spool pin
- Spool holder
- Felt spool pad
- Soft cover
- Extension table
- Foot control
- Power cable
3.3 Extension Table and Free Arm

Image 3.3: The FAMILY 200 PRO sewing machine with the extension table attached, providing a larger work surface.

Image 3.4: The free arm feature of the FAMILY 200 PRO, revealing accessory storage.
- The extension table provides a larger, level surface for handling larger projects and includes ruler markings.
- The free arm is accessible by removing the extension table, allowing you to sew cuffs, collars, trouser hems, and other hard-to-reach areas. It also contains a storage compartment for accessories.
4. Initial Setup
4.1 Unpacking and Placement
- Carefully remove the machine from its packaging.
- Place the machine on a stable, level surface.
- Ensure the power switch is in the OFF position before connecting to power.
4.2 Connecting Power and Foot Control
- Connect the power cable to the machine and then to a suitable electrical outlet.
- Plug the foot control into its designated port on the machine.
4.3 Attaching the Extension Table
- Slide the extension table onto the machine until it clicks securely into place.
- To remove, slide it off while pressing the release button (if applicable).
5. Operating Instructions
5.1 Winding the Bobbin
- Place a spool of thread on the spool pin.
- Follow the bobbin winding path indicated on the machine.
- Place an empty bobbin onto the bobbin winder spindle and push it to the right.
- Start winding by pressing the Start/Stop button or the foot control. Stop when the bobbin is full.
5.2 Inserting the Bobbin

Image 5.1: Correct insertion of the top-loading bobbin into the bobbin case.
- Open the transparent bobbin cover.
- Insert the wound bobbin into the bobbin case, ensuring the thread unwinds in the correct direction (usually counter-clockwise).
- Guide the thread through the tension spring and into the thread guide slot.
- Replace the bobbin cover.
5.3 Threading the Upper Thread

Image 5.2: Demonstrating the use of the automatic needle threader for effortless threading.
- Raise the presser foot and the needle to its highest position.
- Place a spool of thread on the spool pin.
- Follow the numbered threading path indicated on the machine, ensuring the thread passes through all guides and the take-up lever.
- Use the automatic needle threader for quick and easy threading of the needle eye.
5.4 Stitch Selection and Adjustment

Image 5.3: Overview of the creative options available on the FAMILY 200 PRO, including stitch types and customization features.

Image 5.4: Close-up of the control panel for selecting stitch styles by number.

Image 5.5: A visual guide to the various stitch patterns available on the machine.
- 100 Built-in Stitches: The machine offers a wide variety of utility, decorative, and quilting stitches.
- 7 One-Step Buttonholes: Create perfect buttonholes with ease.
- Letters, Numbers, Symbols: Personalize projects with Latin alphabet letters, numbers, and various symbols.
- Stitch Mirroring: Mirror stitches for symmetrical designs.
- Built-in Memory: Save sequences of up to 30 motifs, combining stitch styles, alphabet symbols, and bartacks.
- Quick Setting: Select a stitch by entering its number on the control panel. The machine automatically sets the optimal length and width, which can then be adjusted using the plus/minus buttons.
5.5 Basic Sewing Operation

Image 5.6: The Start/Stop and speed adjustment buttons for controlling sewing operation.
- Place fabric under the presser foot.
- Lower the presser foot.
- Begin sewing using the foot control or the Start/Stop button. Adjust speed as needed.
- Use the needle Up/Down feature to stop the needle in the desired position for pivoting.
6. Maintenance
Regular maintenance ensures the longevity and optimal performance of your sewing machine.
6.1 Cleaning
- Always unplug the machine before cleaning.
- Use the included brush to remove lint and dust from the bobbin area and feed dogs.
- Wipe the exterior of the machine with a soft, dry cloth. Do not use liquid cleaners.
6.2 Oiling
Refer to the detailed instructions in the full manual for specific oiling points and frequency. Use only high-quality sewing machine oil.
7. Troubleshooting
This section addresses common issues you might encounter. For more complex problems, consult a qualified technician.
7.1 Common Issues and Solutions
| Problem | Possible Cause | Solution |
|---|---|---|
| Skipped Stitches | Incorrect needle, bent needle, improper threading. | Change needle, re-thread machine, ensure correct needle type for fabric. |
| Thread Breakage | Incorrect tension, poor quality thread, improperly wound bobbin. | Adjust tension, use quality thread, re-wind bobbin evenly. |
| Machine Not Starting | Power not connected, foot control not plugged in, bobbin winder engaged. | Check power connections, ensure foot control is plugged in, disengage bobbin winder. |
8. Technical Specifications
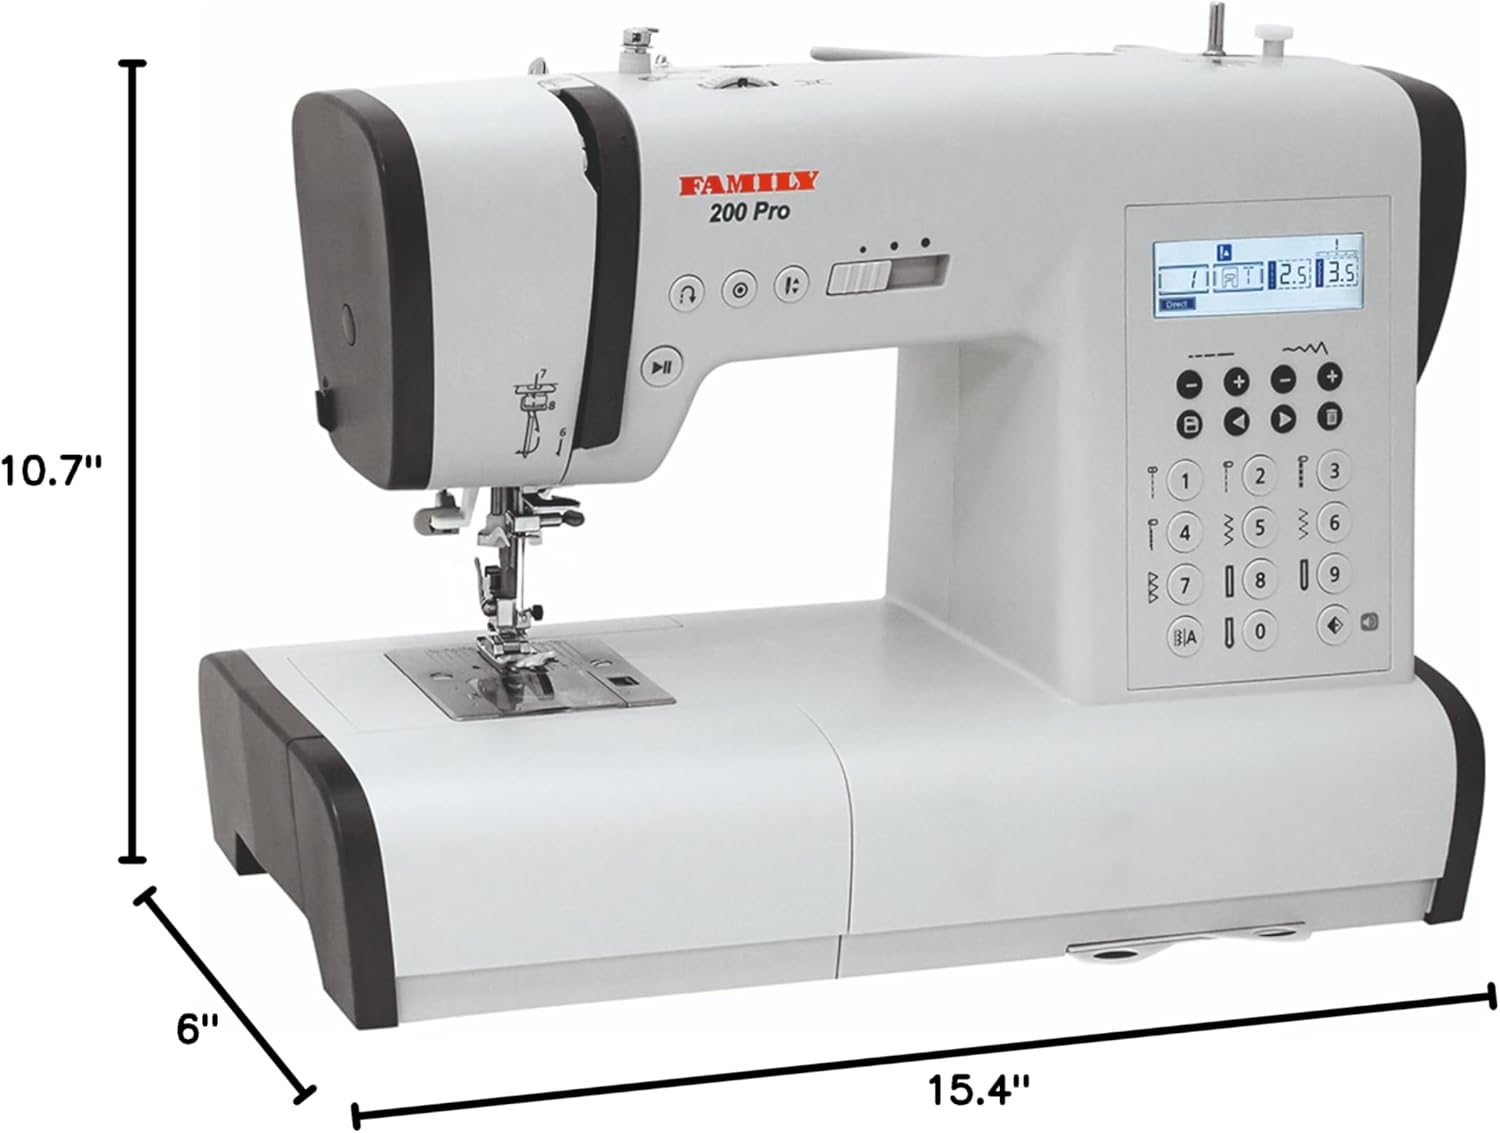
Image 8.1: Dimensions of the FAMILY 200 PRO Computerized Sewing Machine.
- Model: FAMILY 200 Pro
- Product Dimensions: 6 x 15.4 x 10.7 inches (Depth x Width x Height)
- Item Weight: 18.26 pounds
- Manufacturer: FAMILY
- Power: Electric
- Color: Gray
- Date First Available: July 10, 2023
9. Warranty and Support
9.1 Warranty Information
Your FAMILY 200 PRO Computerized Sewing Machine is covered by a manufacturer's warranty. Please refer to the warranty card included with your purchase for specific terms, conditions, and duration. Keep your proof of purchase for warranty claims.
9.2 Customer Support
For technical assistance, spare parts, or service inquiries, please contact FAMILY customer support. Contact details can typically be found on the manufacturer's website or on the warranty documentation.


