1. Introduction
Thank you for purchasing the Imaginnationworld Exceed Induction Flying Helicopter LH-1802R. This manual provides essential information for the safe operation, setup, and maintenance of your new remote-controlled helicopter. Please read this manual thoroughly before use to ensure proper function and to prevent damage.
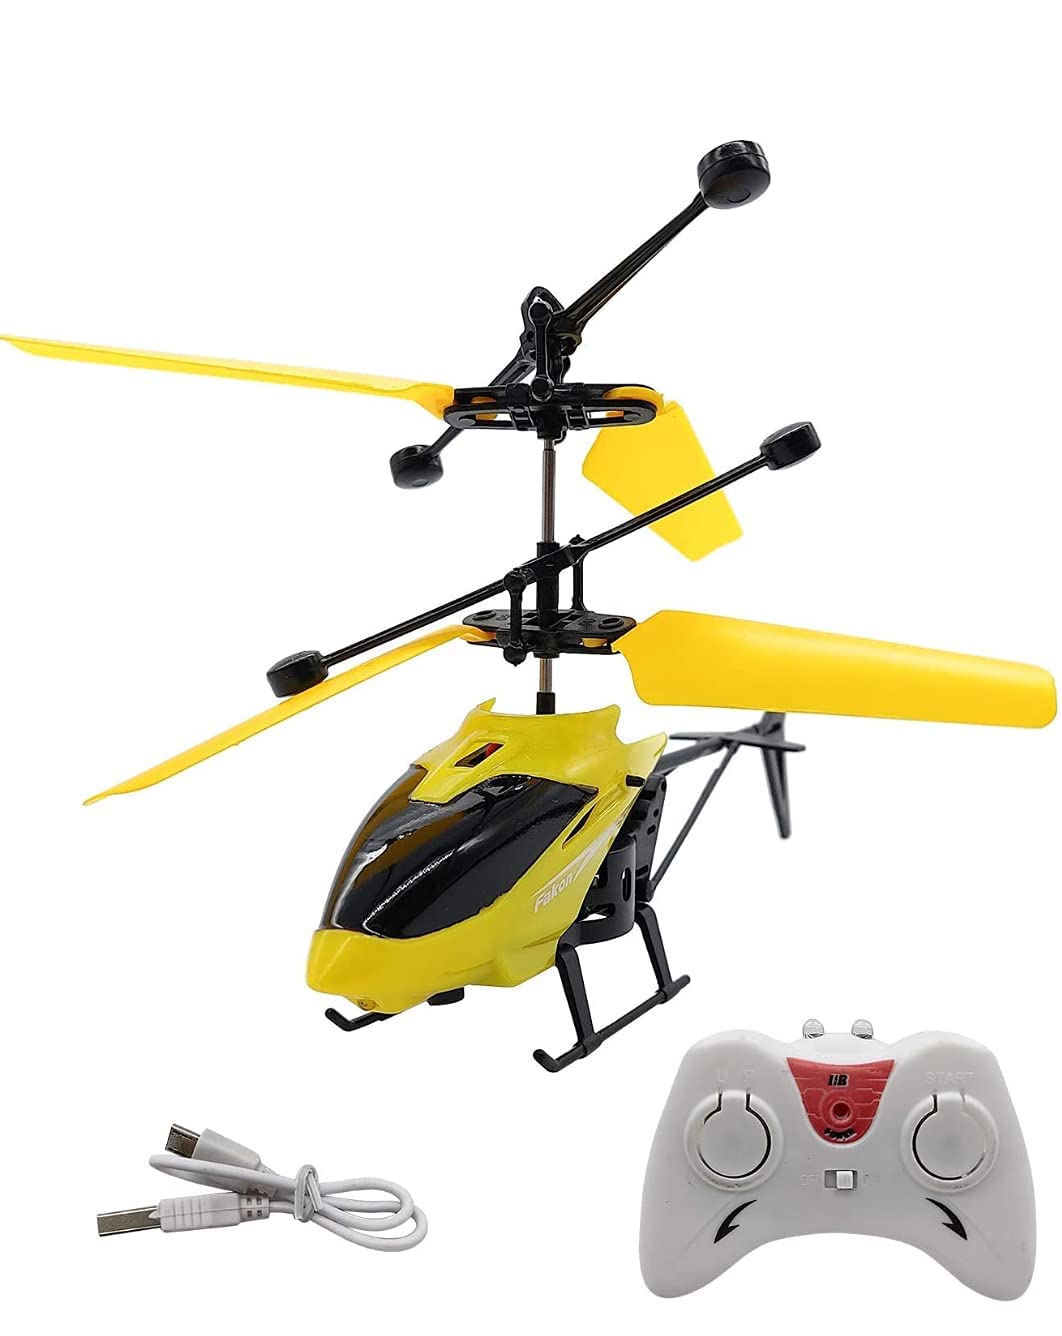
Image 1.1: The product packaging for the Imaginnationworld Exceed Induction Flying Helicopter LH-1802R.
2. Safety Information
Always observe the following safety precautions to prevent injury or damage to the product:
- Age Recommendation: This product is recommended for ages 4 years and up. Adult supervision is advised for younger users.
- Operating Environment: Operate the helicopter in open spaces, away from people, pets, and obstacles. Avoid flying near water, heat sources, or electrical wires.
- Blade Safety: Keep fingers, hair, and loose clothing away from the rotating blades. Do not touch the helicopter while the blades are spinning.
- Battery Safety: Use only the provided charging cable. Do not overcharge the battery. Do not expose the battery to extreme temperatures or puncture it.
- Impacts: Avoid crashes. If a crash occurs, inspect the helicopter for damage before further use.
- Water Exposure: This product is not waterproof. Avoid contact with water or moisture.
3. Package Contents
Before starting, please verify that all components are present in the package:
- 1 x Exceed Induction Flying Helicopter LH-1802R
- 1 x Remote Control
- 1 x USB Charging Cable
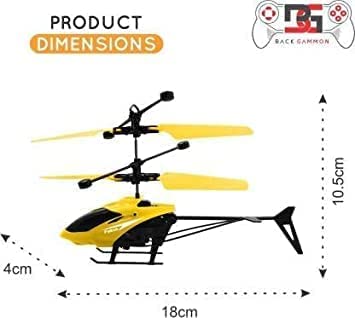
Image 3.1: All included components: the helicopter, its remote control, and the USB charging cable.
4. Product Overview
Familiarize yourself with the main parts of your helicopter:
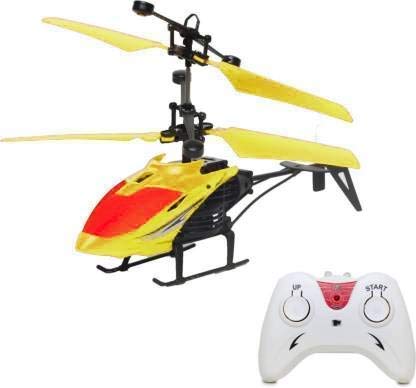
Image 4.1: Key features of the helicopter including the LED light, USB charging port, On/Off button, and infrared sensor.
- Main Rotor Blades: Provide lift for flight. These are foldable for storage.
- Tail Rotor: Provides stability and control.
- LED Light: Located on the bottom, provides visual appeal during flight.
- USB Charging Port: For recharging the helicopter's internal battery.
- On/Off Button: Powers the helicopter on or off.
- Infrared Sensor: Detects objects below the helicopter for induction flight.

Image 4.2: A detailed view of the helicopter's body, showing its yellow and red design and landing gear.
5. Setup
5.1 Charging the Helicopter
- Ensure the helicopter's power switch is in the OFF position.
- Connect the small end of the USB charging cable to the helicopter's charging port (refer to Image 4.1).
- Connect the larger end of the USB charging cable to a standard USB power adapter (not included) or a computer's USB port.
- The charging indicator (if present) will illuminate during charging and turn off or change color when fully charged.
- Charging typically takes approximately 30-45 minutes. Do not overcharge.
5.2 Remote Control Battery Installation
The remote control requires 2x AAA batteries (not included).
- Locate the battery compartment on the back of the remote control.
- Open the battery compartment cover.
- Insert 2x AAA batteries, ensuring correct polarity (+/-).
- Close the battery compartment cover securely.
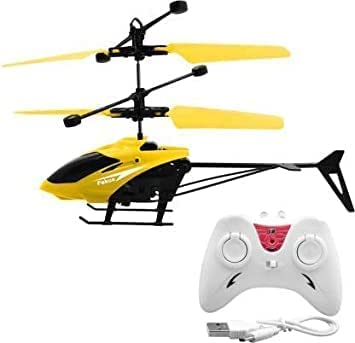
Image 5.1: The helicopter alongside its remote control, ready for use.
6. Operating Instructions
6.1 First Flight Preparation
- Ensure the helicopter is fully charged and the remote control has fresh batteries.
- Find a suitable indoor or outdoor flying area, free from obstacles, people, and pets.
- Unfold the helicopter blades carefully if they are folded.
6.2 Powering On and Pairing
- Turn on the helicopter using the On/Off button (refer to Image 4.1). The LED light will flash.
- Turn on the remote control. The indicator light on the remote will flash.
- Move the left joystick (throttle) on the remote control fully up, then fully down. This will pair the remote with the helicopter. The lights on both the helicopter and remote will become solid once paired.
6.3 Flying the Helicopter (Induction Mode)
The LH-1802R features an induction flight mode, allowing it to hover automatically by detecting objects below it.
- After pairing, gently push the left joystick (throttle) up to make the helicopter ascend.
- Once airborne, the helicopter will attempt to maintain its altitude using its infrared sensor.
- To control altitude manually, use the left joystick. Push up to ascend, pull down to descend.
- To move the helicopter forward/backward or left/right, use the right joystick.
- For induction flight, place your hand or another flat object below the helicopter. The sensor will detect it and cause the helicopter to rise, creating an interactive flying experience.

Image 6.1: The helicopter demonstrating its induction flight capability, hovering above a hand.
6.4 Landing
To land the helicopter, gently pull the left joystick (throttle) down until it slowly descends to the ground. Once landed, turn off the helicopter and then the remote control.

Image 6.2: Visual representation of key features including indoor/outdoor flight, cool LED light, 3D flight, and voltage protection.
7. Maintenance
- Cleaning: Use a soft, dry cloth to clean the helicopter. Do not use water or chemical cleaners.
- Blade Inspection: Regularly check the rotor blades for any damage or cracks. Replace damaged blades immediately to ensure safe flight.
- Storage: When not in use, store the helicopter and remote control in a cool, dry place, away from direct sunlight. Ensure the helicopter is turned off.
- Battery Care: For long-term storage, it is recommended to partially charge the helicopter's battery (around 50%) and remove batteries from the remote control.
8. Troubleshooting
| Problem | Possible Cause | Solution |
|---|---|---|
| Helicopter does not turn on. | Battery is dead or not charged. | Charge the helicopter's battery fully. |
| Helicopter does not respond to remote. | Not paired, remote batteries low, or out of range. | Ensure proper pairing (Section 6.2). Replace remote batteries. Operate within recommended range. |
| Helicopter flies erratically or crashes easily. | Damaged blades, strong wind, or incorrect trim. | Inspect and replace damaged blades. Fly in calm conditions. Adjust trim settings on the remote if available (refer to remote manual if separate). |
| Induction flight not working. | Sensor blocked or insufficient light. | Ensure the infrared sensor on the bottom is clean and unobstructed. Operate in well-lit conditions. |
9. Specifications
| Feature | Detail |
|---|---|
| Model Number | LH-1802R |
| Material | Plastic |
| Color | Multicolor |
| Product Dimensions (LxWxH) | 18 x 4 x 10.5 cm |
| Item Weight | 100 g |
| Recommended Age | 4 years and up |
| Control Type | Remote Control, Induction Flight |
| Included Components | Helicopter, Remote, USB Charging Cable |
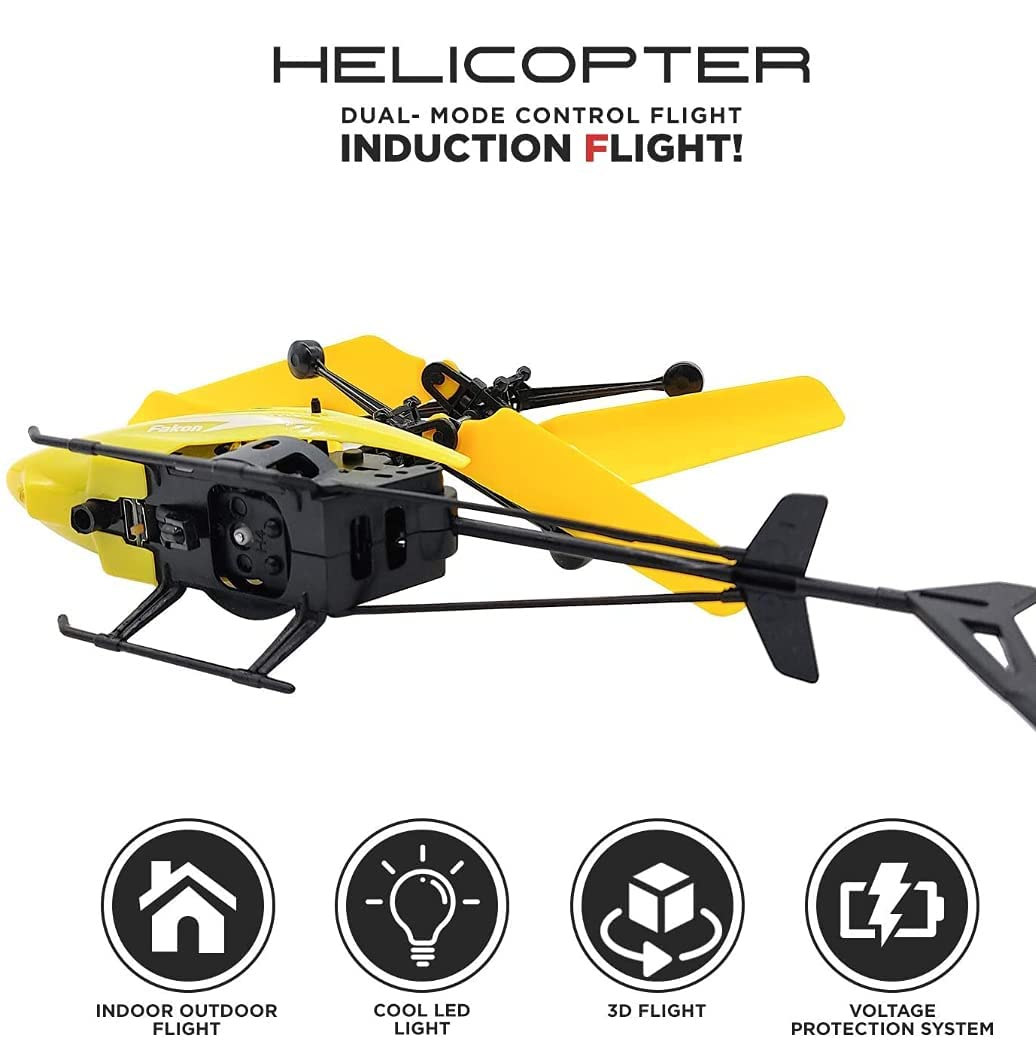
Image 9.1: Visual representation of the helicopter's dimensions.
10. Warranty and Support
For warranty information or technical support, please contact the seller or manufacturer directly through your purchase platform. Keep your purchase receipt as proof of purchase.


