1. Product Overview
This EtliN replacement parts kit is designed for use with Xiaomi Lydsto R1, R1A, R1 Pro, and S1 robot vacuum cleaners. It includes essential components such as the main brush, side brushes, HEPA filters, mop cloths, and dust bags, ensuring your robot vacuum maintains optimal cleaning performance.
Regular replacement of these parts is crucial for the efficient operation and longevity of your robot vacuum. Worn brushes can reduce cleaning effectiveness, while clogged filters can impair suction power and air quality.
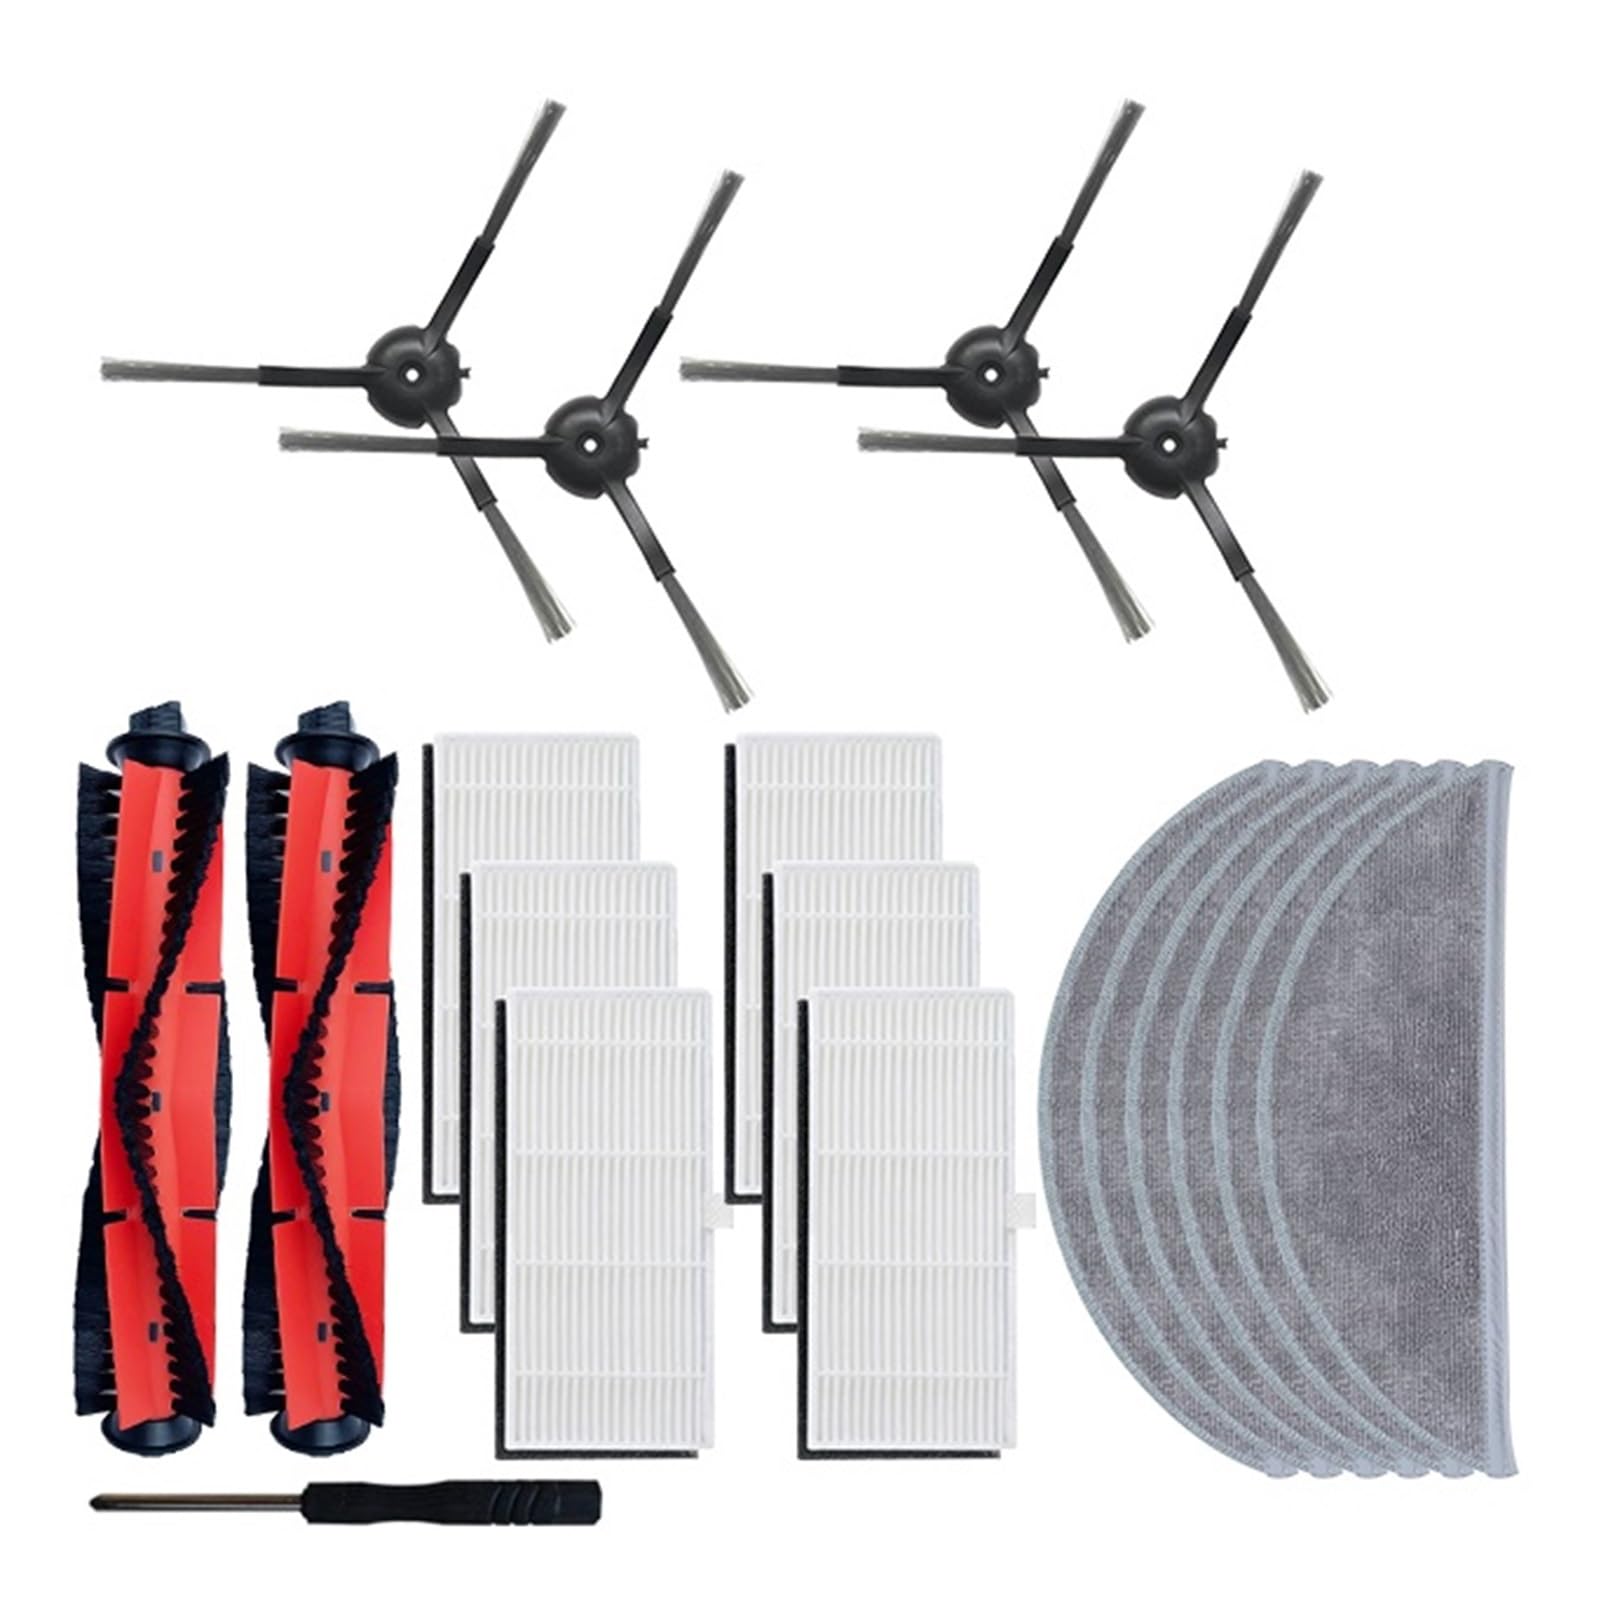
Image 1.1: An assortment of EtliN replacement parts, including brushes, filters, and dust bags, for Xiaomi Lydsto robot vacuums.
2. Installation Guide
Before installing any replacement parts, ensure your robot vacuum cleaner is powered off and disconnected from its charging base.
2.1 Main Brush Installation
- Turn the robot vacuum upside down.
- Locate the main brush cover, usually secured by two tabs or screws. Open or remove the cover.
- Remove the old main brush by lifting it out.
- Insert the new main brush, ensuring the ends align correctly with the slots in the vacuum.
- Close the main brush cover and secure it.

Image 2.1: A detailed view of the main brush, showing its red body and black bristles, ready for installation.
2.2 Side Brush Installation
- Turn the robot vacuum upside down.
- Locate the side brush(es). They are typically held by a single screw.
- Unscrew and remove the old side brush.
- Place the new side brush into position and secure it with the screw.
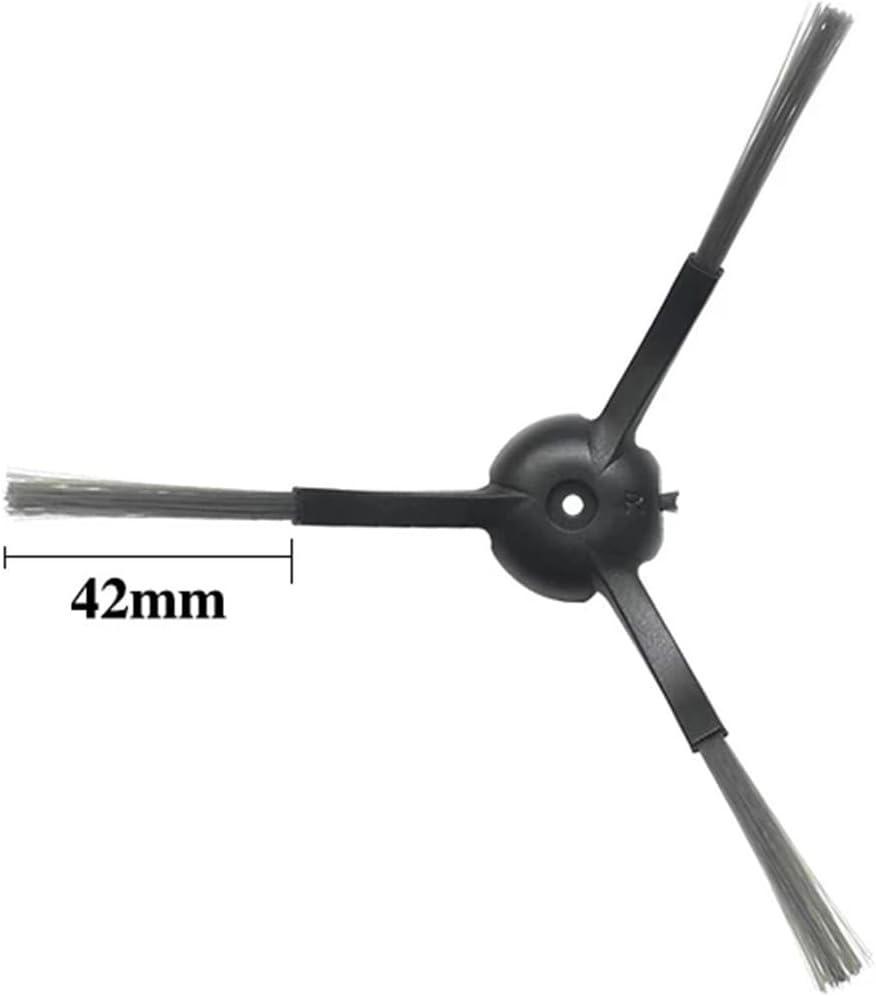
Image 2.2: A black three-arm side brush, indicating a 42mm arm length, designed for sweeping debris.
2.3 HEPA Filter Installation
- Open the top cover of the robot vacuum and remove the dust bin.
- Locate the filter compartment within the dust bin.
- Remove the old HEPA filter.
- Insert the new HEPA filter, ensuring it fits snugly into the compartment.
- Reinsert the dust bin into the vacuum and close the top cover.
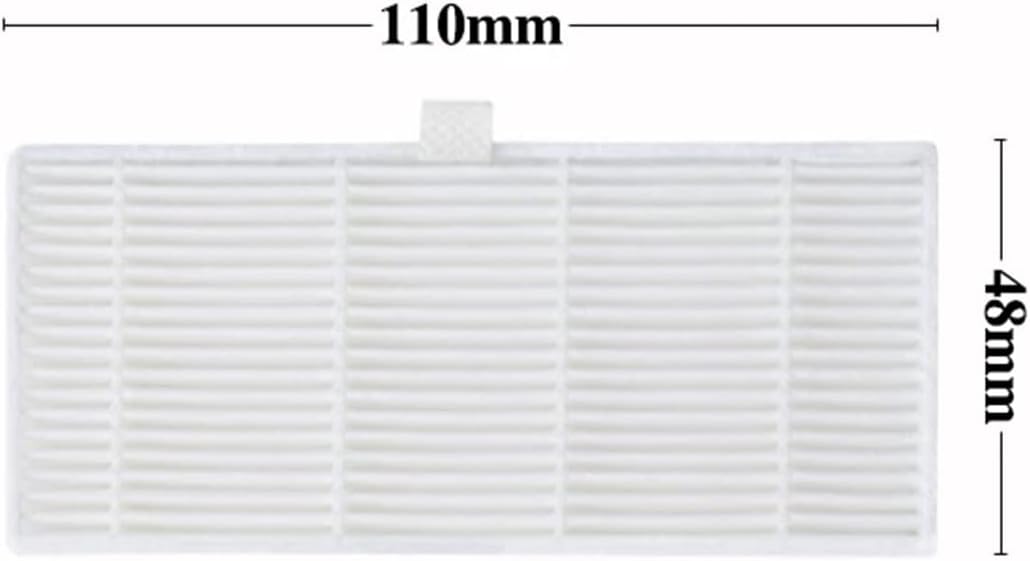
Image 2.3: A white rectangular HEPA filter, showing its dimensions of 110mm in length and 48mm in width.
2.4 Mop Cloth Installation
- Remove the water tank or mop module from the robot vacuum.
- Detach the old mop cloth, typically held by Velcro or a sliding mechanism.
- Attach the new mop cloth, ensuring it is securely fastened.
- Reinstall the water tank or mop module onto the vacuum.
2.5 Dust Bag Installation (for models with auto-empty station)
- Open the lid of the auto-empty station.
- Carefully remove the full dust bag from its slot.
- Insert a new dust bag, ensuring it is fully seated and the opening aligns with the station's suction port.
- Close the lid of the auto-empty station.

Image 2.4: A white dust bag featuring a brown cardboard collar and a circular opening for connection to the auto-empty station.
3. Operating Considerations
Once replacement parts are installed, ensure they are correctly seated before operating the robot vacuum. Incorrect installation can lead to reduced cleaning efficiency or damage to the vacuum.
- Main Brush: Verify it spins freely without obstruction.
- Side Brushes: Confirm they rotate smoothly and are not bent.
- HEPA Filter: Ensure the dust bin is properly closed to maintain suction.
- Mop Cloth: Dampen the mop cloth before use for effective wet cleaning.
- Dust Bag: Confirm the dust bag is fully inserted into the auto-empty station.
4. Maintenance and Replacement Schedule
Regular maintenance and timely replacement of parts are essential for optimal performance and hygiene.
| Part | Cleaning Frequency | Replacement Frequency |
|---|---|---|
| Main Brush | Weekly | Every 6-12 months |
| Side Brushes | Bi-weekly | Every 3-6 months |
| HEPA Filter | Bi-weekly (tap clean) | Every 3-6 months |
| Mop Cloth | After each use | Every 1-3 months |
| Dust Bag | N/A (disposable) | When full (approx. every 1-2 months) |
Note: Replacement frequencies may vary based on usage intensity and household environment (e.g., pets, high traffic).
5. Troubleshooting Common Issues
- Reduced Cleaning Performance: Check main and side brushes for tangled hair or debris. Replace if bristles are worn. Ensure HEPA filter is clean and not clogged.
- Vacuum Not Picking Up Debris: Verify the dust bin is correctly installed and not full. Check the HEPA filter for blockages. Inspect the main brush for obstructions.
- Mop Not Cleaning Effectively: Ensure the mop cloth is clean and adequately dampened. Check if the water tank is filled (if applicable to your model).
- Dust Bag Full Indicator: If the indicator persists after replacing the dust bag, ensure the new bag is fully seated and the auto-empty station lid is closed properly.
6. Specifications
| Feature | Detail |
|---|---|
| Brand | EtliN |
| Compatible Models | Xiaomi Lydsto R1, R1A, R1 Pro, S1 Robot Vacuums |
| Item Model Number (Kit) | 2269 |
| Item Weight (approx.) | 1.76 ounces (50 grams) |
| Package Dimensions (approx.) | 1.18 x 0.79 x 0.39 inches (3 x 2 x 1 cm) |
| Special Features | Automatic dust collection compatibility (for dust bags) |
7. Warranty and Support
Specific warranty information for this replacement parts kit is not provided in the product details. For any issues or support inquiries regarding these EtliN replacement parts, please refer to the seller or retailer from whom the product was purchased. They can provide assistance with product compatibility, installation, or defect-related concerns.