1. Product Overview
The RED WOLF RWF-XCFD12-1425 Stereo Wiring Harness is designed to simplify the installation of an aftermarket car stereo in compatible Ford, Lincoln, and Mercury vehicles. This harness allows for direct connection to the vehicle's factory wiring without cutting or modifying the original harness, ensuring a clean and reversible installation.
What's in the Box:
- 1 x RED WOLF Stereo Wiring Harness with Pre-Installed Butt Connectors
Compatibility:
This wiring harness is compatible with the following vehicle models and years. Please verify your vehicle's make, model, and year against this list before installation. Note: This harness is not compatible with factory amplified sound systems.
- Ford:
- F150 (1999-2003)
- F250/F350/F450/F550 (1999-2004)
- Crown Victoria (1998-2002)
- Escape (2001-2003, 2004-2007 without factory Subwoofer)
- Excursion (2000-2005)
- Expedition (1999-2002)
- Explorer (1998-2000 Standard, 2001-2003 2 Door Sport, 2002-2004 4 Door)
- Explorer Sport Trac (2000-2005)
- Mustang (2001-2003)
- Ranger (1998-2011)
- Thunderbird (2002-2003)
- Windstar (1999-2003)
- Lincoln:
- Aviator (2003 early production)
- Blackwood (2001-2003)
- Continental (1998-2002)
- LS (2000-2003)
- Navigator (1999-2002, 2003 early production)
- Town Car (1998-2002)
- Mercury:
- Grand Marquis (1998-2002)
- Cougar (2001-2002 with dual media or 6 disc in-dash)
- Mountaineer (1998-2003, 2004-2005 without factory subwoofer)
- Villager (1999-2002)
- Mazda:
- B-Series (1998-2009)
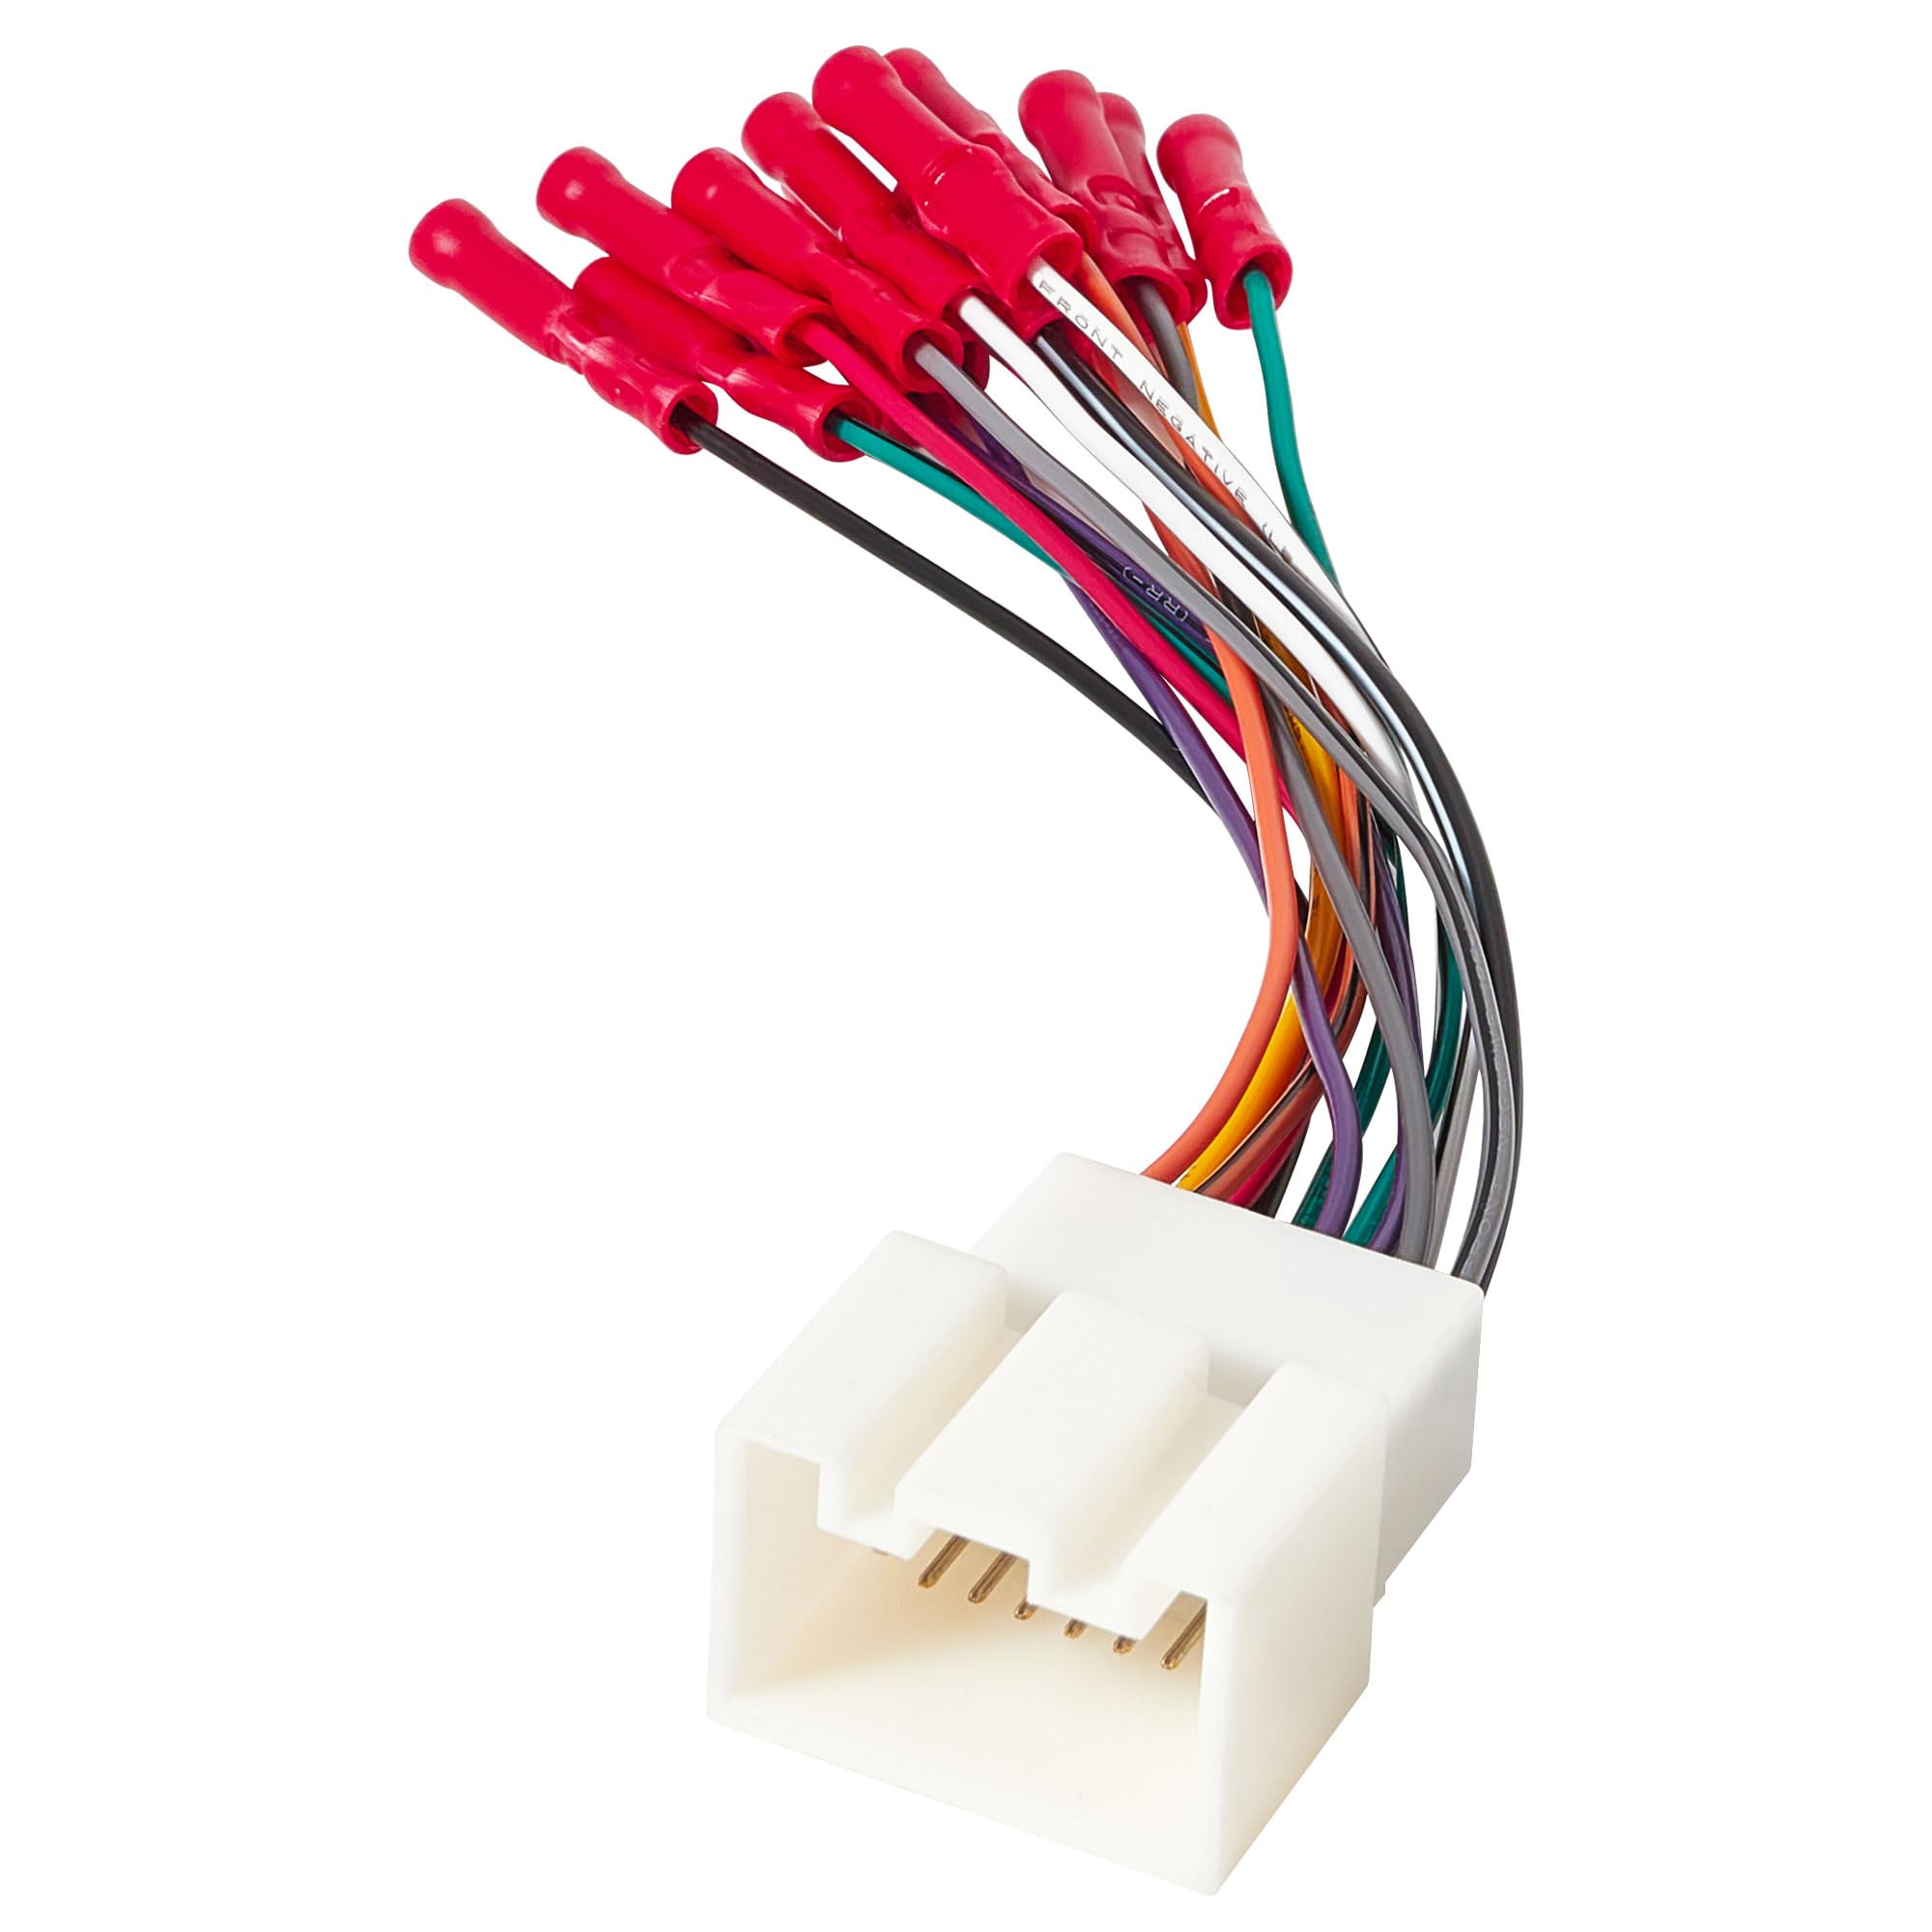
Image 1.1: The RED WOLF Stereo Wiring Harness, showing the main connector and color-coded wires with pre-installed butt connectors.

Image 1.2: The RED WOLF Stereo Wiring Harness in its retail packaging.
2. Key Features
- Pre-Terminated Connectors: Equipped with pre-installed butt connectors to save installation time and simplify wiring.
- OEM Wire Retention: Designed for direct plug-and-play installation, eliminating the need to cut or modify the vehicle's original wiring harness.
- High Conductivity: Features a superior pure copper core for excellent electrical conductivity and reliable performance.
- Durable Construction: Made with flame-retardant Polyvinyl Chloride (PVC) material for enhanced protection and longevity.
- Perfect Match: Engineered to precisely match the factory wiring and connectors of specified vehicles.

Image 2.1: Visual representation of key features including no OEM wire cutting, perfect matching, time-saving installation, and excellent conductivity.

Image 2.2: Comparison highlighting the convenience of the Classic 2.0 harness with pre-terminated butt connectors versus the Classic 1.0 bare wire version.

Image 2.3: The harness is designed to withstand various environmental conditions, ensuring long-term reliability.
3. Setup and Installation
Follow these steps to correctly install your RED WOLF Stereo Wiring Harness and aftermarket radio. Professional installation is recommended if you are unfamiliar with car audio wiring.
Safety Precautions:
- Always disconnect the vehicle's negative battery terminal before beginning any electrical work to prevent short circuits and damage.
- Ensure all connections are secure to prevent intermittent issues or electrical hazards.
- Refer to your aftermarket radio's manual for specific wiring instructions.
Installation Steps:
- Remove Factory Radio: Carefully remove the existing factory radio from your vehicle's dashboard. This usually involves removing trim panels and unscrewing the radio unit.
- Disconnect Factory Harness: Disconnect the factory wiring harness from the back of the original radio.
- Identify Wires: Match the color-coded wires of the RED WOLF harness to the corresponding wires on your aftermarket radio's harness. The pre-installed butt connectors on the RED WOLF harness are designed for easy and secure connections.
- Connect Harnesses: Connect the RED WOLF harness to your aftermarket radio's harness. Ensure each wire is connected to its correct counterpart (e.g., power to power, ground to ground, speaker wires to speaker wires).
- Connect to Vehicle: Plug the RED WOLF harness's vehicle-specific connector into the factory wiring harness in your dashboard.
- Test Functionality: Before fully reassembling the dashboard, reconnect the vehicle's negative battery terminal and test the aftermarket radio's functionality (power, audio, balance, fader, etc.).
- Reassemble Dashboard: Once confirmed working, carefully reassemble the dashboard and secure the new radio in place.

Image 3.1: Visual guide illustrating the general steps for replacing a factory radio with an aftermarket unit using a wiring harness.

Image 3.2: Detail of the RED WOLF radio wiring connector plug, showing its design for connecting to the aftermarket head unit.

Image 3.3: An illustrative diagram demonstrating how the wiring harness connects to an aftermarket radio unit.
4. Troubleshooting
If you encounter issues after installing the wiring harness, consider the following common problems and solutions:
- No Power to Radio:
- Check the vehicle's fuse box for blown fuses related to the radio or accessory power.
- Verify that the red (accessory power) and yellow (constant power) wires from the aftermarket radio are correctly connected to the corresponding wires on the RED WOLF harness.
- Ensure the ground wire (black) is securely connected.
- No Sound:
- Confirm that all speaker wires (typically pairs of solid and striped colors) are correctly matched and connected between the aftermarket radio and the RED WOLF harness.
- Check the aftermarket radio's settings for mute or volume levels.
- Ensure your vehicle does not have a factory amplified system, as this harness is not compatible with such setups.
- Intermittent Power/Sound:
- Inspect all butt connector crimps for looseness or poor contact. Re-crimp if necessary.
- Ensure the main vehicle connector is fully seated into the factory harness.
- Radio Not Turning Off with Ignition:
- Verify that the red (accessory power) wire is connected to a switched 12V source, not a constant 12V source.
5. Specifications
| Attribute | Detail |
|---|---|
| Model Number | RWF-XCFD12-1425 |
| Brand | RED WOLF |
| Material | Polyvinyl Chloride (PVC) insulation, Pure Copper Core |
| Connector Type | Butt Connector (pre-installed) |
| Item Weight | 1.44 ounces (approx. 0.04 Kilograms) |
| Package Dimensions | 9.41 x 3.62 x 0.59 inches |

Image 5.1: Detailed view of the harness construction, highlighting the PVC insulation and pure copper wire cores for durability and conductivity.
6. Warranty and Support
RED WOLF products are manufactured to high-quality standards. For specific warranty information, please refer to the product packaging or contact RED WOLF customer support directly. If you have any questions regarding installation, compatibility, or product performance, please reach out to our support team for assistance.
Contact Information: Please visit the official RED WOLF website or refer to your purchase documentation for the most current customer support contact details.


