Introduction
The Ionchill Quick Cube Ice Machine is designed to provide convenient and rapid ice production for your home or office. This compact countertop unit can produce bullet-shaped ice cubes in approximately 9 minutes and has a daily ice production capacity of up to 26 pounds. Its user-friendly design includes a large 1.2L water tank, simple controls, and a self-cleaning mode for easy maintenance. The durable stainless-steel construction ensures long-lasting performance.
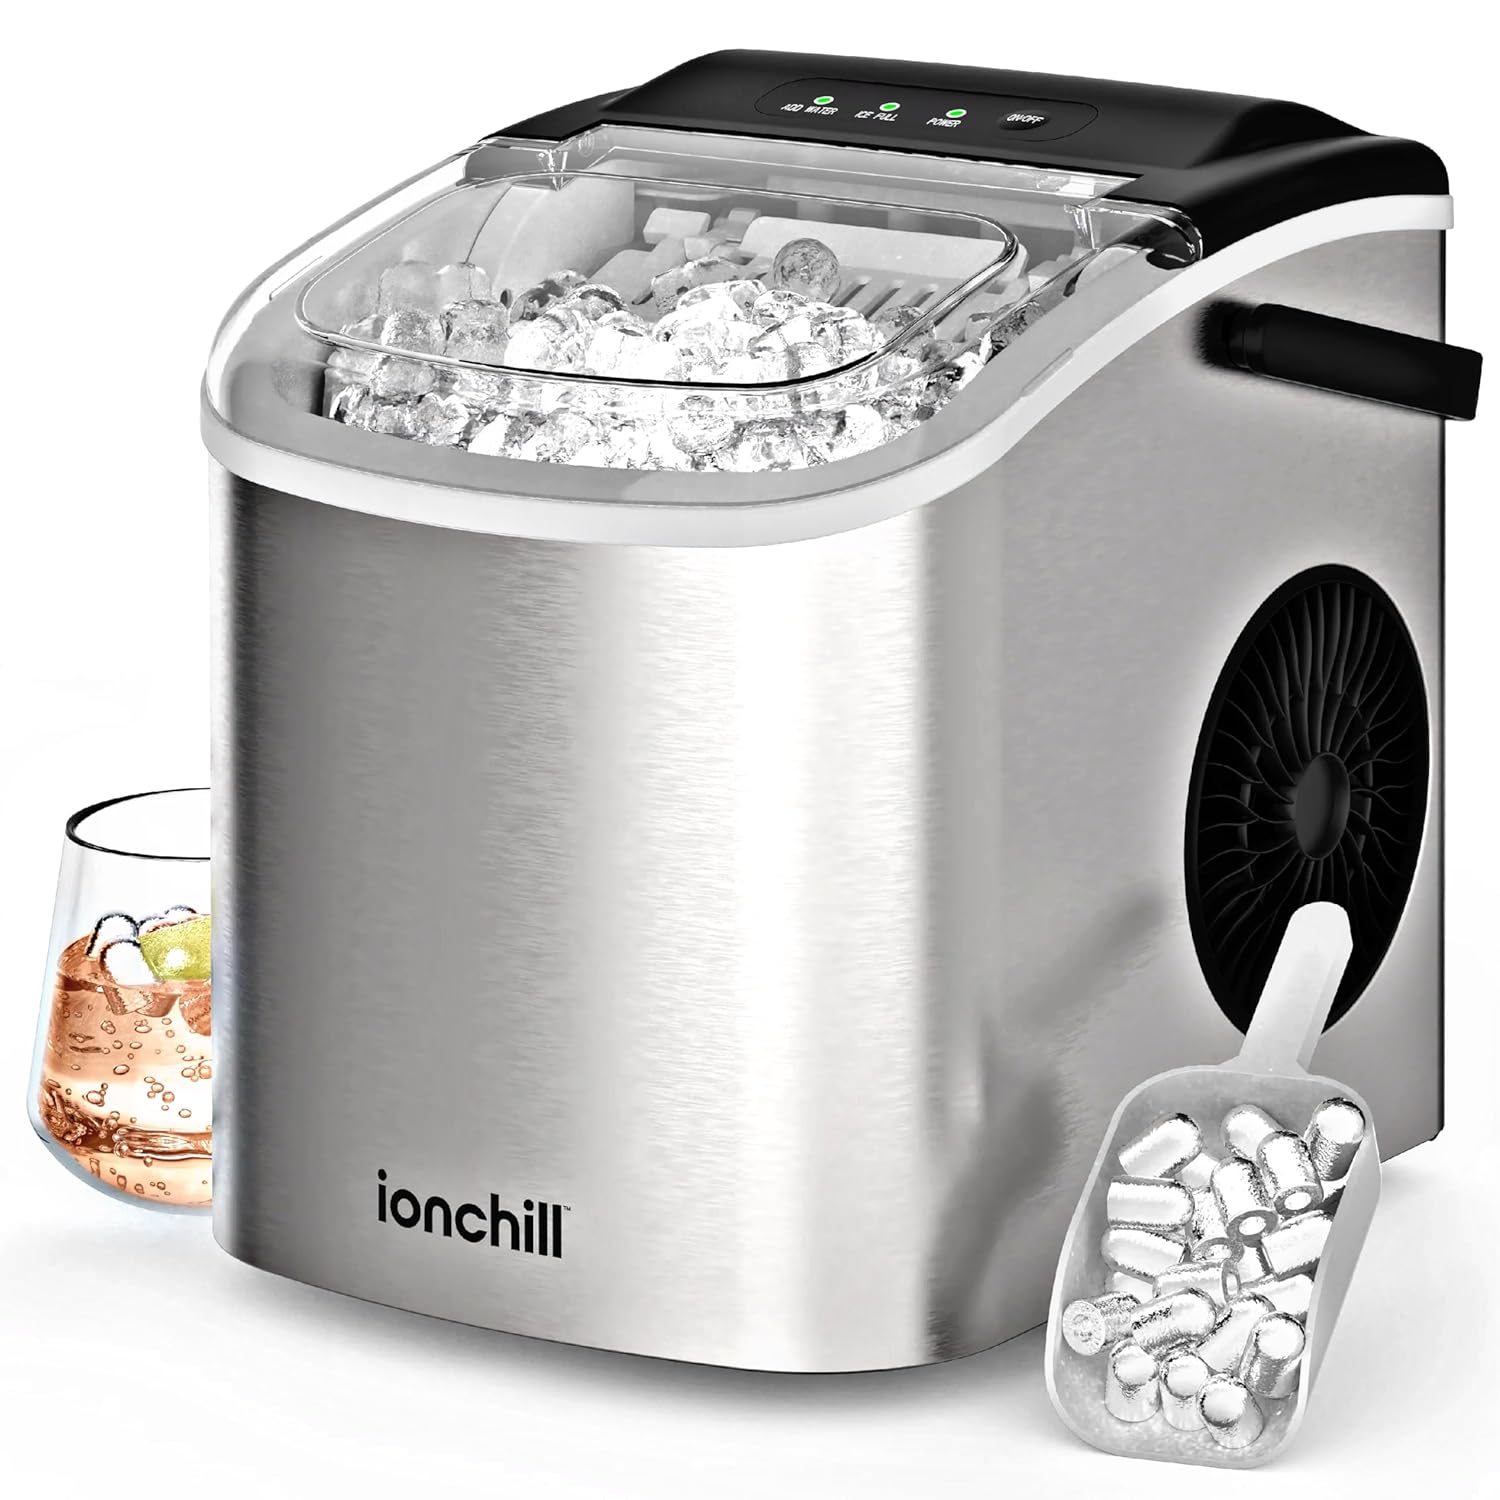
Image: The Ionchill 8958 Portable Countertop Bullet Quick Cube Ice Machine, showcasing its sleek stainless steel design and clear lid, with ice cubes visible inside.
Safety Information
Please read all safety instructions carefully before operating the ice machine to prevent injury or damage.
- Ensure the appliance is placed on a stable, level surface away from direct sunlight and heat sources.
- Do not immerse the appliance, power cord, or plug in water or other liquids.
- Keep children and pets away from the appliance during operation.
- Use only potable water in the water reservoir.
- Unplug the ice machine from the power outlet before cleaning or when not in use.
- Do not operate the appliance with a damaged cord or plug. Contact qualified service personnel for repair.
- Avoid placing hands or objects into the ice maker while it is operating.
Product Features and Components
Familiarize yourself with the key parts of your Ionchill ice machine:
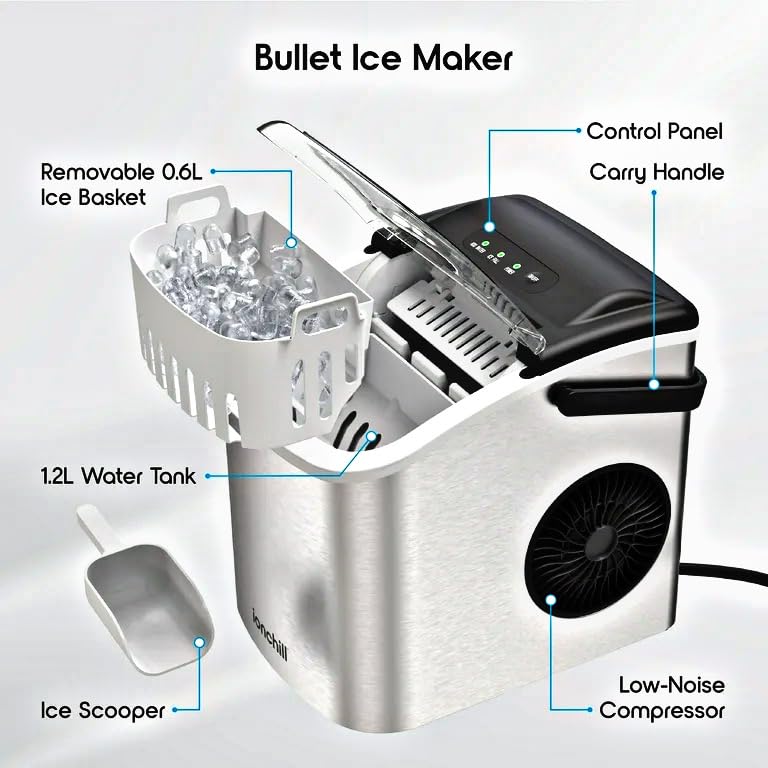
Image: A labeled diagram of the ice maker, highlighting the Control Panel, Carry Handle, Removable Ice Basket, 1.2L Water Tank, Ice Scooper, and Low-Noise Compressor.
- Control Panel: Features indicator lights for 'Add Water', 'Ice Full', and 'Power', along with an 'ON/OFF' button.
- Carry Handle: Integrated handle for easy portability.
- Removable Ice Basket: Collects the produced ice cubes and can be easily removed for serving or transferring ice.
- Water Tank (1.2L): Reservoir for water used in ice production.
- Ice Scooper: Included for convenient ice retrieval.
- Low-Noise Compressor: Ensures quiet operation during ice making.

Image: A close-up view of the intuitive control panel, showing the 'Add Water', 'Ice Full', and 'Power' indicator lights, and the 'ON/OFF' button.
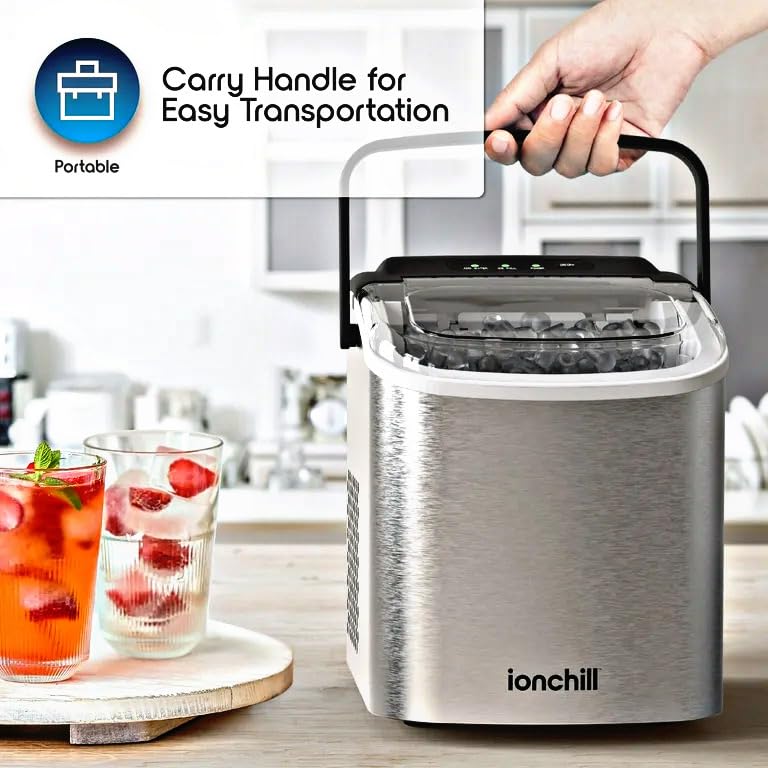
Image: A hand demonstrating the use of the integrated carry handle, emphasizing the ice maker's portability.
Setup
- Unpacking: Carefully remove the ice machine from its packaging. Remove all packing materials, including any tape or protective films.
- Placement: Place the ice machine on a flat, stable, and level surface. Ensure there is adequate ventilation around the unit (at least 4 inches of space on all sides). Avoid placing it near heat sources or in direct sunlight.
- Initial Cleaning: Before first use, clean the interior of the ice machine. Remove the ice basket and wash it with warm, soapy water. Wipe the interior with a soft cloth and mild detergent, then rinse thoroughly. Dry all parts completely.
- Power Connection: Plug the power cord into a grounded electrical outlet.
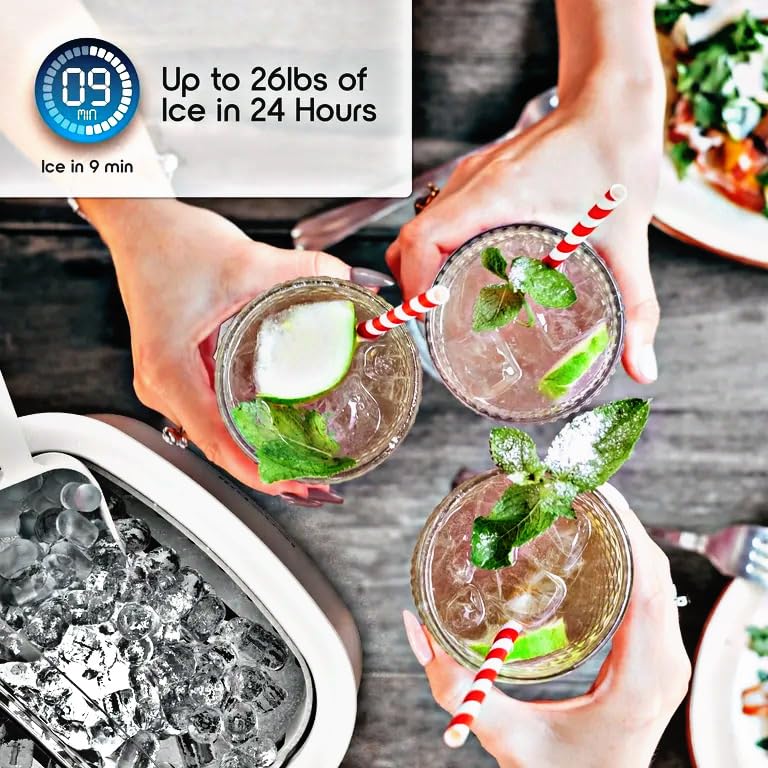
Image: The compact ice maker positioned on a kitchen countertop next to a sink, illustrating its space-saving design.
Operating Instructions
- Add Water: Open the lid and fill the water tank with potable water up to the MAX fill line. Do not overfill.
- Start Ice Production: Close the lid and press the 'ON/OFF' button on the control panel. The 'Power' indicator light will illuminate.
- Ice Making Cycle: The ice machine will begin its ice-making cycle. The first batch of bullet-shaped ice cubes will typically be ready in approximately 9 minutes.
- Ice Full Indicator: When the ice basket is full, the 'Ice Full' indicator light will illuminate, and the machine will pause ice production.
- Add Water Indicator: If the water level in the tank is too low, the 'Add Water' indicator light will illuminate, and the machine will pause. Refill the water tank to resume operation.
- Harvesting Ice: Use the provided ice scooper to remove ice from the basket. For best results, transfer ice to a freezer for storage as the ice maker is not a freezer and will not keep ice frozen indefinitely.
- Stop Operation: To stop ice production at any time, press the 'ON/OFF' button.
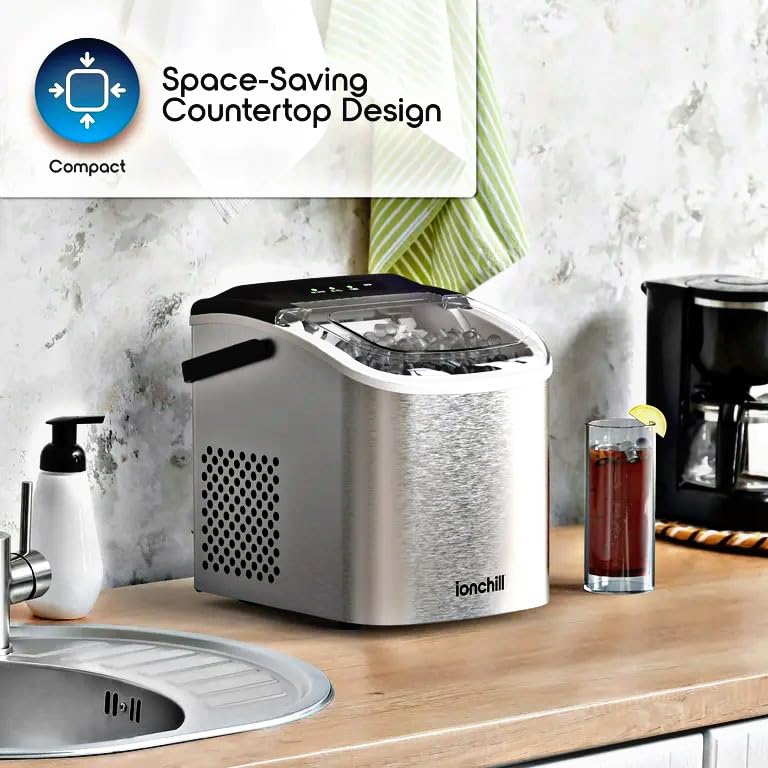
Image: Three hands holding glasses filled with beverages and bullet ice, demonstrating the ice maker's output and its use in drinks.
Maintenance and Cleaning
Regular cleaning ensures hygienic ice production and extends the life of your appliance.
Self-Cleaning Function
The Ionchill ice machine features a convenient self-cleaning mode:
- Ensure the water tank is filled with clean water.
- Press and hold the 'ON/OFF' button for approximately 5 seconds until the self-cleaning cycle begins.
- The machine will circulate water through its internal components. This cycle typically lasts for a few minutes.
- Once the cycle is complete, drain the water from the machine by removing the drain plug located at the bottom or back of the unit.

Image: A diagram illustrating the water flow during the self-cleaning function, showing water circulating through the system to clean internal components.
Manual Cleaning
- Unplug the ice machine before cleaning.
- Remove the ice basket and wash it with warm, soapy water.
- Wipe the interior and exterior surfaces with a soft cloth dampened with mild detergent.
- For stubborn mineral deposits, a solution of water and vinegar (1:1 ratio) can be used. Run the self-cleaning cycle with this solution, then drain and rinse thoroughly with clean water.
- Ensure all parts are completely dry before reassembling and storing the unit.
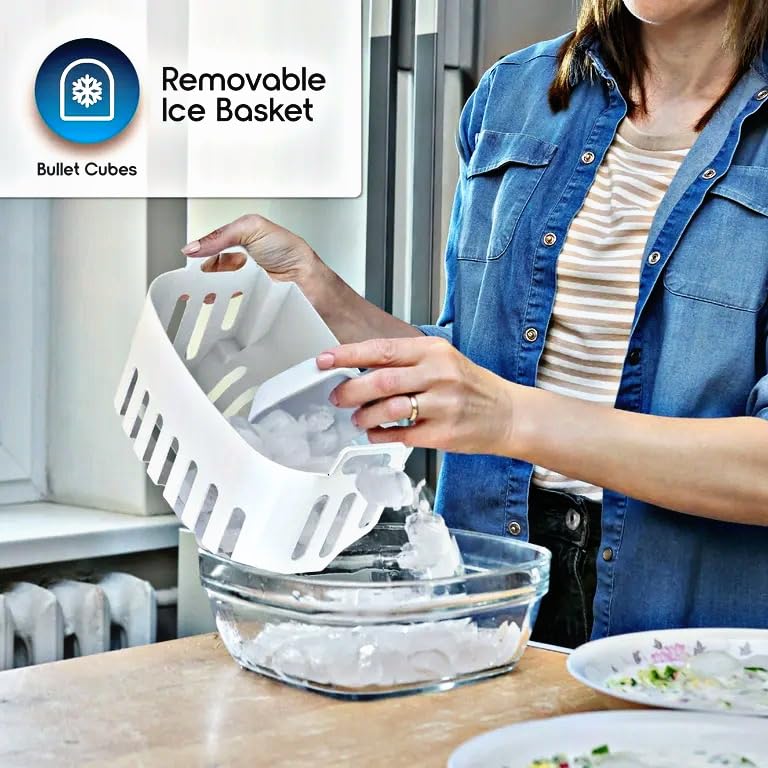
Image: A person removing the white, removable ice basket from the ice maker, demonstrating ease of access for cleaning and ice retrieval.
Troubleshooting
If you encounter issues with your ice machine, refer to the following common problems and solutions:
| Problem | Possible Cause | Solution | ||||||||
|---|---|---|---|---|---|---|---|---|---|---|
Related Documents - 8958
|


