1. Introduction
Thank you for choosing the NDNCZDHC PFS-200 Impulse Heat Sealer. This manual provides essential information for the safe and efficient operation of your new device. This 8-inch (200mm) manual heat sealer is designed for sealing various plastic bags and films, making it ideal for home, supermarket, warehouse, and small factory use. It features an adjustable heating mode and an automatic LED indicator for consistent and reliable sealing.
Please read this manual thoroughly before use and retain it for future reference.
2. Safety Instructions
- Always ensure the power cord is fully inserted into a suitable electrical outlet (US Plug 110V).
- Do not operate the sealer with wet hands or in damp conditions to prevent electric shock.
- Keep the sealing area clean and free from debris to ensure proper sealing and prevent damage to the heating element.
- Avoid touching the heating element or sealing bar immediately after use, as they can remain hot and cause burns.
- Do not immerse the sealer in water or any other liquid.
- Unplug the device from the power outlet when not in use, during cleaning, or when replacing parts.
- Keep out of reach of children and pets.
- Use only original or approved replacement parts for maintenance.
3. Package Contents
Verify that all items are present in the package:
- 1 x NDNCZDHC PFS-200 Bag Sealer
- 1 x Extra Heating Element Sheet
- 1 x Anti-Scald Cloth
- 1 x English User Manual
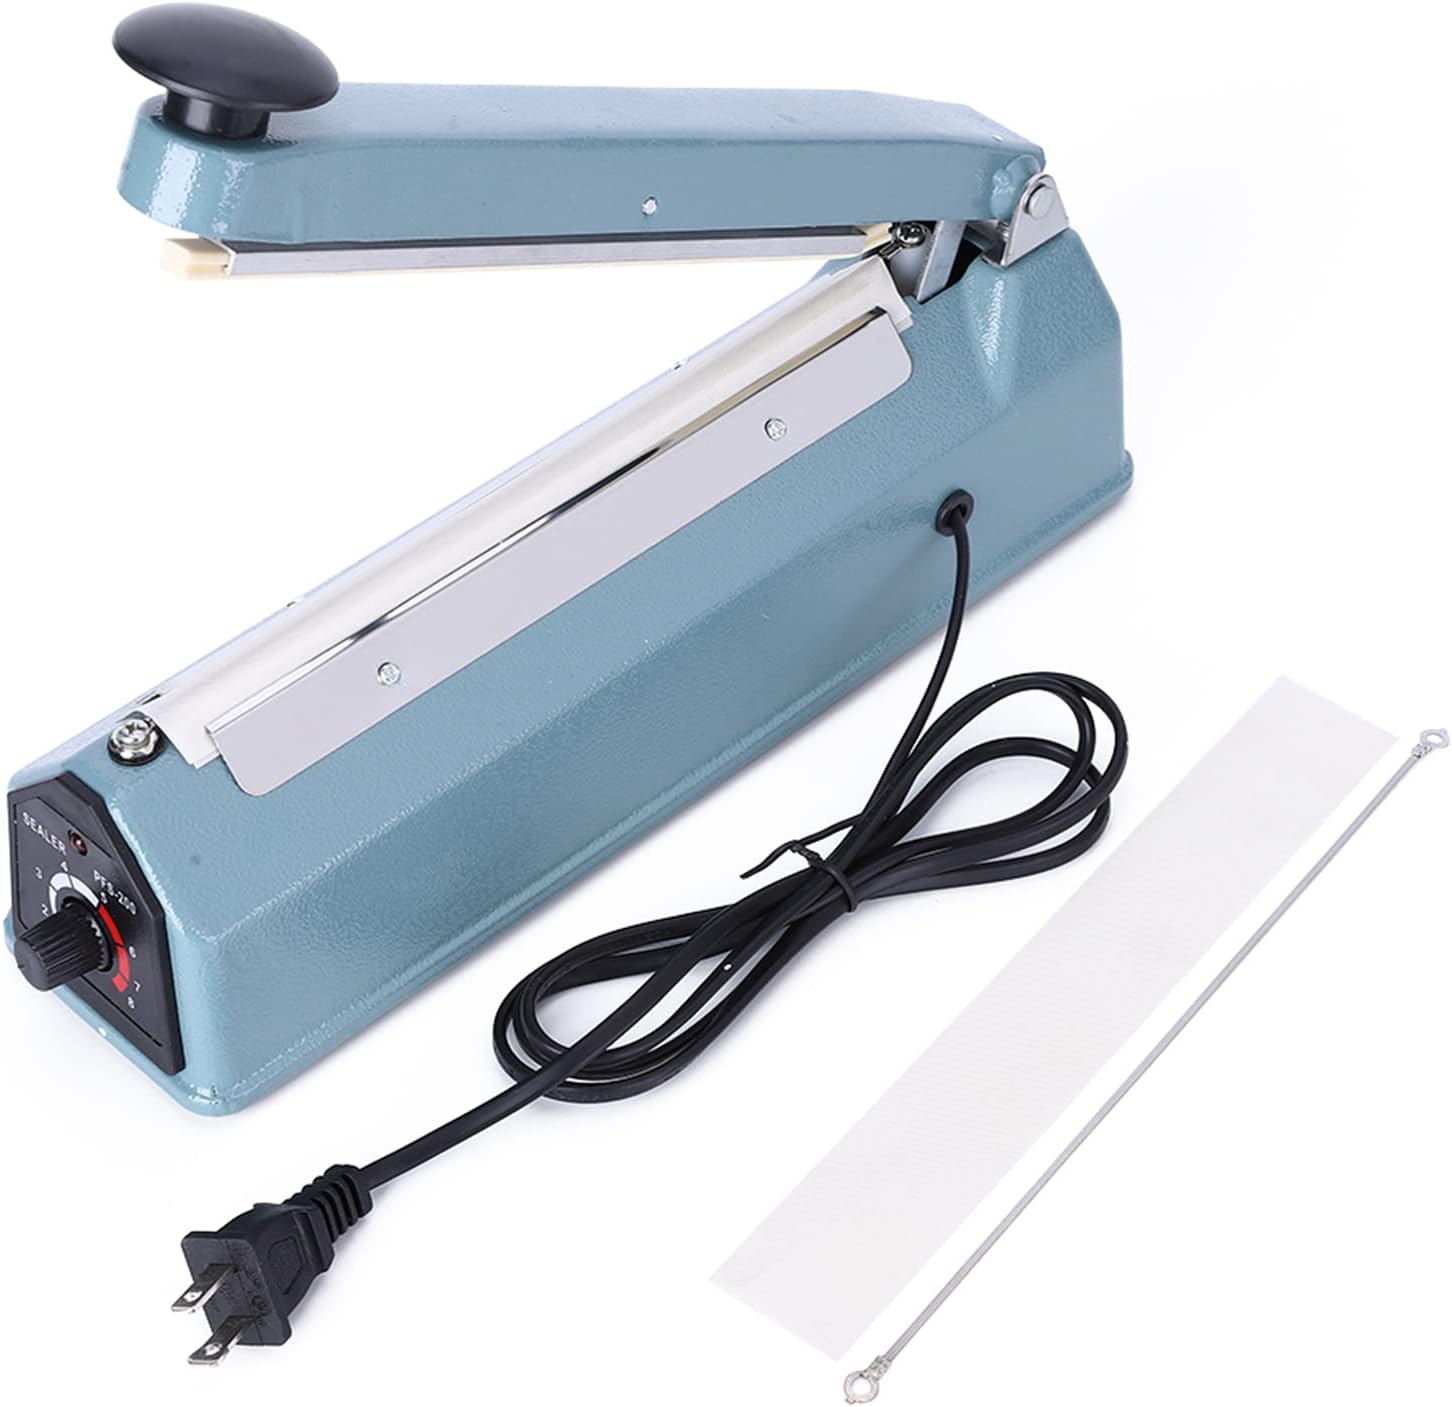
Image 3.1: Contents of the package, including the sealer, power cord, an extra heating element sheet, and an anti-scald cloth.
4. Product Overview
Familiarize yourself with the main components of your impulse heat sealer:

Image 4.1: Front view of the PFS-200 Impulse Heat Sealer.
- Handle: Used to press down and activate the sealing process.
- Sealing Bar: Contains the heating element and anti-scald cloth for sealing.
- Operating Instructions Label: Provides quick reference for basic operation.
- Heat Setting Dial: Adjusts the heating time (levels 1-8) based on bag thickness.
- LED Indicator: Illuminates during the heating process and turns off when sealing is complete.
- Power Cord: Connects the device to an electrical outlet.

Image 4.2: Detailed view of the operating instructions label and the heat setting dial.

Image 4.3: Close-up of the heat setting dial, showing levels from 1 to 8.
5. Setup
- Unpack: Carefully remove the heat sealer and all accessories from the packaging. Inspect for any damage.
- Placement: Place the sealer on a stable, flat, and heat-resistant surface. Ensure there is adequate space around the device for safe operation.
- Power Connection: Insert the power cord into the designated socket on the sealer, then plug the other end into a standard 110V US electrical outlet. The sealer does not require warm-up time.
6. Operating Instructions
Follow these steps for effective sealing:
- Adjust Heat Setting: Rotate the heat setting dial (located on the side) to select the appropriate heating level (1-8) based on the thickness of the bag or film you are sealing. Thinner materials require lower settings, while thicker materials require higher settings. Start with a lower setting and increase if necessary to achieve a good seal.
- Position Bag: Place the open end of the bag onto the sealing bar, ensuring it is flat and centered.
- Press Handle: Firmly press down the handle. The LED indicator light will illuminate, indicating that the heating element is active.
- Wait for LED: Hold the handle down until the LED indicator light turns off. This signifies that the heating cycle is complete.
- Cooling Time: After the LED turns off, continue to hold the handle down for an additional 1-2 seconds to allow the seal to cool and set properly. This helps prevent deformation and ensures a strong, clean seal.
- Release Handle: Release the handle and remove the sealed bag.

Image 6.1: Demonstrating the quick and easy sealing process for a bag of chips.

Image 6.2: A hand pressing the handle to initiate the sealing process.

Image 6.3: The sealer shown with various types of bags sealed, highlighting its versatility.
7. Maintenance
Proper maintenance ensures the longevity and optimal performance of your heat sealer.
- Cleaning: Always unplug the sealer before cleaning. Use a dry, soft cloth to wipe down the exterior. For the sealing bar, gently wipe away any residue when the device is cool. Do not use abrasive cleaners or solvents.
- Replacing Heating Element and Anti-Scald Cloth: Over time, the heating element wire or the anti-scald cloth may wear out. The package includes replacements. To replace:
- Ensure the sealer is unplugged and completely cool.
- Carefully remove the old anti-scald cloth and heating element.
- Install the new heating element wire, ensuring it is taut and correctly positioned.
- Place the new anti-scald cloth over the heating element, ensuring it covers the wire completely.
8. Troubleshooting
If you encounter issues with your heat sealer, refer to the following common problems and solutions:
| Problem | Possible Cause | Solution |
|---|---|---|
| No seal or weak seal | Heat setting too low; insufficient pressure; worn heating element/anti-scald cloth. | Increase heat setting; apply firm, even pressure; replace heating element/anti-scald cloth. |
| Bag melts or burns | Heat setting too high; holding handle down for too long. | Decrease heat setting; release handle immediately after LED turns off, then hold for 1-2 seconds for cooling. |
| Uneven seal | Bag not flat on sealing bar; uneven pressure; damaged anti-scald cloth. | Ensure bag is flat; apply even pressure across the handle; inspect and replace anti-scald cloth if damaged. |
| LED indicator does not light up | Not plugged in; power outage; faulty unit. | Check power connection; verify power outlet; contact customer support if problem persists. |
9. Specifications
Detailed technical specifications for the NDNCZDHC PFS-200 Impulse Heat Sealer:
| Feature | Specification |
|---|---|
| Model | PFS-200 |
| Housing Material | Iron |
| Impulse Power | 300W |
| Heating Time | 0.2-1.5 seconds |
| Temperature Adjustment | 8 Levels |
| Sealing Length | 200mm (8 inches) |
| Sealing Width | 2mm (0.1 inches) |
| Sealing Thickness | 0.1-0.4mm |
| Product Dimensions (L x W x H) | Approx. 32 x 8 x 15 cm (12.6 x 3.15 x 5.9 inches) |
| Item Weight | 1.64 Kilograms |
| Power Source | Corded Electric (US Plug 110V) |
| Operation Mode | Manual |

Image 9.1: Product dimensions of the PFS-200 Impulse Heat Sealer.
10. Warranty and Support
For warranty information, technical support, or assistance with your NDNCZDHC PFS-200 Impulse Heat Sealer, please contact the retailer or manufacturer directly. Refer to your purchase documentation for specific contact details.
Please have your product model (PFS-200) and purchase date available when contacting support.