
1. Introduction
This manual provides comprehensive instructions for the VINABTY RAV574 VDM8690 Replacement Remote Control. This remote is designed as a direct replacement for various Yamaha AV Receiver models, ensuring seamless operation without complex setup.
Package Contents:
- 1 x VINABTY RAV574 VDM8690 Replacement Remote Control
Compatible Models:
This remote control is compatible with the following Yamaha AV Receiver models:
- VDM86900
- VDM8690
- RAV574
- RTVDM86900ZA (ZONE A)
- RTVDM86900ZB (ZONE B)
- RXV4A
- RX-V4A
- RX V4A
- YHT5960U
- YHT 5960U
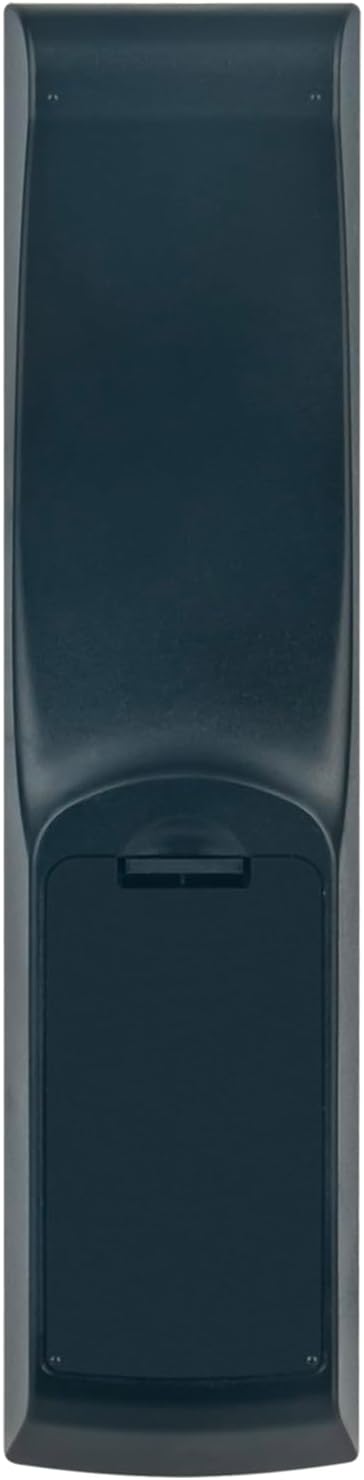
Image 1.1: Front view of the VINABTY RAV574 VDM8690 Replacement Remote Control. This image displays the ergonomic design and button layout of the remote control.
2. Setup
The VINABTY RAV574 VDM8690 remote control requires no complex programming. Simply install the batteries, and it will be ready for use with your compatible Yamaha AV Receiver.
2.1 Battery Installation
- Locate the battery compartment cover on the back of the remote control.
- Slide the cover downwards or press the latch (if present) to open the compartment.
- Insert two AAA batteries (not included), ensuring the positive (+) and negative (-) terminals align correctly with the indicators inside the compartment.
- Close the battery compartment cover by sliding it back into place until it clicks securely.
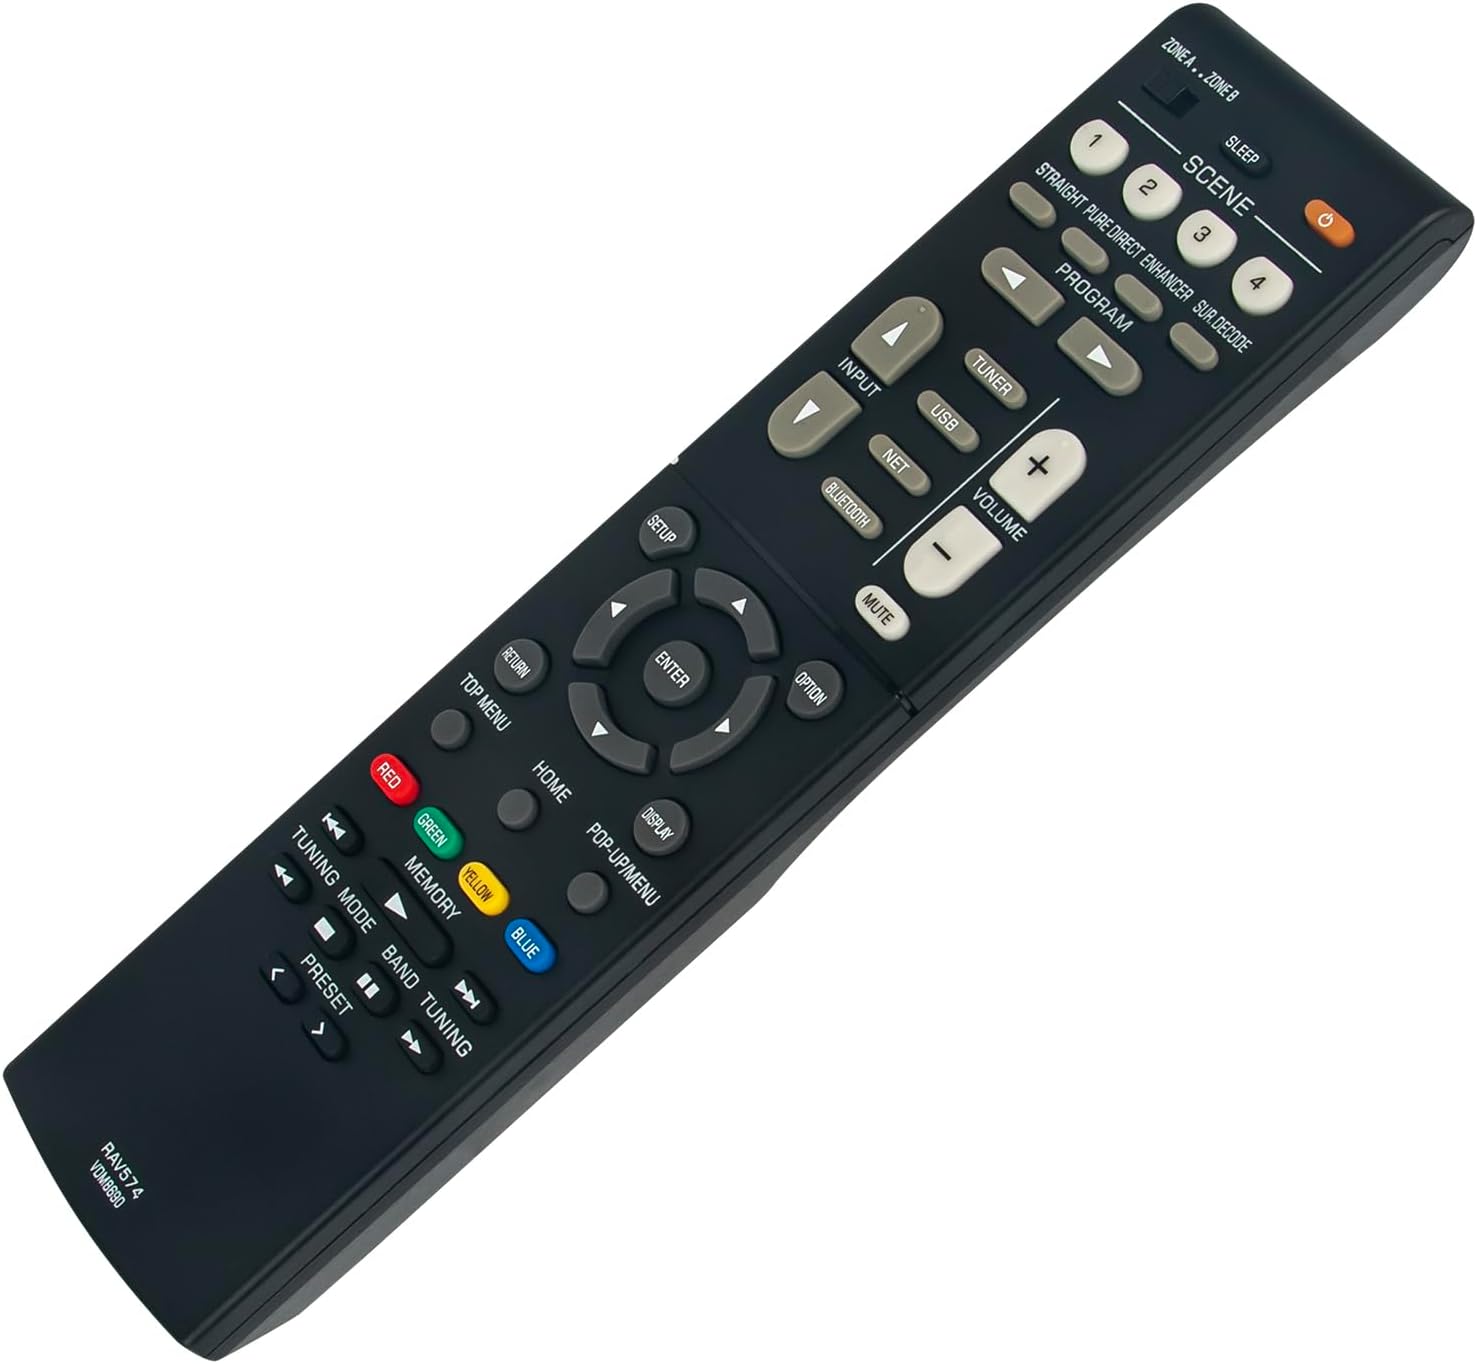
Image 2.1: Back view of the remote control with the battery compartment. This image illustrates the location of the battery cover for installation.
Once batteries are installed, the remote control is ready to operate your Yamaha AV Receiver.
3. Operating Instructions
This section details the functions of the buttons on your VINABTY RAV574 VDM8690 remote control. Refer to your Yamaha AV Receiver's manual for specific functions related to your model.
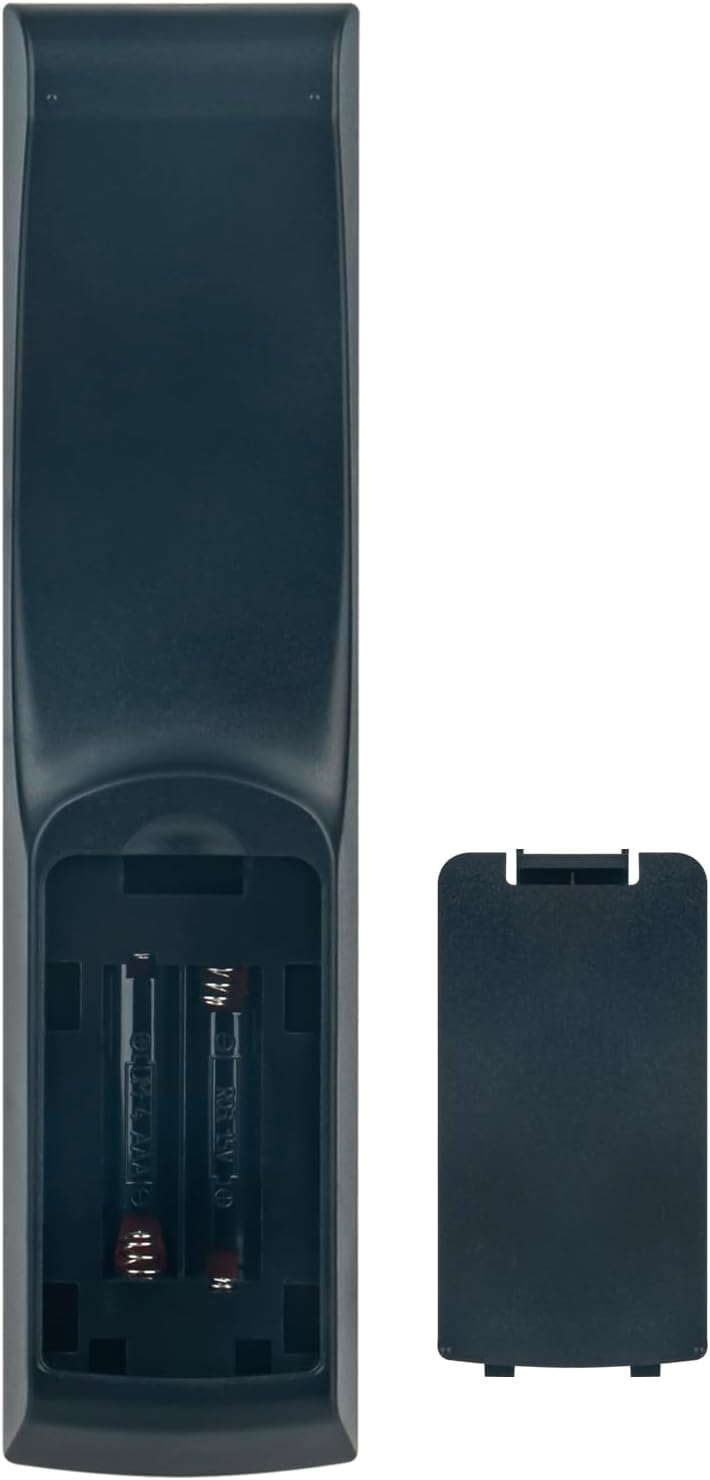
Image 3.1: Angled view of the remote control, showcasing the arrangement of various function buttons.
3.1 Basic Functions
- Power Button (●): Turns the AV Receiver on or off.
- Input: Selects the audio/video input source (e.g., HDMI 1, HDMI 2, AV).
- Volume (+/-): Adjusts the master volume level.
- Mute: Mutes or unmutes the audio output.
- Scene (1-4): Recalls preset scene settings for various listening environments.
- Program: Selects sound programs.
3.2 Source Selection Buttons
- Tuner: Selects the built-in radio tuner.
- USB: Selects the USB input for media playback.
- NET: Selects network-connected sources.
- Bluetooth: Activates Bluetooth input for wireless audio streaming.
3.3 Navigation and Menu Control
- Setup: Accesses the receiver's setup menu.
- Navigation Buttons (Up, Down, Left, Right): Navigates through menus and options.
- Enter: Confirms selections.
- Home: Returns to the main home screen or menu.
- Pop-up/Menu: Displays or dismisses on-screen menus.
- Display: Changes display information on the receiver or connected TV.
- Option: Accesses context-sensitive options.
- Return: Goes back to the previous screen or menu.
- Top Menu: Accesses the top-level menu of a disc or source.
3.4 Media and Tuning Controls
- Color Buttons (Red, Green, Yellow, Blue): Used for specific functions within menus or applications, as indicated on-screen.
- Memory: Stores or recalls settings.
- Tuning Mode: Switches between automatic and manual tuning modes for radio.
- Band: Selects radio bands (e.g., FM/AM).
- Tuning (<< / >>): Adjusts radio frequency or skips tracks.
- Preset (< / >): Selects preset radio stations.
The remote control operates using infrared (IR) technology. Ensure a clear line of sight between the remote and your AV Receiver for optimal performance. The maximum operating range is approximately 10 meters (33 feet).
4. Maintenance
4.1 Cleaning the Remote Control
To maintain the remote control's appearance and functionality, clean it regularly:
- Wipe the surface with a soft, dry cloth.
- For stubborn dirt, slightly dampen the cloth with water or a mild, non-abrasive cleaner.
- Do not use harsh chemicals, solvents, or abrasive cleaning pads, as these can damage the remote's finish or internal components.
4.2 Battery Replacement
Replace batteries when the remote control becomes unresponsive or its range decreases significantly. Refer to Section 2.1 for battery installation instructions. Always replace both batteries at the same time with new ones of the same type (AAA).
4.3 Storage
If the remote control will not be used for an extended period, remove the batteries to prevent leakage and potential damage to the device.
5. Troubleshooting
If you experience issues with your remote control, consult the following table for common problems and solutions:
| Problem | Possible Cause | Solution |
|---|---|---|
| Remote control is unresponsive. | Dead or incorrectly inserted batteries. | Replace batteries with new ones, ensuring correct polarity. |
| Remote control has short range or intermittent response. | Low batteries; Obstruction between remote and receiver; Remote sensor on receiver is blocked. | Replace batteries. Ensure a clear line of sight. Check if anything is blocking the IR sensor on your AV Receiver. |
| Specific buttons do not work. | Button malfunction; Receiver not in correct mode. | Ensure the receiver is powered on and in the correct input/mode. If the issue persists, the button may be faulty. |
6. Specifications
- Brand: VINABTY
- Model Number: RAV574 VDM8690
- Color: Black
- Connectivity Technology: Infrared (IR)
- Maximum Range: 10 Meters (approximately 33 feet)
- Number of Buttons: 40
- Supported Devices: Home Cinema (Yamaha AV Receivers)
- Special Feature: Ergonomic design
- Power Source: 2 x AAA Batteries (not included)
- Country of Origin: China
7. Support
For any further questions or assistance regarding your VINABTY RAV574 VDM8690 Replacement Remote Control, please contact our customer support. We aim to provide a satisfactory response within 24 hours.
Contact information is typically provided by the seller or manufacturer.