
1. Important Safety Instructions
Please read all instructions carefully before using the fan and retain this manual for future reference. Failure to follow these instructions may result in electric shock, fire, or serious personal injury.
- Ensure the power supply voltage matches the fan's requirements (CN Plug 220V). Use the provided adapter if necessary.
- Do not immerse the fan, cord, or plug in water or other liquids.
- Keep the fan away from children and pets.
- Do not insert fingers or any objects into the fan grille when it is operating.
- Unplug the fan from the power source before cleaning or performing any maintenance.
- Do not operate the fan with a damaged cord or plug. Contact customer support for repairs.
- Place the fan on a stable, level surface to prevent tipping.
- Avoid placing the fan near curtains or other objects that could be drawn into the fan blades.
- This fan is designed for both indoor and outdoor use. When used outdoors, ensure the solar panel is positioned for maximum sunlight exposure.
2. Product Overview
The Horoper 16in Solar Stand Fan is a versatile cooling solution designed for both household and outdoor use. It features a rechargeable lithium battery, solar charging capability, and oscillating functionality for wide area coverage.
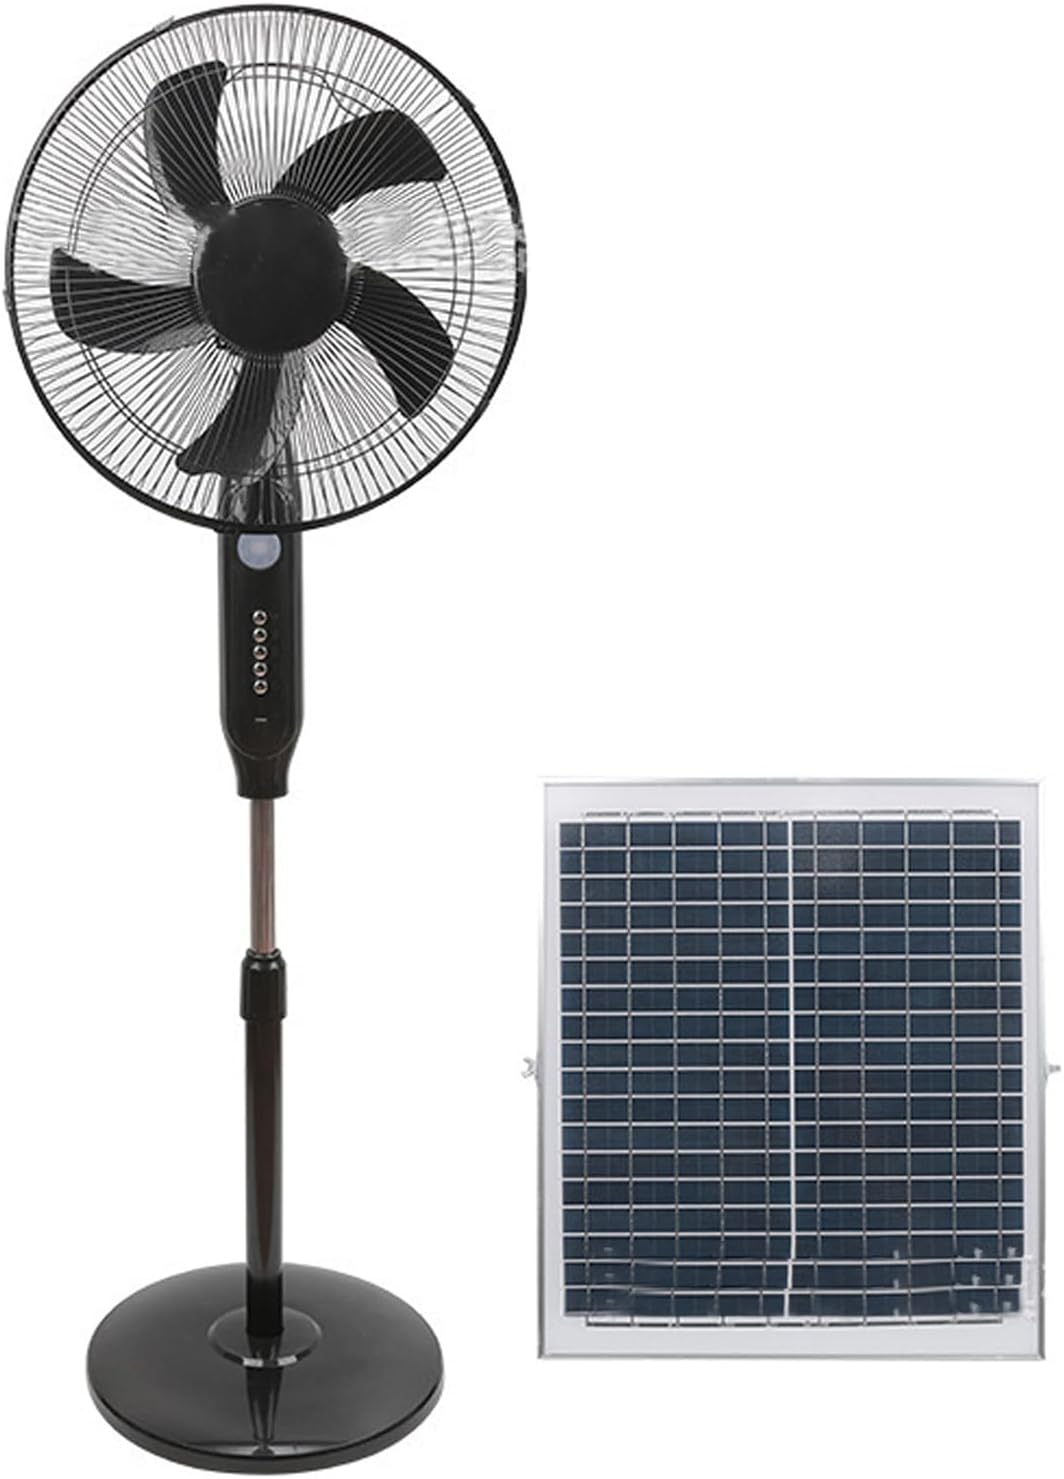
Image: The Horoper 16in Solar Stand Fan shown alongside its accompanying solar panel, illustrating the complete product package.
Key Features:
- Dual Power Source: Operates via solar power or direct charging.
- Rechargeable Battery: Built-in lithium battery provides extended operation, even during power outages.
- Oscillation: Automatic 90° oscillation for wide area cooling. Manual vertical tilt adjustment.
- Multi-function Buttons: Easy control over fan speeds and other features.
- Night Light: Integrated small night light for added convenience.
3. Package Contents
Carefully unpack all items and ensure you have received the following components:
- 1 x Electric Fan Unit (including base, stand, motor, and fan head)
- 1 x Solar Panel
- 1 x User Manual (this document)
- 1 x Power Adapter (CN Plug 220V)
- 1 x Plug Adapter (provided according to your country's standard)
If any items are missing or damaged, please contact customer support immediately.
4. Assembly and Setup
Follow these steps to assemble your Horoper Solar Stand Fan:
- Attach the Base: Securely attach the fan stand to the base. Ensure it is stable and tightened properly.
- Assemble the Fan Head:
- Remove the front grille and blade retaining nut from the motor shaft.
- Place the fan blade onto the motor shaft, aligning the notch on the blade with the pin on the shaft.
- Secure the blade with the blade retaining nut, turning it counter-clockwise to tighten.
- Attach the front grille to the rear grille, ensuring all clips are securely fastened.

Image: An exploded view showing the fan blade, retaining nut, and grilles separated from the motor housing, illustrating the assembly sequence for the fan head.
- Connect the Solar Panel: Connect the solar panel cable to the designated input port on the fan unit.
- Initial Charging: Before first use, fully charge the fan using the provided power adapter. Connect the adapter to a suitable power outlet (using the plug adapter if needed) and then to the fan's charging port. The charging indicator will illuminate.
- Placement: For optimal solar charging, place the solar panel in direct sunlight. Position the fan on a flat, stable surface.
5. Operating Instructions
Familiarize yourself with the control panel and its functions.
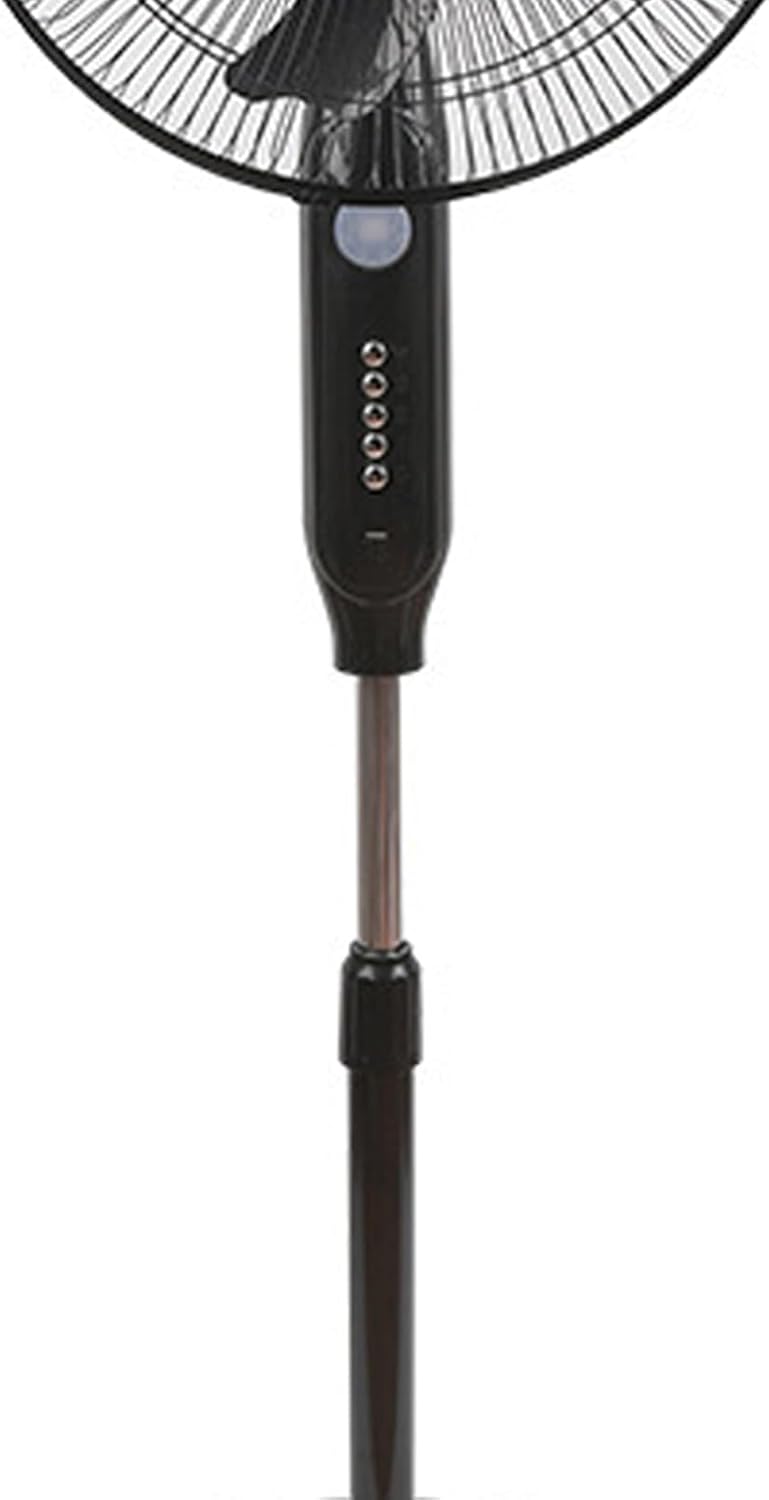
Image: A close-up view of the fan's control panel, showing multiple buttons for power, speed, oscillation, and light functions.
Power On/Off:
- Press the Power button (usually marked with an 'I' or power symbol) to turn the fan on or off.
Adjusting Fan Speed:
- Press the Speed button (often indicated by fan blade icons or 'Speed') repeatedly to cycle through available fan speeds (e.g., Low, Medium, High).
- The fan provides a refreshing breeze across a wide area.

Image: The fan operating, with a visual representation of airflow indicating its cooling effect.
Oscillation Function:
- Press the Oscillation button (often marked with an oscillating arrow symbol) to activate or deactivate the automatic 90° horizontal oscillation.
- To adjust the vertical angle, manually tilt the fan head up or down to your desired position.

Image: The fan head in motion, demonstrating its oscillation feature for broader air distribution.
Night Light:
- Press the Light button (if available, often marked with a light bulb symbol) to turn the small night light on or off.
6. Charging
The fan can be charged using two methods:
A. Solar Charging:
- Place the solar panel in direct sunlight. Ensure no shadows are cast on the panel for optimal charging efficiency.
- Connect the solar panel cable to the fan's solar input port.
- The fan will charge automatically when sufficient sunlight is available.
B. AC Adapter Charging:
- Connect the provided power adapter to a 220V AC power outlet (using the country-specific plug adapter if supplied).
- Plug the other end of the adapter into the fan's charging port.
- The charging indicator light will show the charging status.
The built-in lithium battery allows the fan to operate for an extended period after a full charge, providing cooling even during power outages.
7. Maintenance
Regular maintenance ensures optimal performance and longevity of your fan.
- Cleaning: Always unplug the fan before cleaning. Use a soft, damp cloth to wipe the exterior surfaces. Do not use abrasive cleaners or solvents.
- Grille Cleaning: Periodically remove the front grille (refer to assembly instructions in Section 4) to clean dust from the fan blades. Use a soft brush or vacuum cleaner.
- Storage: When not in use for extended periods, store the fan in a cool, dry place. Ensure the battery is partially charged before storage to maintain battery health.
- Solar Panel: Keep the solar panel clean from dust and debris to ensure efficient charging. Wipe with a soft, damp cloth.
8. Troubleshooting
If you encounter any issues with your fan, refer to the following common problems and solutions:
| Problem | Possible Cause | Solution |
|---|---|---|
| Fan does not turn on | No power supply; Battery depleted; Power button not pressed | Ensure fan is plugged in or solar panel is in direct sunlight. Charge the battery. Press the Power button firmly. |
| Weak airflow | Low speed setting; Dirty fan blades/grille; Obstruction | Increase fan speed. Clean fan blades and grilles. Remove any obstructions. |
| Oscillation not working | Oscillation function not activated | Press the Oscillation button to activate. |
| Solar charging not effective | Insufficient sunlight; Dirty solar panel; Panel not connected | Relocate solar panel to direct sunlight. Clean the solar panel surface. Ensure cable is securely connected. |
| Unusual noise | Loose parts; Obstruction in blades | Turn off and unplug the fan. Check for loose components or obstructions and remove them carefully. |
If the problem persists after trying these solutions, please contact Horoper customer support.
9. Specifications
Detailed specifications for the Horoper 16in Solar Stand Fan:
| Feature | Detail |
|---|---|
| Model | B0CB7RL9TB |
| Fan Size (W x H) | Approx. 45 x 120 cm (17.7 x 47.2 in) |
| Solar Panel Size (L x W) | Approx. 350 x 290 mm (13.78 x 11.42 in) |
| Material | Plastic |
| Battery Type | Lithium battery (built-in) |
| Power Input | CN Plug 220V (with country-specific adapter) / Solar Power |
| Oscillation Angle | Approx. 90° (automatic horizontal) |
| Item Weight | Approx. 5500 g (12.13 lbs) |
| Included Components | Cord, Solar Panel, User Manual, Adapter |
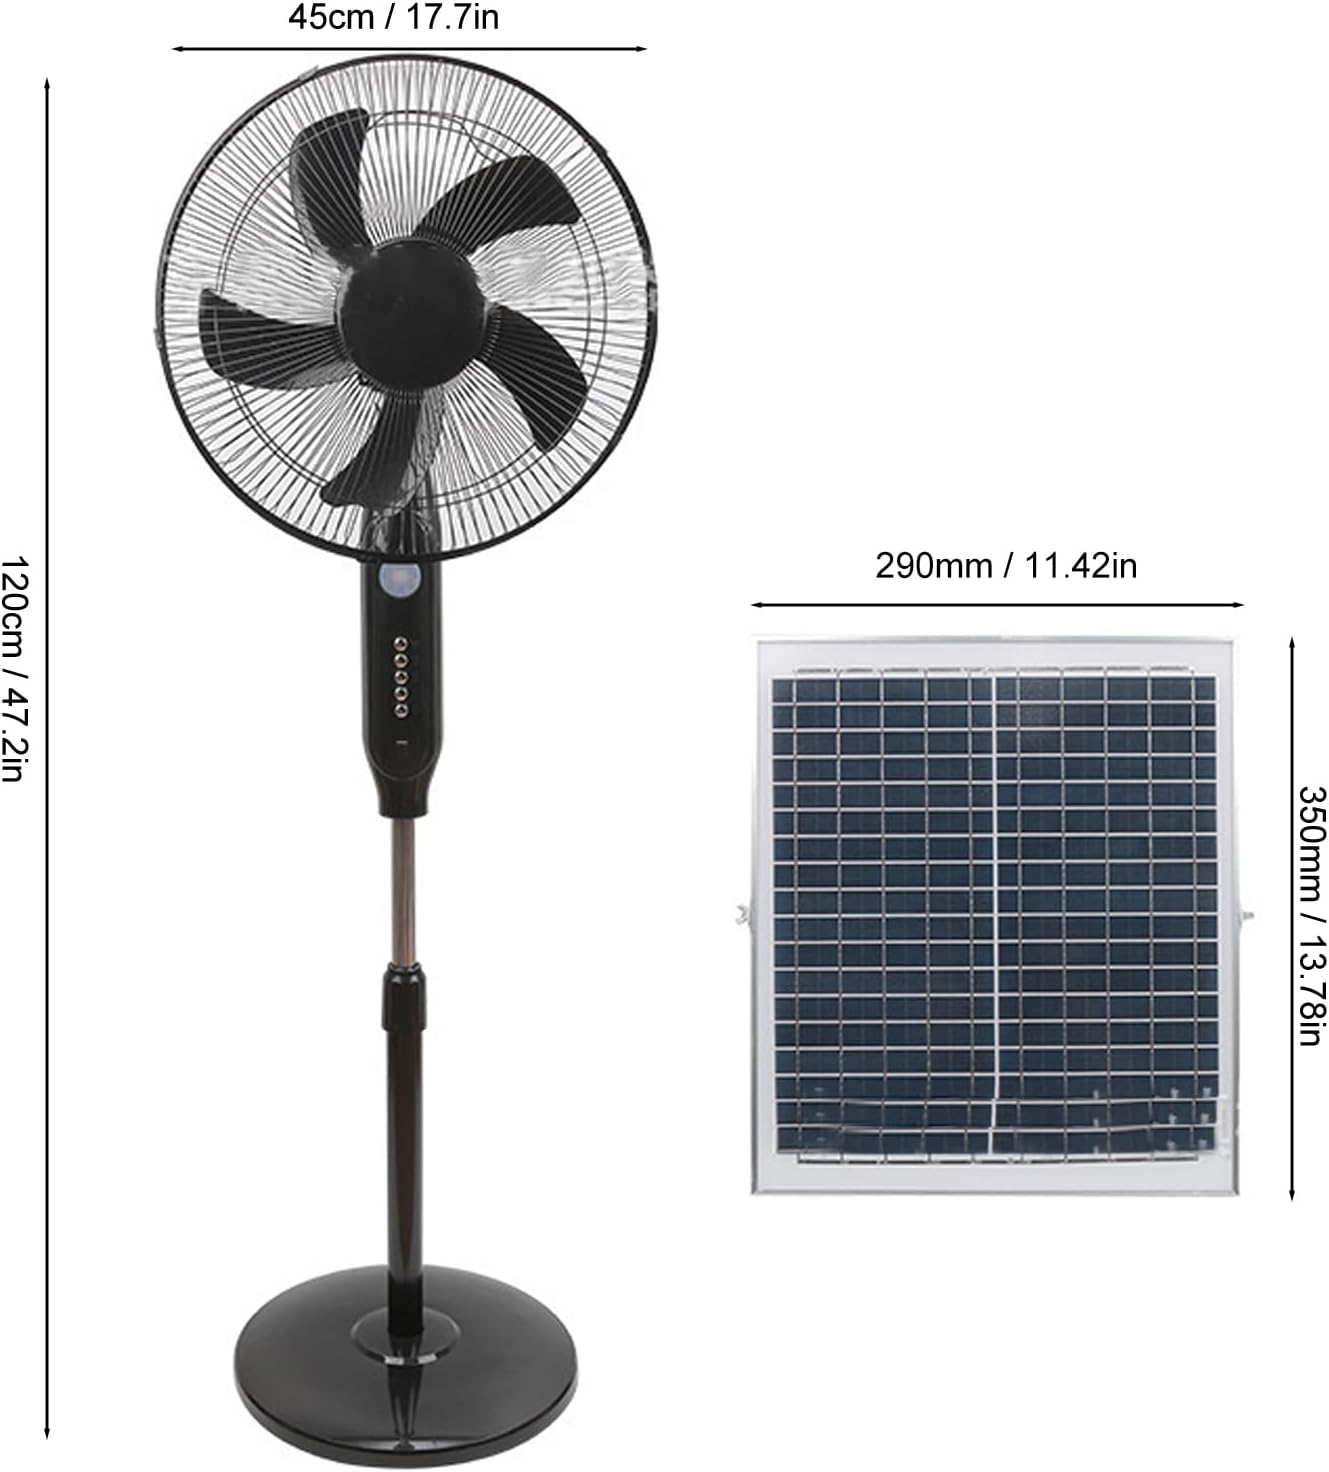
Image: Technical drawing showing the dimensions of the 16-inch stand fan (45cm width, 120cm height) and the solar panel (350mm x 290mm).
10. Warranty and Support
Horoper products are manufactured to high-quality standards. For warranty information or technical support, please refer to the warranty card included with your purchase or contact Horoper customer service directly.
Please have your model number (B0CB7RL9TB) and purchase date ready when contacting support.
For further assistance, visit the official Horoper store or contact your retailer.