1. Introduction
This manual provides detailed instructions for the installation, operation, and maintenance of your HEITIGN Motorcycle Tire Pressure Monitoring System (TPMS). This high-precision system is designed to enhance riding safety by continuously monitoring your motorcycle's tire pressure and temperature, as well as battery voltage. Please read this manual thoroughly before using the product to ensure proper function and longevity.
2. Product Features
- High-precision tire pressure display.
- Real-time monitoring of tire temperature.
- Battery voltage monitoring and power shortage reminder.
- Integrated QC 3.0 fast charging output for mobile phones and cameras.
- Loud volume alarm sound warning for abnormal conditions.
- Stable signal reception over long distances.
- Support for multiple tire pressure units (e.g., BAR, PSI).
- Waterproof and dustproof design for all-weather use.
- Simple and convenient installation.
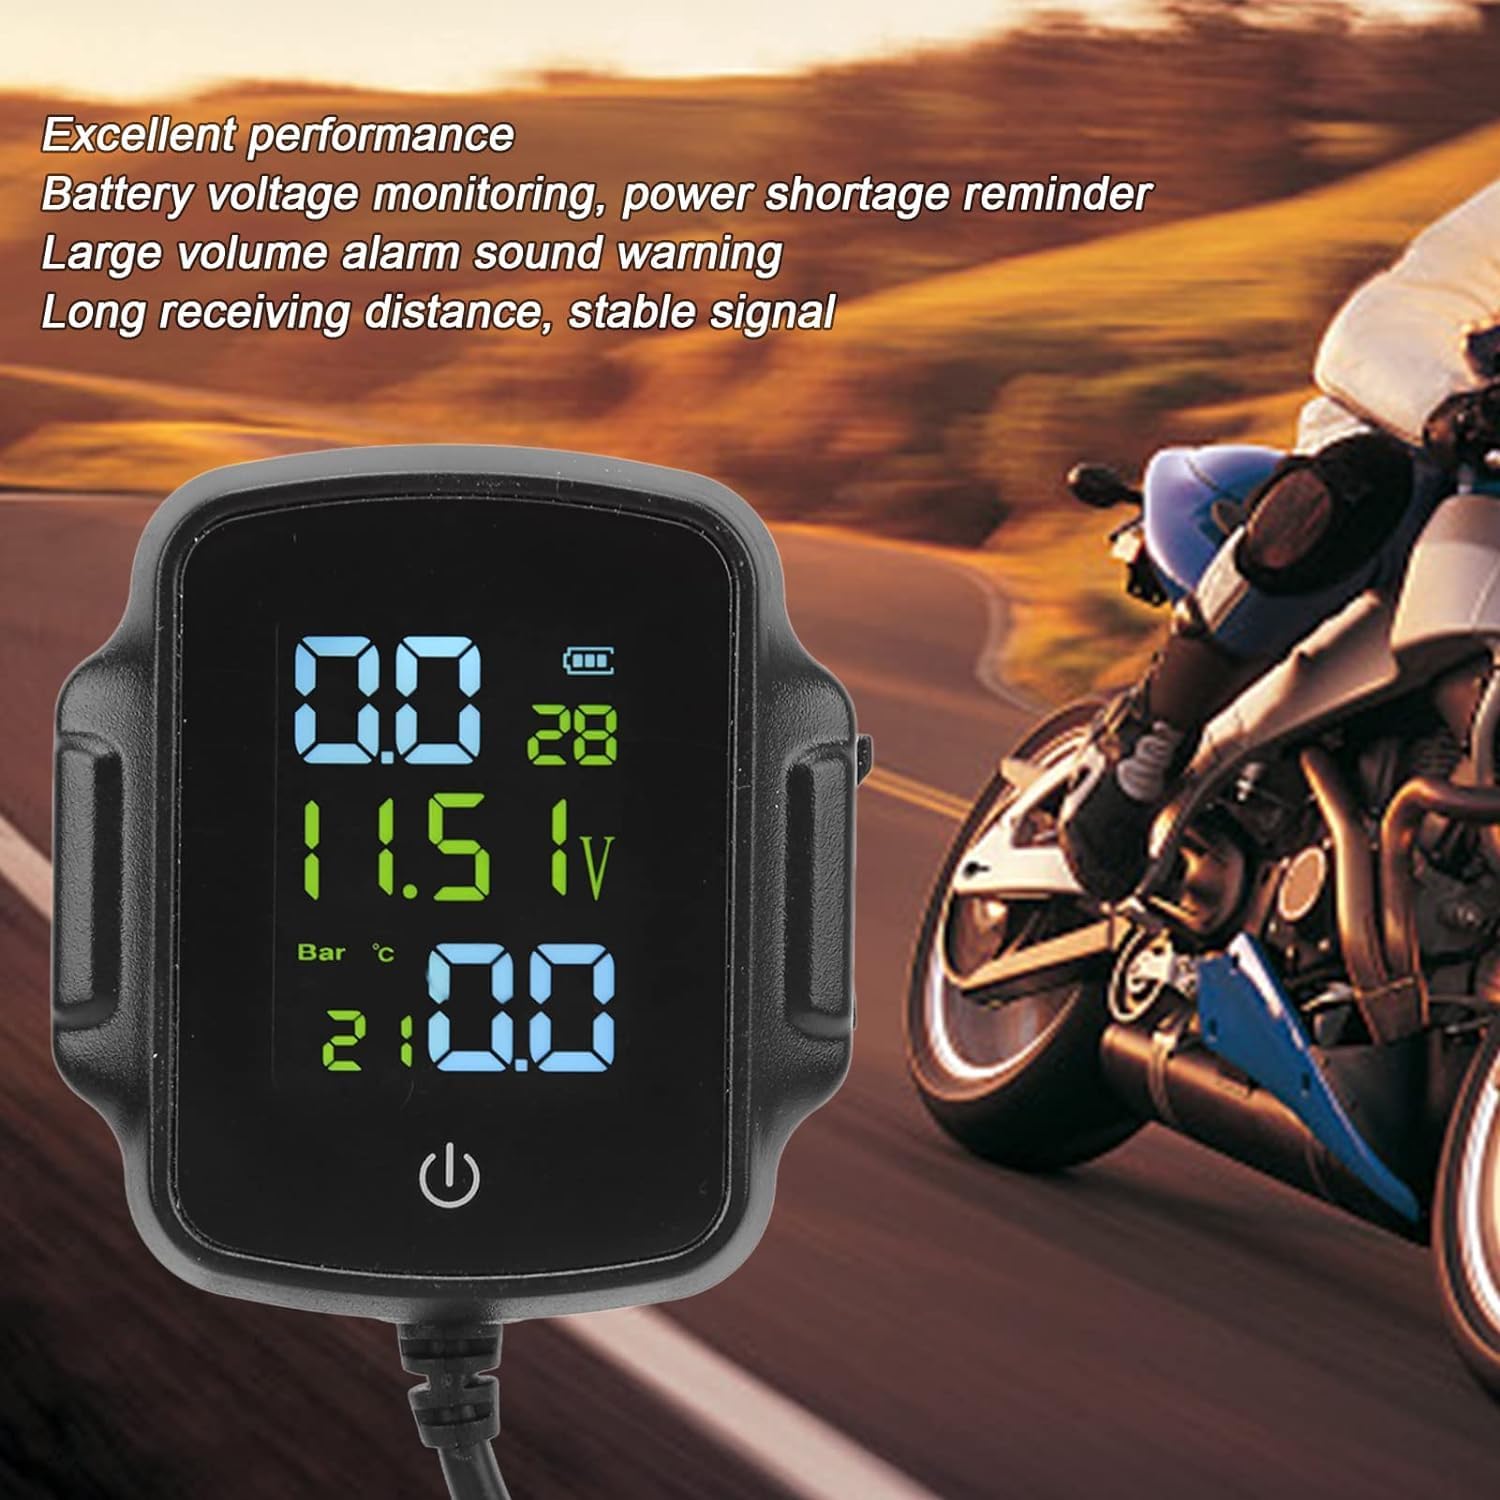
Image: The TPMS display unit highlighting its key performance features, including battery voltage monitoring, power shortage reminder, large volume alarm sound warning, and stable signal reception.
3. Package Contents
Please check the package contents upon unboxing. If any items are missing or damaged, contact customer support.
- 1x TPMS Display Unit
- 1x Mounting Bracket
- 2x External Tire Pressure Sensors (FW for Front Wheel, RW for Rear Wheel)
- 1x Sensor Wrench
- 2x Hex Nuts (for sensor security)
- Power Cable (for display unit)
- 2x CR1632 Button Batteries (pre-installed in sensors)

Image: A complete view of the TPMS kit, showing the display unit, mounting hardware, two external sensors labeled 'FW' and 'RW', a sensor wrench, and connection wires.
4. Specifications
| Parameter | Value |
|---|---|
| Model | HEITIGNoqruxve0sd |
| Storage Temperature | -30℃ ~ 85℃ (-22°F ~ 185°F) |
| Operating Temperature | -30℃ ~ 80℃ (-22°F ~ 176°F) |
| Electrical Voltage | 12V |
| Atmospheric Pressure Adjustment Range | 1.0 ~ 5.9 BAR |
| Sensor Battery Type | 2x CR1632 120mAh 3.0V Button Batteries (integrated) |
| Display Type | High-precision LCD |
| Weight | 200 g |
| Package Dimensions | 15.8 x 14.3 x 4.4 cm |
5. Setup and Installation
5.1 Mounting the Display Unit
- Attach the mounting bracket to a suitable location on your motorcycle's handlebars or dashboard, ensuring it does not obstruct your view or controls.
- Secure the bracket firmly using the provided screws or clamps.
- Slide the TPMS display unit onto the mounting bracket until it clicks into place. Adjust the viewing angle as needed.

Image: The TPMS display unit securely mounted on a motorcycle, demonstrating its position for optimal visibility during operation.
5.2 Installing External Sensors
The sensors are labeled "FW" for the front wheel and "RW" for the rear wheel. Ensure correct placement.
- Unscrew the original valve cap from your tire valve stem.
- Thread one of the provided hex nuts onto the valve stem.
- Screw the corresponding sensor (FW for front, RW for rear) onto the valve stem until it is hand-tight.
- Using the provided sensor wrench, tighten the hex nut against the sensor to secure it and prevent theft.
- Repeat for the other tire.
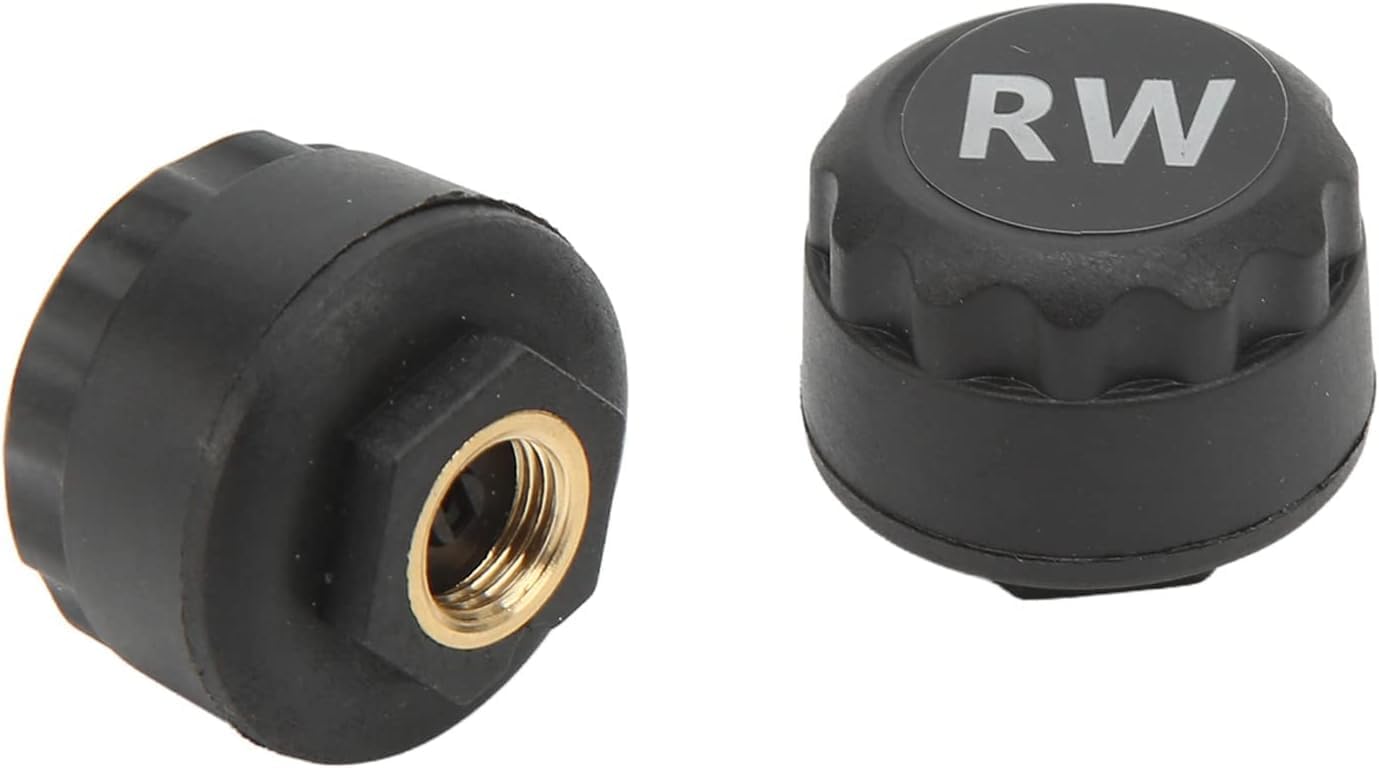
Image: The two external tire pressure sensors, clearly marked 'FW' for front wheel and 'RW' for rear wheel, indicating their respective placements.

Image: The specialized wrench and hex nuts included in the kit, used to securely fasten the external tire pressure sensors to the valve stems.
5.3 Wiring the Display Unit
- Connect the red wire from the display unit's power cable to your motorcycle's 12V positive power source (e.g., ignition switch, battery positive terminal).
- Connect the black wire to a suitable ground point on your motorcycle chassis or battery negative terminal.
- Ensure all connections are secure and insulated to prevent short circuits.
6. Operating Instructions
6.1 Powering On/Off
- The display unit will power on automatically when the motorcycle's ignition is turned on, provided it is correctly wired.
- To manually power on/off, press and hold the power button on the display unit.
6.2 Understanding Display Readings
The LCD screen displays real-time information:
- Tire Pressure: Shown for both front and rear tires (e.g., 2.5 BAR or 36 PSI).
- Tire Temperature: Shown for both front and rear tires (e.g., 25°C or 77°F).
- Battery Voltage: Displays the motorcycle's battery voltage (e.g., 12.5V).
- Battery Indicator: Shows the battery level of the display unit itself.
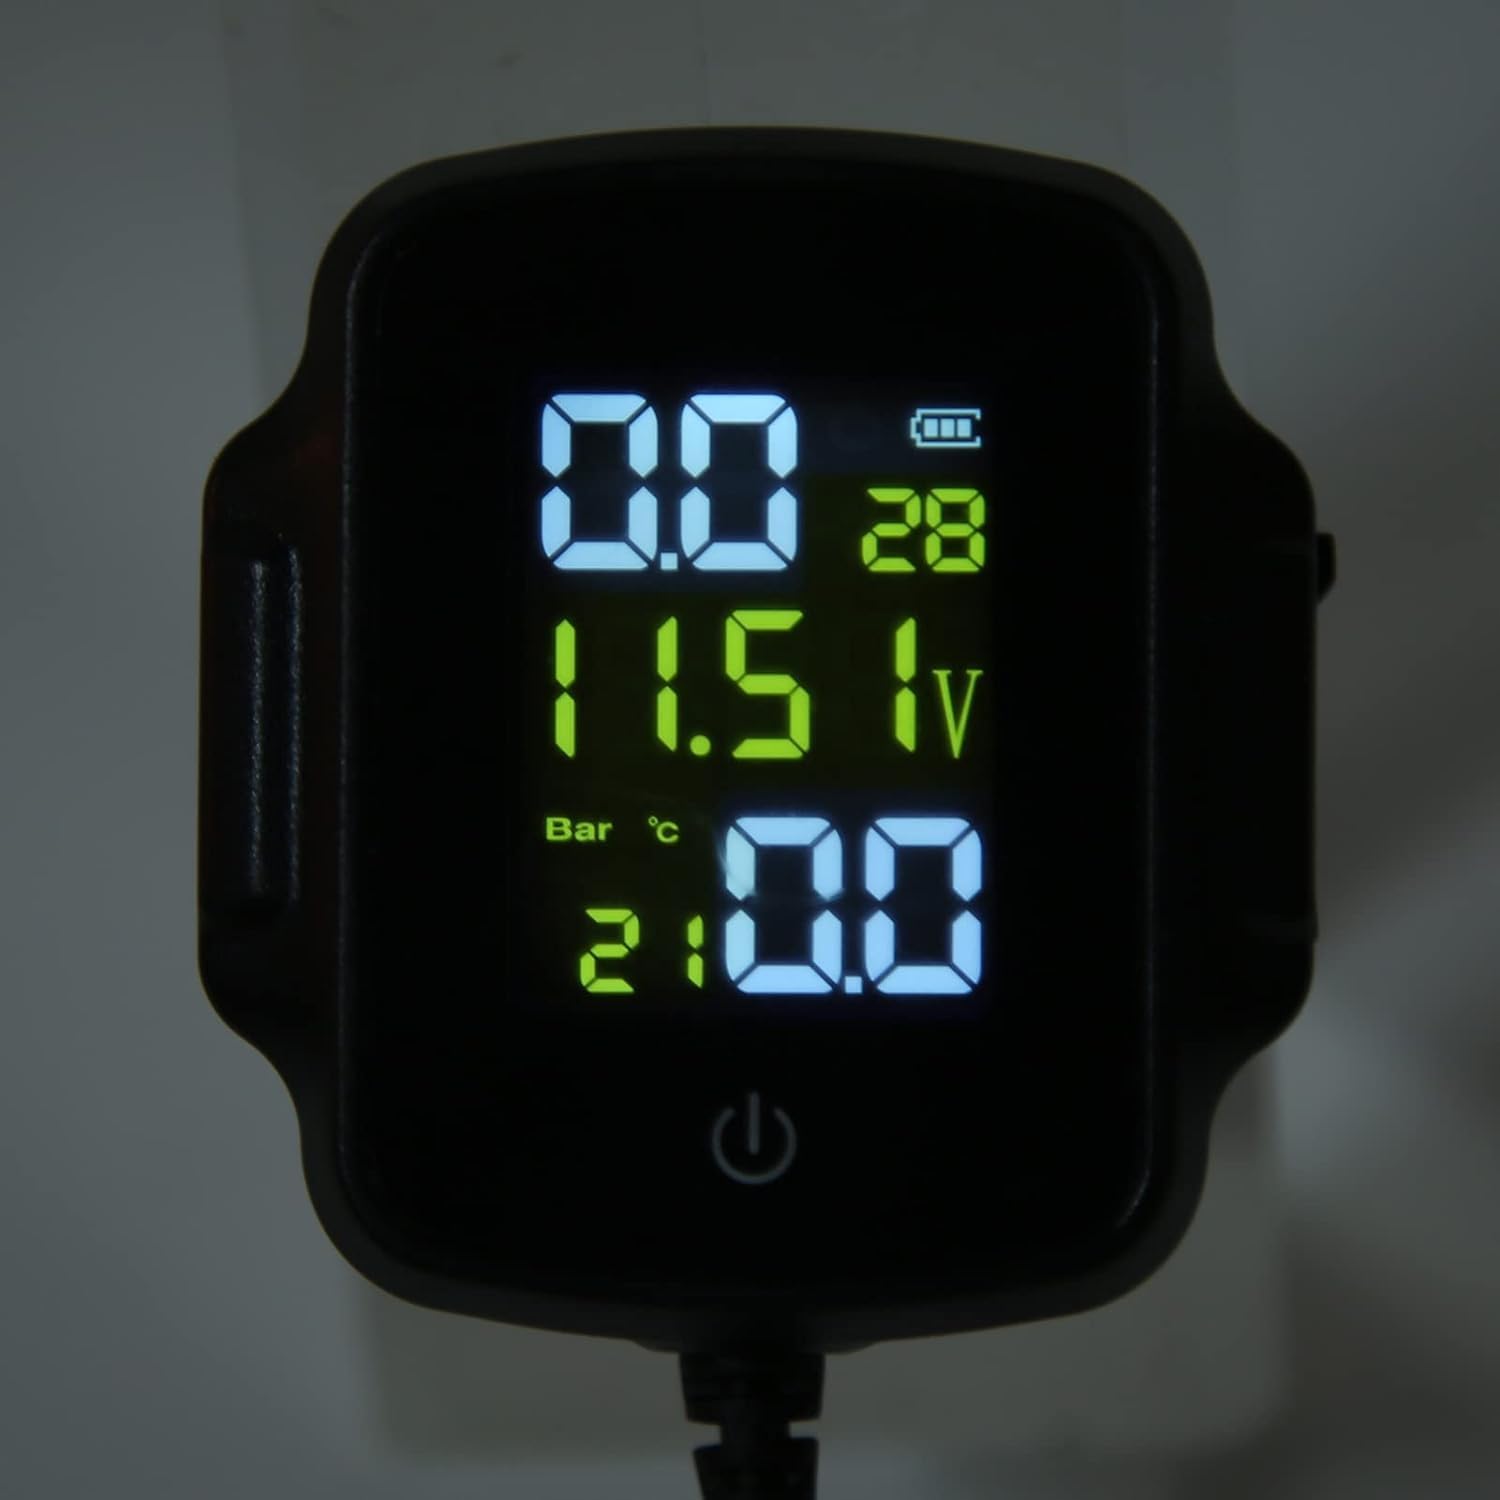
Image: A detailed view of the TPMS display, clearly showing the digital readouts for tire pressure (top), battery voltage (middle), and tire temperature (bottom), along with a battery level indicator.
6.3 Alarm Functions
The system will emit a loud audible alarm and display a visual warning under the following conditions:
- High/Low Tire Pressure: If pressure exceeds or falls below preset thresholds.
- High Tire Temperature: If temperature exceeds a safe limit.
- Sensor Battery Low: Indicates that a sensor battery needs replacement.
- Signal Loss: If communication with a sensor is lost.
6.4 QC 3.0 Charging Port
The display unit features a QC 3.0 fast charging port, typically located on the side. This allows you to charge compatible devices such as smartphones or cameras while riding.
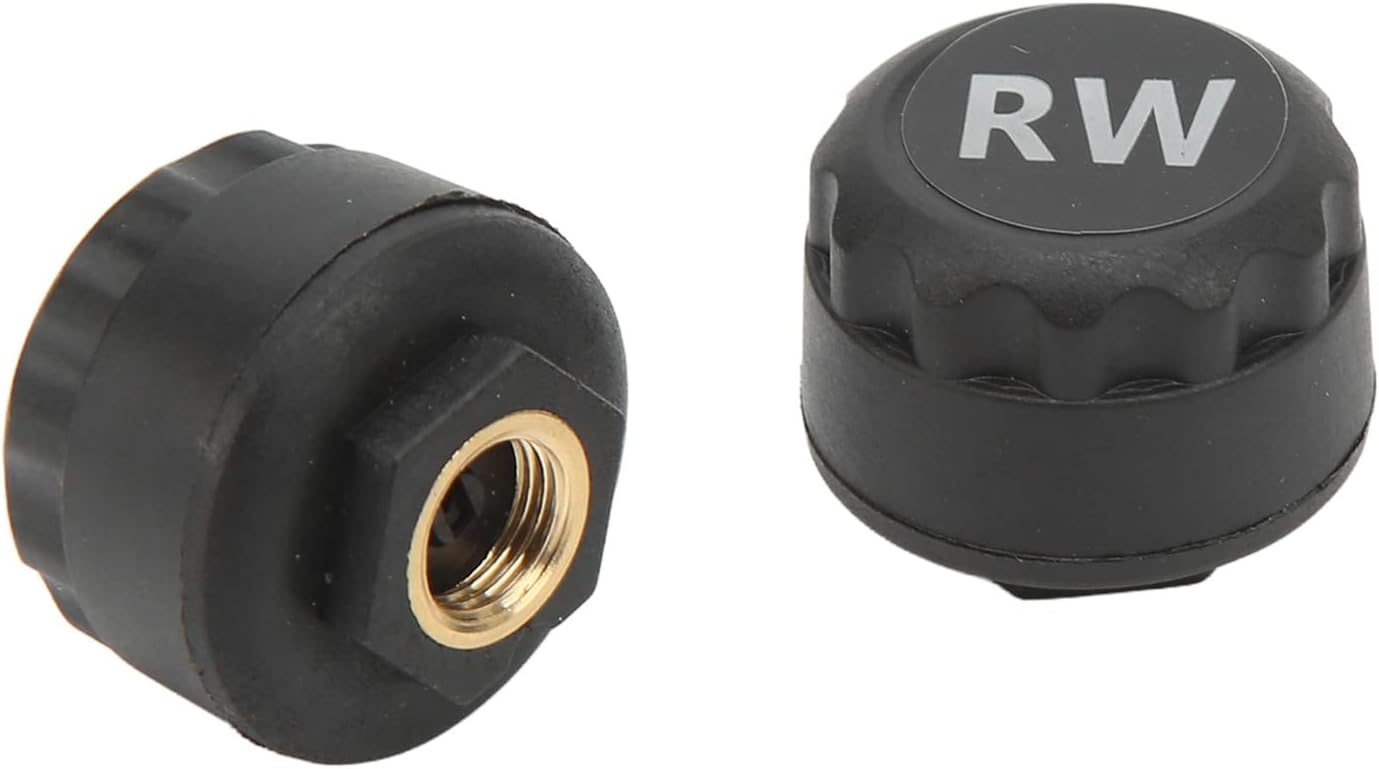
Image: A side profile of the TPMS display unit, highlighting the integrated QC 3.0 fast charging port, which can be used to power external devices.
6.5 Unit Selection
Refer to the display unit's specific button functions (usually a 'SET' or 'M' button) to cycle through and select desired units for pressure (BAR/PSI) and temperature (°C/°F). Consult the quick start guide included with your product for exact button sequences.
7. Maintenance
7.1 Sensor Battery Replacement
The external sensors use CR1632 button batteries. When the display indicates a low sensor battery, replace it as follows:
- Unscrew the sensor from the tire valve stem.
- Carefully open the sensor casing (usually by twisting or prying gently).
- Remove the old CR1632 battery and insert a new one, ensuring correct polarity.
- Close the sensor casing securely and re-install it on the tire valve stem.
7.2 Cleaning
Wipe the display unit and sensors with a soft, damp cloth. Do not use abrasive cleaners or solvents. Ensure the charging port cover is closed when not in use to maintain water resistance.
7.3 Connection Checks
Periodically check all wiring connections to the motorcycle's power source to ensure they remain secure and free from corrosion.
8. Troubleshooting
| Problem | Possible Cause | Solution |
|---|---|---|
| Display not turning on. | No power connection; Blown fuse; Loose wiring. | Check power wiring and connections; Inspect motorcycle fuse box; Ensure power button is pressed. |
| No tire pressure reading. | Sensor not installed correctly; Sensor battery low/dead; Signal interference. | Re-install sensor securely; Replace sensor battery; Move away from strong electromagnetic fields. |
| Inaccurate readings. | Sensor not calibrated; Extreme temperature changes. | Ensure tires are at ambient temperature before initial setup; Check tire pressure with a reliable gauge and compare. |
| Alarm sounds frequently. | Tire pressure/temperature outside set limits; Alarm thresholds set too narrow. | Check and adjust tire pressure/temperature; Adjust alarm thresholds in settings (refer to quick start guide). |
9. Warranty and Support
For warranty information and technical support, please refer to the documentation provided with your purchase or contact the seller directly. Keep your purchase receipt as proof of purchase.