1. Introduction
The Jadeshay GTS8-W WiFi Smart Timer Switch is designed to provide intelligent control over electrical loads in your home or office. This device allows you to remotely manage and schedule the on/off status of connected appliances via a mobile application, offering convenience and energy efficiency. It is compatible with a 35mm DIN rail for easy integration into existing electrical panels.
This manual provides essential information for the safe installation, setup, and operation of your GTS8-W Smart Timer Switch. Please read it thoroughly before use.
2. Safety Information
WARNING: Electrical installation should only be performed by qualified personnel. Incorrect installation can lead to electric shock, fire, or other serious hazards. Always disconnect power at the main circuit breaker before performing any electrical work.
- Ensure the device is installed in a dry environment, away from moisture and direct sunlight.
- Do not exceed the rated current and voltage specifications of the device.
- Verify all wiring connections are secure and correct before restoring power.
- This product does not have an isolation function. Always disconnect the upstream circuit breaker during maintenance.
3. Product Overview
The Jadeshay GTS8-W is a smart timer switch designed for DIN rail mounting. It features both manual control and remote control via a mobile application, allowing for flexible management of connected devices.
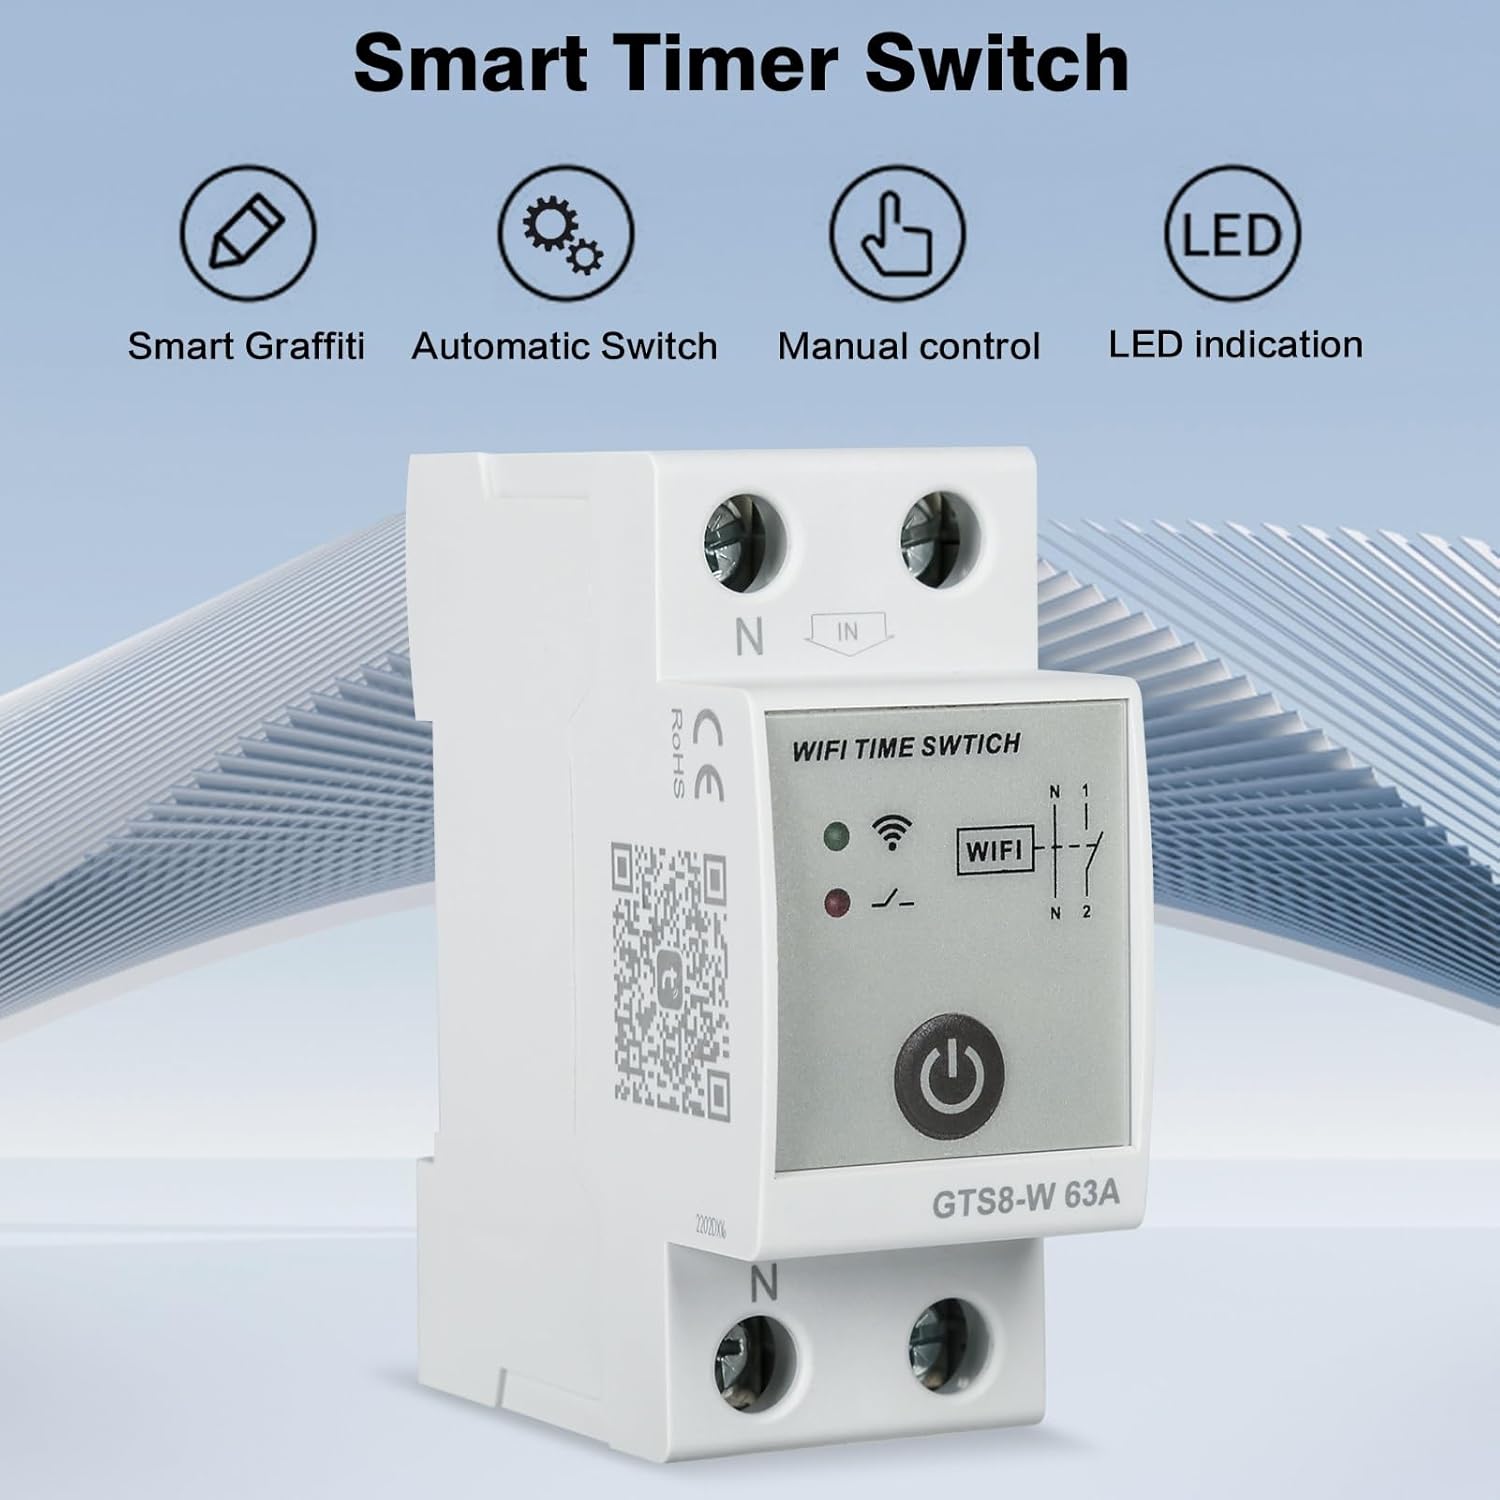
Image 3.1: Overview of the Smart Timer Switch highlighting its capabilities.
Key Features:
- Remote Control: Manage connected loads from anywhere using the mobile app.
- Timing Function: Set regular schedules for turning devices on and off.
- Manual Operation: Physical button for direct control on the device.
- Status Indicators: LED indicators for WiFi signal and switch status.
- DIN Rail Mounting: Easy installation in standard electrical panels.

Image 3.2: Front view of the GTS8-W-2P with labeled components.
Component Identification:
- N (Neutral) / L (Live) Terminals: For input and output wiring.
- WiFi Signal Indicator: Shows the status of the WiFi connection.
- Switch Light: Indicates the on/off status of the load.
- Open/Close Button: Manual control for turning the switch on or off.
4. Specifications

Image 4.1: Detailed dimensions and key specifications of the GTS8-W.
| Parameter | Value |
|---|---|
| Product Name | GTS8-W |
| Material | PC + Copper |
| Number of Poles | 2P |
| Rated Voltage | AC 220V |
| Rated Frequency | 50/60Hz |
| Rated Current | 63A |
| Power Consumption | AC max 3VA |
| Wi-Fi Connection | 2.4G 802.11 B/G/H |
| Working Environment Temperature | -20°C to +55°C |
| Installation Method | 35mm DIN Rail |
| Dimensions (approx.) | 81mm (H) x 35mm (W) x 65mm (D) |
| Item Weight | 180g |
| Operating Mode | ON-OFF |
| Contact Type | Normally Open |
| Connector Type | Terminal Clamp |
| Switch Type | TRIAC |
| Terminal | Screw |
| Circuit Type | 2-way |
5. Setup
5.1 Electrical Installation
The GTS8-W Smart Timer Switch is designed for installation on a 35mm DIN rail within an electrical panel. Follow these steps for proper wiring:
- Disconnect Power: Before starting any wiring, ensure the main power supply to the circuit is completely disconnected at the circuit breaker.
- Mount the Device: Snap the GTS8-W onto a 35mm DIN rail in your electrical panel.
- Wire the Input: Connect the incoming Neutral (N) and Live (L) wires from your power source to the corresponding 'N' and 'IN' terminals on the top of the GTS8-W.
- Wire the Output: Connect the load's Neutral (N) and Live (L) wires to the corresponding 'N' and 'L' terminals on the bottom of the GTS8-W.
- Secure Connections: Ensure all screw terminals are tightened securely to prevent loose connections.
- Restore Power: Once all connections are verified, restore power to the circuit.

Image 5.1: Wiring diagram showing connections to a circuit breaker and load.
Note: This product does not provide isolation. Always ensure the upstream circuit breaker is off during maintenance or wiring adjustments.
5.2 App Installation
To control the GTS8-W remotely, you need to install the Tuya Smart app on your mobile phone.
- Scan QR Code: Use your phone's camera to scan the QR code provided on the device or in the manual to download the Tuya Smart app.
- Search App Store: Alternatively, search for "Tuya Smart" in your device's app store (Google Play Store for Android or Apple App Store for iOS) and install it.
- Create Account: Open the app and follow the on-screen instructions to create a new account or log in if you already have one.

Image 5.2: Side view of the device showing the QR code for Tuya Smart app download.
Download the Tuya Smart App: https://smartapp.tuya.com/tuyasmart
5.3 Device Pairing (Connect to WiFi)
After installing the app, connect your GTS8-W to your home WiFi network:
- Prepare for Pairing: When first powered on, the WiFi indicator light on the device will be off. Press and hold the power button on the device for approximately 5 seconds. The WiFi indicator will start blinking rapidly, indicating it is in network distribution mode.
- Add Device in App: Ensure your mobile phone is connected to a 2.4GHz WiFi network. Open the Tuya Smart app, tap the "+" icon (or "Add Device"), and select the appropriate device type (e.g., "Circuit Breaker" or "Switch").
- Confirm Indicator: In the app, confirm that the WiFi indicator on the device is blinking rapidly.
- Enter WiFi Credentials: Enter your 2.4GHz WiFi network password in the app.
- Complete Pairing: The app will begin searching for and connecting to the device. Once successfully added, the WiFi indicator light on the device will become solid, and the device icon will appear in your app.

Image 5.3: Steps for app installation and network pairing.
6. Operating Instructions
6.1 Manual Control
The GTS8-W can be manually controlled using the physical button on the device:
- Press the Button: A short press of the power button will toggle the connected load on or off.
- Observe Indicator: The switch light indicator will change to reflect the current status (e.g., red for ON, off for OFF).
6.2 App Control and Timing
Once the device is paired with the Tuya Smart app, you can control it remotely and set up schedules:

Image 6.1: Mobile app interface demonstrating remote control functionality.
- Remote On/Off: From the app's main interface, tap the device icon to toggle the power on or off. The app will display the current status.
- Scheduling: Access the device settings within the app to create custom schedules. You can set specific times for the switch to turn on or off daily, weekly, or on custom days. This is useful for automating lighting, water heaters, or other appliances.
- Countdown Timer: Set a countdown for the device to turn on or off after a specified duration.
- Scene Automation: Integrate the GTS8-W into smart scenes with other Tuya-compatible devices for advanced automation (e.g., turn on lights when you arrive home).

Image 6.2: Examples of appliances that can be controlled with remote timing.
Common applications include controlling water heaters, water pumps, air conditioners, and TV sets, allowing for energy savings and enhanced convenience.
7. Maintenance
- Cleaning: Ensure the device is clean and free from dust. Use a dry, soft cloth for cleaning. Do not use liquid cleaners.
- Inspections: Periodically check the wiring connections for tightness and signs of wear or damage.
- Firmware Updates: Check the Tuya Smart app for any available firmware updates for your device to ensure optimal performance and security.
- Power Disconnection: Always disconnect power before performing any physical maintenance on the device.
8. Troubleshooting
| Problem | Possible Cause | Solution |
|---|---|---|
| Device not powering on. | No power supply; incorrect wiring; faulty device. | Check the main circuit breaker. Verify wiring connections. If issues persist, contact support. |
| WiFi indicator not blinking during pairing. | Not in pairing mode. | Press and hold the power button for 5 seconds until the WiFi indicator blinks rapidly. |
| Device fails to connect to WiFi. | Incorrect WiFi password; 5GHz WiFi network; device too far from router; network congestion. | Ensure correct 2.4GHz WiFi password. Move device closer to router. Reduce network interference. |
| Remote control not working. | No internet connection on phone or device; device offline. | Check phone's internet connection. Verify device's WiFi status in the app. Restart router and device. |
| Scheduled tasks not executing. | Incorrect schedule settings; device offline; time zone issues. | Review schedule settings in the app. Ensure device is online. Check app's time zone settings. |
9. Warranty and Support
For warranty information and technical support, please refer to the documentation included with your purchase or contact your retailer. Keep your purchase receipt as proof of purchase.
For further assistance, you may also visit the Jadeshay brand website or contact their customer service directly.