1. Introduction
Thank you for choosing the Occus 969A Electric Soldering Iron. This manual provides essential information for the safe and effective operation, maintenance, and troubleshooting of your new soldering station. Please read this manual thoroughly before use and retain it for future reference.
The Occus 969A is an anti-static, temperature-controlled soldering station designed for precision soldering tasks. Its adjustable and constant temperature features ensure reliable performance for various electronic applications.
2. Safety Information
Always observe the following safety precautions to prevent injury and damage to the equipment:
- Electrical Safety: Ensure the power supply matches the requirements specified on the unit. Do not operate the soldering iron with wet hands or in damp conditions.
- Heat Hazard: The soldering iron tip reaches very high temperatures. Avoid direct contact with the tip or heating element. Always use the provided stand when the iron is not in use.
- Fume Safety: Soldering produces fumes. Work in a well-ventilated area or use a fume extractor to avoid inhaling harmful fumes.
- Fire Prevention: Keep flammable materials away from the soldering area. Ensure the iron is completely cooled before storing.
- Anti-Static Precautions: This unit features anti-static design. When working with sensitive electronic components, ensure proper grounding practices are followed.
- Children and Pets: Keep the soldering station and all accessories out of reach of children and pets.
- Maintenance: Disconnect power before performing any maintenance or changing tips.
3. Package Contents
Please check the package for the following items:
- Occus 969A Soldering Station Control Unit
- Soldering Iron Handle with Tip
- Soldering Iron Stand
- Power Cord
- Instruction Manual (this document)
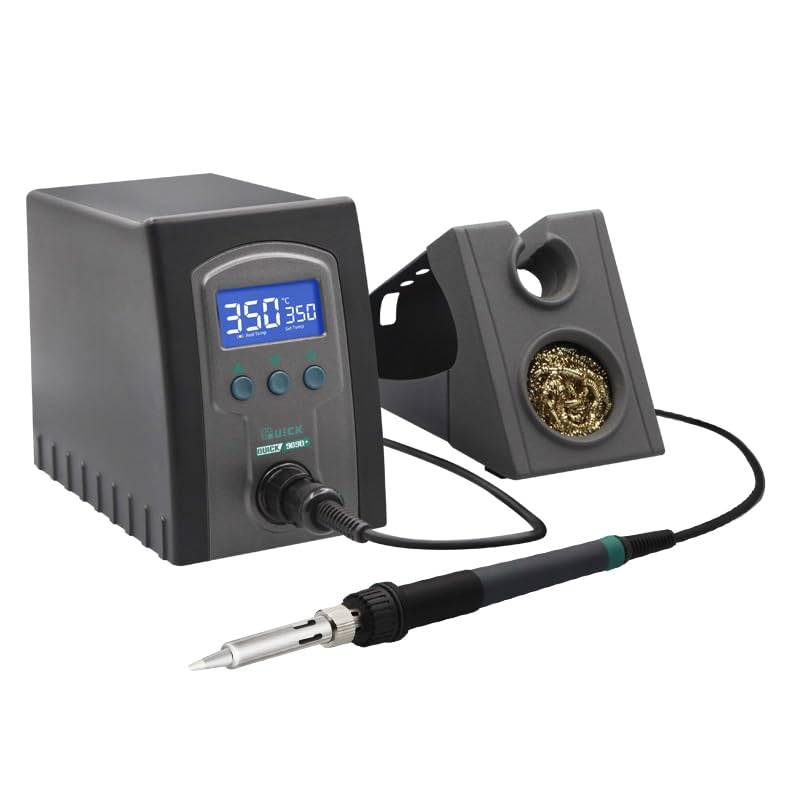
Image showing the main control unit of the Occus 969A Electric Soldering Iron, featuring a digital temperature display and control buttons.
4. Product Features
- Digital Temperature Control: Precise temperature adjustment and stable output.
- Anti-Static Design: Protects sensitive electronic components from electrostatic discharge.
- Rapid Heating: Quick heat-up time for efficient work.
- Constant Temperature Function: Maintains desired temperature during operation.
- Ergonomic Soldering Iron: Comfortable grip for extended use.
5. Setup
- Unpack: Carefully remove all components from the packaging.
- Placement: Place the soldering station on a stable, heat-resistant surface, away from flammable materials.
- Connect Soldering Iron: Connect the soldering iron handle cable to the designated port on the front of the control unit. Ensure a secure connection.
- Position Iron Stand: Place the soldering iron stand in a convenient and safe location near the station.
- Power Connection: Connect the power cord to the back of the control unit, then plug it into a suitable grounded electrical outlet.

Close-up view of the soldering iron handle and its replaceable tip, designed for precision work.
6. Operating Instructions
- Power On: Flip the power switch located on the front or side of the control unit to the "ON" position. The digital display will illuminate.
- Set Temperature: Use the temperature adjustment buttons (usually up/down arrows or a rotary knob) to set the desired soldering temperature. The display will show both the set temperature and the current tip temperature.
- Heat Up: Allow the soldering iron to heat up to the set temperature. This usually takes a short period, indicated by the current temperature reaching the set temperature.
- Tinning the Tip: Before first use and periodically during operation, tin the soldering iron tip by applying a small amount of solder to it. This helps prevent oxidation and improves heat transfer.
- Soldering: Place the hot tip against the joint to be soldered, ensuring it heats both the component lead and the pad simultaneously. Apply solder to the heated joint, not directly to the iron tip. Remove the solder, then remove the iron.
- Resting the Iron: Always place the soldering iron back into its stand when not actively soldering.
- Power Off: When finished, turn off the power switch and allow the iron to cool completely before storing.
A hand interacting with the control panel of the soldering station, demonstrating the adjustable temperature feature.

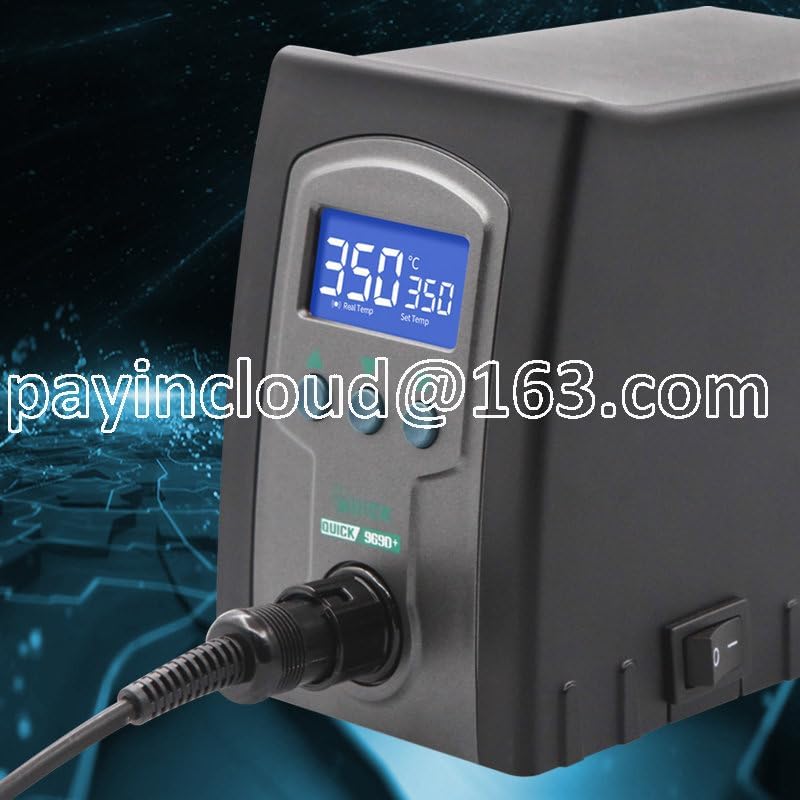
Another view of the Occus 969A soldering station, highlighting the clear digital display showing both real and set temperatures.
7. Maintenance
- Tip Cleaning: Regularly clean the soldering iron tip using a damp sponge or brass wool to remove excess solder and oxidation.
- Tip Tinning: Always tin the tip before and after each soldering session to prolong its life and maintain performance.
- Tip Replacement: If the tip becomes severely oxidized or damaged, replace it with a compatible Occus soldering tip. Ensure the unit is cool and unplugged before changing tips.
- Unit Cleaning: Wipe the control unit and iron handle with a soft, dry cloth. Do not use abrasive cleaners or solvents.
- Storage: Store the soldering station in a dry, dust-free environment once it has completely cooled down.
8. Troubleshooting
| Problem | Possible Cause | Solution |
|---|---|---|
| Iron not heating up. | Not plugged in; Power switch off; Faulty heating element. | Check power connection; Turn on power switch; Contact support if element is faulty. |
| Temperature unstable. | Loose iron connection; Damaged sensor; Incorrect temperature setting. | Ensure iron cable is securely connected; Verify temperature setting; Contact support. |
| Solder not melting properly. | Tip not tinned; Insufficient temperature; Oxidized tip. | Clean and tin the tip; Increase temperature setting; Replace tip if heavily oxidized. |
9. Specifications
| Feature | Detail |
|---|---|
| Model | 969A |
| Part Number | OCS-AA84ADA331787050DA551693272A2256 |
| Type | Electric Soldering Iron, Anti-Static, Temperature Control |
| Manufacturer | Generic |
| Color | 969a |
| ASIN | B0CB1VV381 |
| Date First Available | July 4 2023 |
10. Warranty and Support
This product is covered by a standard manufacturer's warranty. Please refer to the retailer's return policy for details regarding returns and exchanges. For technical support or inquiries about replacement parts, please contact your point of purchase or the manufacturer directly.
Keep your purchase receipt as proof of purchase for warranty claims.

