Introduction
This manual provides instructions for the setup, operation, and maintenance of your WallarGe Wireless Outdoor Temperature Remote Sensor, model CLTX001. This sensor is designed to transmit outdoor temperature data to compatible WallarGe weather stations, including models CL6006, CL6007, and CL7001.
Package Contents
- 1 x WallarGe Wireless Outdoor Temperature Remote Sensor (CLTX001)
- Note: Batteries are not included.
Product Overview
The WallarGe CLTX001 sensor is a compact unit designed for outdoor use. It features a battery compartment and a channel selection switch on the back.
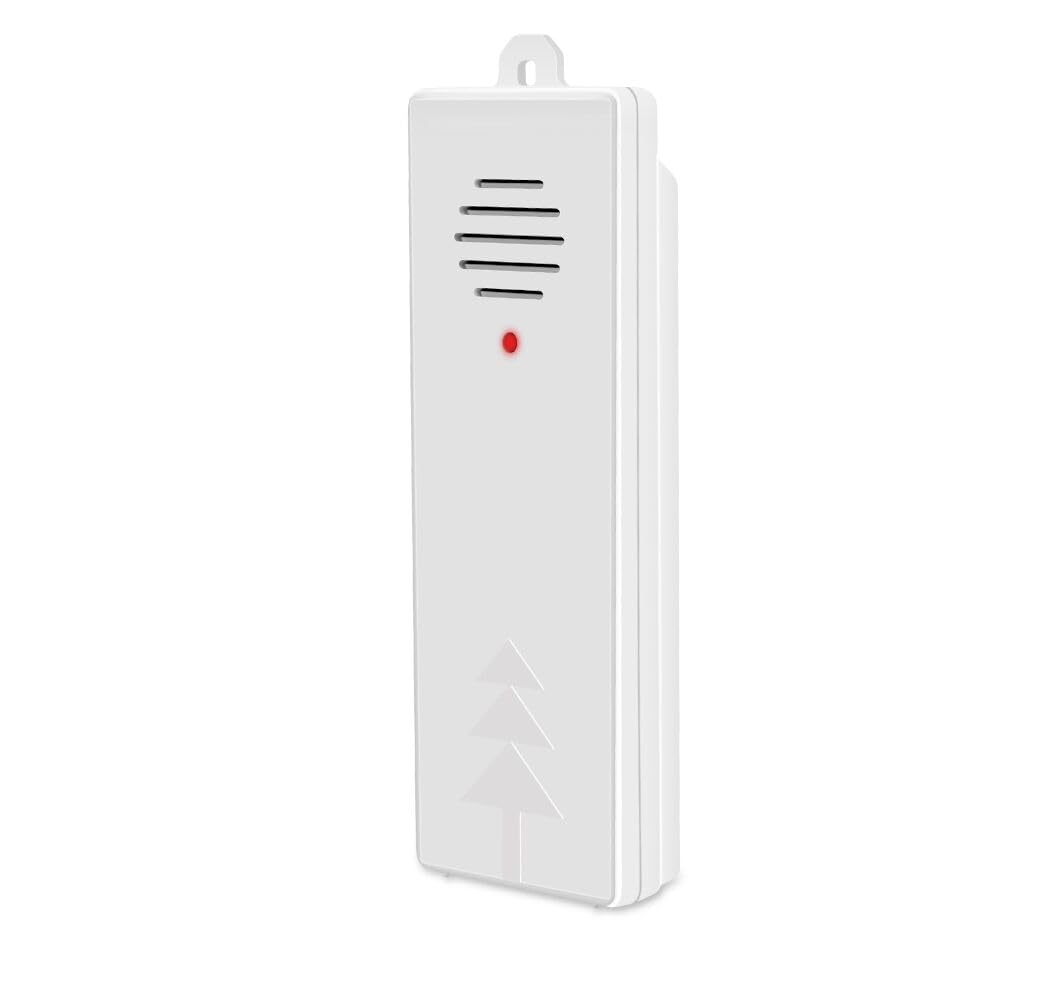
Image 1: Front view of the WallarGe Wireless Outdoor Temperature Remote Sensor CLTX001. This image shows the compact design of the sensor, typically white or light-colored, with a small indicator light or branding visible on the front surface.
Key Components:
- Battery Compartment: Located on the back, for power supply.
- Channel Switch (A/B/C): A small toggle switch on the back to select the transmission channel. This must match the channel selected on your main weather station unit.
- Mounting Hole: For wall mounting.
Setup
1. Battery Installation
- Open the battery compartment cover on the back of the sensor.
- Insert the required batteries (typically 2x AAA or AA alkaline batteries, not included) according to the polarity markings (+ and -).
- Close the battery compartment cover securely.
2. Channel Selection and Pairing
Important: For successful pairing, the channel switch on the remote sensor and your main weather station unit (CL6006, CL6007, or CL7001) must be set to the same letter (A, B, or C).
- Locate the A/B/C channel switch on the back of the remote sensor.
- Select a channel (e.g., 'A', 'B', or 'C') by sliding the switch.
- On your WallarGe weather station, ensure its corresponding channel switch is set to the exact same letter as the remote sensor. Refer to your weather station's manual for specific instructions on setting its channel.
- Once both devices are set to the same channel, the sensor will automatically attempt to pair with the weather station. This may take a few minutes. The weather station should display the outdoor temperature once paired.
- If pairing is unsuccessful, try changing both the sensor and the weather station to a different matching channel (e.g., both to 'C' if 'A' didn't work), then re-attempt pairing.
3. Sensor Placement
- Mount the sensor vertically in a shaded area to avoid direct sunlight, which can cause inaccurate temperature readings.
- Ensure the sensor is protected from direct rain and snow.
- Place the sensor within the effective transmission range of your main weather station (typically up to 100 feet/30 meters, though this can vary based on obstacles).
- Avoid placing the sensor near large metal objects, electrical appliances, or sources of radio interference.
Operating
Once successfully paired and placed, the WallarGe CLTX001 sensor will continuously transmit outdoor temperature data to your compatible WallarGe weather station. The weather station will then display this information.
- The sensor updates temperature readings periodically.
- Ensure the main weather station remains powered on and within range to receive data.
Maintenance
Battery Replacement
When the batteries are low, your weather station may indicate a low battery icon for the outdoor sensor, or the sensor may stop transmitting data. Replace batteries promptly to ensure continuous operation.
- Open the battery compartment.
- Remove the old batteries.
- Insert new batteries, ensuring correct polarity.
- Close the compartment. The sensor will automatically attempt to re-pair with the weather station.
Cleaning
Wipe the sensor casing with a soft, damp cloth. Do not use abrasive cleaners or immerse the sensor in water.
Environmental Considerations
While designed for outdoor use, extreme weather conditions (e.g., heavy storms, prolonged sub-zero temperatures) may affect performance or battery life. Ensure proper placement as described in the Setup section.
Troubleshooting
| Problem | Possible Cause | Solution |
|---|---|---|
| No outdoor temperature display / Sensor not pairing | Incorrect channel selection; Batteries low or incorrectly installed; Sensor out of range; Interference. | 1. Ensure the sensor and weather station are set to the same A/B/C channel. Try cycling through channels (e.g., A, then B, then C) on both devices. 2. Replace batteries with fresh ones, ensuring correct polarity. 3. Move sensor closer to the weather station. 4. Relocate sensor away from potential sources of interference. |
| Inaccurate temperature readings | Direct sunlight exposure; Sensor too close to heat/cold sources; Sensor not properly ventilated. | 1. Relocate the sensor to a shaded area, away from direct sunlight. 2. Ensure sensor is not near vents, windows, or other objects that radiate heat or cold. 3. Ensure adequate airflow around the sensor. |
| Short battery life | Low quality batteries; Extreme temperatures. | 1. Use high-quality alkaline batteries. 2. In very cold climates, battery life may naturally be reduced. Consider lithium batteries if available and compatible for better cold weather performance. |
Specifications
| Feature | Detail |
|---|---|
| Model Number | CLTX001 |
| Compatibility | WallarGe CL6006, CL6007, CL7001 Weather Stations |
| Mounting Type | Wall Mount |
| Sensor Technology | Temperature Sensor |
| Item Weight | 1.92 ounces |
| Package Dimensions | 6.5 x 2 x 1.2 inches |
| Measurement Accuracy | +/- 0.5°F |
| Power Source | Battery Powered |
| Batteries Required | Yes (Not Included) |
| Battery Type | Alkaline |
| Control Method | Remote (via channel switch) |
| Color | White |
Warranty and Support
For warranty information or technical support, please contact WallarGe customer service. Details can typically be found on the product packaging or the official WallarGe website. Please have your product model number (CLTX001) and purchase information ready when contacting support.