
Biuone A20Pro
Biuone A20/A20Pro Dual Dash Camera User Manual
Comprehensive guide for setup, operation, and maintenance.
1. Product Overview
The Biuone A20/A20Pro Dual Dash Camera system provides comprehensive vehicle surveillance with front and rear recording capabilities. The A20Pro model features 2.5K front and 1080P rear recording, while the A20 model offers 1080P Full HD. Both models include essential features like Wi-Fi connectivity, G-sensor, loop recording, and a wide field of view to capture critical driving moments.

Image: The Biuone A20Pro dash camera, showing the main unit with its lens, 2.5K UHD and Wi-Fi indicators, and an attached suction cup mount. Inset images show the rear camera, a 64GB SD card, and the camera's screen interface.
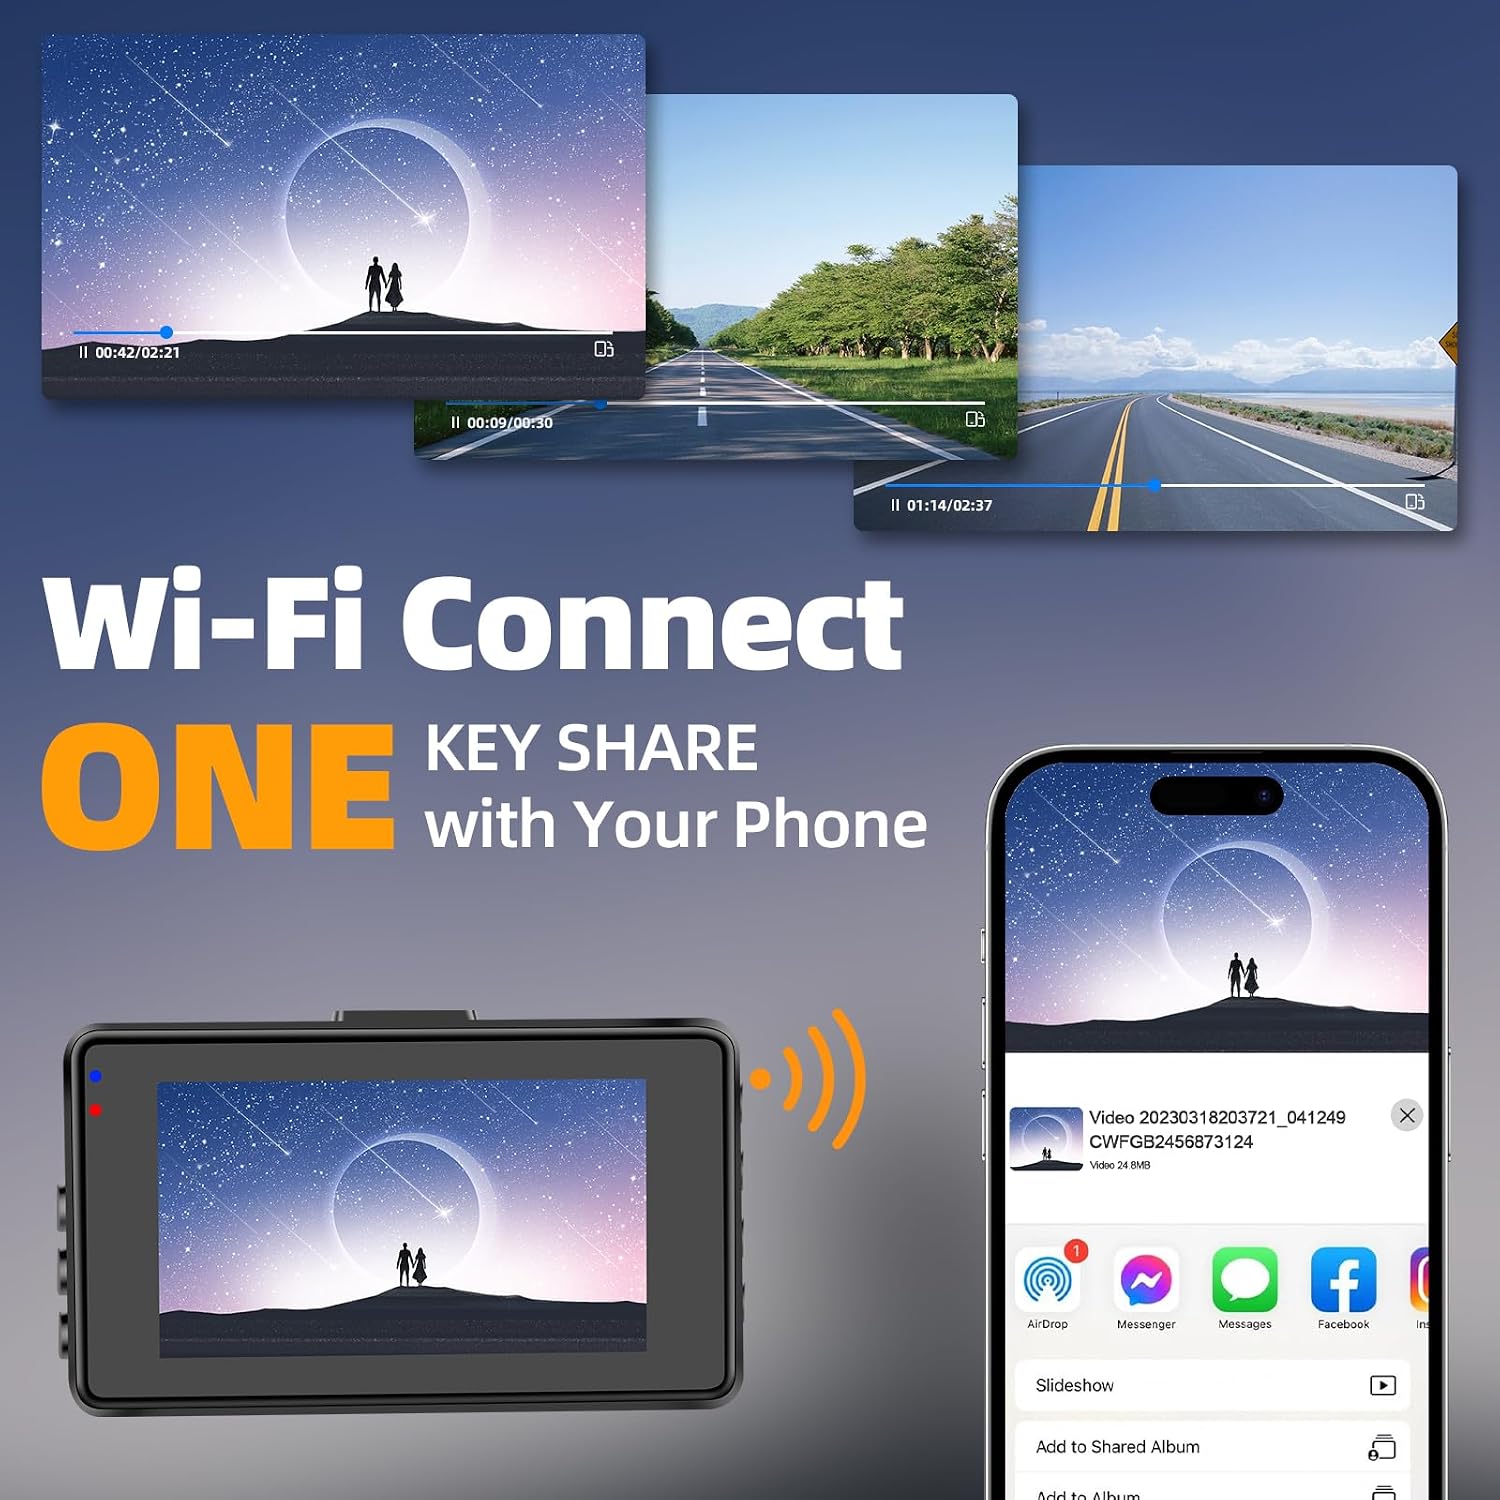
Image: The Biuone A20Pro dash camera demonstrating its Wi-Fi connectivity, with a smartphone displaying the camera's live feed and options for sharing to social media platforms like YouTube, Twitter, and Facebook.
2. Package Contents
Verify that all items are present in the package:
- Biuone A20/A20Pro Dash Camera (Front Unit)
- Rear Camera
- Suction Cup Mount
- Car Charger with USB Port
- Memory Card (32GB for A20, 64GB for A20Pro, max support 128GB)
- USB Cable (for PC playback only)
- User Manual

Image: A visual representation of the Biuone A20 dash camera package contents, including the front camera, rear camera, suction cup mount, car charger, USB cable, and a 32GB SD card.
3. Setup and Installation
3.1 Inserting the Memory Card
The dash camera comes with a memory card already inserted. Ensure it is properly seated before first use. The A20Pro includes a 64GB SD card, and the A20 includes a 32GB SD card. The camera supports up to a 128GB SD card.
3.2 Mounting the Front Dash Camera
- Clean the windshield area where the camera will be mounted.
- Attach the suction cup mount to the dash camera.
- Press the suction cup firmly against the windshield and engage the lock lever to secure it.
- Adjust the camera angle to ensure a clear view of the road ahead.

Image: A close-up of the suction cup mount, indicating the 'lock' and 'unlock' positions for securing it to the windshield.
3.3 Installing the Rear Camera
The rear camera provides a 140-degree wide angle view. It is typically mounted on the rear windshield or near the license plate.
- Choose a suitable location for the rear camera, ensuring a clear view.
- Secure the rear camera using the provided adhesive or screws.
- Route the rear camera cable to the front dash camera.
- Connect the rear camera cable to the AV-IN port on the front dash camera.
3.4 Power Connection
Connect the car charger to the dash camera's Mini USB port and plug the other end into your vehicle's cigarette lighter socket. The camera will automatically power on and begin recording when the vehicle starts.
Important Note:
Do not use the provided USB cable as the dash camera charger. Using the USB cable for charging may result in the rear camera not displaying, even if the front camera functions correctly. The USB cable is intended for playback on a PC only.

Image: Diagram illustrating the power connection for the dash camera, showing the main unit connected via Mini USB to the cigarette lighter charger, and the rear camera connected to the AV-IN port.
4. Operating Instructions
4.1 Basic Operation
- Power On/Off: The camera powers on automatically with vehicle ignition and powers off when the ignition is turned off.
- Recording: Recording starts automatically when the camera powers on.
- Loop Recording: The camera continuously records, overwriting the oldest unlocked files when the memory card is full.
- G-Sensor: In the event of a sudden impact or collision, the G-sensor will automatically lock the current video file to prevent it from being overwritten.

Image: Visual explanation of G-sensor and loop recording features, showing how unlocked files are automatically deleted and locked files (due to impact) are protected.
4.2 Wi-Fi Connection and App Control
The Biuone dash camera features built-in 2.4G Wi-Fi for connection to iOS or Android devices via the dedicated app.
- Download the Biuone app from your device's app store.
- Enable Wi-Fi on your smartphone and connect to the dash camera's Wi-Fi network. (Refer to the camera's on-screen display or manual for the Wi-Fi name and password).
- Open the Biuone app to view live footage, download recordings, and adjust camera settings.
- Recordings can be easily shared to social media platforms directly from the app.
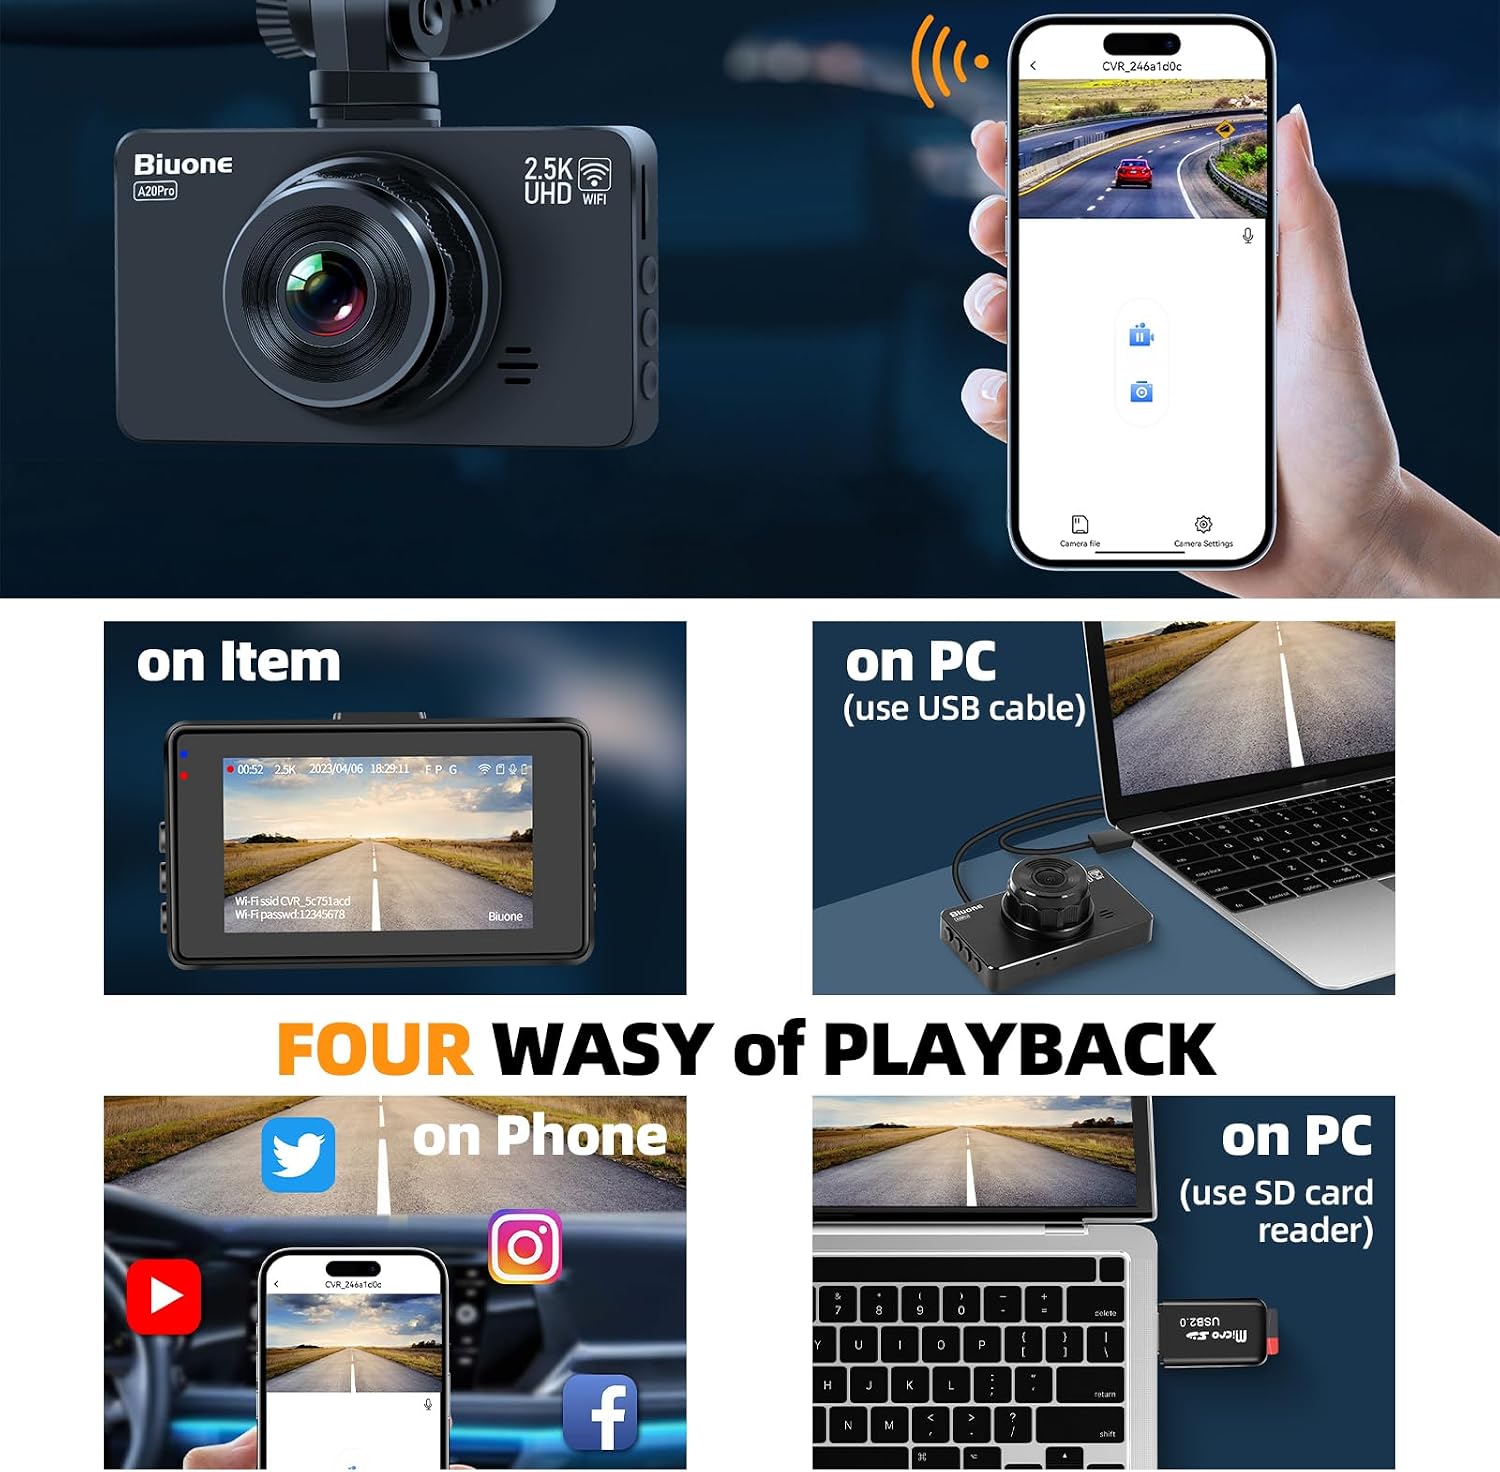
Image: The Biuone dash camera connected wirelessly to a smartphone, showing the app interface with live video feed and options for playback and settings adjustment.
4.3 Playback Options
Recorded videos can be played back using several methods:
- On the Dash Camera: Use the camera's 3-inch IPS screen to review recordings directly.
- On a PC (via USB Cable): Connect the dash camera to a computer using the provided USB cable to access files.
- On a PC (via SD Card Reader): Remove the SD card from the camera and insert it into an SD card reader connected to a computer.
- On a Smartphone (via Wi-Fi App): Use the Biuone app to view and download recordings wirelessly.

Image: A graphic illustrating four different methods for playing back dash camera footage: directly on the camera, on a PC via USB, on a PC via an SD card reader, and on a smartphone via the Wi-Fi app.
5. Maintenance
- Memory Card Formatting: It is recommended to format the memory card periodically (e.g., once a month) to ensure optimal performance and prevent data corruption. This can usually be done through the camera's settings menu.
- Lens Cleaning: Keep the camera lenses clean from dust and smudges using a soft, lint-free cloth to ensure clear recording quality.
- Firmware Updates: Check the Biuone official website or app for any available firmware updates to improve camera performance and add new features.
6. Troubleshooting
| Problem | Possible Cause / Solution |
|---|---|
| Camera does not power on. | Ensure the car charger is properly connected to the cigarette lighter socket and the vehicle's ignition is on. Check the fuse in the car's cigarette lighter socket. |
| Rear camera does not display. | Verify that the rear camera cable is securely connected to the AV-IN port. Ensure you are using the car charger for power, not the USB cable. |
| Recording stops or files are corrupted. | Format the memory card. Ensure the memory card is a high-speed (Class 10 or U3) card. The card may be full; enable loop recording or replace with a larger capacity card. |
| Wi-Fi connection issues. | Ensure the Wi-Fi function is enabled on the dash camera. Restart both the camera and your smartphone. Re-enter the Wi-Fi password. |
| Video quality is poor. | Clean the camera lenses. Ensure the protective film has been removed from the lenses. Adjust camera angle to avoid glare. |

Image: A child looking confused with a thought bubble asking "Why can't I see the rear cam file?", humorously illustrating a common user query related to troubleshooting rear camera footage.
7. Specifications
- Model: A20 / A20Pro
- Front Camera Resolution (A20Pro): 2.5K (2560x1440P)
- Front Camera Resolution (A20): 1080P Full HD
- Rear Camera Resolution: 1080P (A20Pro), 720P (A20)
- Display: 3-inch IPS Screen
- Front Field of View: 170 degrees
- Rear Field of View: 140 degrees
- Connectivity: Wi-Fi (2.4G)
- Storage: Supports up to 128GB Micro SD Card (Class 10 or higher recommended)
- Features: G-Sensor, Loop Recording, WDR (Wide Dynamic Range)
- Power Source: Car Charger (DC 12V)
8. Warranty and Support
Biuone products are designed for reliability and performance. For any questions, technical support, or warranty claims, please contact Biuone customer service. Refer to the contact information provided in your product packaging or visit the official Biuone website.
The manufacturer, Biuone, has been producing dash cameras for over 10 years and offers engineering support.
Date First Available: June 29, 2023
Related documentsA20Pro

Ask a question about this manual
Ask about setup, troubleshooting, compatibility, parts, safety, or missing instructions. Manuals+ will review the question and use this page’s manual context to help answer it.