
1. Introduction
This manual provides comprehensive instructions for the installation, care, and maintenance of your Orac Decor C391 Purotouch High Density Polyurethane Crown Moulding. Please read these instructions carefully before beginning installation to ensure a successful and lasting result. Proper installation and maintenance will ensure the longevity and aesthetic appeal of your moulding.
For additional support or product information, please visit the Orac Decor Store.
2. Product Overview
The Orac Decor C391 Crown Moulding is a high-quality architectural element designed to enhance interior spaces. Crafted from Purotouch, a high-density polyurethane foam, this moulding offers exceptional durability and precise detailing. It comes primed in white, ready for customization to match your interior design.
- Material: High-density Purotouch polyurethane foam
- Finish: Primed White
- Dimensions: Approximately 5-7/8 inches (147.8mm) face width x 78 inches (1981.2mm) long
- Features: Pronounced detailing, crisp lines, durable, lightweight

Image 2.1: Orac Decor C391 Crown Moulding installed in a room corner, showcasing its profile and how it fits between the wall and ceiling.

Image 2.2: A close-up view of the Orac Decor C391 Crown Moulding profile, highlighting its distinct design elements.
3. Safety Information
Always prioritize safety during installation. Please observe the following precautions:
- Wear appropriate personal protective equipment (PPE), including safety glasses, gloves, and a dust mask, especially when cutting.
- Ensure your work area is well-ventilated.
- Use sharp tools and handle them with care.
- Keep children and pets away from the work area.
- Follow the manufacturer's instructions for any adhesives or paints used.
4. Installation Guide
4.1. Tools and Materials Required
- Orac Decor C391 Crown Moulding
- Measuring tape
- Pencil
- Miter saw or hand saw with miter box
- Fine-tooth saw blade (for clean cuts)
- Orac Decor FDP500 or FDP700 adhesive (or equivalent high-quality polymer adhesive)
- Orac Decor FX210 joint adhesive (or equivalent polymer joint adhesive)
- Caulking gun
- Sanding paper (fine grit)
- Spatula or putty knife
- Clean cloths
- Level
- Optional: Nails or screws for temporary support (if adhesive requires longer curing time)
4.2. Surface Preparation
Ensure that the walls and ceiling surfaces where the moulding will be installed are clean, dry, smooth, and free from dust, grease, or loose paint. Uneven surfaces should be leveled or filled prior to installation for optimal adhesion.
4.3. Measuring and Cutting
- Measure the length of each wall where the moulding will be installed. Add a small allowance for miter cuts.
- For internal corners, cut two pieces of moulding at a 45-degree angle, with the longest edge on the face of the moulding.
- For external corners, cut two pieces of moulding at a 45-degree angle, with the shortest edge on the face of the moulding.
- Always test-fit cuts before applying adhesive. Polyurethane is easy to cut, so precise measurements are key.
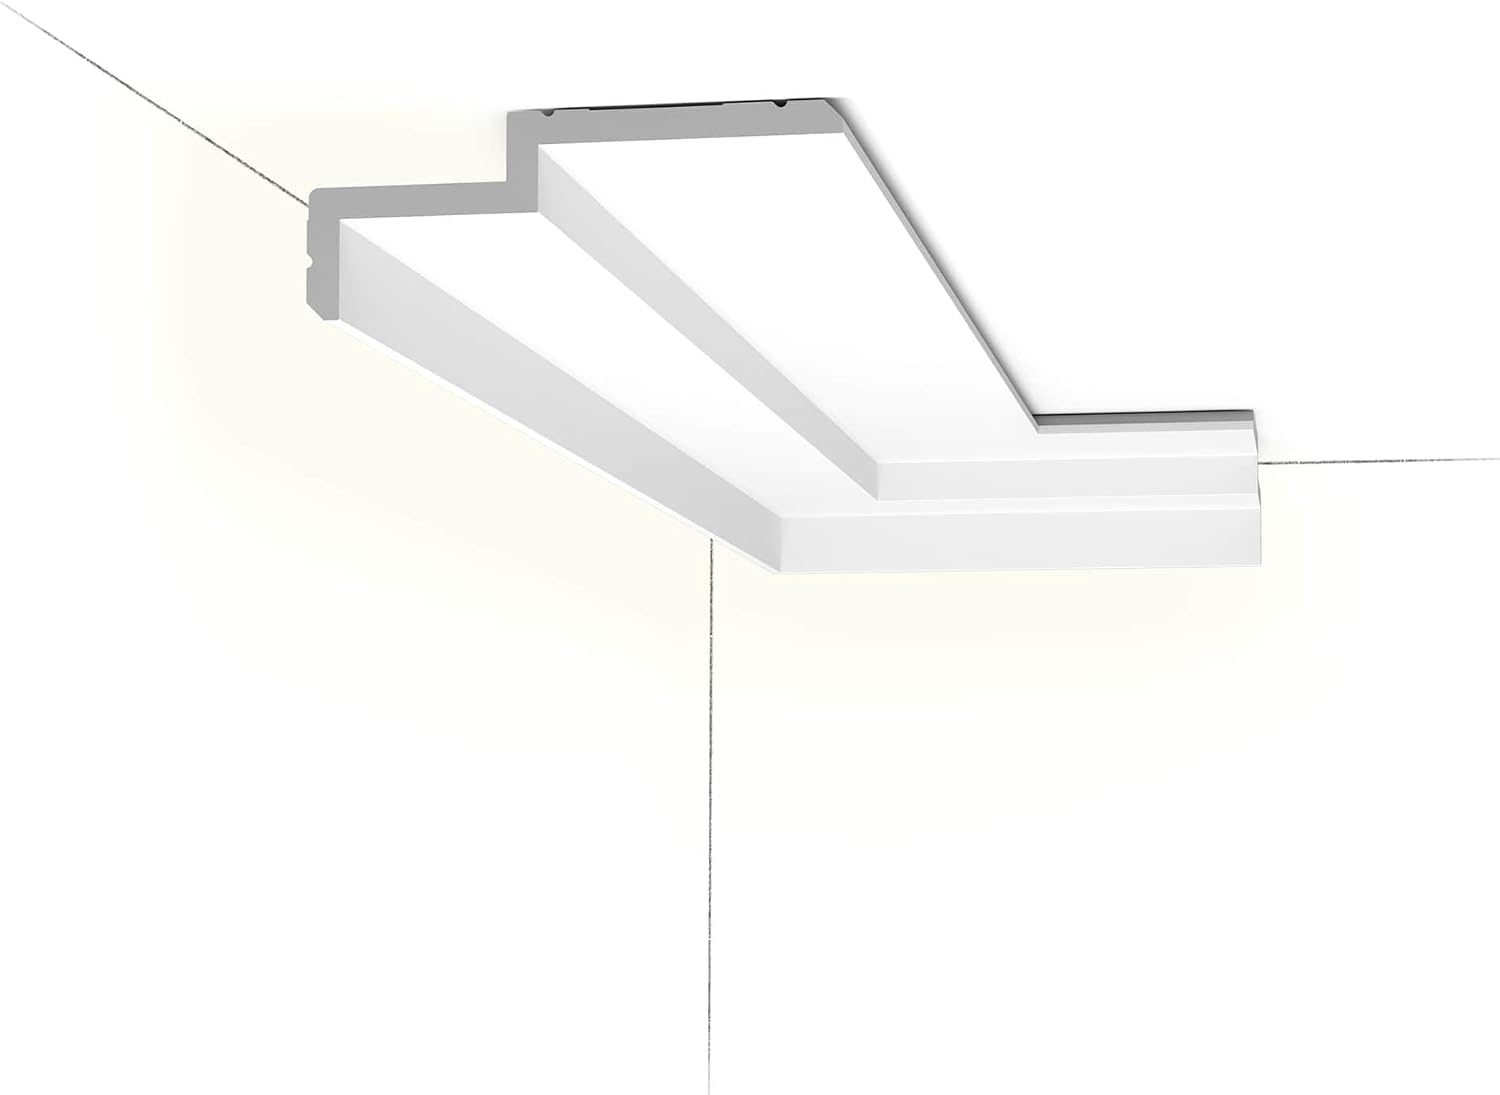
Image 4.1: Technical drawing illustrating the precise dimensions and angles of the Orac Decor C391 Crown Moulding, essential for accurate cutting and installation.
4.4. Adhesive Application
- Apply Orac Decor FDP500 or FDP700 adhesive in a continuous bead along the top and bottom edges of the moulding that will contact the wall and ceiling.
- For joints between moulding pieces, apply Orac Decor FX210 joint adhesive to the mitered ends of the pieces before joining them.
4.5. Mounting the Moulding
- Carefully position the moulding piece onto the wall and ceiling, pressing firmly along its entire length to ensure good contact with the adhesive.
- Use a level to ensure the moulding is straight.
- Remove any excess adhesive immediately with a damp cloth or spatula.
- For long pieces or if the adhesive requires it, use temporary nails or screws to hold the moulding in place until the adhesive cures. Remove these once the adhesive has fully set.
- When joining pieces, ensure the joint adhesive is squeezed out slightly, then wipe away excess.

Image 4.2: Illustration of the Orac Decor C391 Crown Moulding indicating the areas where adhesive should be applied for secure installation to the wall and ceiling.
4.6. Finishing
- Once all adhesive has cured (refer to adhesive manufacturer's instructions for curing times), sand any rough edges or excess joint adhesive smooth.
- Fill any small gaps between the moulding and the wall/ceiling, or at joints, with a paintable caulk or filler.
- The moulding is pre-primed and ready for painting. Apply your desired paint finish according to the paint manufacturer's instructions.

Image 4.3: An example of the Orac Decor C391 Crown Moulding installed in a room, demonstrating its aesthetic contribution above a bookshelf and around a window.

Image 4.4: Another room example featuring the Orac Decor C391 Crown Moulding, highlighting its seamless integration with modern interior design elements and a large window.
5. Maintenance
Orac Decor Purotouch mouldings require minimal maintenance. To keep your moulding looking its best:
- Regularly dust the moulding with a soft, dry cloth.
- For deeper cleaning, wipe with a damp cloth using a mild, non-abrasive cleaner. Avoid harsh chemicals or abrasive materials that could damage the painted surface.
- Inspect joints and adhesion points periodically. Reapply caulk or adhesive if any gaps or loosening occur.
6. Troubleshooting
- Gaps at Joints or Wall/Ceiling: This often indicates insufficient adhesive or improper surface preparation. Fill small gaps with paintable caulk. For larger gaps, carefully remove the moulding, clean surfaces, and reapply adhesive.
- Moulding Not Adhering: Ensure surfaces are clean, dry, and free of dust or grease. Use the recommended Orac Decor adhesive and apply sufficient pressure during installation. Allow adequate curing time.
- Uneven Cuts: Practice cuts on scrap pieces. Ensure your miter saw or miter box is set to the correct angle (typically 45 degrees for corners). A fine-tooth blade provides cleaner cuts.
7. Specifications
| Attribute | Detail |
|---|---|
| Model Number | C391 |
| Brand | Orac Decor |
| Material | Purotouch High Density Polyurethane |
| Color | Primed White |
| Face Width | 5-7/8 inches (147.8 mm) |
| Length | 78 inches (1981.2 mm) |
| Product Dimensions (approx.) | 78.75 x 5.88 x 2.38 inches |
| Item Weight (per piece) | Approximately 2.15 lbs (10.75 lbs for 5-pack) |
8. Warranty and Support
Orac Decor products are manufactured to high-quality standards. For specific warranty information, please refer to the documentation provided with your purchase or contact Orac Decor directly through their official website or the Orac Decor Store on Amazon.
For technical assistance or inquiries, please contact the seller, Outwater Industries, via Amazon's messaging system or refer to their contact information provided with your order.
You can also request a free sample of Orac Decor products to assess quality before purchase by messaging through Amazon, as mentioned in the product features.


