Introduction
The KETELESE T1 FRS Walkie Talkie is a versatile two-way radio designed for reliable communication in various environments. This manual provides essential information for proper setup, operation, and maintenance of your device.
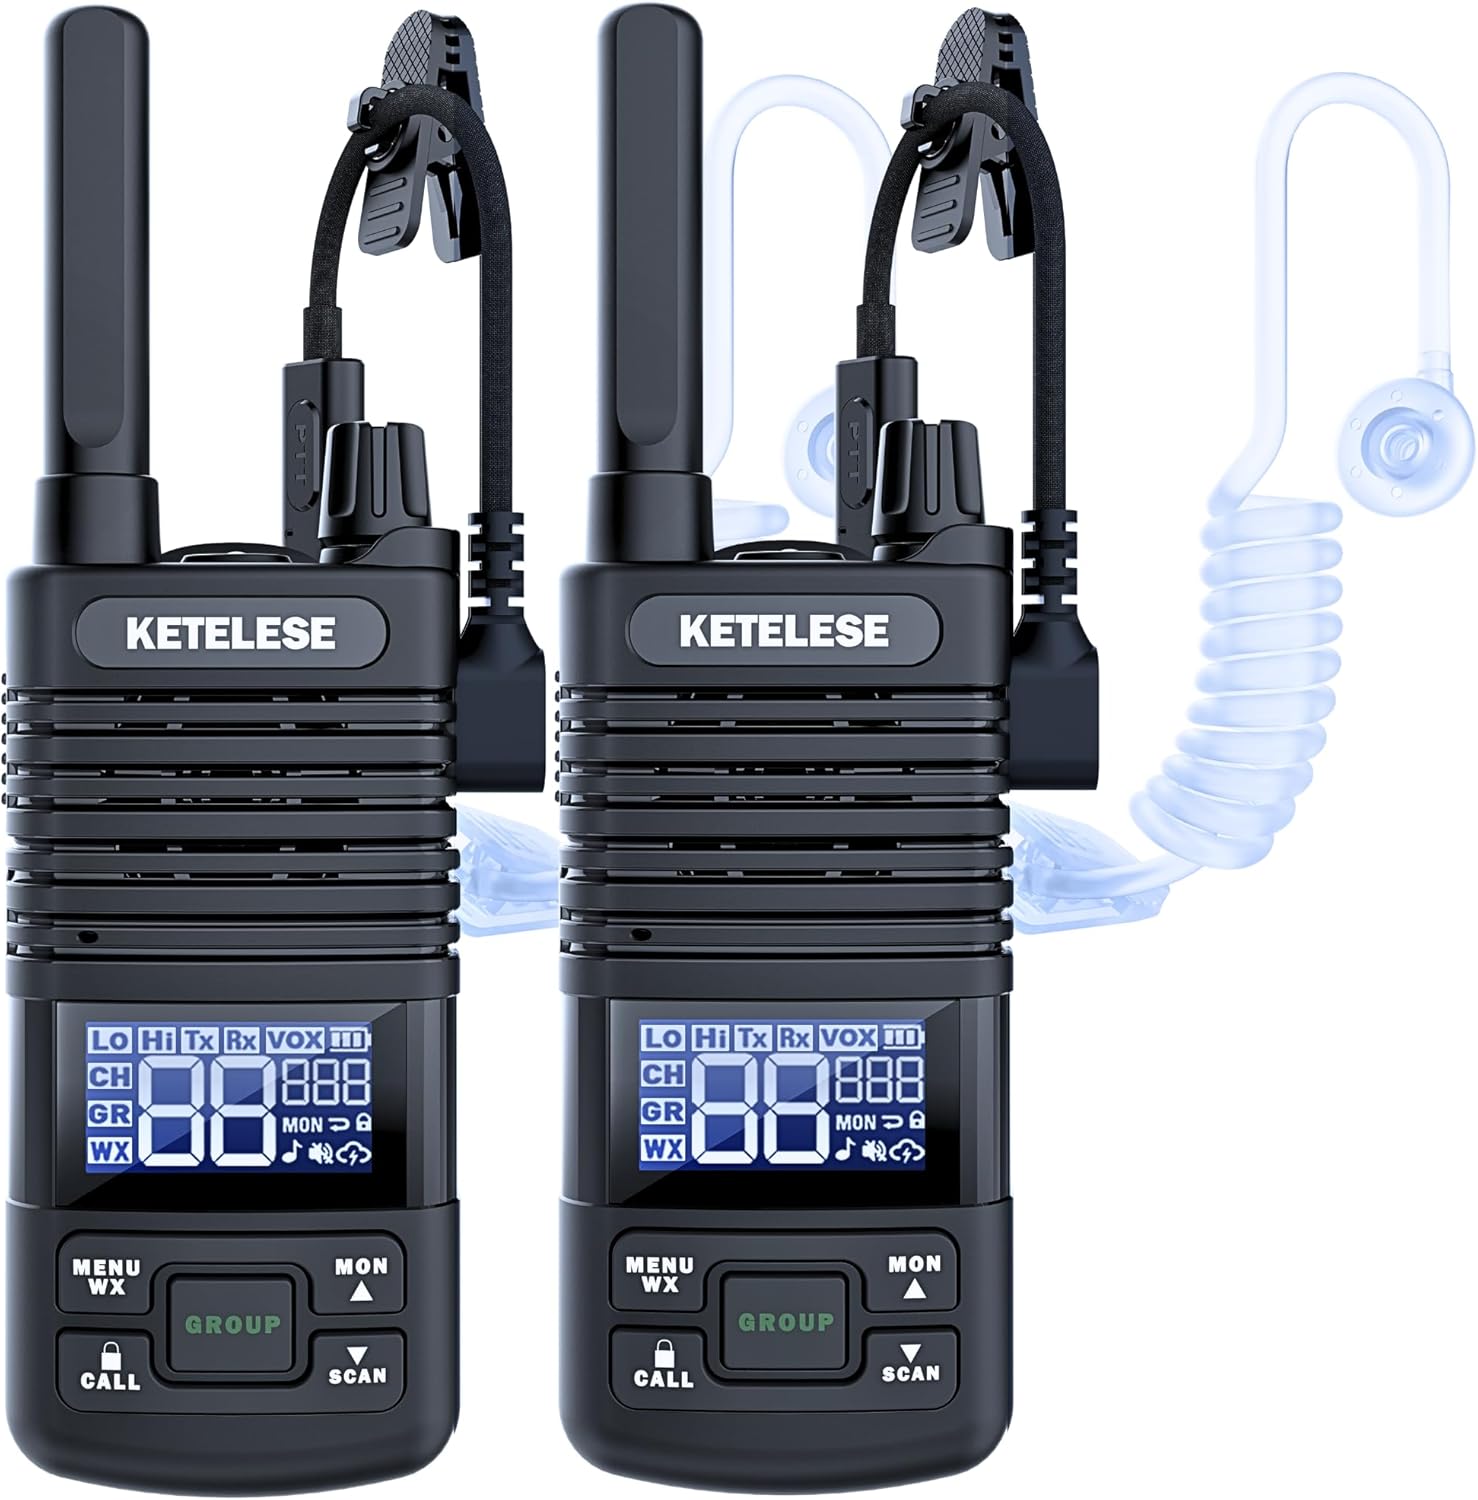
Image: Two KETELESE T1 FRS Walkie Talkies, each equipped with an acoustic tube earpiece, showcasing their compact design.
What's in the Box
Verify that all components are present in your package:
- 2 x KETELESE T1 FRS Radios
- 2 x USB Air Tube Earpieces
- 2 x Li-Polymer Batteries (1100mAh)
- 1 x Dual Port TYPE-C USB Charger Cable
- 1 x AC Adapter
- 1 x User Guide (this manual)

Image: A visual representation of all items included in the KETELESE T1 Walkie Talkie set, including two radios, two batteries, two earpieces, a charging cable, and an adapter.
Device Overview
Familiarize yourself with the main components and display icons of your KETELESE T1 walkie talkie:

Image: A detailed diagram labeling the physical parts of the KETELESE T1 walkie talkie and explaining each icon on its LCD display.
Key Components:
- LCD Display
- Earphone & Charger Jack (USB-C)
- Push-To-Talk (PTT) key
- Up / Monitor key
- Down / Scan key
- Power / Volume Knob
- Group key
- Menu / WX key
- Call Tone / Key-Lock key
- Microphone
- Speaker
- Antenna
- Flashlight LED
- Flashlight key
LCD Display Icons:
- Rx: Receiving status
- Tx: Transmitting status
- CH: Main Channel
- GR: Group Channel
- VOX: VOX (Voice-activated TX)
- ☁: Weather Receiver
- ■: Battery Level
- ██: Channel Number
- ███: CTCSS/CDCSS Code Number
- Hi: High TX Power
- Lo: Low TX Power
- ★: Key Lock
- ♫: Key Beep
- ⇆: Channel Scan
- MON: Monitor
- ♪: Sound off
- WX: Weather Receiver
Setup
1. Battery Installation
- Ensure the walkie talkie is powered off.
- Locate the battery compartment cover on the back of the unit.
- Remove the cover and insert the provided 1100mAh Li-Polymer battery, ensuring correct polarity.
- Replace the battery compartment cover securely.
2. Charging the Battery
The KETELESE T1 features an upgraded USB-C charging design, offering multiple convenient charging options:
- Connect the dual port TYPE-C USB charger cable to the walkie talkie's USB-C port.
- Connect the other end of the cable to the AC adapter, a laptop, a power bank, or a car charger.
- The battery indicator on the LCD will show charging status. A full charge typically takes several hours.

Image: Illustration demonstrating various USB-C charging methods for the KETELESE T1 walkie talkie, including adapter, laptop, power bank, and car charger.
3. Earpiece Connection
For private and clear communication, especially in noisy environments, connect the provided USB Air Tube Earpiece:
- Locate the USB-C earphone & charger jack on the side of the walkie talkie.
- Insert the USB-C connector of the earpiece firmly into the jack.
- Adjust the acoustic tube and earpiece for a comfortable fit.

Image: A close-up view detailing the components of the KETELESE T1 earpiece, including the earhook design, PTT button, microphone, and USB Type-C connector.
Operating Instructions
1. Power On/Off and Volume Control
- To power on the device, rotate the Power / Volume Knob clockwise until you hear a click.
- Continue rotating clockwise to increase the volume. Rotate counter-clockwise to decrease volume.
- To power off, rotate the knob counter-clockwise until it clicks off.
2. Channel Selection
The KETELESE T1 supports 22 FRS channels:
- Press the Menu / WX key to enter the menu.
- Use the Up / Monitor key or Down / Scan key to navigate to the channel setting.
- Press Menu / WX key again to select, then use Up/Down keys to choose your desired channel (1-22).
- Press PTT to confirm and exit, or Menu / WX key to save and exit.
3. Privacy Codes (CTCSS/CDCSS)
To minimize interference from other users, you can set privacy codes (121 available):
- After selecting a channel, press the Menu / WX key.
- Navigate to the privacy code setting (indicated by ███ on the LCD).
- Select and adjust the code using the Up/Down keys.
- Confirm with PTT or Menu / WX key. All radios in your group must use the same channel and privacy code.
4. Transmitting and Receiving (PTT)
- To transmit, press and hold the Push-To-Talk (PTT) key on the side of the radio. Speak clearly into the microphone. The Tx icon will appear on the LCD.
- Release the PTT key to stop transmitting and listen for a response. The Rx icon will appear when receiving.
5. Dual PTT for Single & Group Calls
The KETELESE T1 features a unique Dual PTT function:
- The radio can monitor two channels simultaneously (PTT Channel and Group Channel).
- Press the main PTT key for communication on your primary channel.
- Press the dedicated Group key for group-specific communications. This is ideal for coordinating with teams during activities like camping or construction.

Image: A visual guide demonstrating how PTT and Group Call functions facilitate communication among multiple users in a complex environment like a building.
6. VOX (Voice-Activated Transmission)
Enable hands-free operation with VOX:
- Access the menu via the Menu / WX key.
- Navigate to the VOX setting (indicated by VOX on the LCD).
- Select a VOX sensitivity level (1-3, where 3 is most sensitive).
- When VOX is active, the radio will transmit automatically when you speak, without needing to press PTT.
7. Scan Function
To scan for active channels:
- Press the Down / Scan key to initiate channel scanning. The ⇆ icon will appear.
- The radio will cycle through channels until an active transmission is detected.
- Press the Down / Scan key again to stop scanning.
8. NOAA Weather & Alert
Stay informed about weather conditions:
- Press the Menu / WX key to access the weather receiver function. The ☁ icon will appear.
- The radio will tune into NOAA weather channels and provide alerts for severe weather.
9. LED Flashlight
- Press the Flashlight key to turn the LED flashlight on or off.

Image: A four-panel image highlighting key features of the KETELESE T1: enhanced speaker, removable belt clip, a 360-degree rotating flashlight, and the convenient USB-C charging port.
Maintenance
Cleaning
- Wipe the radio's exterior with a soft, damp cloth. Do not use harsh chemicals or abrasive cleaners.
- Ensure the USB-C port cover is securely closed to maintain water resistance.
Battery Care
- Charge the battery fully before first use.
- Avoid overcharging or completely draining the battery to prolong its lifespan.
- If storing the radio for an extended period, charge the battery to approximately 50% and remove it from the device. Store in a cool, dry place.
Water Resistance
The KETELESE T1 is designed to be water-resistant. This means it can withstand splashes and light rain. However, it is not designed for submersion in water. Always ensure all port covers are sealed properly to maintain water resistance.
Troubleshooting
If you encounter issues with your KETELESE T1 walkie talkie, refer to the following common problems and solutions:
| Problem | Possible Cause | Solution |
|---|---|---|
| No power / Radio turns off unexpectedly | Low battery; Battery not properly installed; Faulty battery. | Charge the battery fully. Reinstall the battery. If issues persist, the battery may need replacement. |
| Cannot transmit or receive | Incorrect channel/privacy code; Out of range; Volume too low; PTT button malfunction. | Verify channel and privacy code settings match other radios. Move closer to the other radio. Increase volume. Test PTT button. |
| Poor audio quality / Static | Weak signal; Interference; Volume too high/low; Earpiece connection issue. | Move to an open area. Adjust volume. Check earpiece connection. Change channel or privacy code. |
| Earpiece not working | Earpiece not fully plugged in; Damaged earpiece; Radio settings. | Ensure earpiece is securely connected to the USB-C port. Test with another earpiece if available. Check radio's audio output settings. |
| Keypad locked | Keypad lock feature activated. | Press and hold the Call Tone / Key-Lock key to unlock the keypad. |
If the problem persists after trying these solutions, please contact KETELESE customer support.
Specifications
| Feature | Detail |
|---|---|
| Model Number | T1 |
| Item Weight | 1.08 pounds |
| Product Dimensions | 0.93 x 2 x 6.42 inches |
| Batteries | 2 Lithium Ion batteries required (included), 1100mAh capacity |
| Display Type | LCD |
| Number of Channels | 22 FRS Channels |
| Privacy Codes | 121 (CTCSS/CDCSS) |
| Special Features | 3 VOX-hands Free, Group Call PTT Button, License Free, Type-C Charging, Light Weight, NOAA Weather & Alert, LED Flashlight |
| Frequency Range | 462.5500~462.7250 MHz, 467.5625~467.7125MHz |
| Talking Range Maximum | Up to 3 Miles (actual range varies based on terrain and conditions) |
| Voltage | 4.2 Volts (DC) |
| Water Resistance Level | Water Resistant |
Warranty and Support
KETELESE stands behind the quality of its products. The T1 FRS Walkie Talkie set comes with a 3-year warranty from the date of purchase, covering manufacturing defects.
For technical support, warranty claims, or any questions regarding your KETELESE T1 walkie talkie, please visit the official KETELESE store or contact their customer service directly.


