Product Overview
The Crown CT22023 is a compact and versatile 3.6V 1.3A electric drill designed for various light-duty drilling and screwdriving tasks. This manual provides essential information for safe operation, setup, maintenance, and troubleshooting to ensure optimal performance and longevity of your tool.
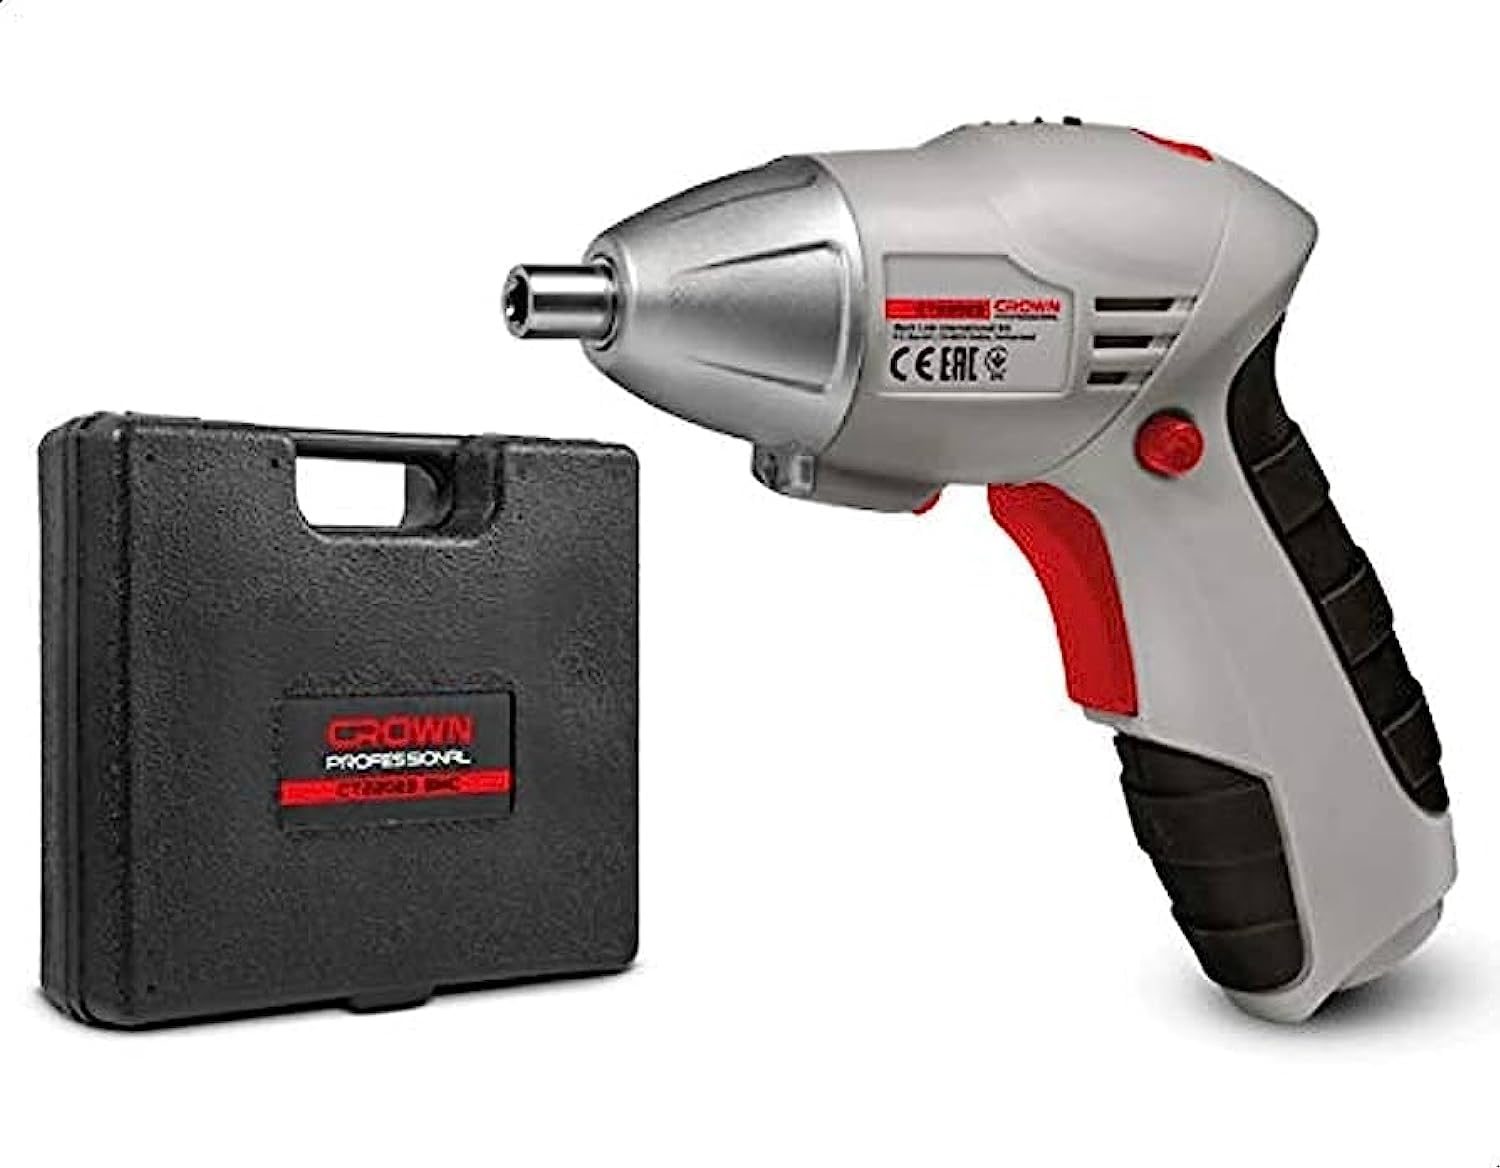
This image displays the Crown CT22023 3.6V 1.3A Electric Drill, presented alongside its durable plastic carrying case and a selection of included drill bits and screwdriver heads. The drill features a compact design, suitable for various household and light-duty tasks.
Safety Instructions
Always follow basic safety precautions when using electric tools to reduce the risk of fire, electric shock, and personal injury.
- Read the entire manual: Understand all instructions before operating the tool.
- Wear appropriate safety gear: Always use eye protection, and consider gloves and hearing protection.
- Keep work area clean and well-lit: Cluttered or dark areas invite accidents.
- Avoid hazardous environments: Do not use power tools in damp or wet locations, or where flammable liquids or gases are present.
- Secure the workpiece: Use clamps or a vise to hold the workpiece. This is safer than using your hand and it frees both hands to operate the tool.
- Do not overreach: Maintain proper footing and balance at all times.
- Disconnect power: Always disconnect the tool from its power source before making any adjustments, changing accessories, or storing it.
- Store idle tools: When not in use, tools should be stored in a dry, high, or locked-up place, out of reach of children.
Package Contents
Verify that all items are present upon opening the package:
- Crown 3.6V 1.3A Electric Drill (Model CT22023)
- Plastic Carrying Case
- Bit Set
- Screwdriver Heads/Bits
- User Manual (this document)
Setup
Before first use, ensure the drill is properly set up.
- Charging the Battery:
- Connect the charger to a power outlet and to the drill's charging port.
- Allow the battery to fully charge before initial use. Refer to the charging indicator for status.
- Do not overcharge the battery. Unplug the charger once charging is complete.
- Installing/Changing Bits:
- Ensure the drill is turned off and the forward/reverse switch is in the center (locked) position.
- Twist the chuck counter-clockwise to open the jaws.
- Insert the desired drill bit or screwdriver head fully into the chuck.
- Twist the chuck clockwise to tighten the jaws securely around the bit. Ensure the bit is centered and firmly held.
Operating Instructions
Follow these steps for safe and effective operation of your electric drill.
- Selecting Rotation Direction:
- Use the forward/reverse switch located near the trigger.
- Push the switch to the left for forward rotation (drilling, tightening screws).
- Push the switch to the right for reverse rotation (removing screws).
- The center position locks the trigger for safety during bit changes or storage.
- Starting and Stopping:
- To start the drill, press the trigger switch.
- To stop, release the trigger switch.
- Drilling:
- Mark the drilling spot.
- Hold the drill firmly with both hands if possible, or one hand if the design allows for stable control.
- Place the tip of the drill bit on the marked spot.
- Start the drill at a low speed and gradually increase pressure as the bit penetrates the material.
- Maintain a steady, even pressure. Do not force the drill.
- Screwdriving:
- Select the appropriate screwdriver bit for the screw head.
- Set the rotation direction to forward for tightening or reverse for loosening.
- Place the bit firmly into the screw head.
- Apply gentle, consistent pressure and press the trigger. Release the trigger once the screw is fully driven or removed.
Maintenance
Regular maintenance ensures the longevity and safe operation of your tool.
- Cleaning: Keep the ventilation openings clean and free from dust. Use a soft, damp cloth to clean the tool's exterior. Do not use harsh chemicals or abrasive cleaners.
- Bit Care: Keep drill bits and screwdriver heads clean and sharp. Replace worn or damaged bits immediately.
- Battery Care: Store the battery in a cool, dry place. If storing for extended periods, charge the battery periodically to maintain its health.
- Storage: Store the drill and its accessories in the plastic carrying case in a dry, secure location, away from direct sunlight and extreme temperatures.
Troubleshooting
Refer to this section for common issues and their solutions.
| Problem | Possible Cause | Solution |
|---|---|---|
| Drill does not start | Battery is discharged Forward/reverse switch in center (locked) position | Charge the battery Move switch to forward or reverse position |
| Reduced power or speed | Low battery charge Worn or dull bit | Recharge the battery Replace the bit |
| Bit wobbles or falls out | Chuck not tightened properly Damaged bit shank | Retighten the chuck securely Replace the bit |
| Overheating | Continuous heavy use Blocked ventilation slots | Allow tool to cool down Clean ventilation slots |
Specifications
Technical details for the Crown CT22023 Electric Drill.
| Feature | Detail |
|---|---|
| Model Number | CT22023 |
| Brand | Crown |
| Power Source | Battery Powered |
| Voltage | 3.6 Volts |
| Current | 1.3 Amperes |
| Product Dimensions | 10 x 20 x 37 cm |
| Item Weight | 209 grams |
| Color | Grey |
| Included Components | Plastic Case, Bit Set, Screwdriver Bits |
| Unit Count | 1.00 Count |
| First Available Date | June 25, 2023 |
Warranty and Support
This product is covered by the standard manufacturer's warranty. For specific warranty terms and conditions, please refer to the documentation provided with your purchase or contact Crown customer support.
For technical assistance, spare parts, or service inquiries, please contact your local Crown authorized service center or visit the official Crown website. Please have your model number (CT22023) and purchase information ready when seeking support.