
Walfront WALFRONTrep42t3dbg
Walfront 3-Phase Undervoltage and Overcurrent Protector User Manual
Model: WALFRONTrep42t3dbg
1. Introduction
The Walfront 3-Phase DIN Rail Mounted Voltage Monitoring Relay with Adjustable Overcurrent Protector is an advanced device designed to safeguard electrical equipment from various power anomalies. This protector offers comprehensive protection against overvoltage, undervoltage, voltage imbalance, phase fault, phase failure, and overcurrent conditions. Its intelligent design includes an automatic reset function and a clear digital display for real-time monitoring of working voltage and current. This manual provides essential information for the proper installation, operation, and maintenance of your device.

Figure 1: Front view of the Walfront 3-Phase Undervoltage and Overcurrent Protector, displaying real-time voltage and current readings across three phases (L1, L2, L3) and featuring control buttons for 'SET', 'Up', 'Down', and 'Power'.
2. Key Features
- Multiple Protection Functions: Includes overvoltage, undervoltage, voltage imbalance, phase fault, phase failure, overcurrent, and automatic reset capabilities.
- Multifunctional Protector: Designed for strict protection and automatic reset to prevent prolonged power outages, ensuring quick response to eliminate potential overvoltage and undervoltage dangers.
- Overload Automatic Power Outage: Effectively prevents damage to electrical equipment and machines caused by high voltage at power-on or short-term power fluctuations.
- Clear Digital Display: Real-time display of working voltage and current for clear monitoring. Panel buttons are complete and easy to operate.
- Easy Installation: Standard 35mm DIN rail installation for secure and straightforward mounting.
- Adjustable Parameters: Allows for adjustment of voltage range and reset time, as well as overcurrent range (1A~63A) and action time (0.1S~10S).
- Durable Construction: Made from PC flame retardant material, offering fireproof and heat-resistant properties for a long service life.

Figure 2: Overview of the protector's multi-functional capabilities, highlighting its ability to protect against overcurrent, overvoltage, undervoltage, phase sequence issues, and phase loss, along with an automatic reset feature.

Figure 3: The protector's user-friendly design, featuring a simple and intuitive control panel for ease of use.
3. Specifications
| Parameter | Value |
|---|---|
| Model | CHLT 615 |
| Material | PC (Flame Retardant) |
| Rated Power Supply Voltage | AC230V |
| Working Voltage Range | AC120V-300V |
| Rated Current | 63A |
| Adjustable Overcurrent Range | 1A-63A |
| Overcurrent Protection Action Time | 0.1S-10S |
| Rated Frequency | 50, 60Hz |
| Package Dimensions | 3.94 x 3.54 x 2.76 inches |
| Item Weight | 11.85 ounces |

Figure 4: Physical dimensions of the protector, indicating its compact size suitable for DIN rail mounting.

Figure 5: Detailed specifications of the Walfront 3-Phase Undervoltage Protector.
4. Setup and Installation
The Walfront Undervoltage and Overcurrent Protector is designed for easy installation on a standard 35mm DIN rail. Ensure all power is disconnected before beginning installation to prevent electrical shock.
4.1 Mounting
Locate a suitable 35mm DIN rail within your electrical panel. Align the protector's rear buckles with the DIN rail and press firmly until it clicks into place. The secure mounting mechanism ensures stability during operation.
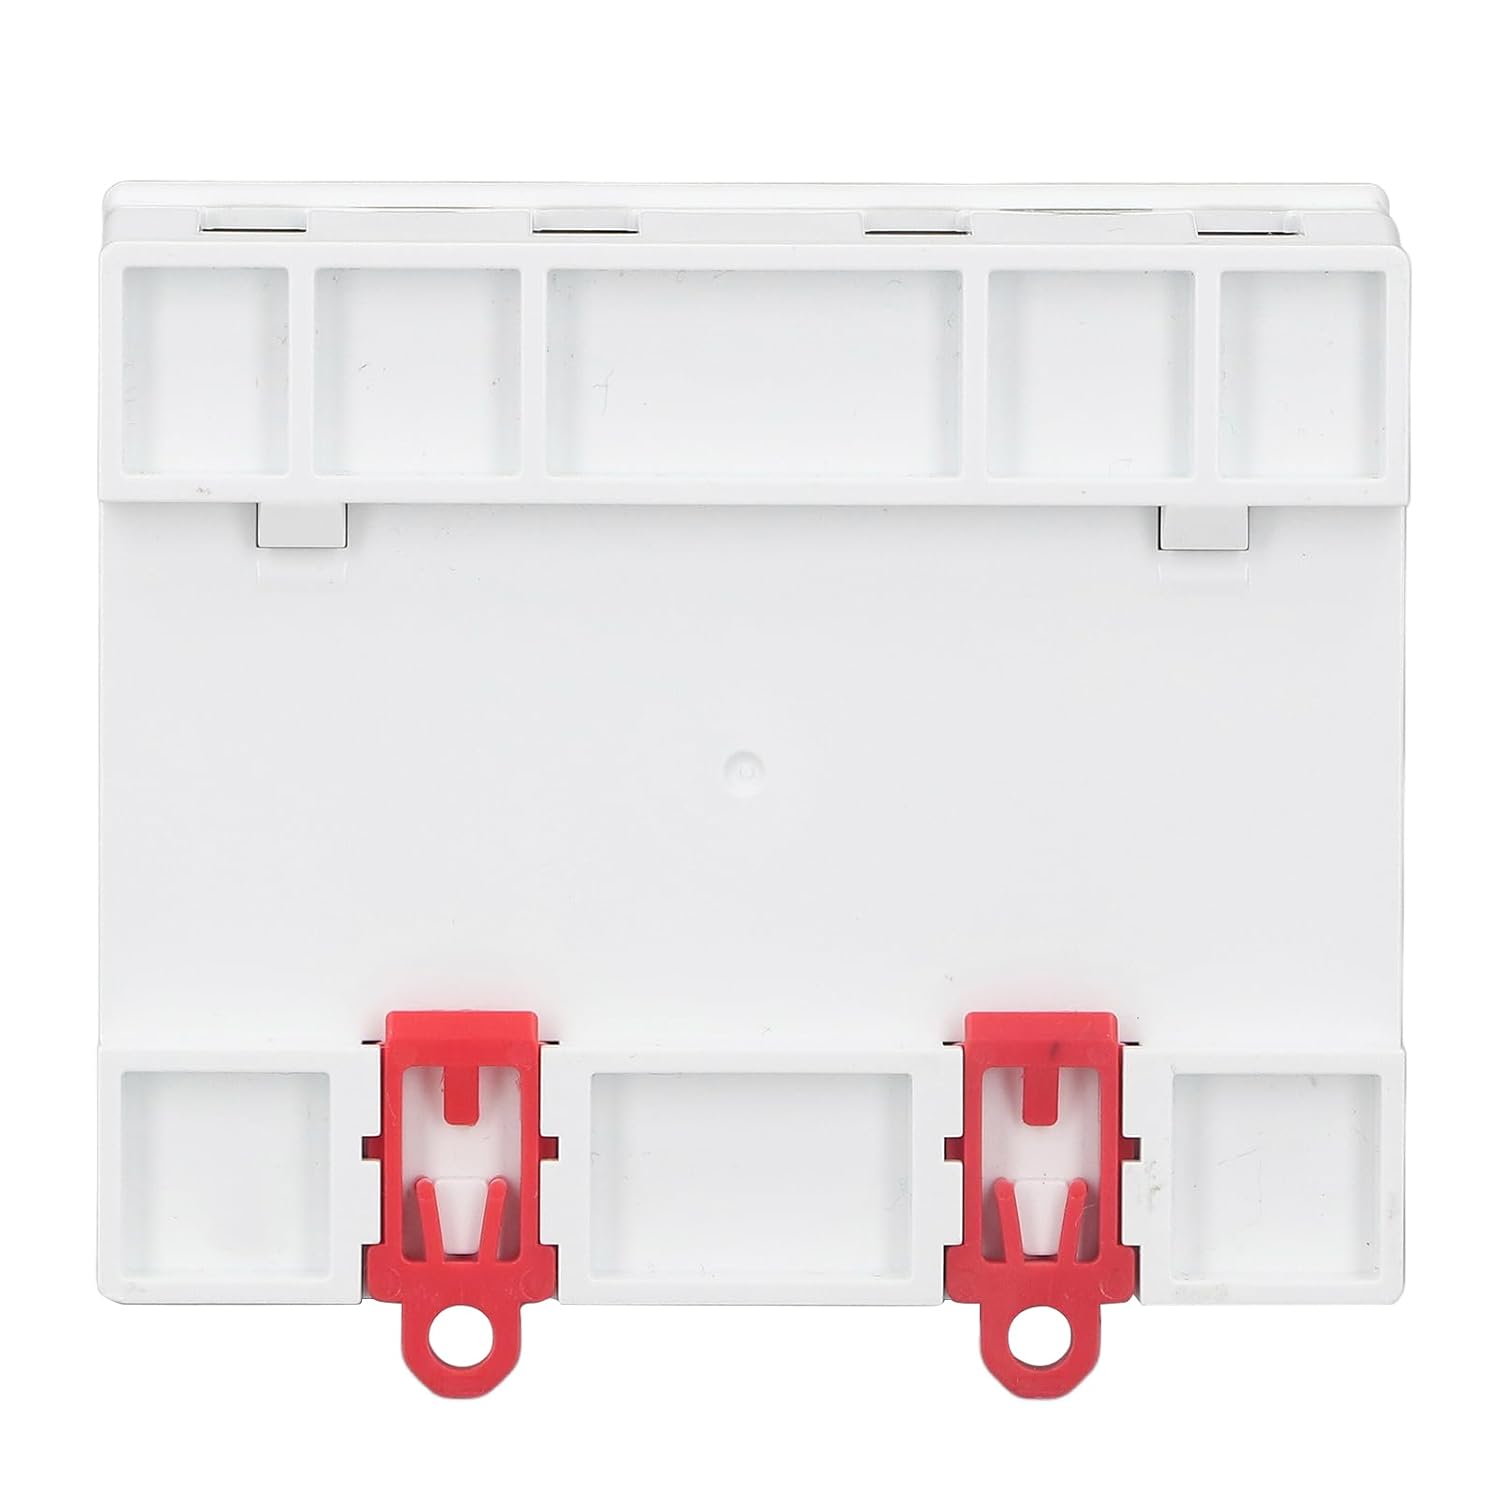
Figure 6: Rear view of the protector, illustrating the standard 35mm DIN rail mounting buckles for easy and secure installation.

Figure 7: Close-up of the DIN rail buckle, demonstrating the mechanism for secure attachment to a 35mm rail.
4.2 Wiring
Connect the protector according to the wiring diagram provided. Ensure correct connection of neutral (N) and live (L1, L2, L3) wires for both input (IN) and output (OUT) terminals. Proper wiring is crucial for the device's functionality and safety.
- Input (IN): Connect the incoming three-phase power supply and neutral to the 'IN' terminals (N, L1, L2, L3).
- Output (OUT): Connect the protected load to the 'OUT' terminals (N, L1, L2, L3).

Figure 8: Comprehensive wiring diagram illustrating how to connect the 3-phase protector to the power source and load, including connections for neutral (N) and live (L1, L2, L3) wires.
5. Operating Instructions
Once installed and powered on, the protector's digital display will show the real-time voltage and current for each phase. Use the control buttons to navigate settings and adjust parameters.
5.1 Display and Controls
The front panel features a digital display and four buttons: 'SET', 'Up Arrow', 'Down Arrow', and 'Power'.
- Digital Display: Shows voltage (V) and current (A) for L1, L2, and L3 phases. Indicators for >OV (overvoltage), <UV (undervoltage), and >OC (overcurrent) are also present.
- SET Button: Used to enter the parameter setting mode and confirm selections.
- Up/Down Arrows: Used to navigate through menu options and adjust parameter values.
- Power Button: Used to manually turn the output on or off.

Figure 9: Interacting with the control panel to adjust settings, ensuring the safe operation of connected electrical appliances.
5.2 Parameter Adjustment
To adjust protection parameters such as overvoltage threshold, undervoltage threshold, or overcurrent limit:
- Press the 'SET' button to enter the setting mode.
- Use the 'Up' and 'Down' arrow buttons to navigate through the different parameters.
- Once the desired parameter is selected, press 'SET' again to modify its value.
- Use the 'Up' and 'Down' arrows to adjust the value.
- Press 'SET' to confirm the new value and move to the next parameter or exit the setting mode.

Figure 10: Adjustable parameters for overcurrent protection, including the current range and the response time.

Figure 11: Side view of the protector with a parameter diagram, indicating its functionality for automatic power-off during overload and maintaining normal power supply within specified ranges.
6. Maintenance
The Walfront Undervoltage and Overcurrent Protector is designed for minimal maintenance. However, regular checks can ensure its continued optimal performance.
- Cleaning: Periodically wipe the exterior of the device with a soft, dry cloth to remove dust and debris. Do not use abrasive cleaners or solvents.
- Connection Check: Annually, or as needed, verify that all wiring connections are secure and free from corrosion. Ensure terminals are tightened appropriately.
- Environmental Conditions: Ensure the operating environment remains within the specified temperature and humidity ranges to prevent damage to internal components.

Figure 12: The protector's construction from PC flame retardant material contributes to its durability and long service life.
7. Troubleshooting
If you encounter issues with your Walfront Undervoltage and Overcurrent Protector, refer to the following common problems and solutions:
| Problem | Possible Cause | Solution |
|---|---|---|
| Device not powering on | No input power; incorrect wiring; internal fault. | Check power supply to 'IN' terminals. Verify wiring against diagram. If problem persists, contact support. |
| Output is off, but input power is present | Protection triggered (over/undervoltage, overcurrent, phase fault); manual shutdown. | Check display for fault indicators. Address the underlying power issue. Press 'Power' button to reset if safe. |
| Inaccurate voltage/current readings | Loose connections; sensor issue. | Ensure all wiring connections are tight. If readings remain inaccurate, contact support. |
| Device frequently trips | Parameters set too sensitively; persistent power issues. | Adjust protection thresholds (e.g., increase overvoltage/undervoltage limits, overcurrent limit) if appropriate for your system. Investigate power quality. |
For issues not covered here or if troubleshooting steps do not resolve the problem, please contact Walfront customer support.
8. Warranty and Support
This Walfront product is subject to a return policy that allows for refunds or replacements within 30 days of purchase. For specific warranty details and terms, please refer to the product's purchase documentation or contact the seller directly.
8.1 Customer Support
For technical assistance, product inquiries, or support, please visit the Walfront store on Amazon or contact their customer service through the platform where the product was purchased. Provide your model number (WALFRONTrep42t3dbg) and a detailed description of your issue for faster service.
You can visit the Walfront Store at: Walfront Amazon Store
Ask a question about this manual
Ask about setup, troubleshooting, compatibility, parts, safety, or missing instructions. Manuals+ will review the question and use this page’s manual context to help answer it.