
Introduction
This manual provides detailed instructions for the installation, operation, and maintenance of your Cooler Master Q300L V2 Micro-ATX PC Case. Please read this manual thoroughly before beginning assembly to ensure proper setup and safe usage. The Q300L V2 is a compact Micro-ATX tower designed for versatility and enhanced airflow, featuring a tempered glass side panel and a modern I/O panel with USB 3.2 Gen 2x2 Type C.
Safety Information
- Always disconnect the power supply from the wall outlet before installing or removing any components.
- Wear an anti-static wrist strap to prevent electrostatic discharge (ESD) damage to sensitive components.
- Be cautious of sharp edges inside the case during installation.
- Do not block ventilation openings. Ensure adequate airflow around the case.
- Keep the product away from water, moisture, and extreme temperatures.
Package Contents
Verify that all items are present in the package:
- Cooler Master Q300L V2 PC Case
- Accessory Box (containing screws, standoffs, cable ties, etc.)
- User Manual (this document)
- Pre-installed 120mm rear fan
Product Overview
The Cooler Master Q300L V2 is a compact Micro-ATX tower case designed for high performance and flexibility. It features a perforated chassis with magnetic dust filters for optimal airflow and easy maintenance. The tempered glass side panel provides a clear view of your internal components. The front I/O panel includes a high-speed USB 3.2 Gen 2x2 Type C port for modern connectivity.

Angled view of the Cooler Master Q300L V2 PC Case, showcasing the perforated front panel and tempered glass side panel.
Key Features:
- Compact Design: Supports Micro-ATX and Mini-ITX motherboards while maintaining a small footprint.
- Tempered Glass Side Panel: A 4mm thick tempered glass panel offers a clear view of your build.
- Enhanced Airflow: Perforated front, top, and bottom panels with magnetic dust filters ensure excellent ventilation.
- Modern I/O: Features a USB 3.2 Gen 2x2 Type C port, two USB 3.2 Gen 1 Type A ports, and audio jacks.
- Versatile Layout: Supports standard ATX power supplies up to 160mm, GPUs up to 360mm, and CPU coolers up to 159mm.
- Cable Management: 28mm of space behind the motherboard tray for clean cable routing.
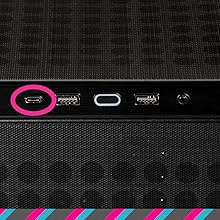
Illustration showing the 28mm cable management space behind the motherboard tray.
Dimensions:

Product dimensions: 38.7cm (Depth) x 23cm (Width) x 38.3cm (Height).
Setup and Installation
Follow these steps for assembling your PC components into the Cooler Master Q300L V2 case.
1. Prepare the Case
- Place the case on a stable, flat surface.
- Remove the tempered glass side panel by unscrewing the four thumb screws. Carefully set the panel aside on a soft, non-abrasive surface.
- Remove the solid steel side panel (opposite the tempered glass) by unscrewing the two rear thumb screws.

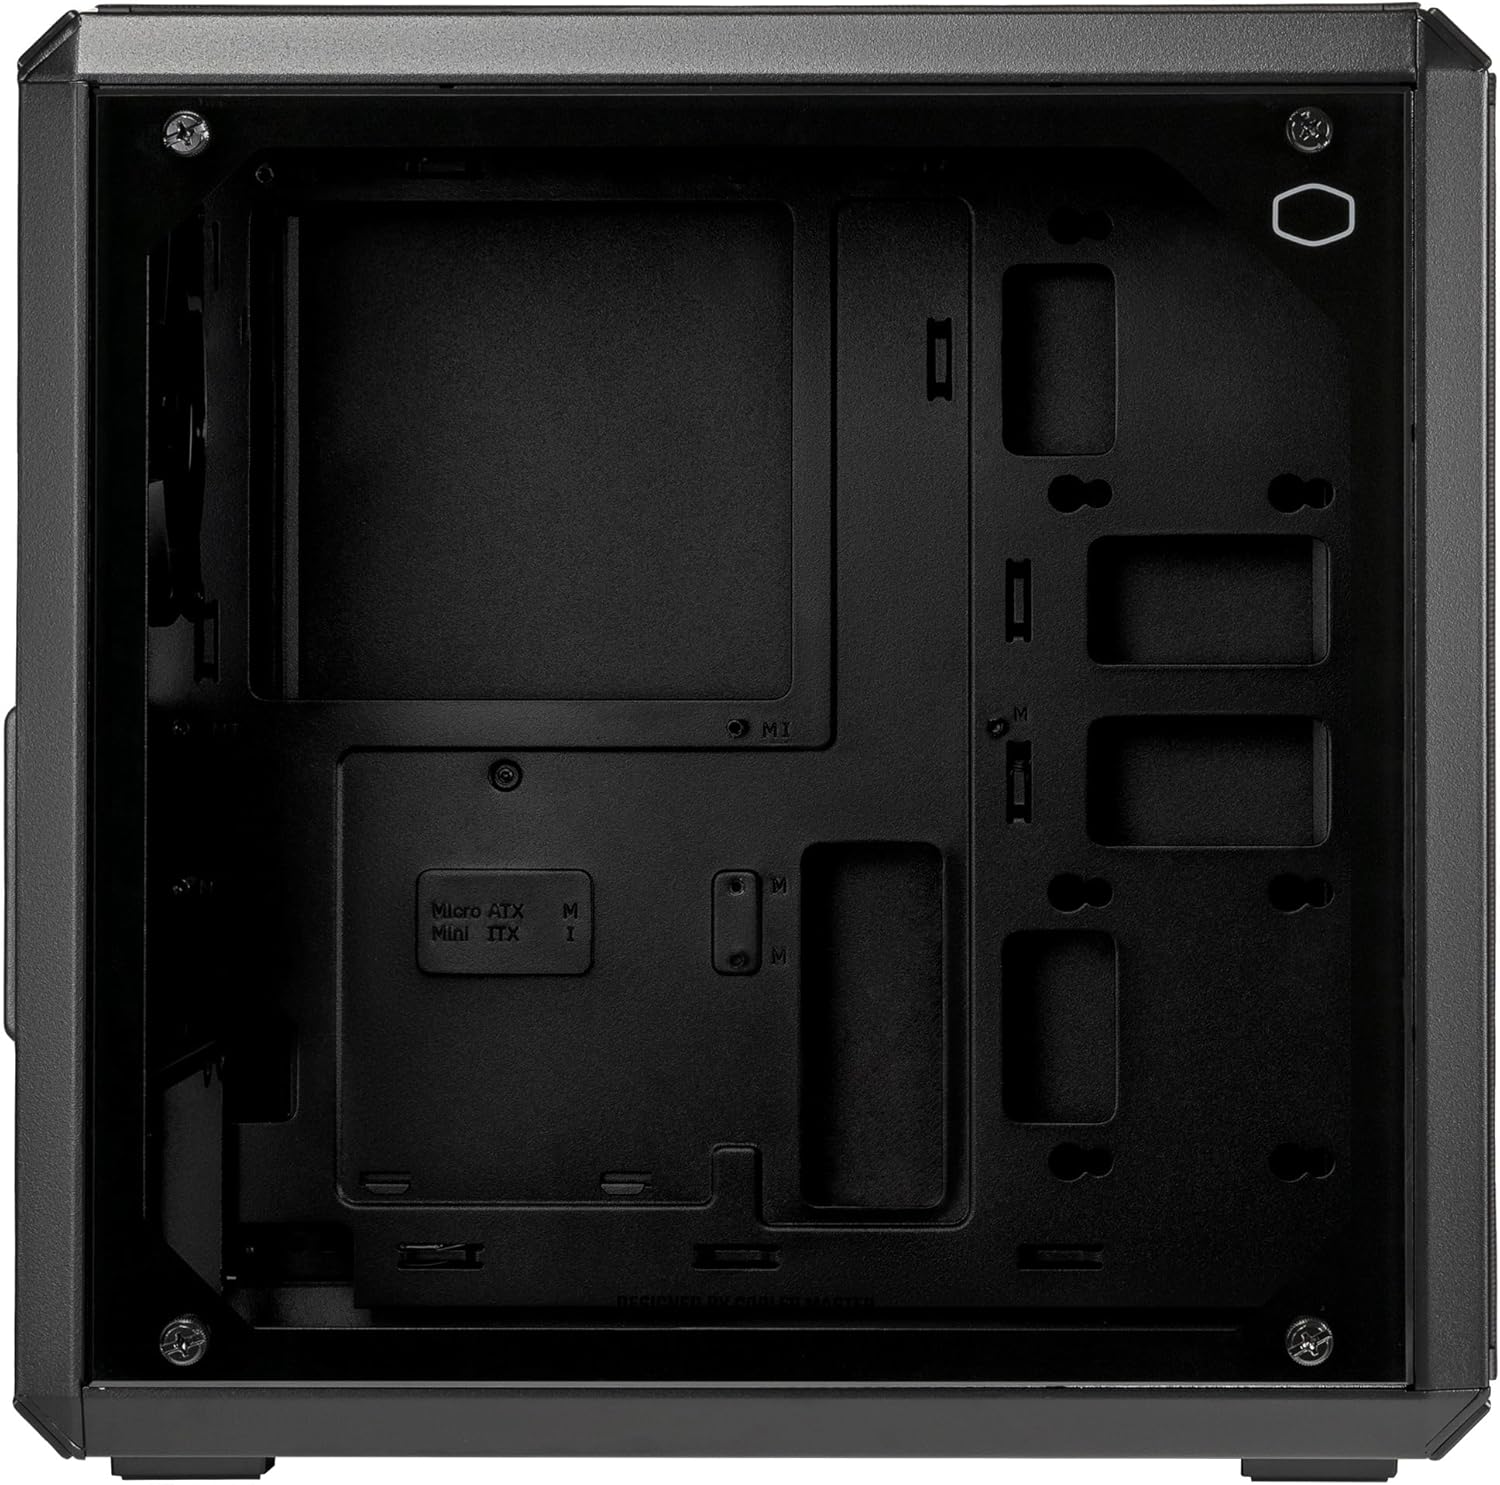
Side view of the case with the tempered glass panel installed.
2. Motherboard Installation
- Install the I/O shield (if applicable) into the rear opening of the case.
- Align your Micro-ATX or Mini-ITX motherboard with the pre-installed standoffs.
- Secure the motherboard using the provided screws.
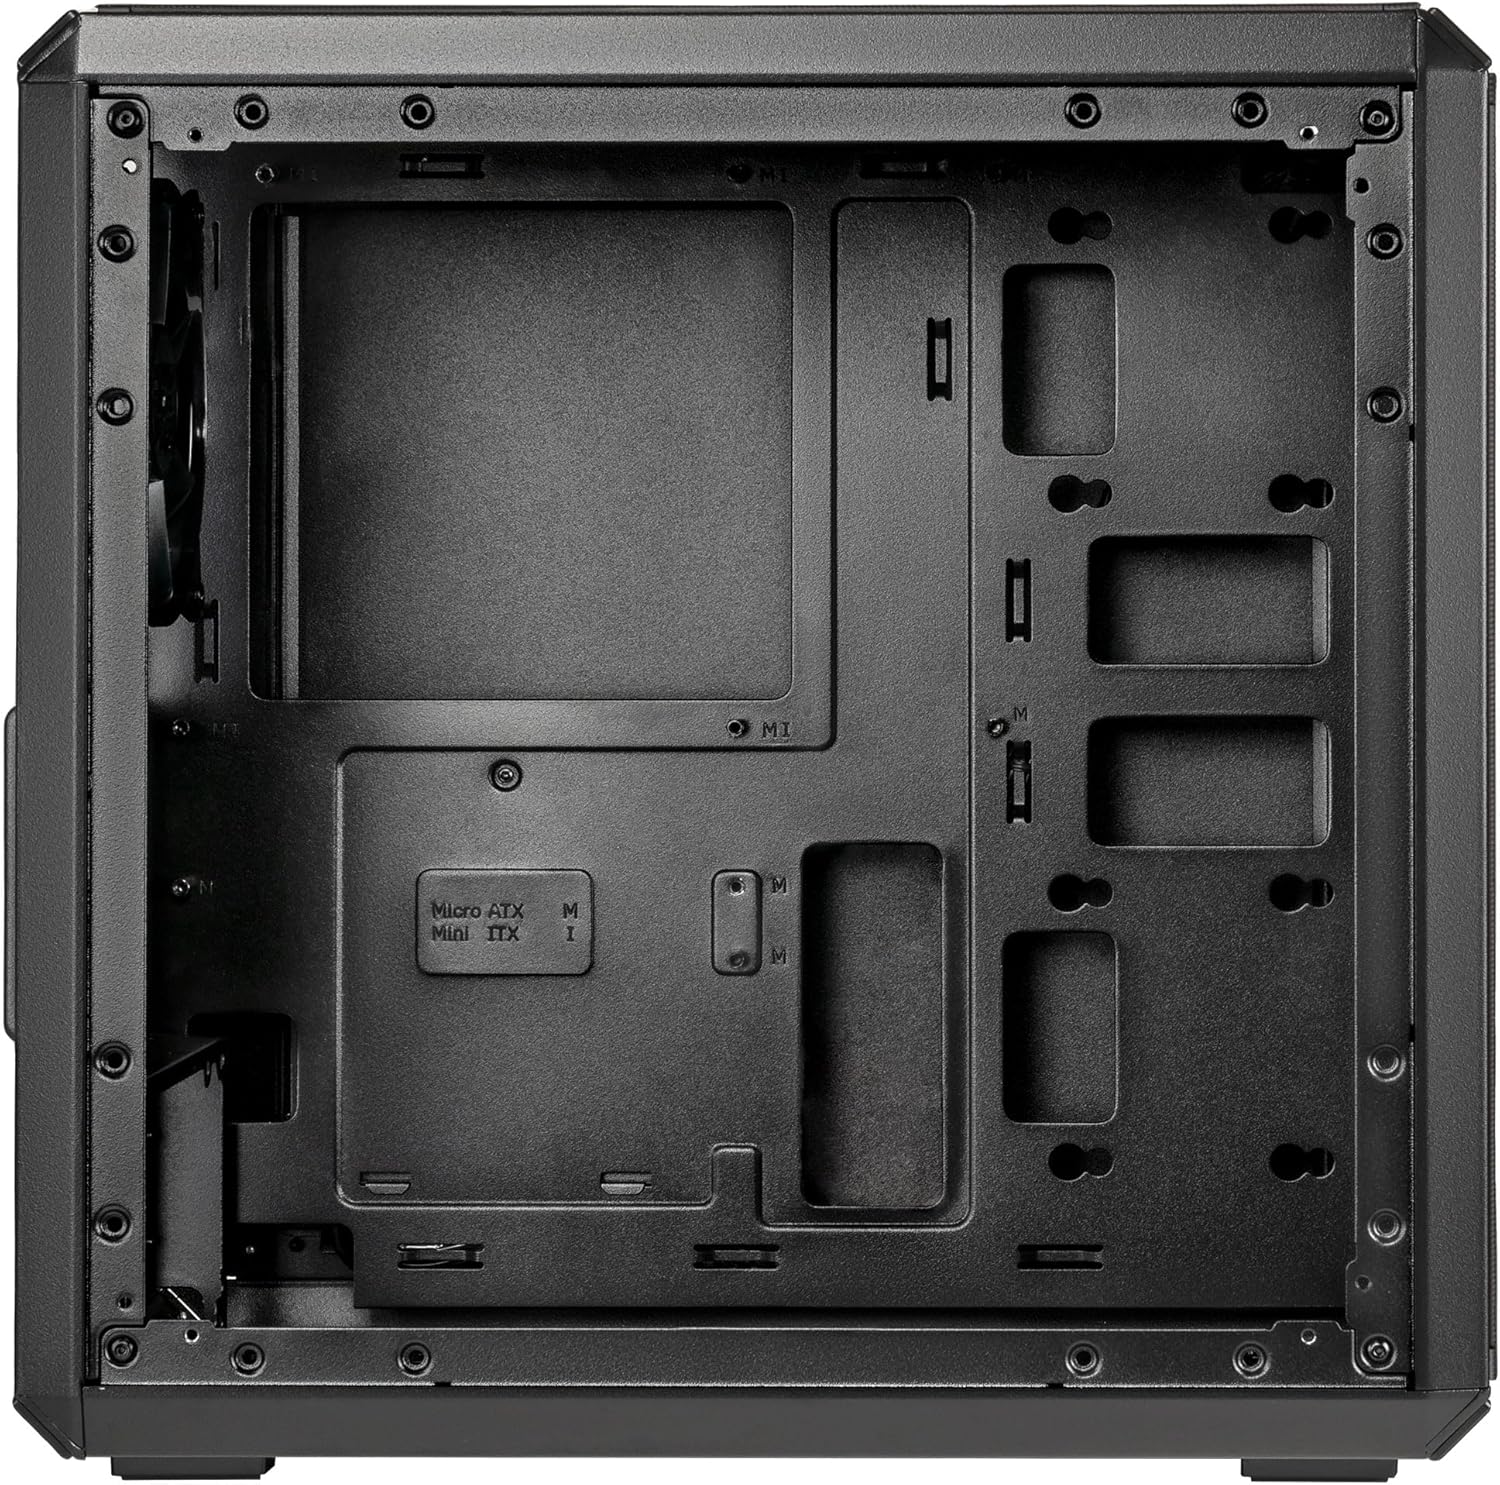
Internal view showing the motherboard tray with standoff locations for Micro-ATX and Mini-ITX.
3. Power Supply Unit (PSU) Installation
- The Q300L V2 supports standard ATX PSUs up to 160mm in length.
- Mount the PSU to the bracket at the bottom rear of the case.
- Secure the PSU with the provided screws.
4. Storage Drive Installation
- The case supports 3.5-inch HDDs and 2.5-inch SSDs.
- Locate the drive mounting points behind the motherboard tray or at the bottom of the case.
- Secure your drives using the appropriate screws.
Rear view of the motherboard tray, indicating drive mounting locations.
5. Graphics Card (GPU) and Expansion Card Installation
- The case supports GPUs up to 360mm in length.
- Remove the necessary expansion slot covers from the rear of the case.
- Insert your graphics card or other expansion cards into the PCIe slots on your motherboard.
- Secure the cards with screws.
6. CPU Cooler Installation
- The case accommodates CPU coolers up to 159mm in height.
- Install your CPU cooler according to its manufacturer's instructions.
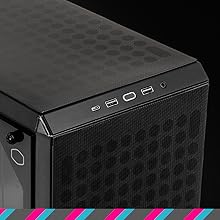
Diagram illustrating maximum clearances for GPU (360mm), CPU Cooler (159mm), and PSU (160mm).
7. Fan and Radiator Installation
- The case supports various fan and radiator configurations:
- Front: Up to two 120mm or 140mm fans, or a 240mm radiator.
- Top: Up to two 120mm or 140mm fans.
- Rear: One 120mm fan (one pre-installed).
- Bottom: One 120mm fan.
- Install fans and radiators as desired, ensuring proper airflow direction.

Diagram showing various fan and radiator mounting locations and sizes supported.
8. Cable Management
- Route all cables through the cutouts and tie-down points behind the motherboard tray.
- Use the provided cable ties to secure cables for a clean and organized interior.
9. Final Assembly
- Connect all necessary cables (power, data, front panel connectors) to your motherboard and components.
- Reattach the solid steel side panel and secure it with thumb screws.
- Carefully reattach the tempered glass side panel and secure it with the four thumb screws.
Operating
Once all components are installed and secured, connect your peripherals and power cable. The Q300L V2 is designed for efficient cooling through its perforated panels. Ensure that your fans are configured to create a positive or neutral pressure airflow for optimal thermal performance and dust prevention.
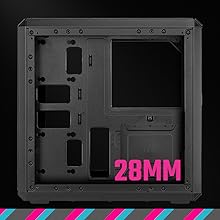
Illustration demonstrating optimal airflow paths through the perforated panels.
Front I/O Panel:
- Power Button: To turn on/off your PC.
- USB 3.2 Gen 2x2 Type C: For high-speed data transfer (up to 20Gbps).
- USB 3.2 Gen 1 Type A (x2): Standard USB ports for peripherals.
- Audio Jacks: For headphones and microphone.

Close-up view of the front I/O panel, highlighting the USB 3.2 Gen 2x2 Type C port.
Maintenance
Regular maintenance helps ensure the longevity and optimal performance of your PC case.
Dust Filter Cleaning:
- The Q300L V2 features magnetic dust filters on the front, top, and bottom panels.
- Periodically remove these filters and clean them with compressed air or a soft brush to prevent dust buildup and maintain airflow.
- Ensure filters are completely dry before reattaching them.
Exterior Cleaning:
- Wipe the exterior surfaces with a soft, damp cloth. Avoid abrasive cleaners.
- For the tempered glass panel, use a glass cleaner and a microfiber cloth to avoid streaks.
Troubleshooting
If you encounter issues, consider the following common solutions:
- PC not powering on: Double-check all power connections, including the 24-pin ATX, 8-pin CPU, and front panel power switch header on the motherboard. Ensure the PSU switch is in the 'ON' position.
- Fans not spinning: Verify that all fan cables are correctly connected to the motherboard headers or fan controller.
- No display output: Ensure your graphics card is properly seated in its PCIe slot and that the display cable is connected to the graphics card, not the motherboard (unless using integrated graphics).
- Overheating: Check fan orientation for proper airflow (intake/exhaust). Clean dust filters if they are clogged. Ensure CPU cooler and GPU fans are functioning correctly.
- USB ports not working: Confirm that the USB headers from the front panel are correctly connected to the motherboard.
Specifications
| Feature | Specification |
|---|---|
| Brand | Cooler Master |
| Model Name | Q300L V2 |
| Model Number | Q300LV2-KGNN-S00 |
| Case Type | Mid Tower |
| Motherboard Compatibility | Micro ATX, Mini ITX |
| Color | Black |
| Materials | Plastic, Metal, Tempered Glass |
| Dimensions (D x W x H) | 38.7 cm x 23 cm x 38.3 cm |
| Cooling Method | Air Cooling |
| Fan Size | 120 mm (pre-installed rear fan) |
| Total Fan Count | 2 (implied, 1 pre-installed) |
| Expansion Slots | 4 |
| USB Ports (Front I/O) | 1x USB 3.2 Gen 2x2 Type C, 2x USB 3.2 Gen 1 Type A |
| Internal Bays | 4 (for 3.5-inch HDDs/2.5-inch SSDs) |
| Max GPU Length | 360 mm |
| Max CPU Cooler Height | 159 mm |
| Max PSU Length | 160 mm |
| PSU Mounting Type | Bottom Mount |
| Additional Features | Dust Filters, Tempered Glass Side Panel |
Warranty and Support
Warranty Information:
This Cooler Master Q300L V2 PC Case comes with a 2-year warranty from the date of purchase. This warranty covers defects in materials and workmanship under normal use. Please retain your proof of purchase for warranty claims.
Technical Support:
For technical assistance, troubleshooting beyond this manual, or warranty inquiries, please visit the official Cooler Master website or contact their customer support directly. You can typically find contact information and support resources on the Cooler Master support page.
Cooler Master Official Website: www.coolermaster.com


