Boston Tech HK113
Boston Tech 6.5L Air Fryer User Manual
Model: HK113
Introduction
Thank you for choosing the Boston Tech 6.5L Air Fryer. This appliance is designed to provide a healthier way to cook your favorite foods, using rapid hot air circulation to achieve crispy results with significantly less oil. Please read this manual thoroughly before operating the appliance to ensure safe and efficient use. Keep this manual for future reference.
Important Safety Instructions
When using electrical appliances, basic safety precautions should always be followed, including the following:
- Read all instructions before use.
- Do not touch hot surfaces. Use handles or knobs.
- To protect against electric shock, do not immerse cord, plugs, or the main unit in water or other liquid.
- Close supervision is necessary when any appliance is used by or near children.
- Unplug from outlet when not in use and before cleaning. Allow to cool before putting on or taking off parts.
- Do not operate any appliance with a damaged cord or plug or after the appliance malfunctions or has been damaged in any manner.
- The use of accessory attachments not recommended by the appliance manufacturer may cause injuries.
- Do not use outdoors.
- Do not let cord hang over edge of table or counter, or touch hot surfaces.
- Do not place on or near a hot gas or electric burner, or in a heated oven.
- Extreme caution must be used when moving an appliance containing hot oil or other hot liquids.
- Always attach plug to appliance first, then plug cord into the wall outlet. To disconnect, turn any control to "off", then remove plug from wall outlet.
- Do not use appliance for other than intended use.
Product Overview
Familiarize yourself with the components of your Boston Tech Air Fryer.
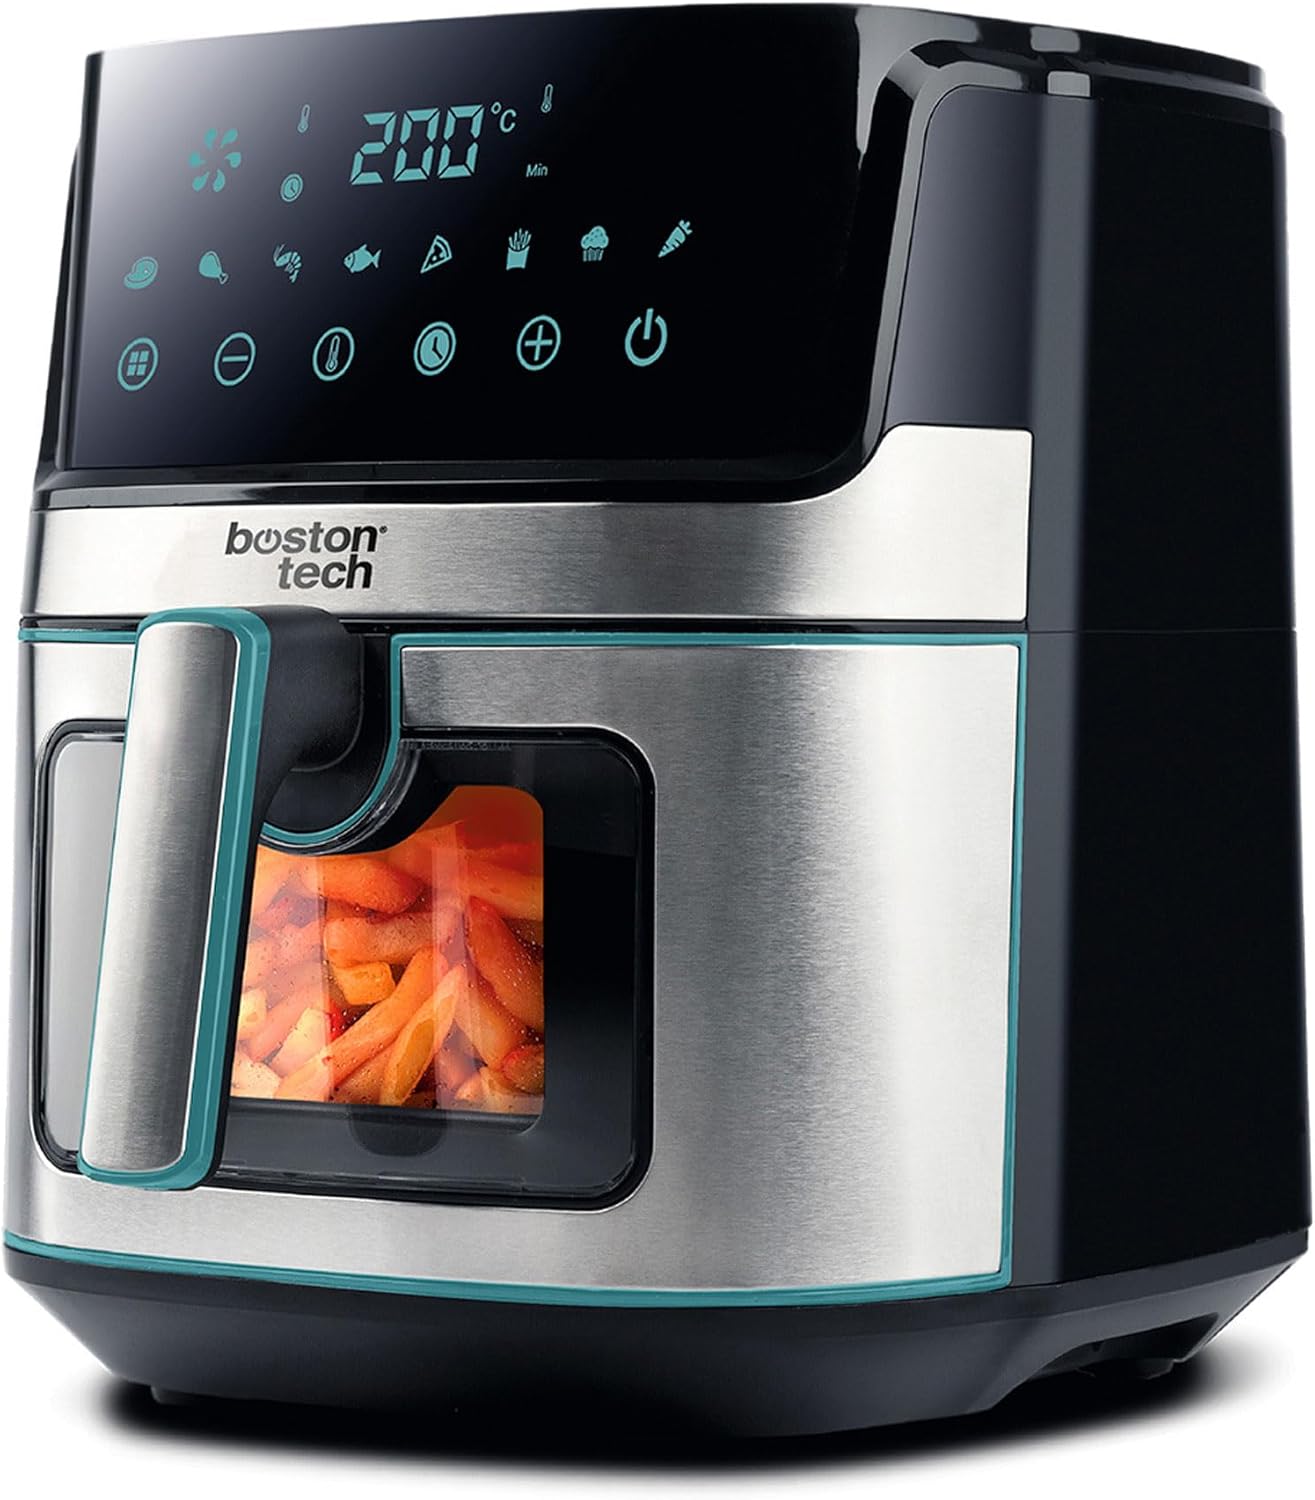
Image: Front view of the Boston Tech 6.5L Air Fryer, showcasing its sleek black and stainless steel design, digital touchscreen control panel, and a transparent viewing window on the basket. The window allows monitoring of food during cooking.
- Control Panel: Digital touchscreen for setting time, temperature, and selecting pre-set programs.
- Air Inlet: Located at the top of the unit.
- Air Outlet: Located at the rear of the unit.
- Frying Basket: Removable, non-stick basket for holding food.
- Viewing Window: Transparent window on the frying basket to observe cooking progress.
- Handle: Cool-touch handle for safe removal of the frying basket.
- Power Cord: For connecting to an electrical outlet.
Setup and First Use
- Unpacking: Carefully remove the air fryer and all packaging materials. Ensure all components are present and undamaged.
- Initial Cleaning: Before first use, clean the frying basket and any removable accessories with hot water, dish soap, and a non-abrasive sponge. Wipe the interior and exterior of the main unit with a damp cloth. Ensure all parts are completely dry before use.
- Placement: Place the air fryer on a stable, heat-resistant, and level surface. Ensure there is at least 10 cm (4 inches) of free space around the back and sides of the appliance to allow for proper air circulation. Do not place it directly against a wall or under cabinets.
- Power Connection: Plug the power cord into a grounded wall outlet. The appliance is now in standby mode.
- Pre-heating (Optional but Recommended): For best results, pre-heat the air fryer for 3-5 minutes at your desired cooking temperature before adding food. This helps achieve even cooking and crispiness.

Image: The Boston Tech Air Fryer with its non-stick frying basket fully removed from the main unit, illustrating how to access the interior for cleaning or loading food.
Operating Instructions
Control Panel Overview

Image: A detailed view of the air fryer's digital touchscreen, showing various icons for pre-set programs (e.g., fries, chicken, fish, pizza, cake, vegetables) and control buttons for temperature, time, and power.
The Boston Tech Air Fryer features an intuitive touchscreen control panel for easy operation.
- Power Button: Turns the appliance on/off and starts/pauses cooking.
- Temperature Control (+/-): Adjusts cooking temperature (80°C to 200°C).
- Time Control (+/-): Adjusts cooking time (0 to 60 minutes).
- Pre-set Programs: 8 dedicated icons for common dishes (e.g., fries, chicken, fish, pizza, cake, vegetables), each with optimized time and temperature settings.
Cooking Process
- Prepare Food: Place your ingredients in the frying basket. Do not overfill the basket to ensure even cooking.
- Insert Basket: Slide the frying basket firmly back into the main unit until it clicks into place.
- Power On: Press the Power button to turn on the display.
- Select Cooking Method:
- Using Pre-set Programs: Tap the icon corresponding to your desired dish. The air fryer will automatically set the optimal time and temperature.
- Manual Setting: Use the Temperature (+/-) and Time (+/-) buttons to set your preferred cooking temperature and duration.
- Start Cooking: Press the Power button again to start the cooking process. The fan and heating element will activate.
- Monitoring with Window: Utilize the transparent viewing window to check on your food's progress without opening the basket, preserving heat and cooking efficiency.

Image: A close-up of the air fryer's front, highlighting the transparent viewing window through which food, such as chicken pieces, can be seen cooking inside the basket.
- Shaking/Flipping (Optional): For some foods, especially fries or smaller items, shaking or flipping them halfway through cooking can ensure more even browning. Pull out the basket, shake/flip, and reinsert. The air fryer will automatically pause and resume when the basket is reinserted.
- End of Cooking: The air fryer will beep when the cooking time is complete. Carefully pull out the basket using the cool-touch handle.
- Serve: Remove cooked food from the basket using non-abrasive utensils. Be cautious of hot steam.
Maintenance and Cleaning
Regular cleaning will extend the life of your air fryer and ensure optimal performance.
- Unplug and Cool: Always unplug the air fryer from the power outlet and allow it to cool completely before cleaning.
- Clean Frying Basket and Insert:
- The non-stick frying basket and its insert are dishwasher safe. Alternatively, wash them with hot water, dish soap, and a non-abrasive sponge.
- For stubborn food residue, soak the basket in hot water with some dish soap for about 10 minutes before cleaning.
- Ensure the basket and insert are thoroughly dry before reassembling or storing.

Image: A close-up view of the removable, perforated basket insert, designed to allow air circulation around food and facilitate easy cleaning.
- Clean Interior: Wipe the interior of the air fryer with a damp cloth and mild detergent. Do not use abrasive cleaners or scouring pads.
- Clean Exterior: Wipe the exterior of the appliance with a soft, damp cloth.
- Storage: Store the air fryer in a cool, dry place when not in use. Ensure the power cord is neatly wrapped.
Troubleshooting
If you encounter any issues with your air fryer, refer to the following common problems and solutions:
| Problem | Possible Cause | Solution |
|---|---|---|
| Air fryer does not turn on. | Appliance not plugged in; power outlet not working; basket not inserted correctly. | Ensure the power cord is securely plugged into a working outlet. Check if the frying basket is fully inserted and clicked into place. |
| Food is not cooked evenly. | Basket is overfilled; food not shaken/flipped. | Do not overfill the basket. Shake or flip ingredients halfway through cooking for even results. |
| Food is not crispy. | Not enough oil (for certain foods); temperature too low; cooking time too short. | Lightly brush or spray food with oil if desired. Increase temperature or cooking time. Ensure pre-heating is done. |
| White smoke coming from appliance. | Grease residue from previous use; fatty ingredients. | Clean the basket and interior thoroughly after each use. For fatty foods, place a small amount of water in the bottom of the outer pan to prevent smoke. |
| Appliance smells like plastic. | New appliance odor. | This is normal for first few uses. It will dissipate. Ensure good ventilation. |
Specifications
- Brand: Boston Tech
- Model Number: HK113
- Capacity: 6.5 Liters
- Power: 1700 Watts
- Voltage: 220 Volts
- Material: Stainless Steel, Plastic
- Color: Black, Stainless Steel
- Product Dimensions: Approximately 38.8 x 32.6 x 37.5 cm (L x W x H)
- Item Weight: 5 Kilograms
- Temperature Control: 80°C to 200°C
- Timer: Up to 60 minutes
- Special Features: Timer, Temperature Control, Programmable, Viewing Window
Warranty and Support
For warranty information and customer support, please refer to the purchase documentation or contact Boston Tech customer service directly. Keep your proof of purchase for any warranty claims.
Online Support: Visit the official Boston Tech website for FAQs and support resources. Boston Tech Store on Amazon