
1. Introduction
Thank you for choosing the RICIAL Wake Up Light Sunrise Alarm Clock, Model CM023. This device is designed to enhance your daily routine with gentle sunrise and sunset simulations, dual alarms, natural sounds, and customizable light settings. Please read this manual thoroughly before use to ensure proper operation and to maximize your experience.
Package Contents:
- RICIAL Wake Up Light Sunrise Alarm Clock (Model CM023)
- Power Adapter
- User Manual
2. Safety Information
- Do not immerse the device in water or other liquids.
- Keep the device away from heat sources and direct sunlight.
- Do not attempt to disassemble or repair the device yourself. Contact customer support for assistance.
- Ensure the power adapter is compatible with your local power supply.
- Keep out of reach of children.
3. Product Overview

Front view of the RICIAL Wake Up Light Sunrise Alarm Clock.
Control Layout:

Detailed view of the front control buttons.
- Timer Button: Activates/adjusts the countdown timer.
- Light Brightness Button: Adjusts the brightness of the main light.
- Power Button: Turns the main light on/off.
- Mode (M) Button: Cycles through different modes or settings.
- Color Temperature Button: Changes the color temperature of the light.
- Display Brightness Button: Adjusts the brightness of the digital time display.

Detailed view of the top control buttons.
- Sleep Button: Activates sleep aid mode.
- Alarm 1 Button: Sets or activates Alarm 1.
- Alarm 2 Button: Sets or activates Alarm 2.
- Snooze/12H/24H Button: Activates snooze or switches between 12-hour and 24-hour time format.
- SET Button: Confirms settings during setup.
- +/- Buttons: Adjusts values (e.g., time, volume, brightness).
4. Setup
4.1 Power Connection
- Connect the power adapter to the DC input port on the back of the alarm clock.
- Plug the power adapter into a standard electrical outlet. The display will illuminate.
4.2 Setting the Current Time
- Press and hold the SET button on the top of the device until the hour display flashes.
- Use the +/- buttons to adjust the hour.
- Press SET again to confirm the hour and move to minute adjustment. The minute display will flash.
- Use the +/- buttons to adjust the minutes.
- Press SET again to confirm the minutes and exit time setting mode.
- To switch between 12-hour and 24-hour format, briefly press the Snooze/12H/24H button.
Video demonstrating how to set the alarm clock, including time, sound, volume, color temperature, and pre-alarm light advance time.
5. Operating Instructions
5.1 Setting Alarms (Dual Alarms)
The device supports two independent alarms (Alarm 1 and Alarm 2).
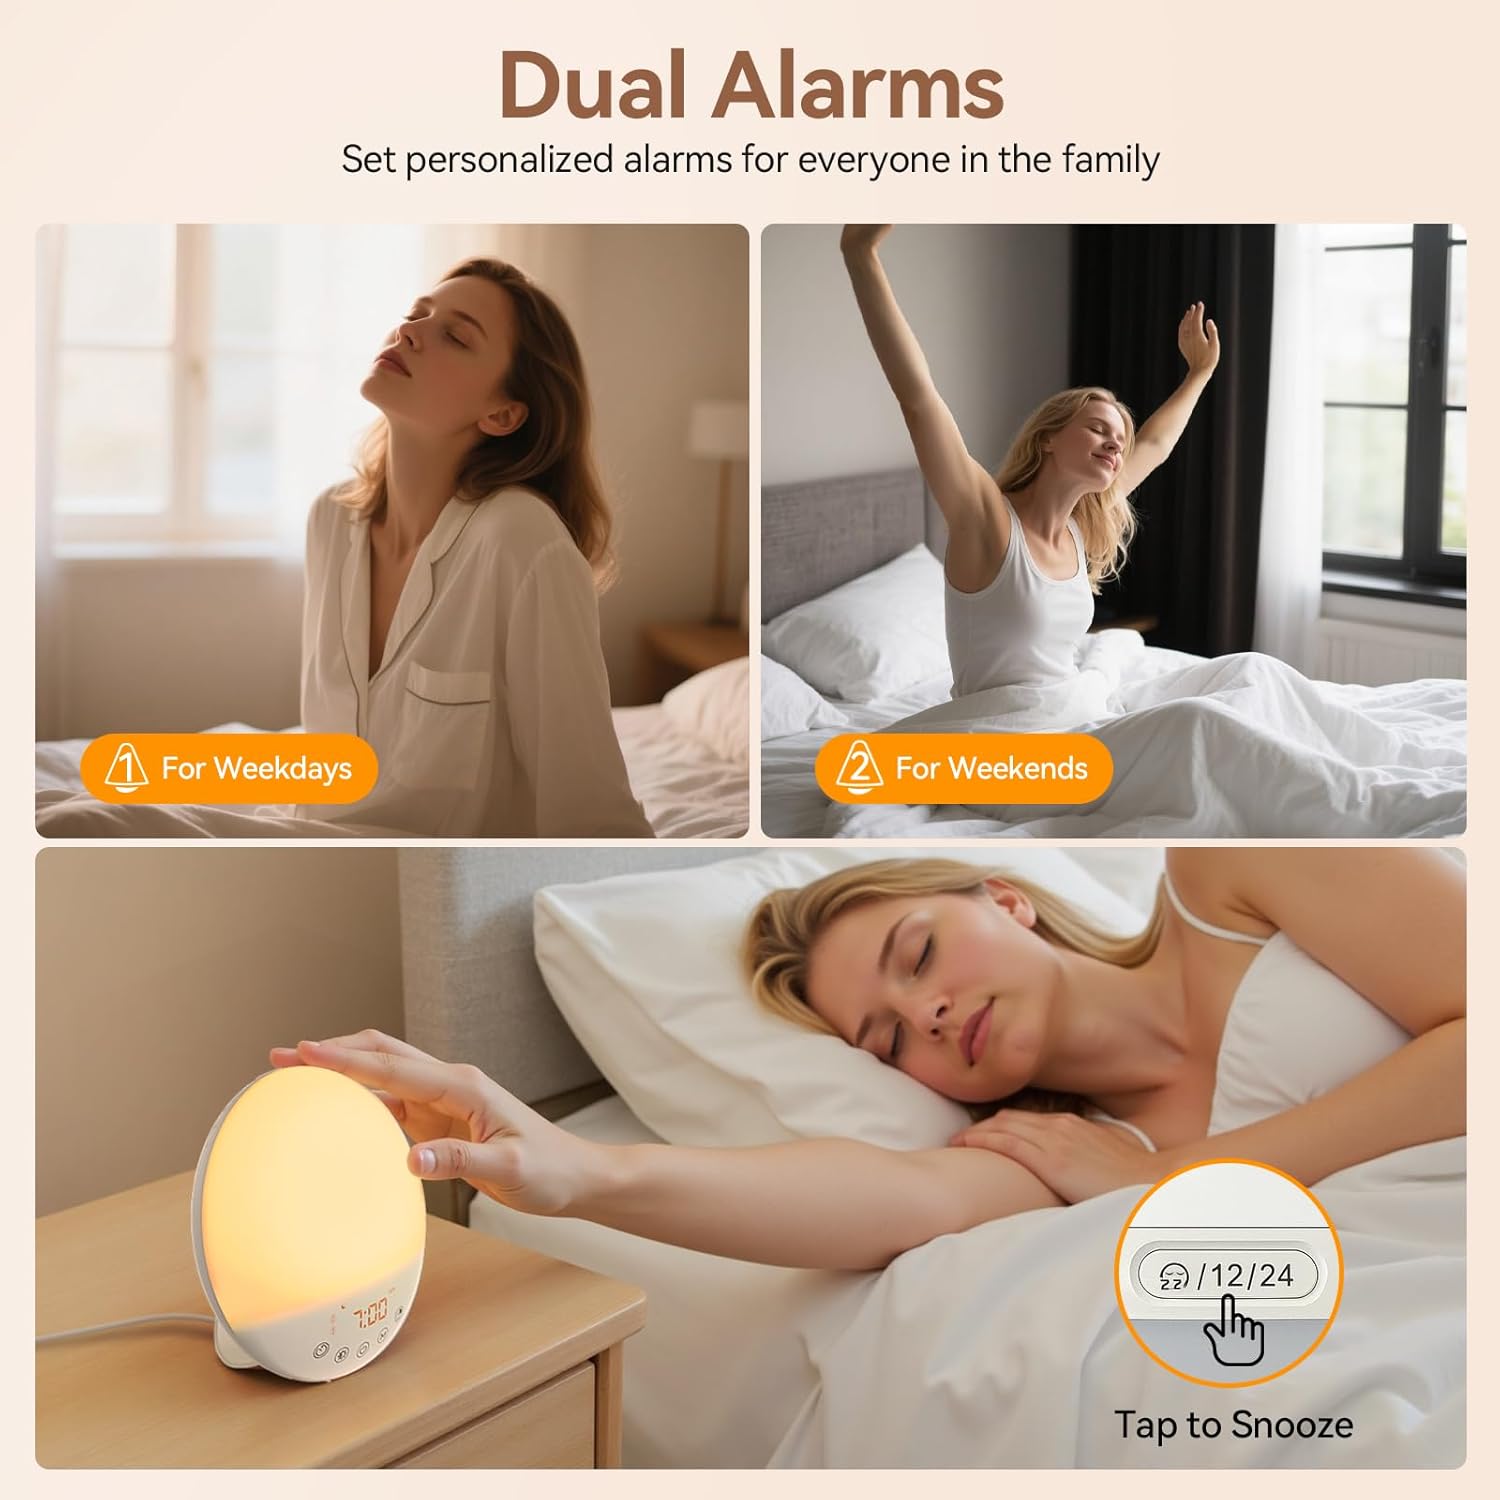
The alarm clock supports setting two separate alarms for different schedules.
- Press the Alarm 1 or Alarm 2 button. The display will show "OFF".
- Press the Alarm 1 or Alarm 2 button again to activate the alarm. The alarm time will flash.
- Use the +/- buttons to adjust the desired alarm hour.
- Press SET to confirm the hour and move to minute adjustment.
- Use the +/- buttons to adjust the desired alarm minutes.
- Press SET to confirm the minutes and proceed to sound selection.
- Use the +/- buttons to select a natural sound (S1-S10) or FM radio as the alarm sound.
- Press SET to confirm the sound and proceed to volume adjustment.
- Use the +/- buttons to adjust the alarm volume (V1-V15).
- Press SET to confirm the volume and proceed to light advance time.
- Use the +/- buttons to select the pre-alarm light advance time (0-60 minutes). This determines how long before the alarm the sunrise simulation begins.
- Press SET to save all alarm settings.
5.2 Sunrise Simulation
The sunrise simulation feature gradually increases light brightness from 3% to 100% over a period of 0-60 minutes before your set alarm time, mimicking a natural sunrise to help you wake up gently.

Visual representation of the sunrise simulation, showing light gradually increasing over time.
5.3 Snooze Function
When the alarm sounds, press the large Snooze/12H/24H button on the top of the device to activate the snooze function. This will provide an additional 10 minutes of sleep before the alarm sounds again. The snooze function can be used up to 2 times.
Video demonstrating various functions including snooze, light settings, display brightness, and countdown timer.
5.4 Sleep Aid Mode / Sunset Simulation
Activate the sleep aid mode by pressing the Sleep button. This mode offers a sunset simulation where the light and sound gradually dim over a set period (0-90 minutes) to help you relax and fall asleep. You can choose from 5 brightness levels, 4 color temperatures, and 10 soothing sleep sounds.
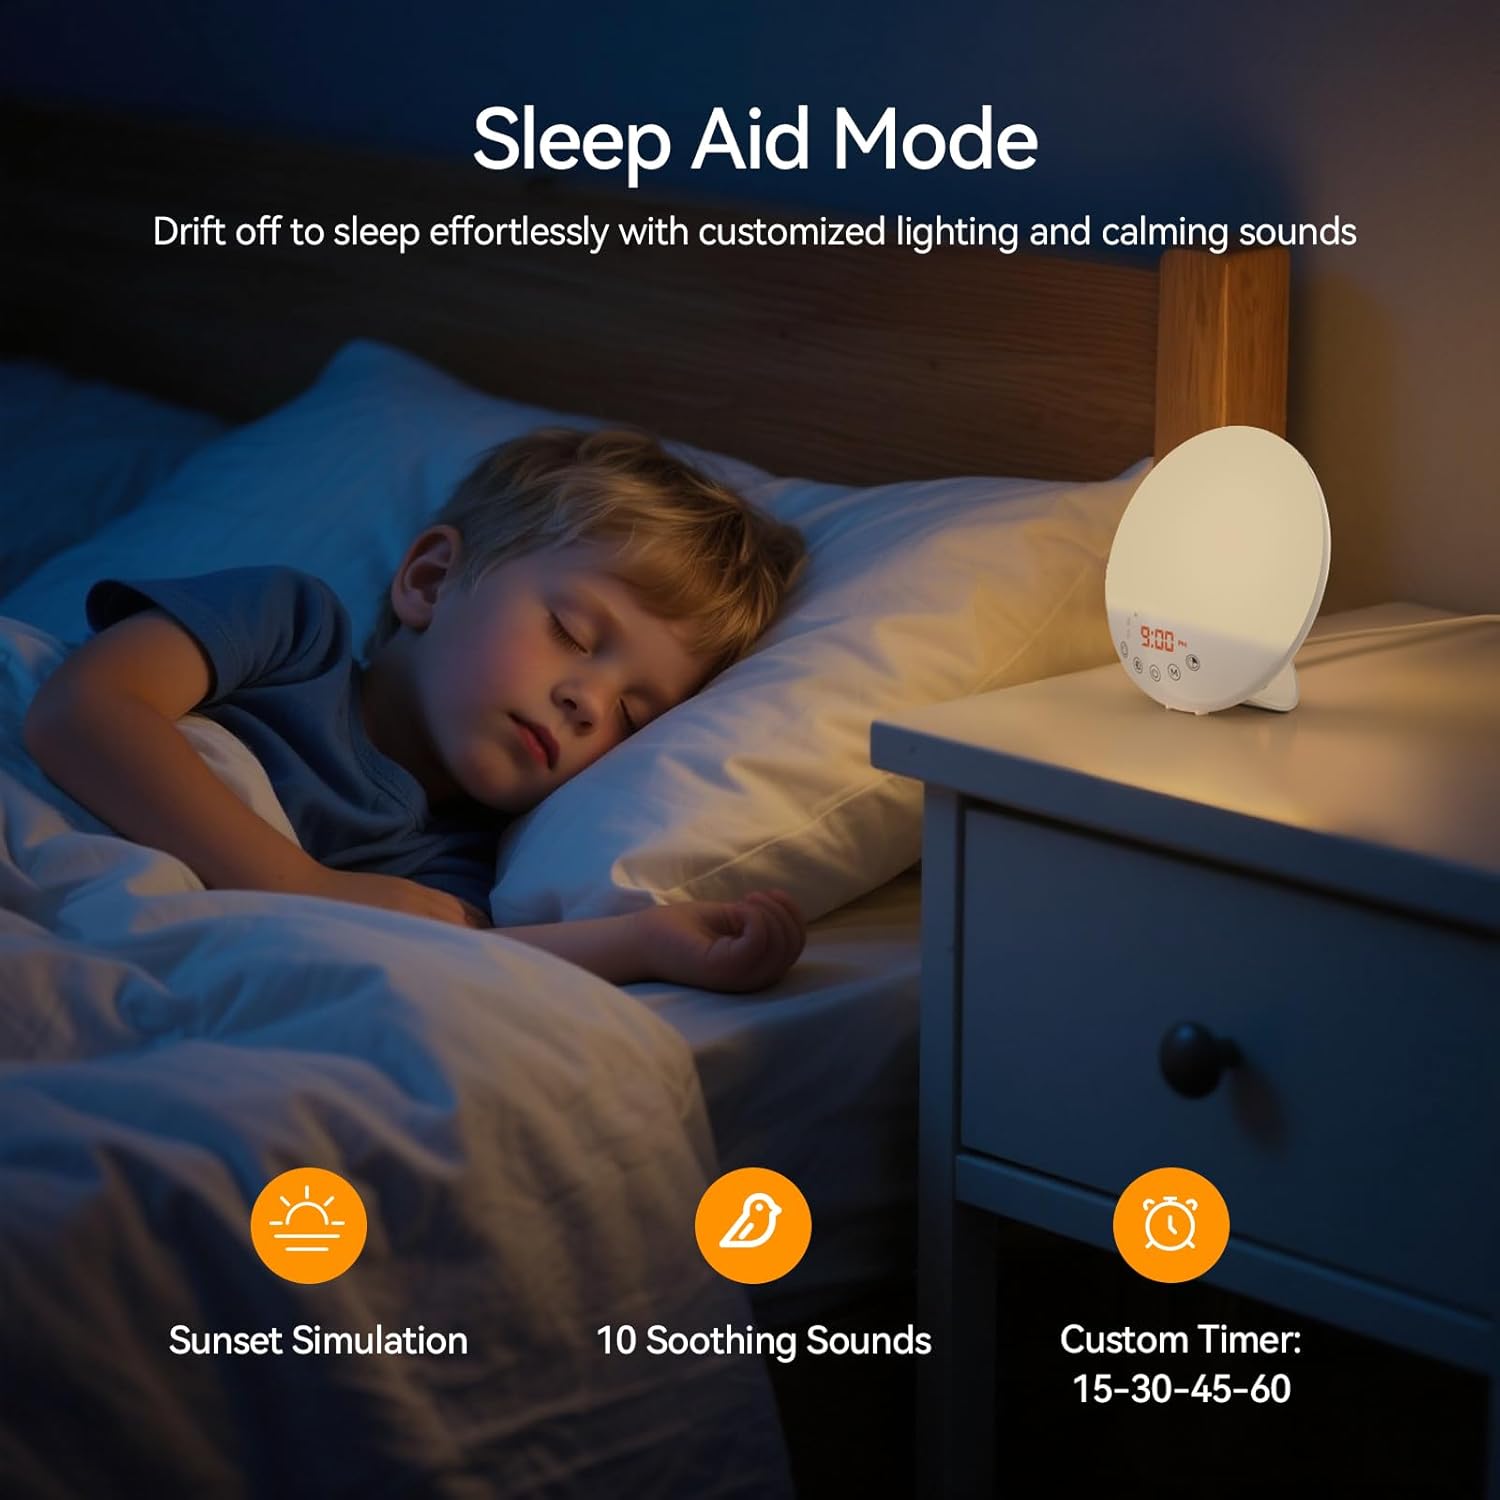
Sleep Aid Mode helps you drift off to sleep with customized lighting and calming sounds.

Selection of 10 natural sounds for sleep aid and alarm functions.
5.5 Adjusting Light Settings (Brightness & Color Temperature)
You can customize the main light's brightness and color temperature.
- Brightness: Press the Light Brightness button to cycle through 5 brightness levels (3%, 10%, 40%, 70%, 100%).
- Color Temperature: Press the Color Temperature button to cycle through 4 color temperatures (2800K Warm Light, 4000K Natural Light, 5000K Day Light, 6500K White Light).
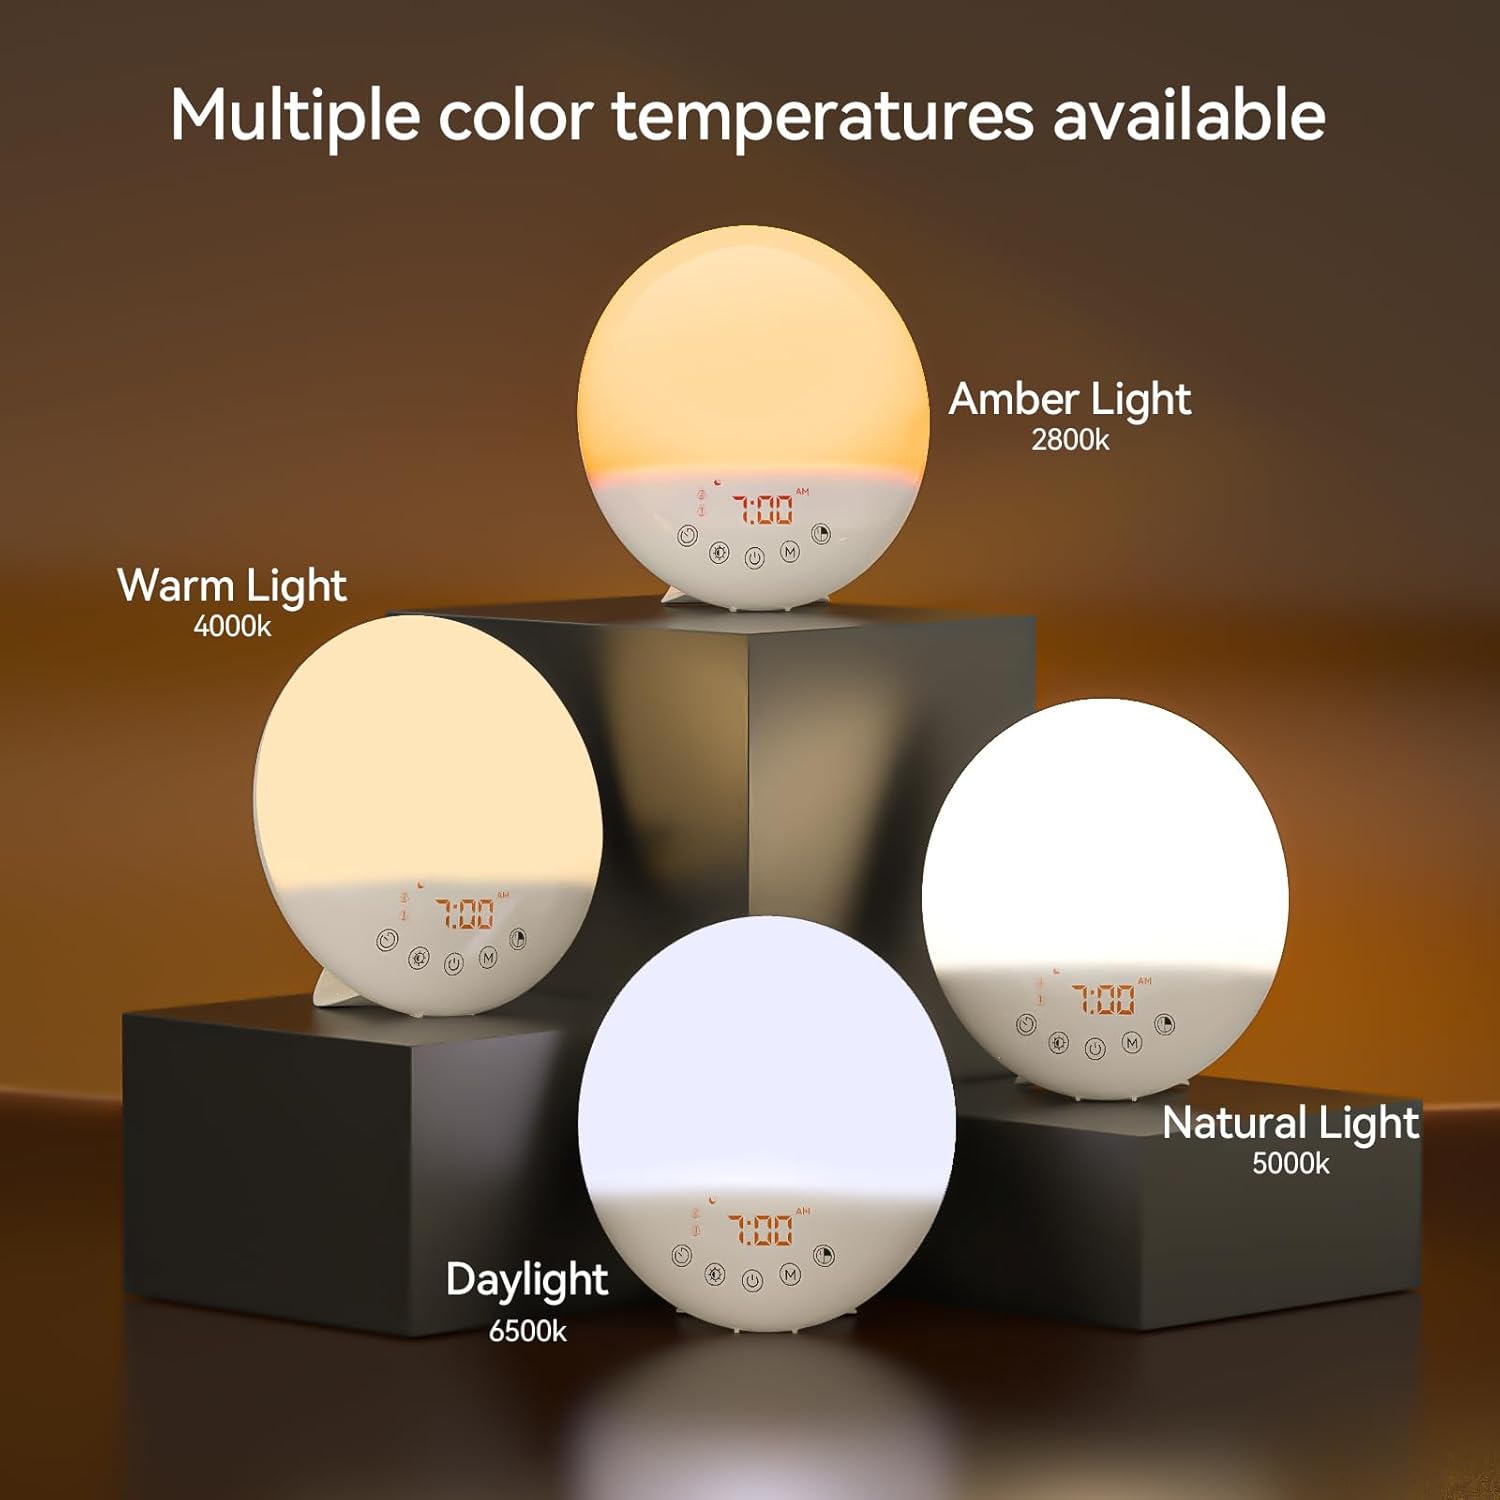
The device offers multiple color temperatures to suit various preferences.
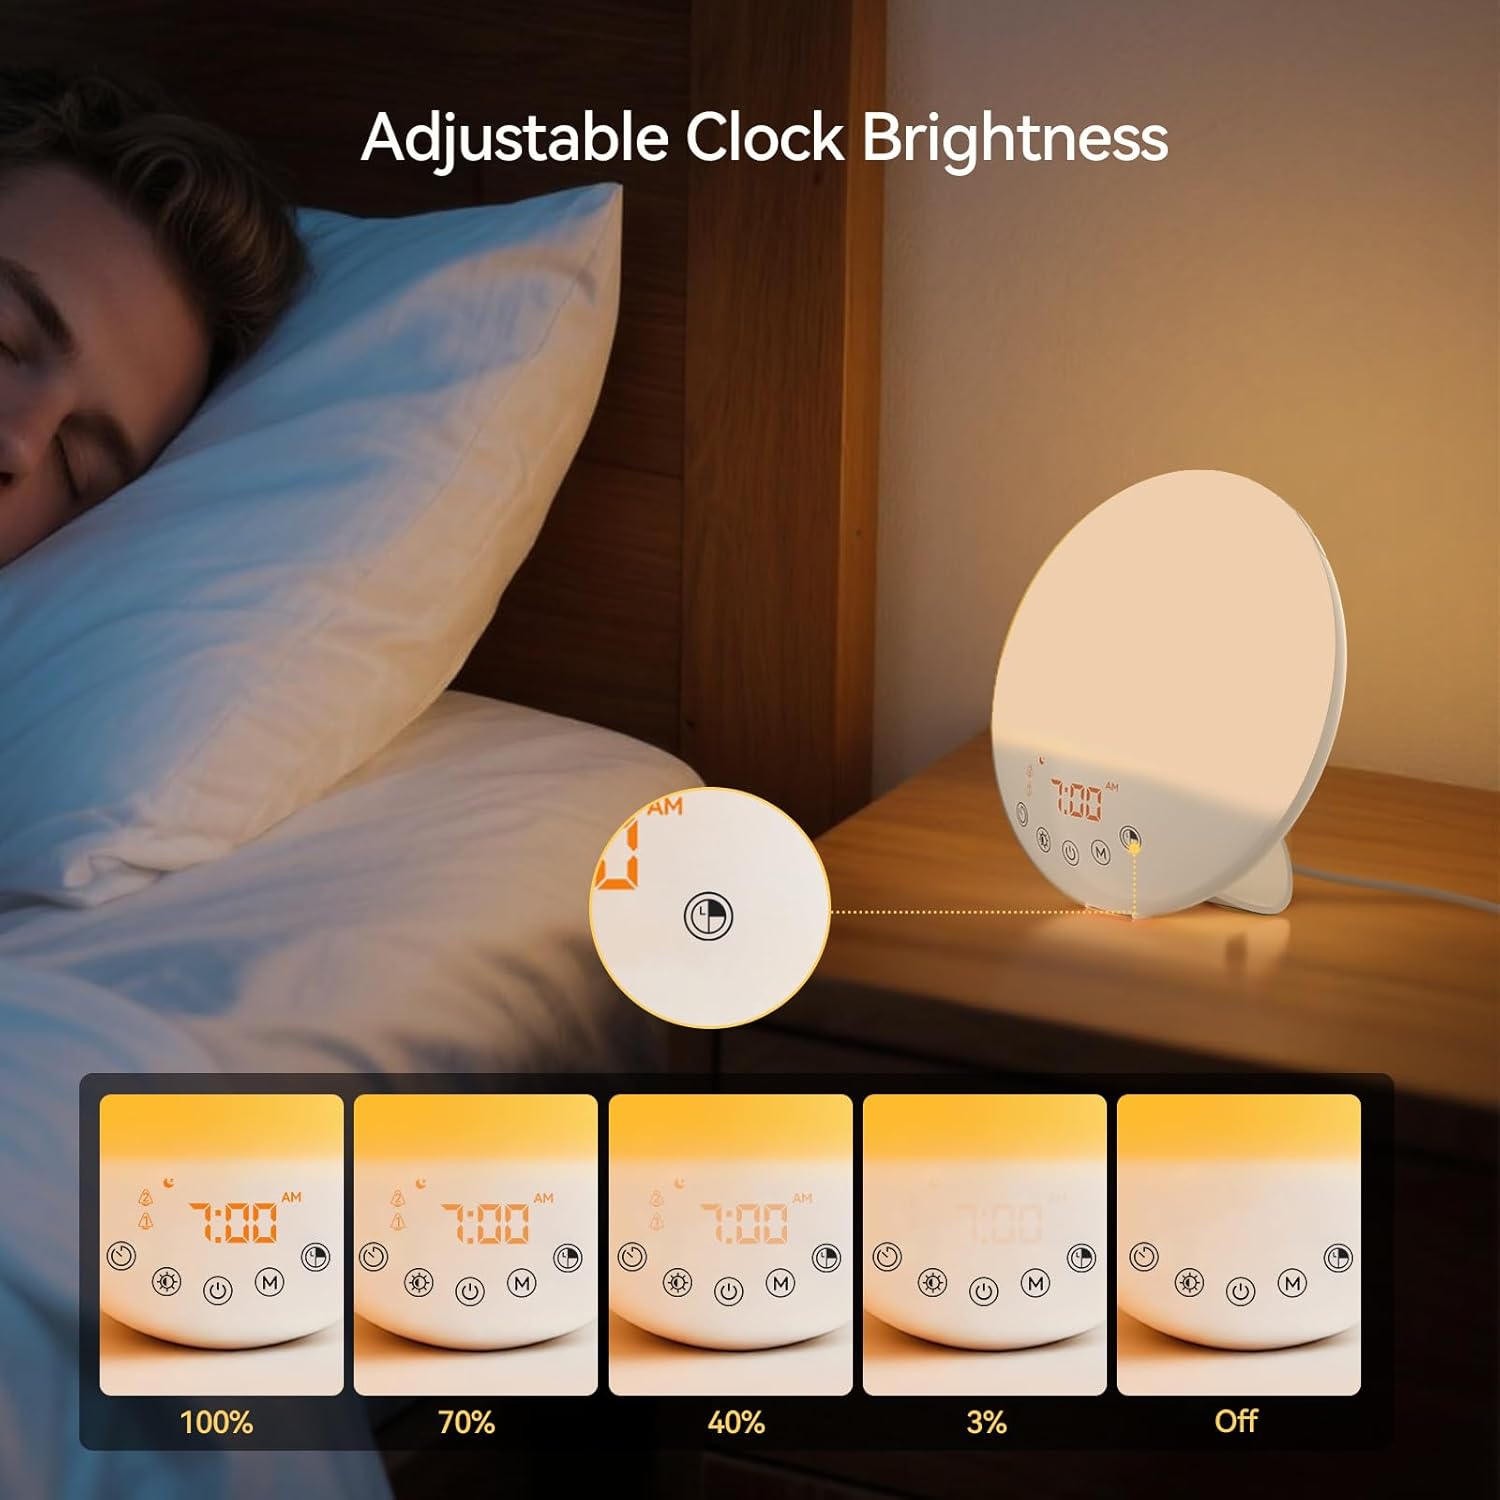
The light can be adjusted to 5 different brightness levels.
5.6 Adjusting Display Brightness
To reduce nighttime glare, the digital display brightness can be adjusted. Press the Display Brightness button to cycle through 4 levels (100%, 70%, 40%, 3%) or turn it off completely.
5.7 Countdown Timer
The device includes a countdown timer for 15, 30, 45, or 60 minutes, ideal for reading or unwinding before bed. Press the Timer button to select the desired duration or turn it off.
5.8 General Use
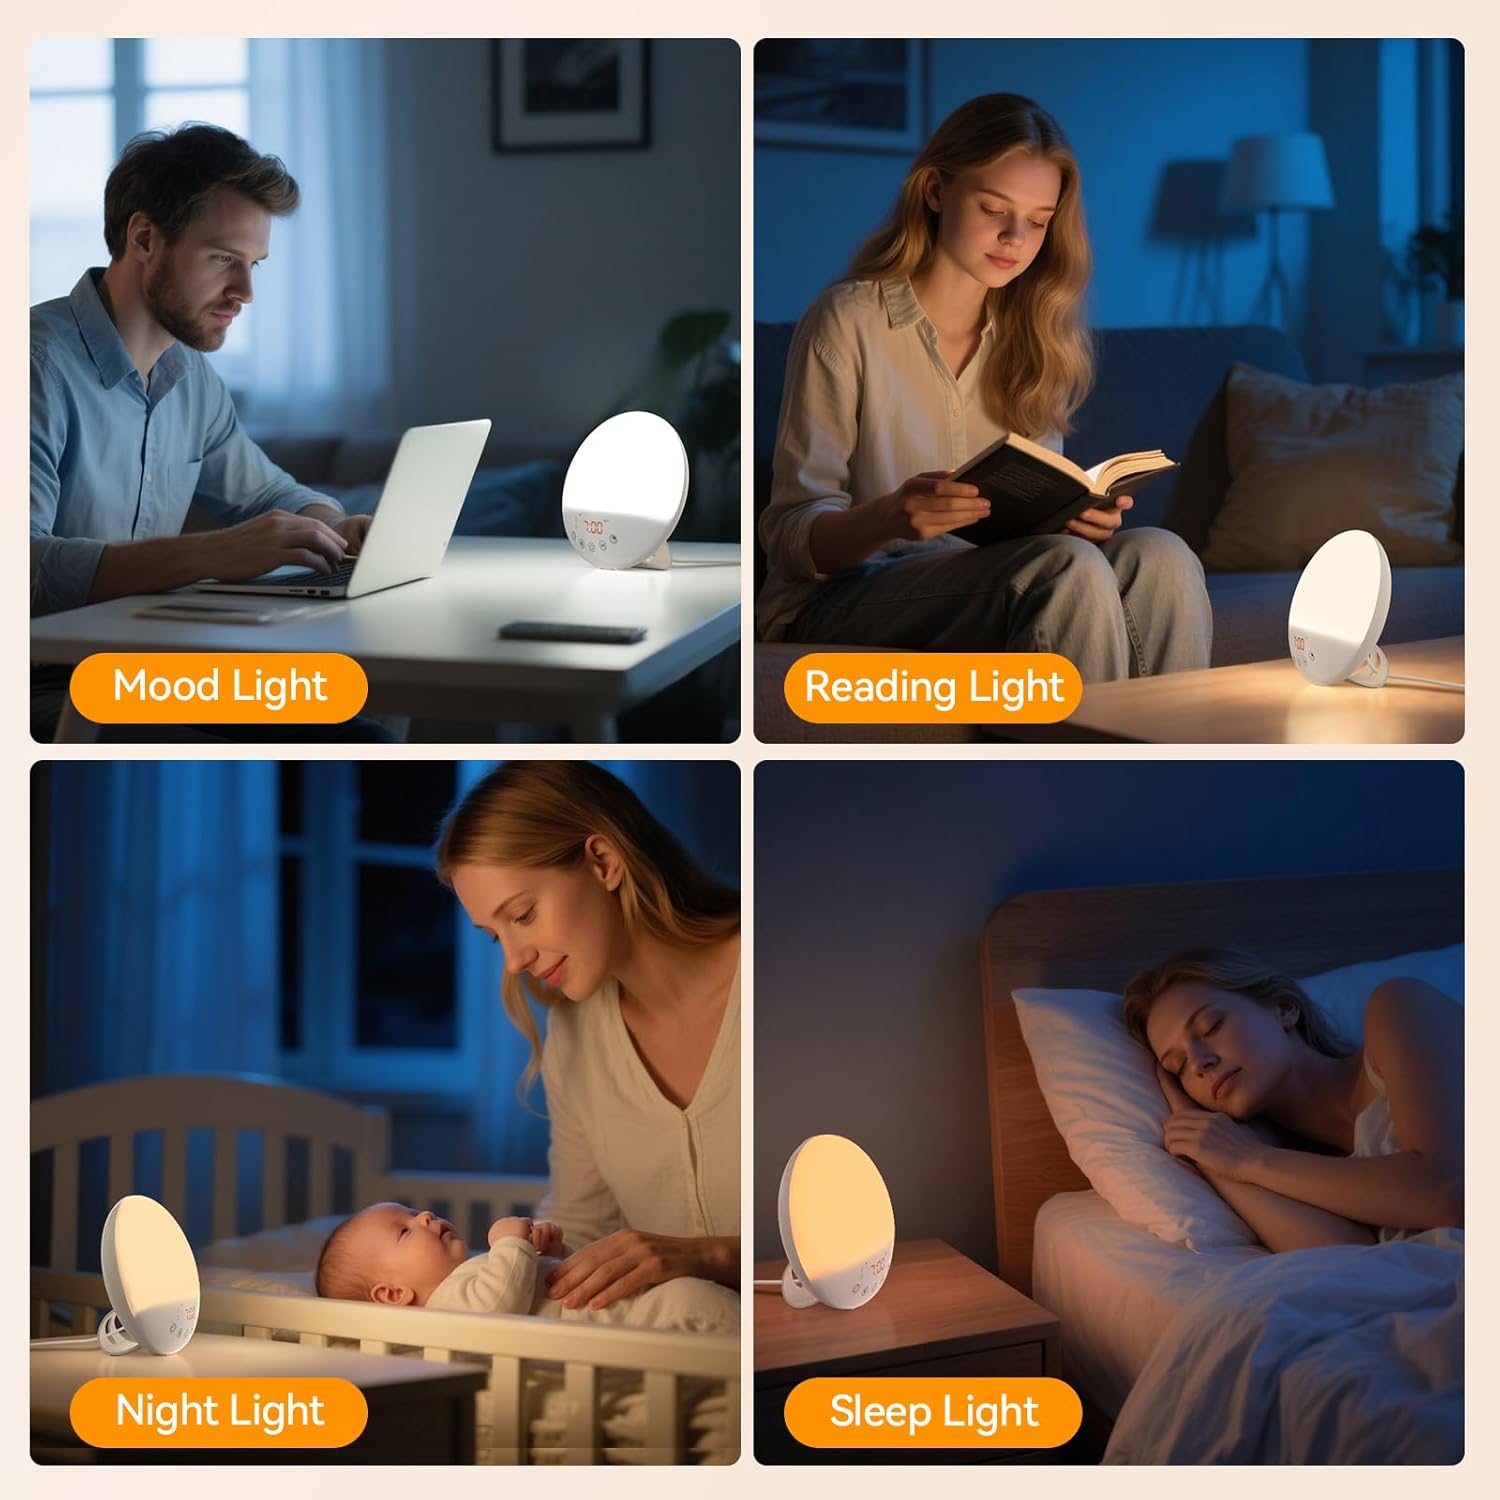
The versatile light can be used for various purposes such as mood lighting, reading, as a night light, or for sleep.
6. Maintenance
- Unplug the device before cleaning.
- Wipe the surface with a soft, dry cloth. Do not use abrasive cleaners or solvents.
- Do not allow water or liquids to enter the device.
7. Troubleshooting
- Device not turning on: Ensure the power adapter is securely connected to both the device and a working power outlet.
- Alarm not sounding: Verify that the alarm is enabled and the volume is not set to zero. Check the alarm time settings.
- Light not brightening gradually: Confirm that the sunrise simulation advance time is set correctly (0-60 minutes).
- Display is too bright/dim: Adjust the display brightness using the dedicated button.
- Buttons unresponsive: Unplug the device for a few minutes, then plug it back in to reset.
8. Specifications
| Feature | Detail |
|---|---|
| Model Number | CM023 |
| Brand | RICIAL |
| Light Intensity | 10000 Lux (UV-Free) |
| Color Temperatures | 4 (2800K, 4000K, 5000K, 6500K) |
| Brightness Levels | 5 (3%, 10%, 40%, 70%, 100%) |
| Natural Sounds | 10 |
| Alarms | Dual Alarms |
| Snooze Duration | 10 minutes (up to 2 times) |
| Sleep Aid Timer | 0-90 minutes |
| Countdown Timer | 15, 30, 45, 60 minutes |
| Product Dimensions | 6.81"D x 4.33"W x 7.87"H |
| Item Weight | 1.39 Pounds |
9. Warranty and Support
This product comes with a standard manufacturer's warranty. For detailed warranty information, product support, or any inquiries, please refer to the contact information provided on the product packaging or visit the official RICIAL website. Please retain your proof of purchase for warranty claims.

