1. Introduction
This manual provides essential information for the proper installation, use, and maintenance of your Baby Trend Secure-Lift Infant Car Seat. Please read all instructions carefully before using the car seat to ensure the safety and comfort of your child. Keep this manual in a safe place for future reference.
Important Safety Information:
- Always follow all instructions and warnings provided in this manual and on the car seat labels.
- Never leave a child unattended in the car seat.
- Ensure the car seat is correctly installed and the child is properly secured before each use.
- This car seat is designed for infants weighing 4 to 35 pounds and up to 32 inches in height, in a rear-facing position only.

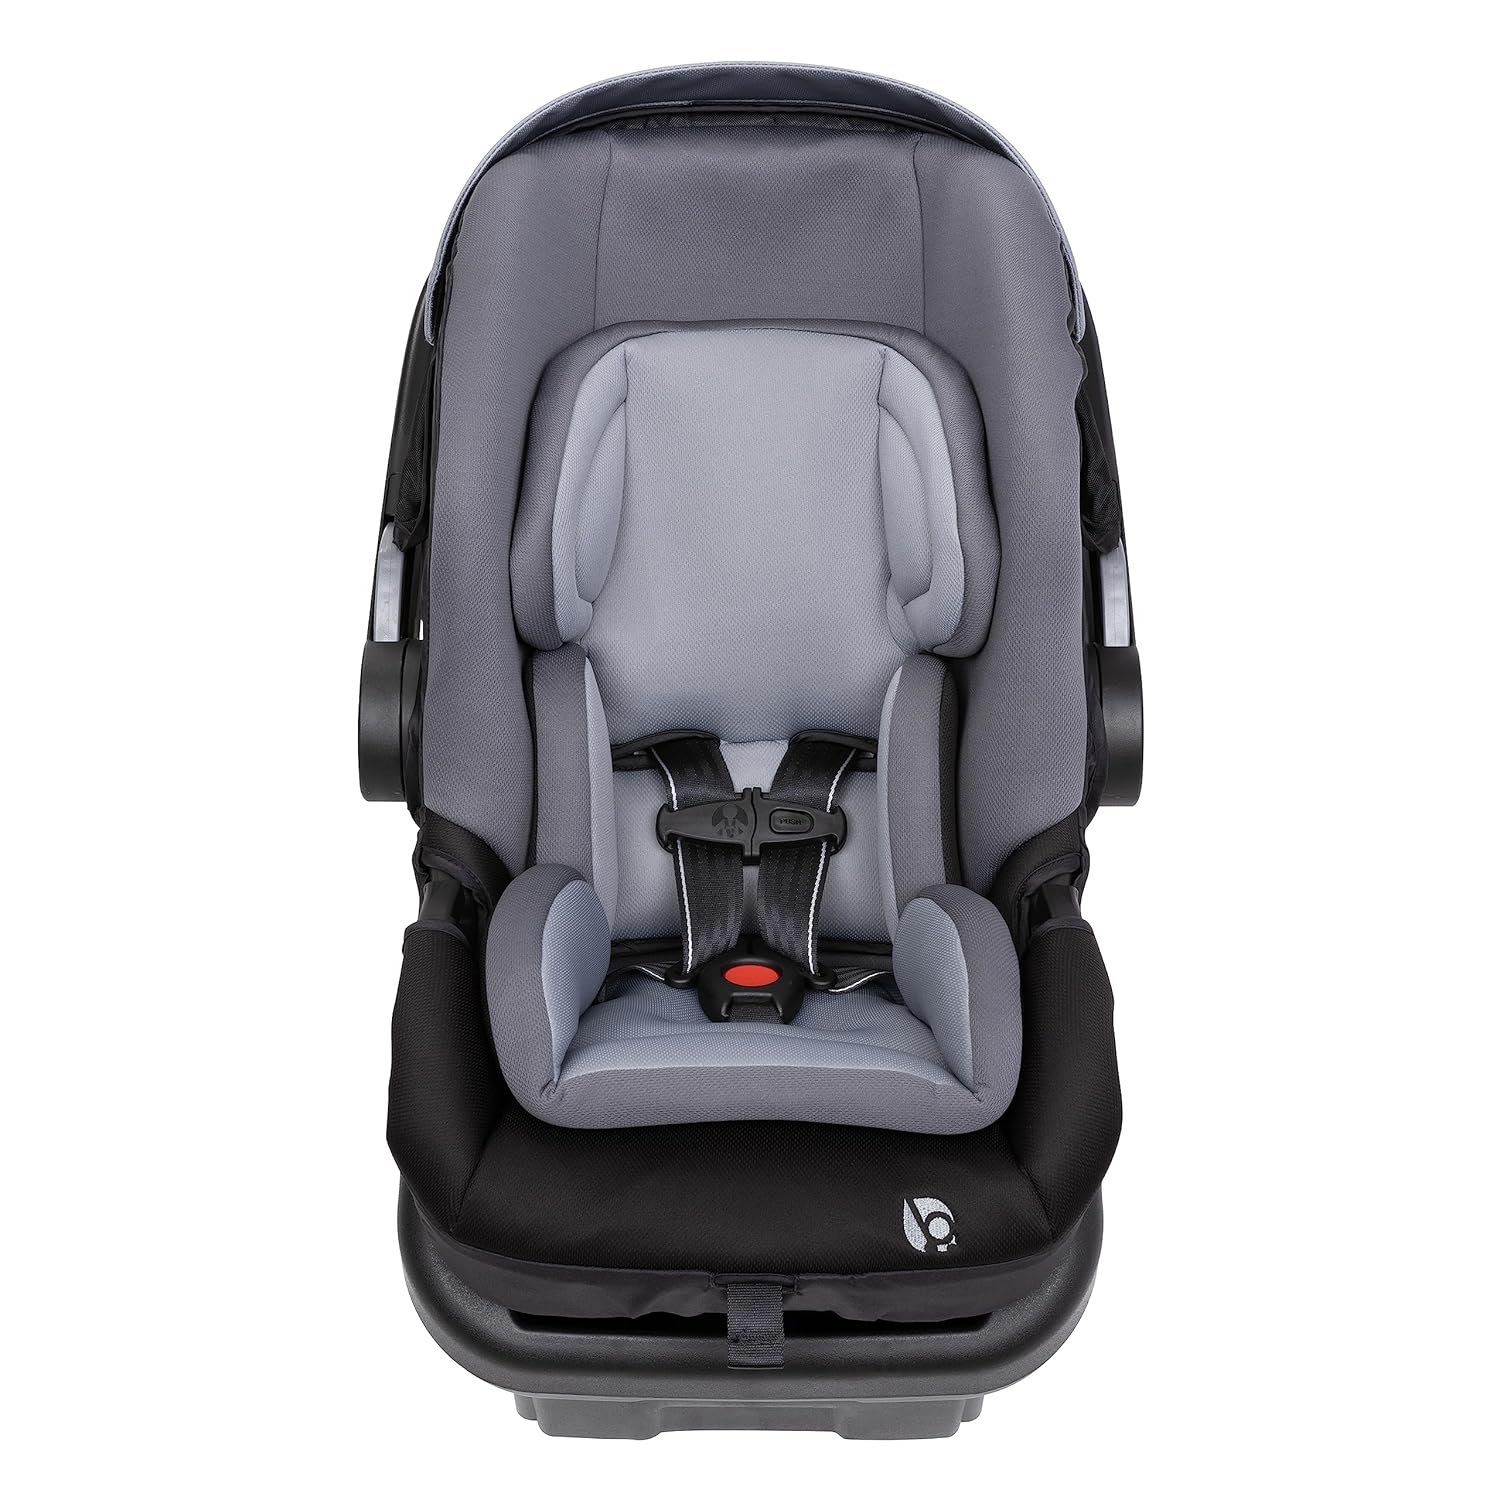
2. Product Components
Familiarize yourself with the various parts of your Baby Trend Secure-Lift Infant Car Seat:
- Infant Car Seat: The main carrier for your child.
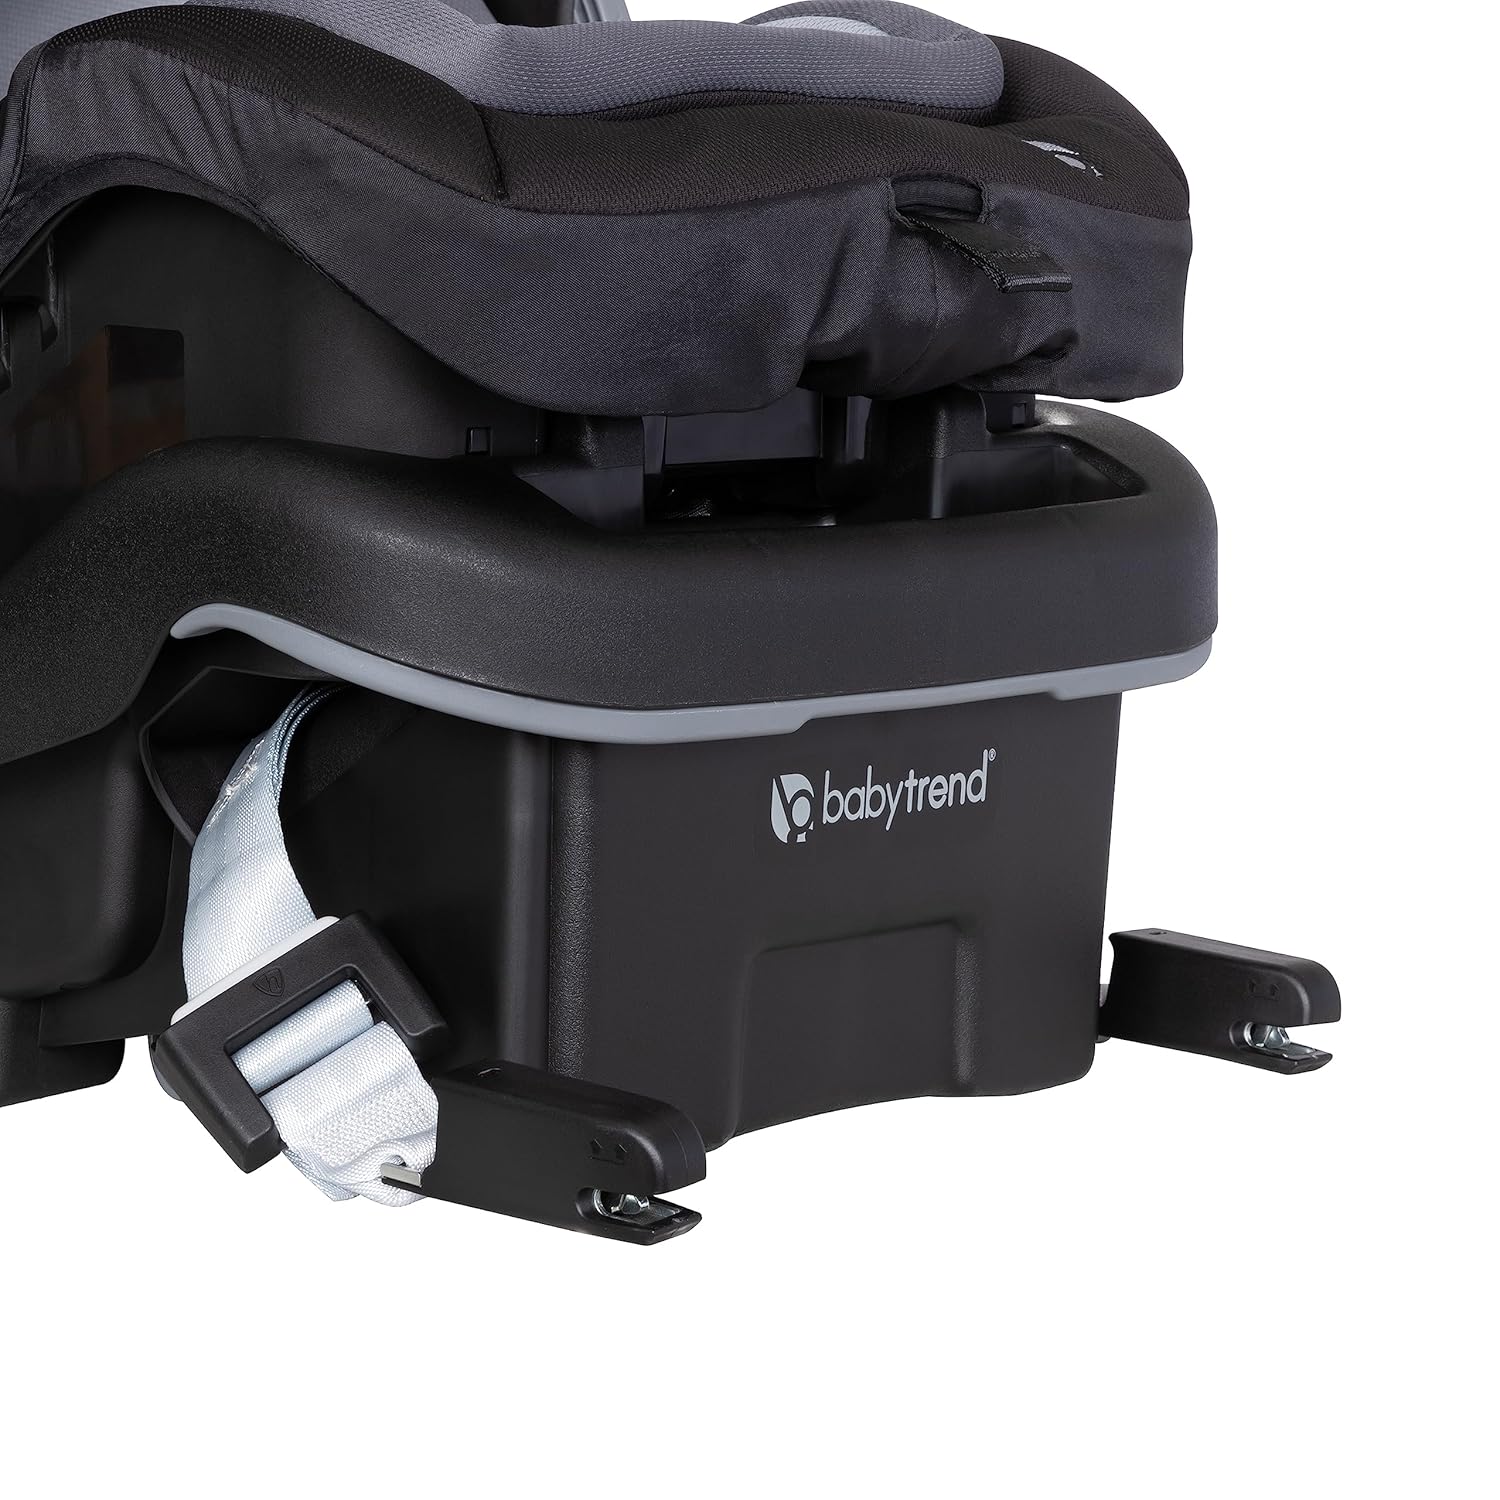
- Car Seat Base: Provides a secure foundation for installation in the vehicle.
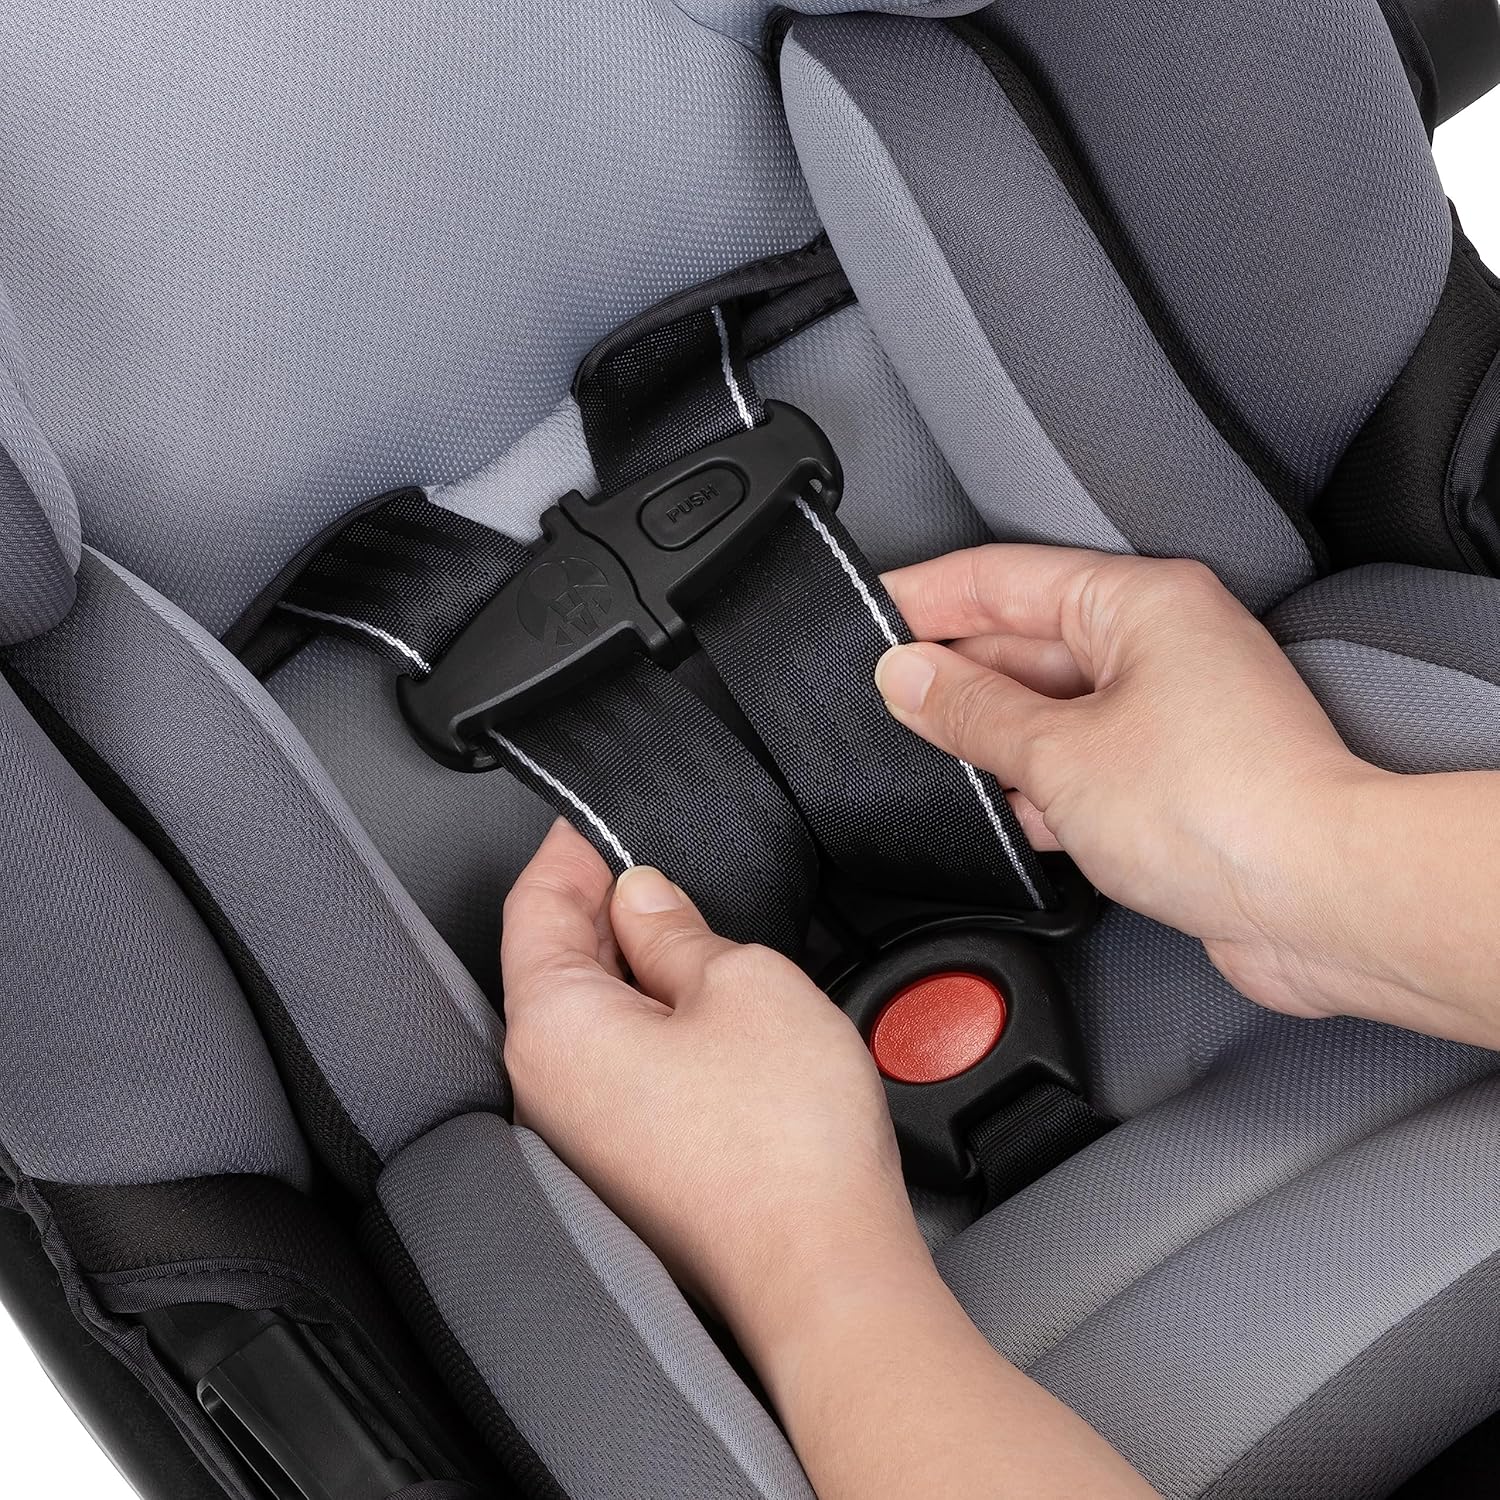
- 5-Point Harness System: Straps and buckle to secure the child.
- Adjustable Headrest: Supports the child's head and neck, integrated with harness adjustment.
- Adjustable Canopy: Provides sun protection.
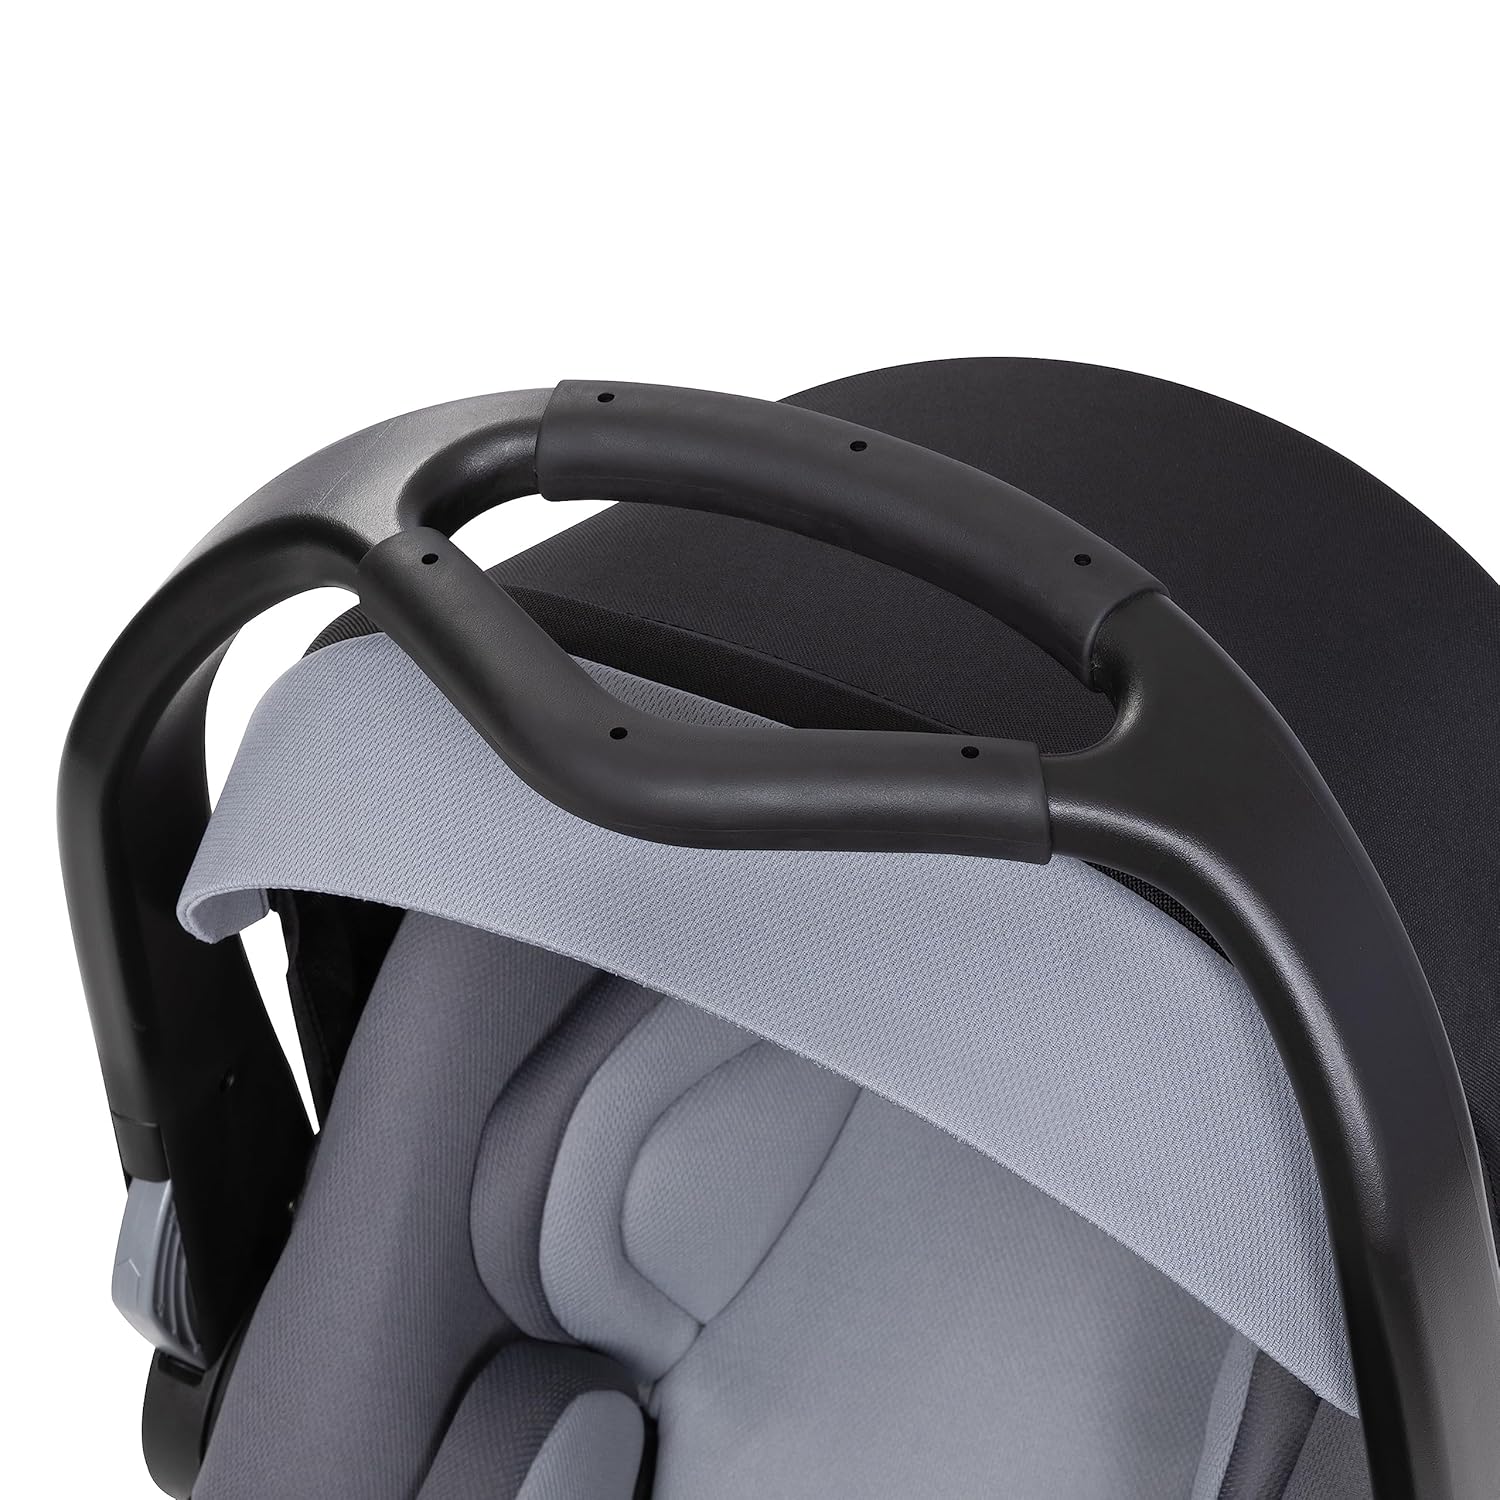
- Delta Carrying Handle: Ergonomic handle for transport.
- PRO Side Grip: Additional ergonomic carrying option.
- LATCH Connectors: For secure installation in vehicles equipped with LATCH.
- Bubble Level Indicator: Assists in achieving the correct recline angle.
- Infant Inserts: Removable padding for smaller infants.
3. Setup and Installation
3.1 Car Seat Base Installation (LATCH System)
- Place the car seat base on the vehicle seat in the rear-facing position.
- Locate the LATCH connectors on the car seat base. These are typically stored in a compartment on the base.
- Extend the LATCH connectors from the base.
- Attach the LATCH connectors to the lower anchor bars in your vehicle. Ensure you hear a click, indicating a secure connection. Check the easy-use indicators for proper engagement.
- Press down firmly on the car seat base while pulling the LATCH strap to tighten the connection. The base should not move more than one inch side-to-side or front-to-back at the belt path.
- Adjust the recline angle of the base using the four-position recline mechanism. Verify the bubble in the bubble level indicator is within the designated green zone for correct recline.


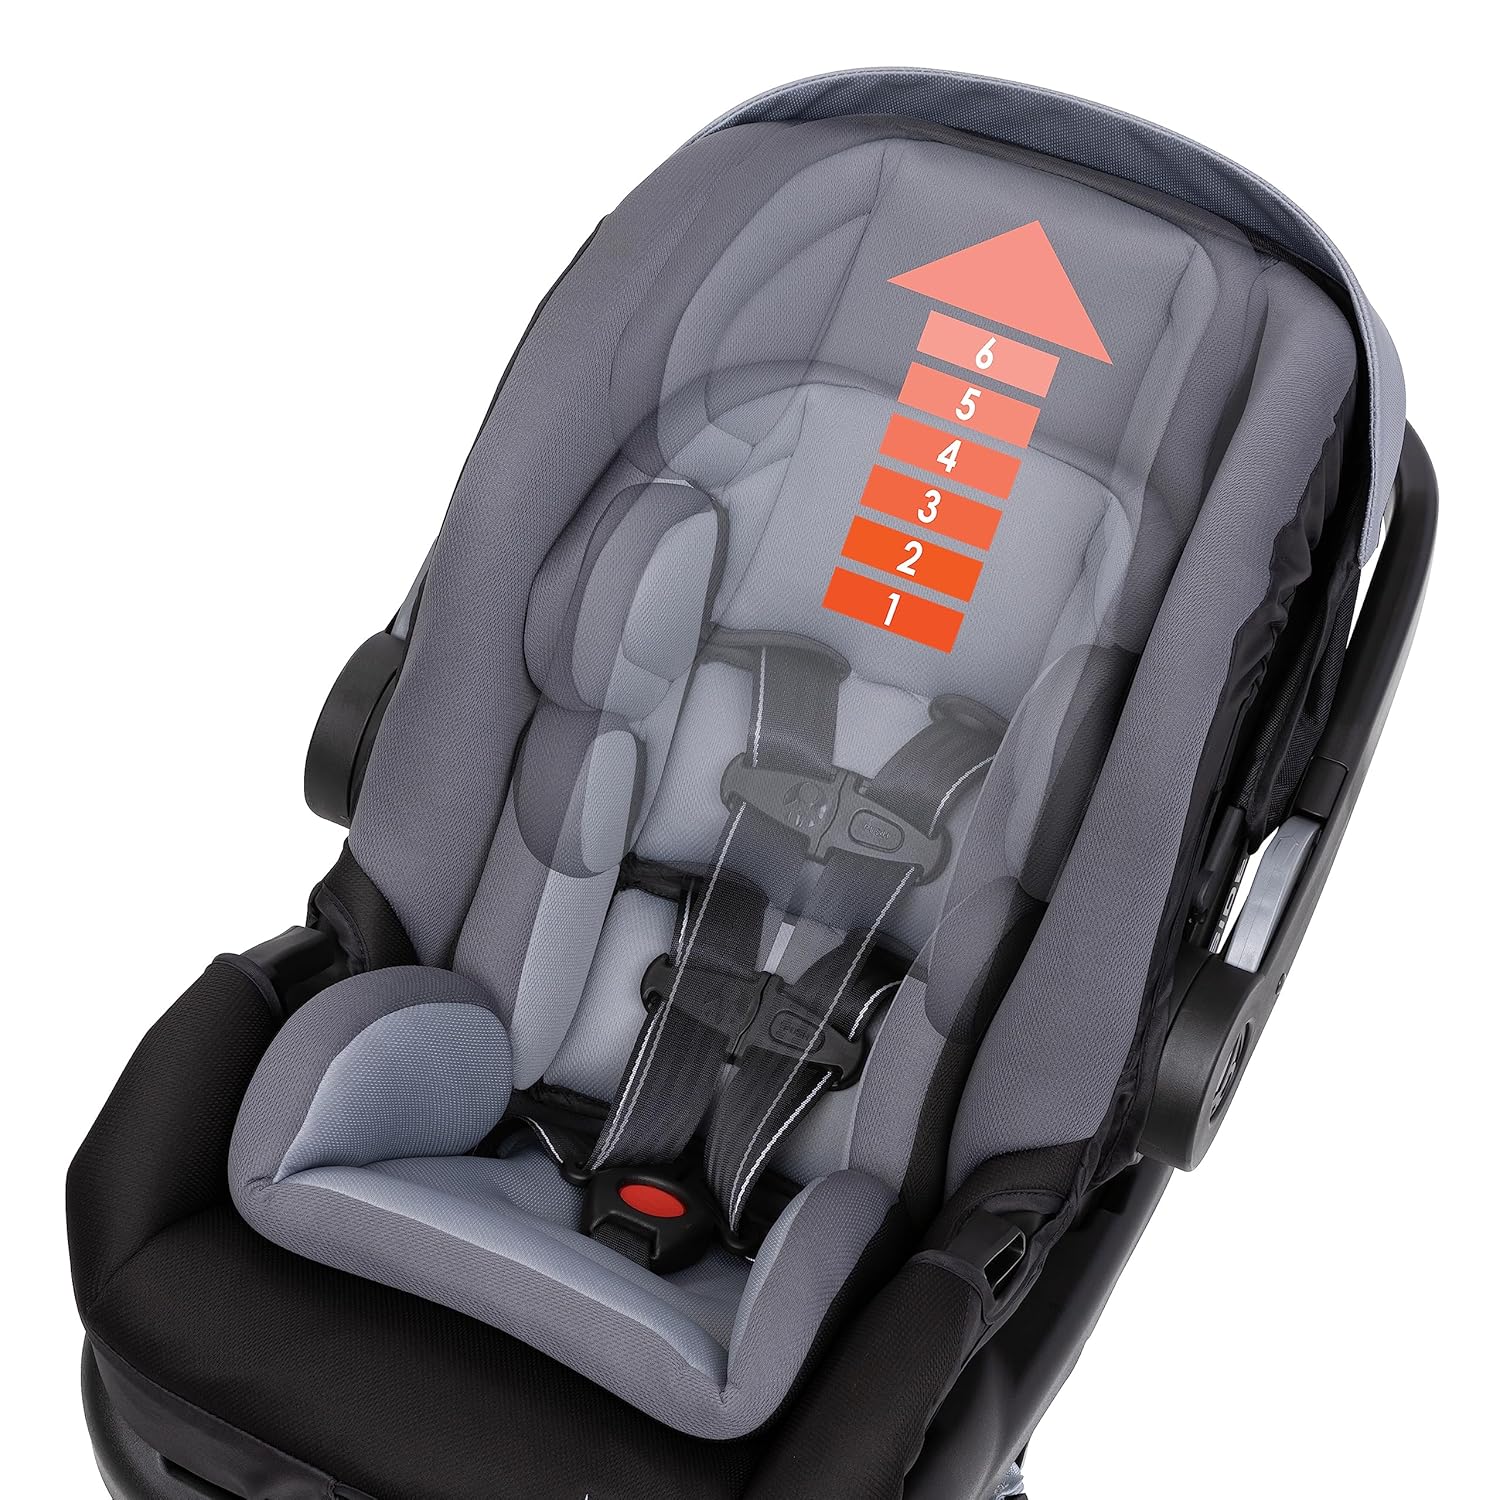
3.2 Harness and Headrest Adjustment
The car seat features a six-position easy-adjust headrest and harness system that grows with your child.
- To adjust the headrest and harness height, locate the adjustment lever at the back of the car seat.
- Squeeze the lever and slide the headrest up or down to the desired position. The harness straps will adjust simultaneously.
- Ensure the harness straps are at or just below your child's shoulders when rear-facing.
- The harness straps include no-twist indicators to help prevent twisting, ensuring proper fit and safety.

4. Operating Instructions
4.1 Securing Your Child
- Place your child in the car seat.
- Bring the harness straps over your child's shoulders and between their legs.
- Connect the two buckle tongues into the buckle receiver until you hear a click.
- Pull the harness adjustment strap at the front of the car seat to tighten the harness. Ensure the harness is snug against your child's body, with no slack. You should not be able to pinch any excess webbing at the child's shoulder.
- Position the chest clip at armpit level.
4.2 Carrying the Car Seat
The Secure-Lift car seat offers multiple carrying options for your convenience.
- Delta Carrying Handle: Use the traditional top handle for carrying. Ensure the handle is locked in the upright position when carrying.
- PRO Side Grip: For an ergonomic carrying option, utilize the built-in PRO Side Grip. This feature is designed to reduce strain on your back.

5. Maintenance and Care
5.1 Cleaning Instructions
- Fabric Pads: Machine wash removable fabric pads in cold water on a delicate cycle with mild detergent. Do not use bleach. Tumble dry on low heat or air dry.
- Harness Straps: Wipe harness straps with a damp cloth. Do not machine wash or immerse in water, as this may weaken the straps.
- Buckle: Clean the buckle by rinsing with warm water. Do not use soaps or detergents.
- Plastic and Metal Parts: Wipe plastic and metal parts with a soft, damp cloth and mild soap.
5.2 Storage
When not in use, store the car seat in a clean, dry place away from direct sunlight and extreme temperatures.
6. Troubleshooting
| Problem | Possible Cause | Solution |
|---|---|---|
| Car seat base is not secure. | LATCH connectors not fully engaged or strap not tightened. | Ensure LATCH connectors click into place. Pull the LATCH strap firmly while pressing down on the base. |
| Harness straps are difficult to tighten or loosen. | Harness may be twisted or adjustment mechanism is obstructed. | Check for twists in the harness straps. Ensure no fabric or debris is blocking the harness adjustment mechanism. |
| Headrest does not adjust smoothly. | Mechanism may be stiff or obstructed. | Ensure the adjustment lever is fully squeezed. Check for any obstructions along the headrest's track. |
| Bubble level indicator is not in the green zone. | Base recline angle is incorrect. | Adjust the recline position of the base until the bubble is centered in the green zone. |
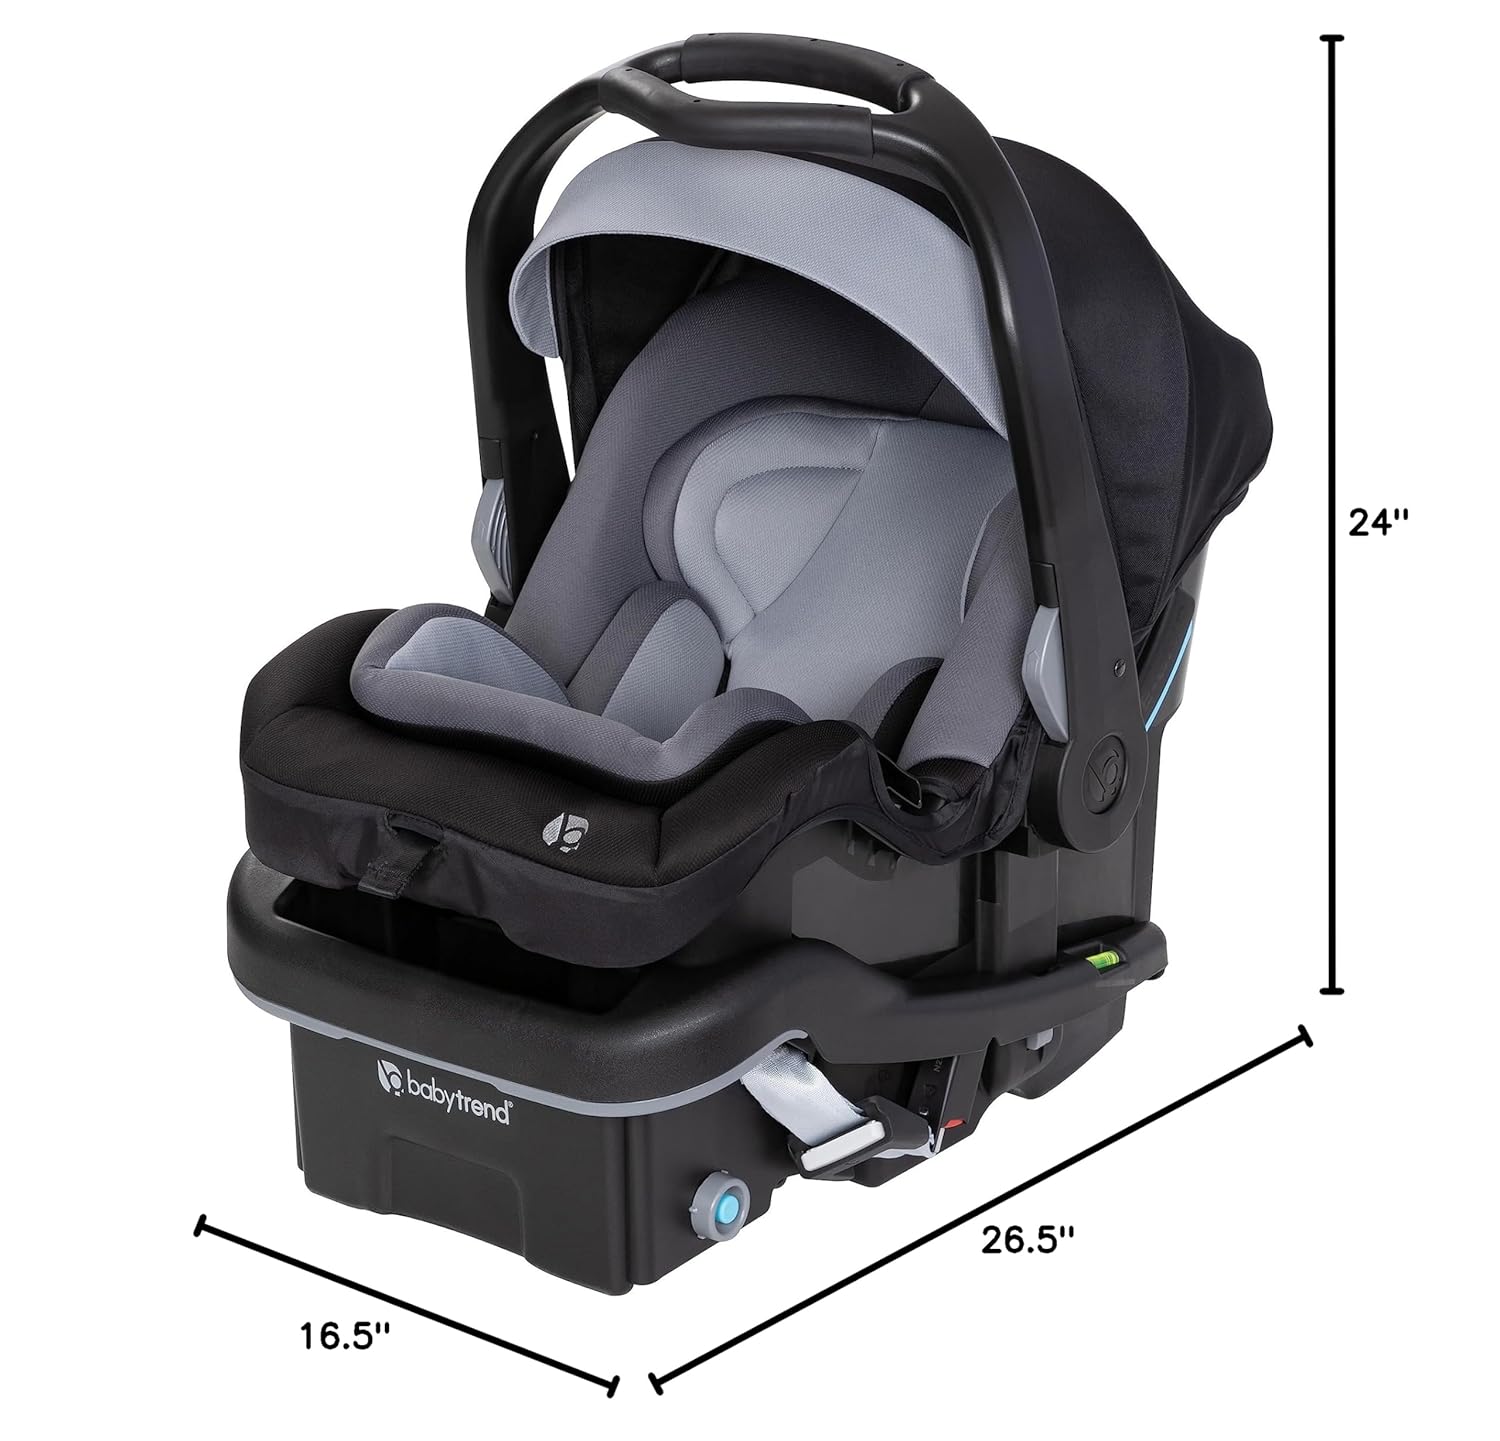
7. Specifications
- Model Number: CS04F00A
- Product Dimensions: 26.5 x 16.5 x 24 inches (Length x Width x Height)
- Item Weight: 9.8 pounds
- Maximum Weight Recommendation: 35 Pounds
- Maximum Height Recommendation: 32 Inches
- Rear-facing Minimum Child Weight: 4 Pounds
- Rear-facing Maximum Child Weight: 35 Pounds
- Harness Type: 5-Point
- Orientation: Rear Facing
- Material Composition: 80% Plastic; 15% Polyester; 5% Metal
- Installation Type: LATCH
8. Warranty and Support
For warranty information, product registration, or customer support, please refer to the official Baby Trend website or contact their customer service department directly. Keep your purchase receipt as proof of purchase.
Baby Trend Customer Service:
- Visit the Baby Trend Official Website for contact details and support resources.