1. Introduction
This manual provides essential instructions for the setup, operation, and maintenance of your HCDZ RF292A replacement remote control for Applied Sleep adjustable bed bases. Please read this guide thoroughly before use to ensure proper functionality and safety.
2. Safety Information
- Keep batteries out of reach of children.
- Do not mix old and new batteries, or different types of batteries.
- Dispose of used batteries according to local regulations.
- Do not expose the remote control to water or excessive moisture.
- Avoid dropping the remote control or subjecting it to strong impacts.
3. Package Contents
Your package should contain:
- 1 x HCDZ RF292A Replacement Remote Control
Note: Batteries and additional instructions are not included with this replacement remote.
4. Setup
4.1 Battery Installation
The remote control requires three AAA batteries (not included).
- Push in on the bottom of the remote control to release the battery cartridge.
- Install three AAA batteries into the battery compartment, ensuring correct polarity (+/-).
- Push the battery cartridge firmly back into the remote control until it clicks into place.
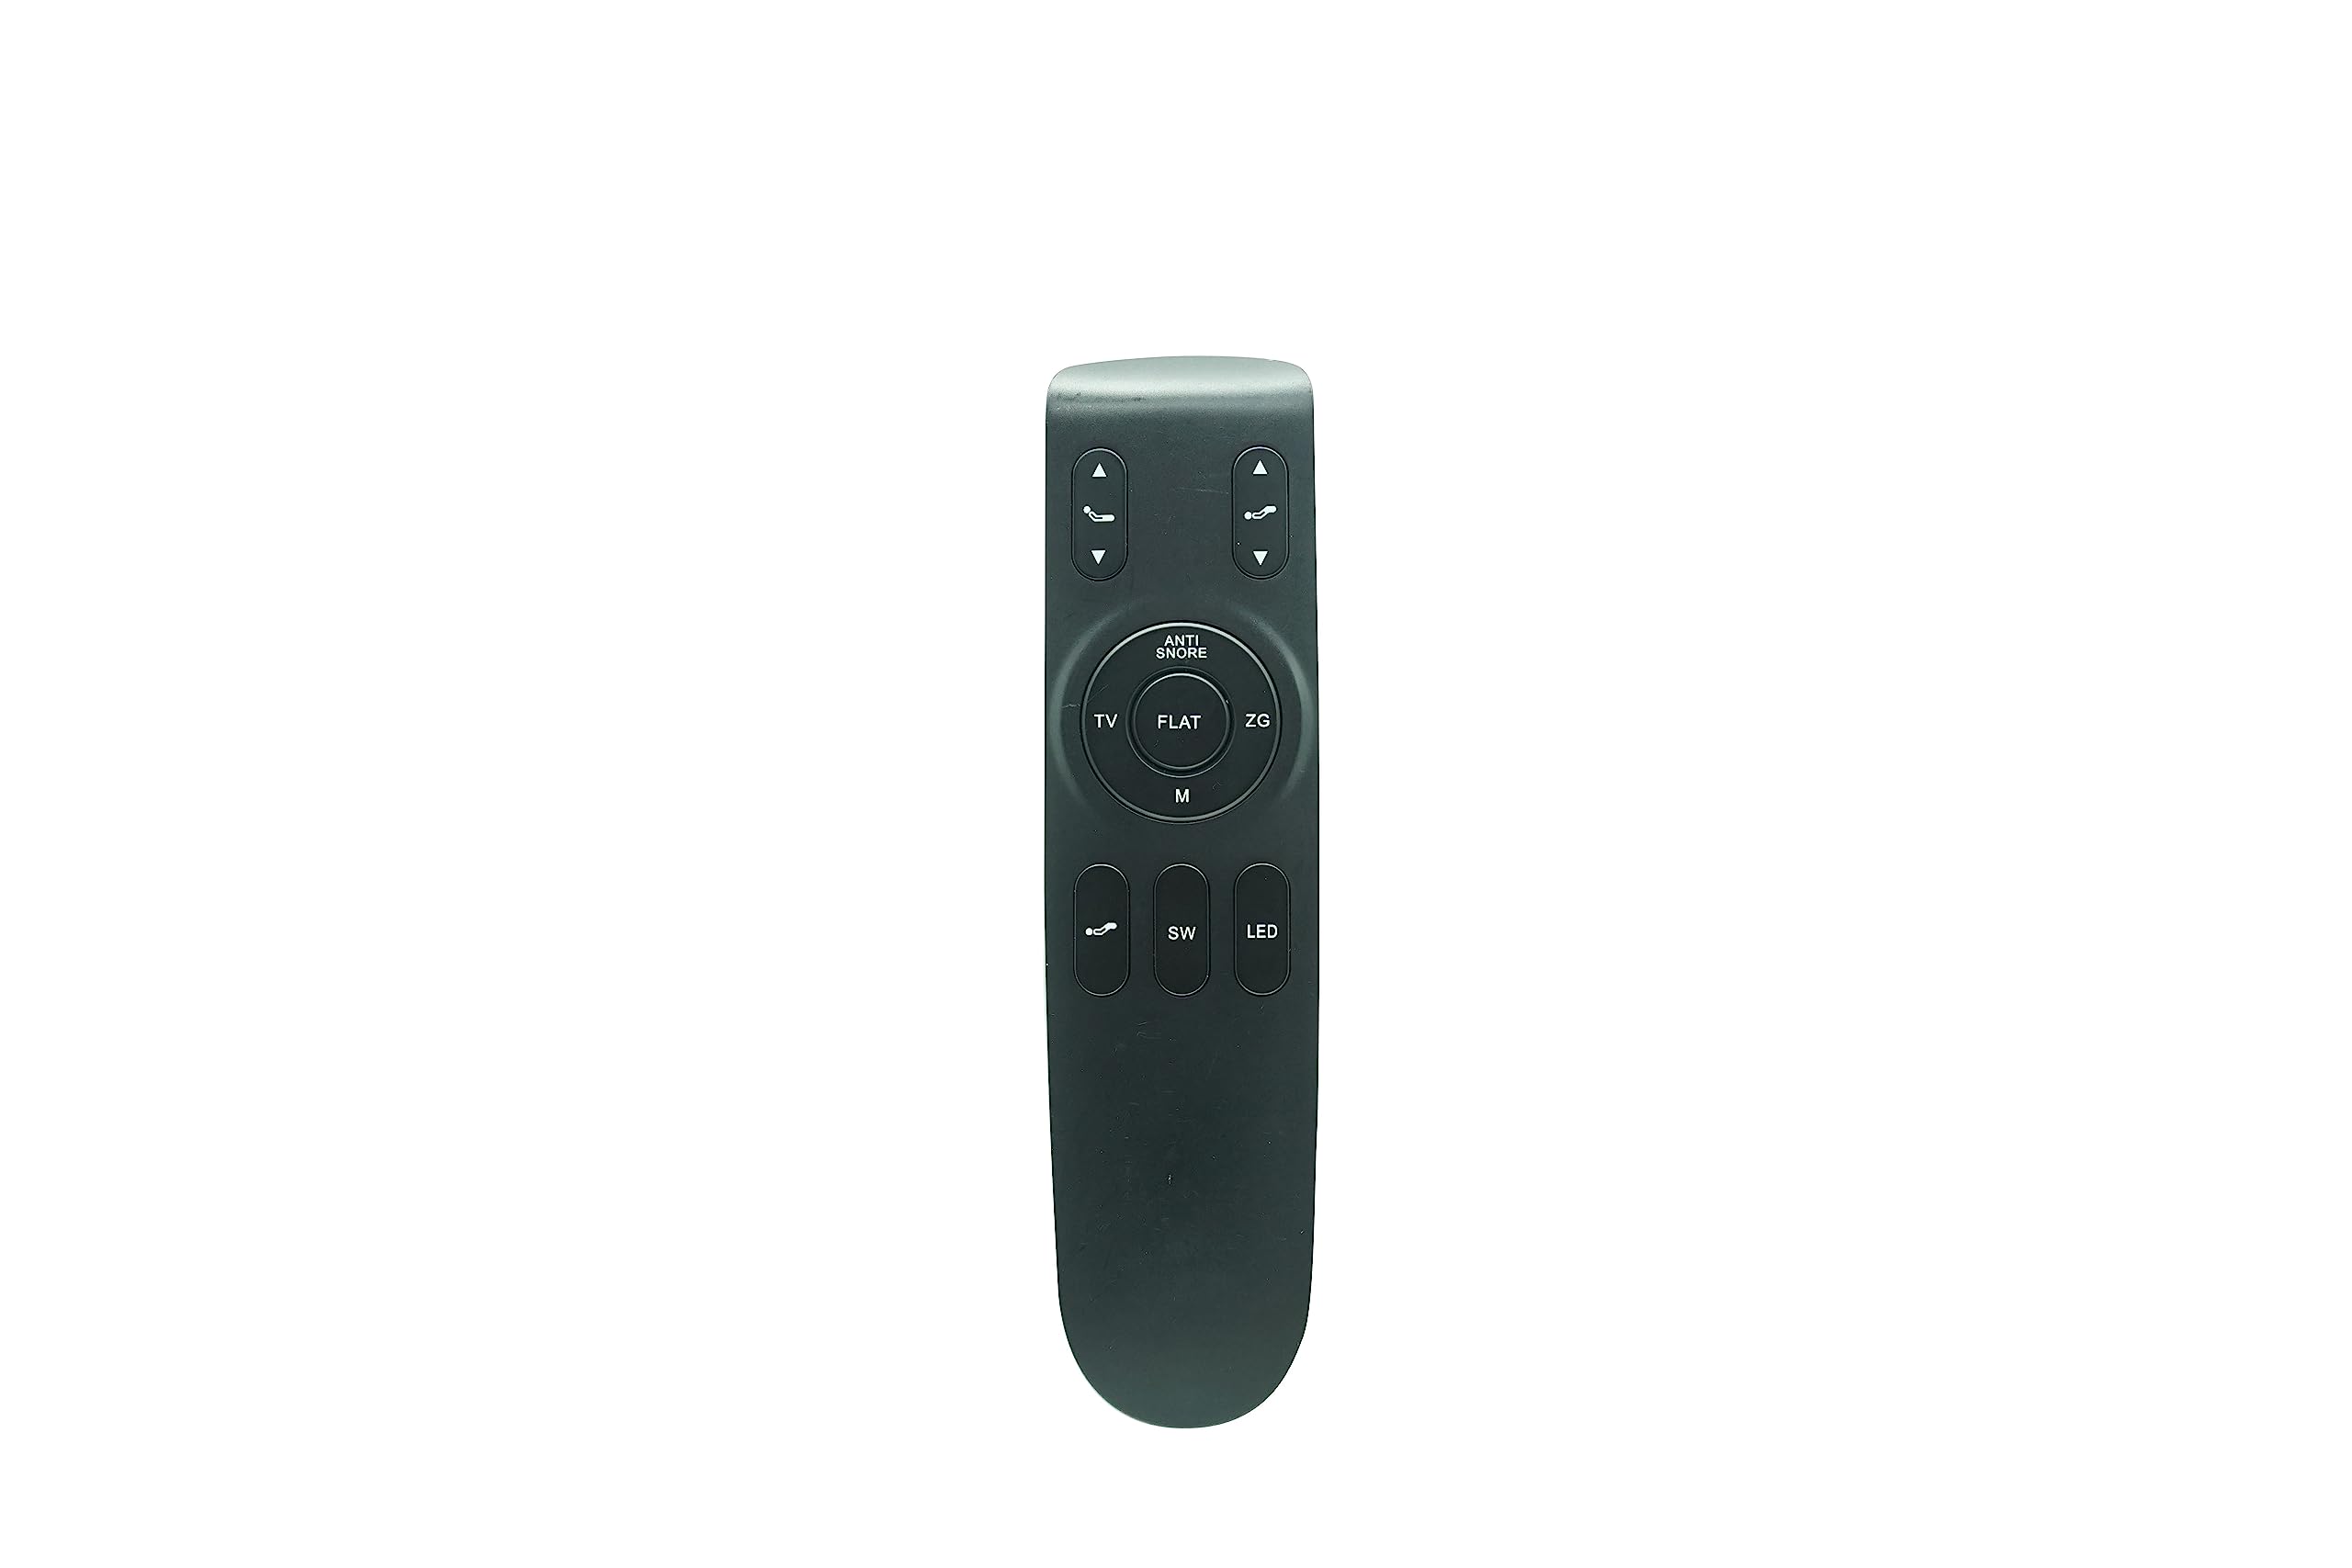
Figure 1: HCDZ RF292A Replacement Remote Control. This image shows the front of the remote control with various buttons for bed adjustments.
4.2 Pairing the Remote Control
To ensure the remote control communicates with your adjustable bed base, it must be paired. Follow these steps carefully:
- Power On Base: Plug the adjustable bed base into a power source.
- Activate Pairing Mode on Control Box: Locate the Pairing Button or Program Button on the bed base's control box. Press this button for approximately 1 second. The Pairing Lamp (usually white, the third indicator) on the control box should begin flashing.
- Initiate Pairing on Remote: On the remote control, press the button labeled "SW" until the backlight LED on the remote starts flashing. Release the "SW" button.
- Complete Pairing: Immediately after releasing "SW", press the "HEAD UP" button on the remote. Do not release this button until the backlight LED on the remote remains continuously lit. This indicates the remote is actively pairing.
- Confirmation: Pairing is complete when the backlight LED on the remote stops flashing, and the control box emits a "DI" sound. You can then release the "HEAD UP" button.
If the remote control does not operate the bed base after following these steps, repeat the pairing process from step 2.
5. Operating Instructions
Once paired, your HCDZ RF292A remote control is ready for use. The remote features various buttons to control your adjustable bed base. For example, the "HEAD UP" and "HEAD DOWN" buttons typically control the head section of the bed, while other buttons may control foot adjustments, massage functions, or preset positions, depending on your specific bed base model.
Refer to your adjustable bed base's original manual for detailed functions of each button if specific labels are not clear.
6. Maintenance
- Cleaning: Wipe the remote control with a soft, dry cloth. Do not use liquid cleaners or abrasive materials.
- Battery Replacement: Replace all three AAA batteries when the remote's performance degrades or if the backlight LED does not illuminate during operation.
- Storage: Store the remote control in a dry place away from direct sunlight and extreme temperatures.
7. Troubleshooting
- Remote Not Responding:
- Check if the batteries are correctly installed and have sufficient charge. Replace if necessary.
- Ensure the bed base is plugged into a working power outlet.
- Re-attempt the pairing process as described in Section 4.2.
- Intermittent Operation:
- This could indicate low battery power. Replace batteries.
- Ensure there are no obstructions between the remote and the bed base's receiver.
8. Specifications
| Feature | Specification |
|---|---|
| Model Name | RF292A |
| Brand | HCDZ |
| Connectivity Technology | Infrared |
| Compatible Devices | Adjustable Bed Base |
| Controller Type | Button Control |
| Number of Batteries Required | 3 AAA batteries |
| Maximum Range | 8 Meters |
9. Warranty and Support
9.1 Warranty Information
This HCDZ replacement remote control comes with a 90-day warranty from the date of purchase. This warranty covers manufacturing defects. It does not cover damage caused by misuse, accidents, unauthorized modifications, or normal wear and tear.
9.2 Customer Support
For technical assistance or warranty claims, please contact your retailer or the HCDZ customer support channel through which you purchased the product. Please have your purchase details and product model (RF292A) available when contacting support.