
1. Introduction
Welcome to the Wizardi Abris Art Bead Embroidery Kit, model ADB-001 Feather Touch. This kit provides all the necessary materials and instructions to create a beautiful beaded art piece. Designed for both beginners and experienced crafters, this kit offers a rewarding and fulfilling creative experience. The finished product, a delicate feather-themed design, makes an elegant decoration or a thoughtful gift.
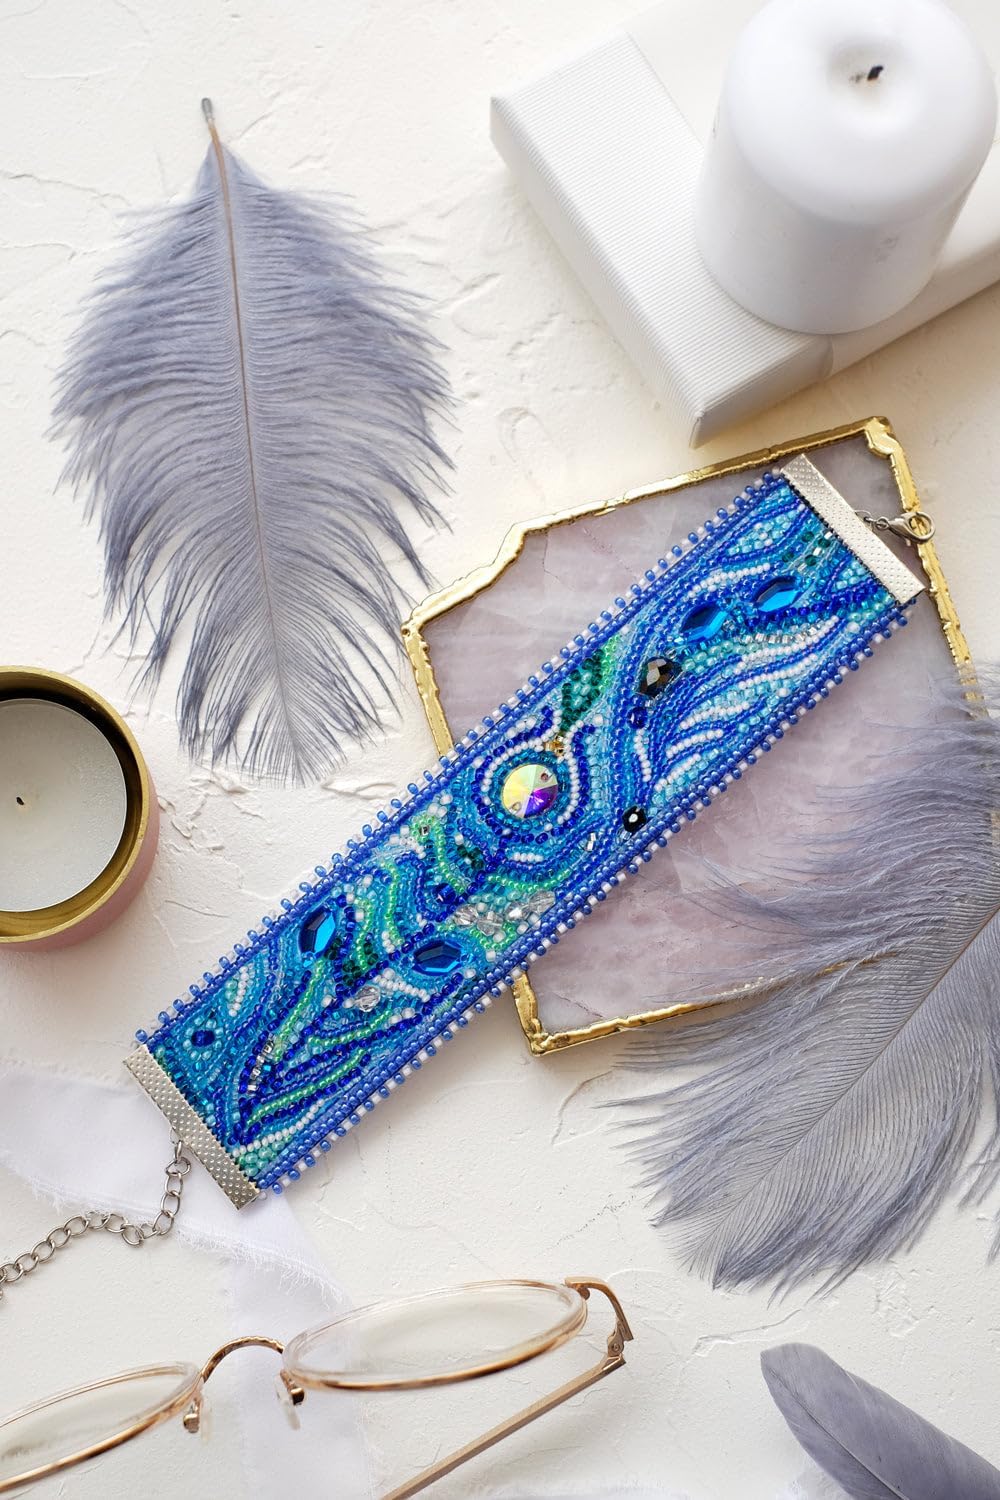
Image 1.1: The completed Wizardi Abris Art Feather Touch bead embroidery design, showcasing intricate beadwork in blue and green tones, resembling a feather.
2. Safety Information
Please read and understand all safety precautions before beginning your project. Failure to follow these instructions may result in injury or damage to the product.
- Sharp Objects: The kit contains sharp needles. Handle with care to avoid accidental punctures. Keep needles away from children and pets.
- Small Parts: The kit contains small beads and decorative elements which can be a choking hazard. Keep all components out of reach of young children and pets.
- Work Area: Ensure your crafting area is well-lit and free from distractions. Keep your workspace clean and organized to prevent loss of small components.
- Disposal: Dispose of any waste materials, such as empty bead packets or broken needles, responsibly.
3. Package Contents
Carefully unpack your kit and verify that all components are present. If any items are missing or damaged, please contact customer support.
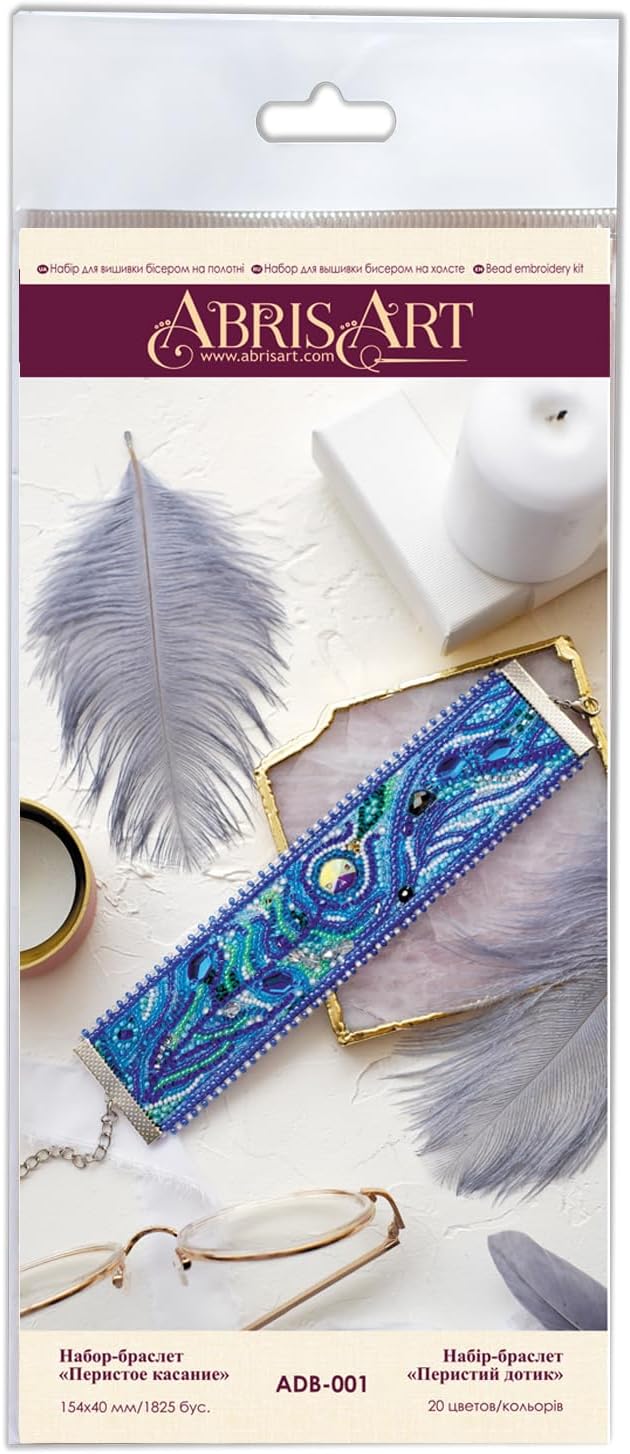
Image 3.1: The retail packaging for the Wizardi Abris Art Bead Embroidery Kit, showing the kit contents and branding.
Your Wizardi Abris Art Bead Embroidery Kit ADB-001 includes:
- Natural Art Canvas: A large piece of natural art canvas with a pre-printed image-scheme for embroidery.
- Beads: High-quality Preciosa Ornela beads (Czech Republic) in 20 different colors, with sufficient stock for the project.
- Needles: High-quality bead needles from Japan.
- Felt: A piece of felt for backing or specific design elements.
- Decorative Elements: Additional embellishments to enhance your design.
- Instructions: A detailed instruction guide (this manual).
4. Setup and Preparation
Before you begin embroidering, prepare your workspace and materials.
- Choose a Workspace: Select a well-lit, comfortable area where you can work undisturbed. A flat, stable surface is ideal.
- Organize Beads: Carefully open the bead packets. It is highly recommended to sort the beads by color into small containers or a bead organizer to prevent mixing and loss. Refer to the color chart in your kit's specific instructions if provided.
- Prepare the Canvas: Unroll the natural art canvas. The printed image-scheme indicates where each bead color should be placed. Ensure the canvas is smooth and free of creases. You may wish to secure the edges with tape to your work surface or use an embroidery hoop (not included) for better tension, though it's not strictly necessary for this type of kit.
- Prepare Needles: Select a suitable bead needle. These needles are typically very fine to pass through small bead holes.
5. Operating Instructions (Bead Embroidery Guide)
Follow these steps to create your bead embroidery masterpiece. Refer to the specific design chart included in your kit for bead placement.
- Threading the Needle:
- Cut a comfortable length of thread (approximately 18-24 inches or 45-60 cm) to avoid tangling.
- Thread one end of the thread through the eye of the bead needle.
- Tie a small knot at the longer end of the thread, or double the thread and tie a knot at the loop end for extra strength.
- Starting Your Embroidery:
- Begin from the back of the canvas. Bring the needle up through the canvas at the starting point indicated on your design scheme. Pull the thread until the knot catches on the back.
- Pick up one bead of the correct color using your needle.
- Insert the needle back down through the canvas immediately next to where you came up, securing the bead in place. Ensure the bead lies flat against the canvas.
- Continuing the Pattern:
- Continue this process, following the printed design scheme. Each bead should be individually sewn onto the canvas.
- Maintain consistent tension on your thread to ensure beads are securely attached and lie evenly.
- Work in small sections, completing one color or area before moving to the next, to help manage your beads and thread.
- Adding Decorative Elements:
- For larger decorative elements (e.g., crystals, larger stones), you may need to use multiple stitches to secure them firmly.
- Refer to your kit's specific instructions for placement and attachment methods of these elements.
- Finishing a Thread:
- When your thread is running short, or you need to change colors, secure the thread on the back of the canvas.
- Pass the needle under several stitches on the back, then tie a small knot close to the canvas. Trim excess thread.
- Completing the Project:
- Once all beads and decorative elements are attached according to the design, inspect your work for any loose beads or missed spots.
- If your design is a bracelet or other wearable item, follow the kit's specific instructions for attaching clasps or finishing edges with the provided felt.
6. Care and Maintenance
Proper care will ensure the longevity and beauty of your finished bead embroidery piece.
- Cleaning: Gently dust the finished piece with a soft, dry brush or cloth. Avoid using water or chemical cleaners, as they may damage the beads or canvas.
- Storage: Store your finished artwork away from direct sunlight and extreme temperatures to prevent fading or material degradation. If storing flat, ensure it is protected from pressure that could crush the beads.
- Handling: Handle the piece carefully to avoid snagging threads or dislodging beads.
7. Troubleshooting
Here are solutions to common issues you might encounter during bead embroidery:
| Problem | Solution |
|---|---|
| Tangled Thread: Thread frequently knots or tangles. | Use shorter lengths of thread (18-24 inches). Work slowly and pull the thread through smoothly. You can also try conditioning your thread with beeswax or a thread conditioner. |
| Beads Not Lying Flat: Beads appear loose or uneven. | Ensure consistent tension when pulling the thread. Each bead should be secured individually with a firm stitch. If a bead is particularly loose, you may need to re-stitch it. |
| Needle Difficult to Thread: Difficulty getting thread through the needle eye. | Trim the end of the thread cleanly. You can also moisten the thread end or use a needle threader (not included). |
| Running Out of a Specific Bead Color: Insufficient beads for a section. | While kits typically provide extra beads, if you find yourself short, double-check your sorting. If still short, contact Wizardi customer support for assistance. |
8. Specifications
Key technical details for the Wizardi Abris Art Bead Embroidery Kit ADB-001:
- Brand: Wizardi
- Model: ADB-001
- Product Type: Bead Embroidery Kit
- Design Name: Feather Touch
- Materials: Natural Art Canvas, Preciosa Ornela Beads, Japanese Needles, Felt, Decorative Elements
- Bead Colors: 20 colors
- Finished Dimensions: Approximately 15.4 cm x 4 cm (6.06 inches x 1.57 inches)
- Item Weight: 1.76 ounces (approx. 50 grams)
- Recommended Age Range: Suitable for crafters who can handle small components and sharp needles.
9. Warranty and Support
Wizardi is committed to providing high-quality crafting products. While this kit is designed for personal use and does not typically come with an extended warranty on consumable components, we stand by the quality of our materials.
If you encounter any issues with missing or defective components upon opening your kit, please contact Wizardi customer support immediately. Provide your purchase details and a description of the issue for prompt assistance.
For further information or support, please visit the official Wizardi store or contact your retailer:
Wizardi Store: https://www.amazon.com/stores/Wizardi/