1. Introduction
Thank you for choosing the CHiQ CPC-12PA Portable Air Conditioner. This manual provides essential information for the safe and efficient operation, installation, and maintenance of your new appliance. Please read it thoroughly before use and keep it for future reference.
This 3-in-1 unit offers cooling, dehumidifying, and fan functions, designed for optimal comfort in your space. It features a super circulation airflow volume for fast cooling and uses R410A refrigerant.
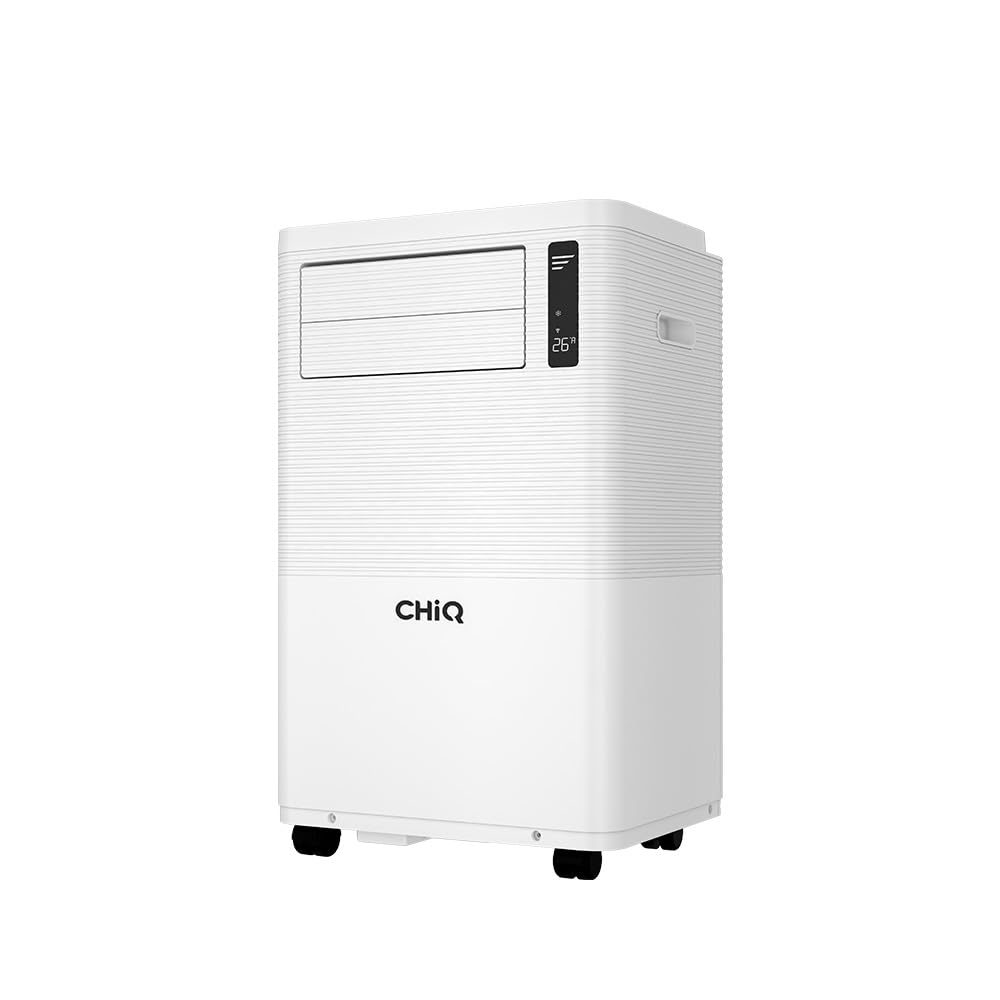
Figure 1.1: The CHiQ CPC-12PA Portable Air Conditioner in operation, demonstrating airflow.
2. Safety Information
Important Safety Instructions:
- Read all instructions before using this appliance.
- This appliance is for indoor use only.
- Ensure the power supply matches the rating label on the unit.
- Do not operate the unit with a damaged cord or plug.
- Keep the unit away from heat sources and direct sunlight.
- Do not block air inlets or outlets.
- Always unplug the unit before cleaning or servicing.
- Do not allow children to play with the appliance.
- Use only accessories recommended by the manufacturer.
3. Product Overview
The CHiQ CPC-12PA is a versatile portable air conditioner designed for ease of use and effective climate control. Key features include:
- 3-in-1 Functionality: Cooling, Dehumidifying, and Fan modes.
- 12000 BTU Cooling Capacity: Suitable for various room sizes.
- Super Circulation Airflow Volume: For rapid and even cooling.
- R410A Refrigerant: Environmentally conscious refrigerant.
- Touch Screen & Digital LED Display: Intuitive control panel.
- 24-Hour Timer: Program operation for convenience.
- 3 Fan Speeds: Customize airflow intensity.
- Self-Troubleshooting: Built-in diagnostics for common issues.
- Remote Control: For convenient operation from a distance.

Figure 3.1: Digital LED Touch Control Panel.

Figure 3.2: Remote Control for the CPC-12PA.
4. Setup and Installation
Before installation, ensure all components are present. The package typically includes:

Figure 4.1: Included Accessories and Components.
Installation Steps:
- Positioning the Unit: Place the air conditioner on a flat, stable surface, ensuring at least 20cm clearance from walls and furniture for proper airflow.
- Connecting the Exhaust Hose: Attach one end of the exhaust hose to the air outlet on the back of the unit. Extend the hose and connect the window kit adapter to the other end.
- Window Kit Installation: Install the window sealing plate into your window opening. This kit is adjustable to fit most vertical and horizontal sliding windows. Ensure a tight seal to prevent hot air from entering the room.
- Connecting the Drainage Hose (Dehumidifying Mode): For continuous drainage in dehumidifying mode, connect the drainage hose to the continuous drainage port and lead it to a suitable drain or container.
- Power Connection: Plug the power cord into a grounded electrical outlet.

Figure 4.2: Examples of Window Kit Installation.

Figure 4.3: Portable Air Conditioner with exhaust hose installed in a room.
5. Operating Instructions
You can operate the unit using the control panel on top of the air conditioner or with the included remote control.
Control Panel Functions:
- POWER Button: Press to turn the unit ON or OFF.
- MODE Button: Cycle through Cooling, Dehumidifying, and Fan modes.
- UP/DOWN Buttons: Adjust the desired temperature (in Cooling mode) or set the timer.
- FAN SPEED Button: Select desired fan speed (Low, Medium, High).
- SWING Button: Activate or deactivate the automatic louver swing for wider air distribution.
Remote Control Functions:
The remote control duplicates most functions of the control panel and adds a SLEEP mode and DISPLAY button.
- TIMER Button: Set the auto-on or auto-off time (1-24 hours).
- SLEEP Button: Activates sleep mode for quieter operation and gradual temperature adjustment.
- DISPLAY Button: Toggles the LED display on/off.
Operating Modes:
- Cooling Mode: Sets the desired room temperature. The unit will cool until the set temperature is reached.
- Dehumidifying Mode: Removes moisture from the air. The fan speed is fixed to low in this mode.
- Fan Mode: Circulates air without cooling. You can select fan speed.
6. Maintenance
Regular maintenance ensures optimal performance and extends the lifespan of your air conditioner.
Cleaning the Air Filter:
- Turn off and unplug the unit.
- Locate and remove the air filter from the back or side of the unit.
- Clean the filter with a vacuum cleaner or wash it with warm, soapy water. Rinse thoroughly.
- Allow the filter to dry completely before reinstalling.
- Clean the air filter every two weeks or more frequently if used in dusty environments.
Draining Water:
The unit has a self-evaporative system, but in high humidity, the internal water tank may fill. When full, the unit will stop operating and display an error code (e.g., 'FL').
- Turn off and unplug the unit.
- Place a shallow pan or tray under the drainage port at the bottom rear of the unit.
- Remove the drain plug to allow water to flow out.
- Once drained, replace the drain plug securely.
Storage:
If storing the unit for an extended period:
- Drain all water from the unit.
- Clean the air filter.
- Run the unit in fan-only mode for a few hours to dry the internal components.
- Cover the unit with a plastic bag to protect it from dust.
- Store in a dry, cool place.
7. Troubleshooting
The CHiQ CPC-12PA features self-troubleshooting capabilities. Refer to the table below for common issues and solutions:
| Problem | Possible Cause | Solution |
|---|---|---|
| Unit does not turn on | No power supply; Power cord unplugged; Full water tank (FL error) | Check power connection; Drain water tank. |
| Unit cools insufficiently | Air filter dirty; Room too large; Doors/windows open; Exhaust hose blocked/leaking | Clean air filter; Ensure proper room size; Close doors/windows; Check exhaust hose. |
| Unit is noisy | Unit not on a flat surface; Fan obstruction | Place on a flat surface; Check for obstructions. |
| Water leakage | Drain plug loose; Drainage hose improperly connected | Secure drain plug; Reconnect drainage hose. |
| Error Code (e.g., E1, E2) | Sensor malfunction; Refrigerant leak | Unplug and restart; If error persists, contact customer support. |
If the problem persists after attempting these solutions, please contact customer support.
8. Specifications
Below are the general specifications for the CHiQ CPC-12PA Portable Air Conditioner:
- Model: CPC-12PA
- Cooling Capacity: 12000 BTU
- Functions: 3-in-1 (Cooling, Dehumidifying, Fan)
- Refrigerant: R410A
- Fan Speeds: 3 (Low, Medium, High)
- Timer: 24-hour programmable
- Control: Touch screen, Digital LED, Remote Control

Figure 8.1: Product Dimensions (Height: 700mm, Width: 441mm, Depth: 327mm).
9. Warranty and Support
The CHiQ CPC-12PA Portable Air Conditioner comes with a 1 Year Local Manufacturer Warranty. Please retain your proof of purchase for warranty claims.
For technical support, service, or warranty inquiries, please contact your local CHiQ authorized service center or the retailer where the product was purchased. Do not attempt to repair the unit yourself, as this may void the warranty.