1. Introduction
This manual provides detailed instructions for the installation, programming, operation, and maintenance of your Lpyec Universal Garage Door Opener Keypad Remote. Please read these instructions carefully before use to ensure proper functionality and safety.
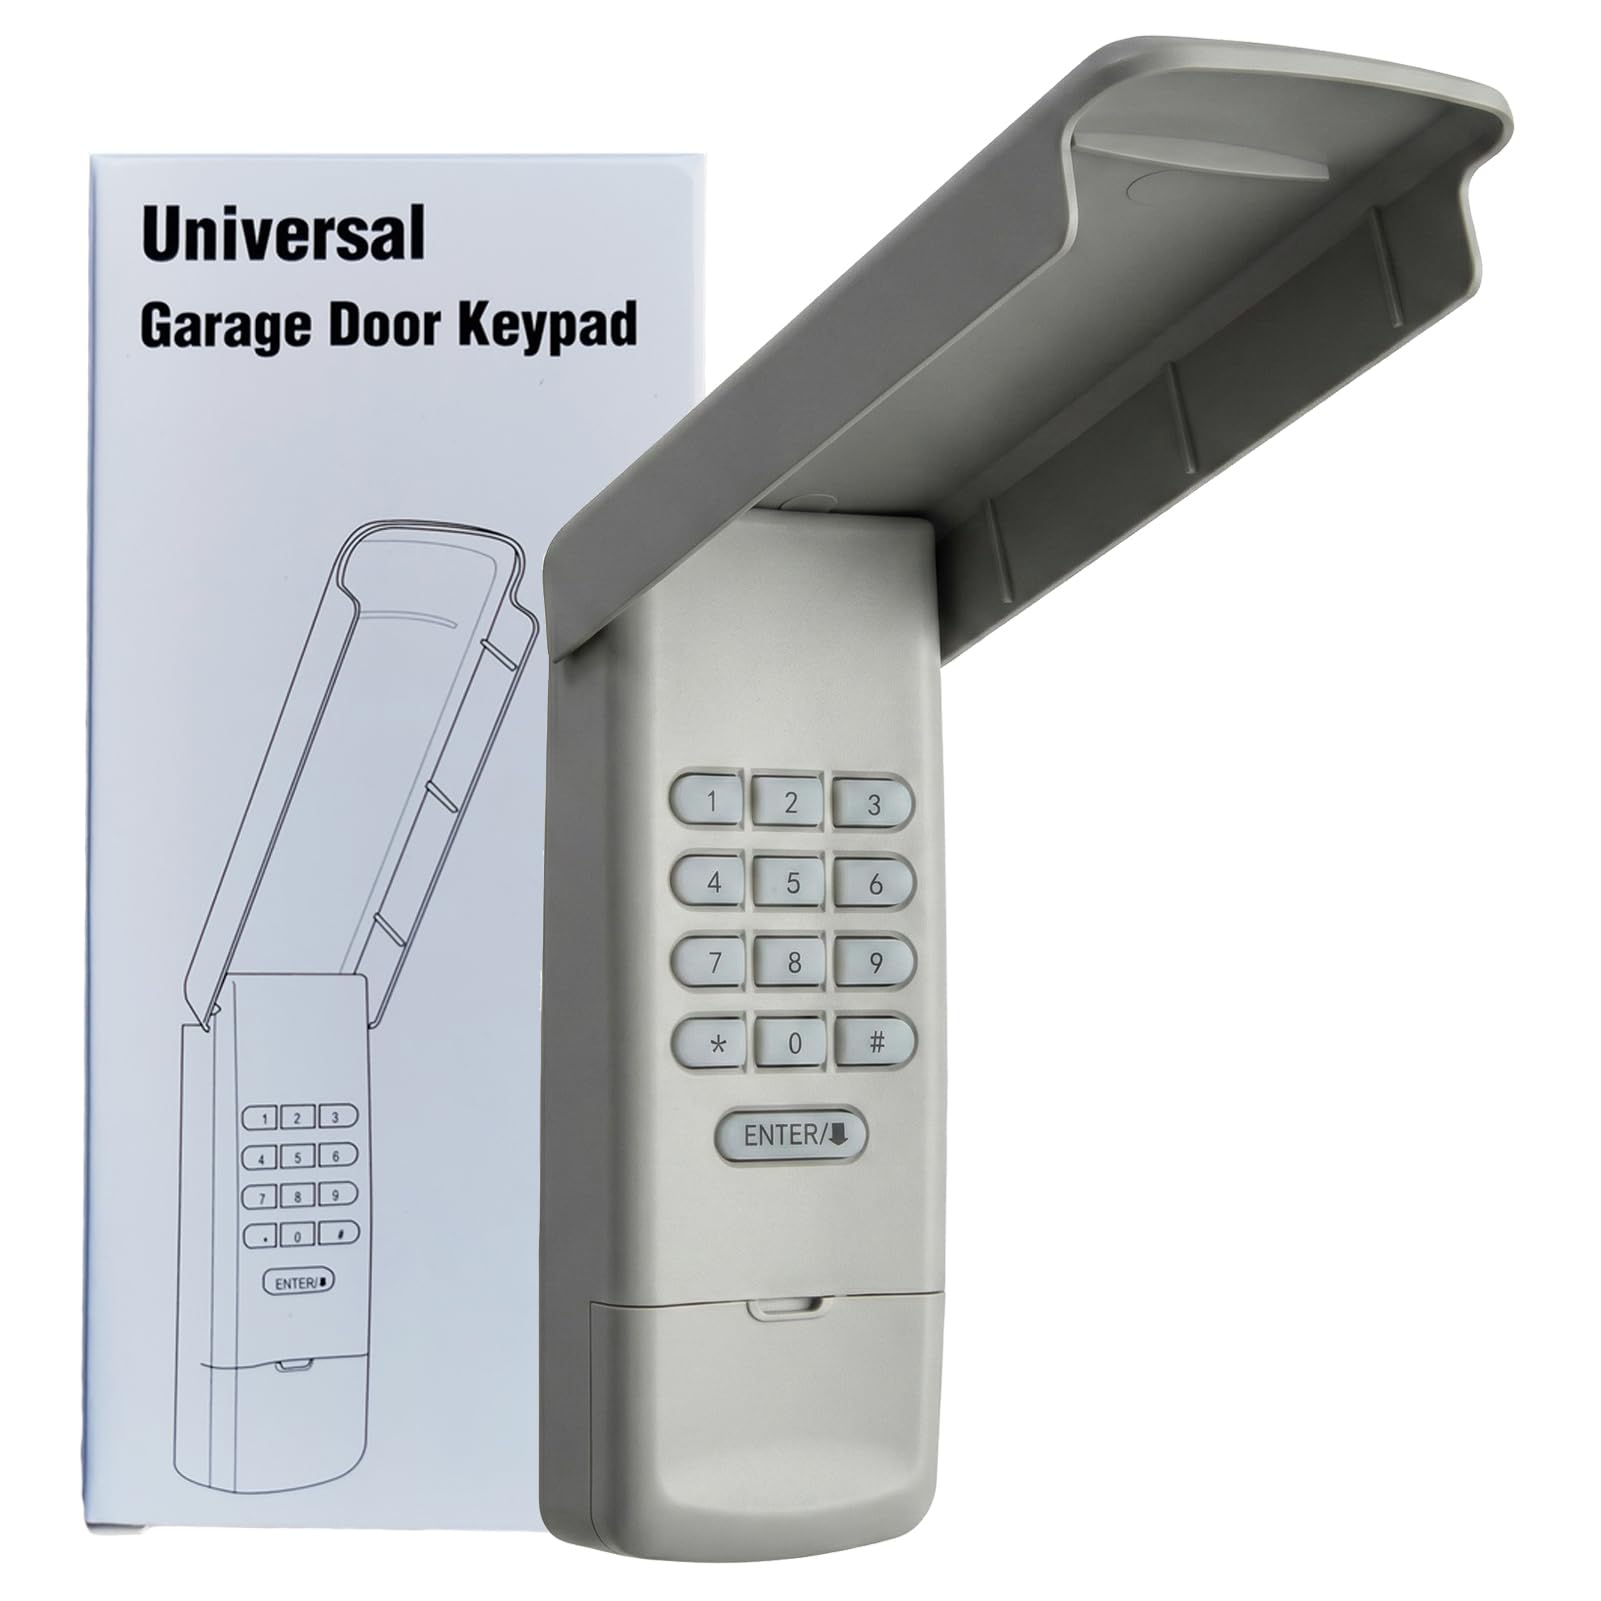
Image: Lpyec Universal Garage Door Opener Keypad Remote.
2. Product Overview
2.1 Key Features
- Universal Compatibility: Compatible with major garage door opener brands including LiftMaster, Chamberlain, Craftsman, Genie, Linear, Overhead Door, Wayne Dalton, Raynor, Stanley, Access Master, Do-It, Gatheron, Link Control, Master Mechanic, Steel Craft, and True Value openers manufactured from 1983 to current, featuring various Learn Button colors (Purple, Yellow, Red, Orange, Green, Black) or Dip Switches.
- Easy Programming: Simple 4-digit PIN setup and pairing with your garage door opener using the Learn Button or Dip Switch.
- Multi-Opener Control: Capable of operating up to 4 different garage door openers with unique PINs.
- Convenient Design: Features backlit numeric buttons for visibility in low-light conditions and a flip-top protective cover for weather resistance.
- Secure Access: Utilizes reliable technology to prevent unauthorized access.
2.2 Compatibility
The keypad is designed for broad compatibility. Refer to the images below for a detailed compatibility list based on your garage door opener's Learn Button color or Dip Switch configuration.

Image: The keypad is compatible with various major garage door opener brands.

Image: Detailed compatibility list showing brands, Learn Button colors, and Dip Switch types.
3. Setup & Installation
Before mounting, ensure the keypad is programmed to your garage door opener. The keypad can be easily mounted onto your garage door frame using the included screws.
3.1 Battery Installation
The keypad requires AAA batteries (not included). To install, open the battery compartment on the back of the keypad and insert the batteries according to the polarity markings. Close the compartment securely.
3.2 Mounting
Use the provided screws to securely attach the keypad to a flat surface near your garage door. Ensure it is mounted at a convenient height for all users.

Image: Illustration of mounting the keypad to a wall using screws.
4. Programming
Programming involves setting a 4-digit PIN and then pairing the keypad with your garage door opener. The process varies slightly depending on whether your opener uses a Learn Button or Dip Switches.
4.1 Programming with Learn Button
- Locate the Learn Button on your garage door opener motor head unit. The button color indicates the frequency and type of opener (e.g., Purple, Yellow, Red, Orange, Green, Black).
- On the keypad, press and hold the * and # buttons simultaneously until the keypad's backlight flashes.
- Enter your desired 4-digit PIN on the keypad, then press ENTER.
- Press and release the Learn Button on your garage door opener. The indicator light on the opener will illuminate.
- Within 30 seconds, enter your 4-digit PIN on the keypad again, then press ENTER the number of times corresponding to your opener's Learn Button color (refer to your opener's manual or the compatibility chart).
- Test the programming by entering your PIN and pressing ENTER. The garage door should activate.
4.2 Programming with Dip Switches
- Locate the Dip Switches on your garage door opener motor head unit or existing remote. Note the position of each switch (ON/OFF).
- On the keypad, press and hold the * and # buttons simultaneously until the keypad's backlight flashes.
- Enter your desired 4-digit PIN on the keypad, then press ENTER.
- On the keypad, set the Dip Switches to match the positions of your garage door opener's Dip Switches.
- Press ENTER on the keypad.
- Test the programming by entering your PIN and pressing ENTER. The garage door should activate.
4.3 Operating Multiple Openers
The keypad can control up to four different garage door openers. Each opener requires a unique 4-digit PIN. Follow the programming steps for each opener, assigning a different PIN for each one.

Image: The keypad can control up to four garage doors.
Video: A brief demonstration of the keypad's multi-channel design, allowing control of multiple garage doors.
5. Operation
Once programmed, operating the keypad is straightforward.
- To open or close your garage door, simply enter your 4-digit PIN and press the ENTER button.
- The keypad features backlit buttons for easy visibility and operation during nighttime or in low-light conditions.
5.1 Temporary PIN
You can set a temporary PIN for guests or service personnel. This PIN can be easily removed or set for specific timeframes, enhancing security.

Image: A person using the keypad to grant temporary access, illustrating the temporary PIN feature.
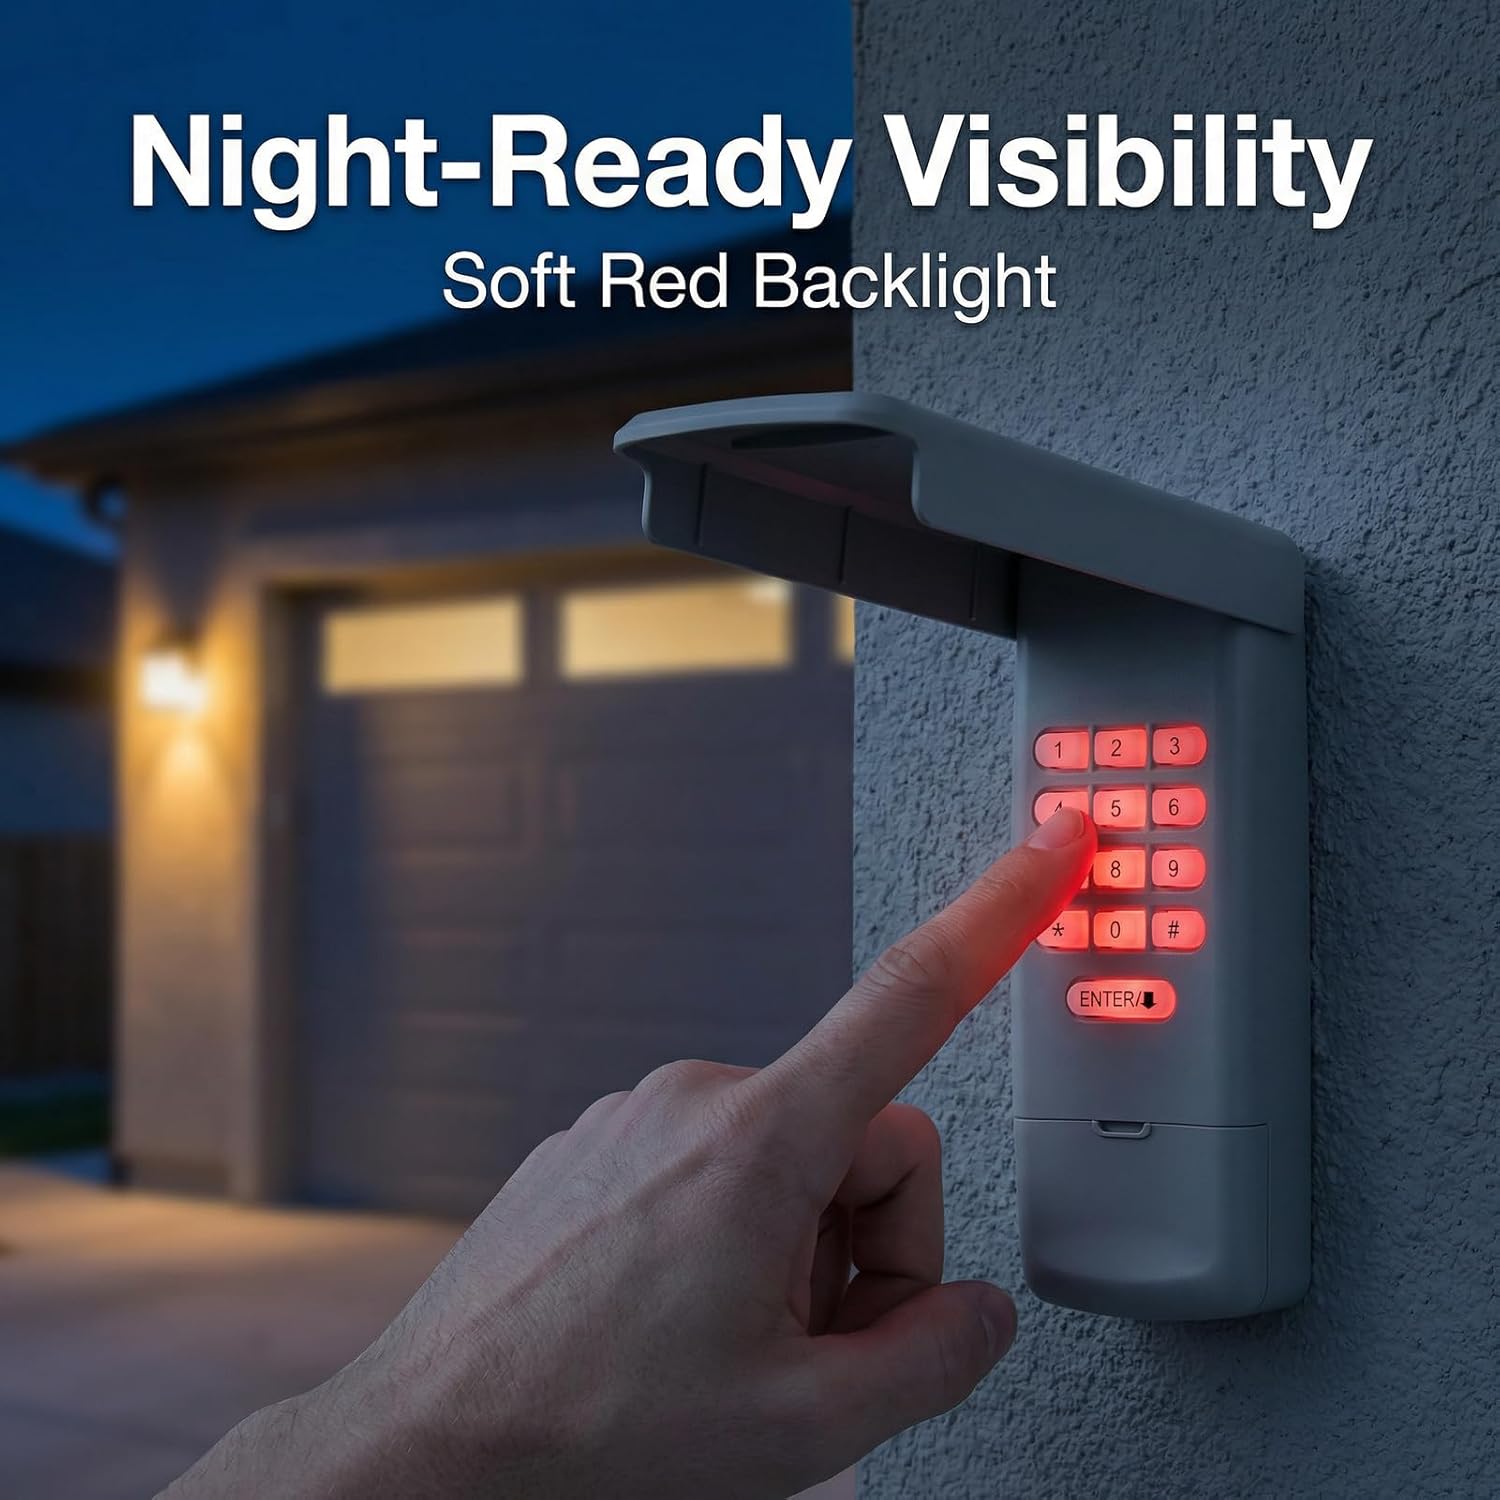
Image: The keypad's backlit buttons provide clear visibility for night-time use.
6. Maintenance
6.1 Battery Replacement
When the keypad's backlight dims or it becomes unresponsive, it may be time to replace the AAA batteries. Open the battery compartment on the back, replace the old batteries with new ones, and close the compartment securely.
6.2 Cleaning and Weather Protection
The keypad features a flip-top protective cover designed to shield it from rain, dust, and debris. Regularly wipe the keypad with a soft, damp cloth to keep it clean. Avoid using abrasive cleaners or solvents.
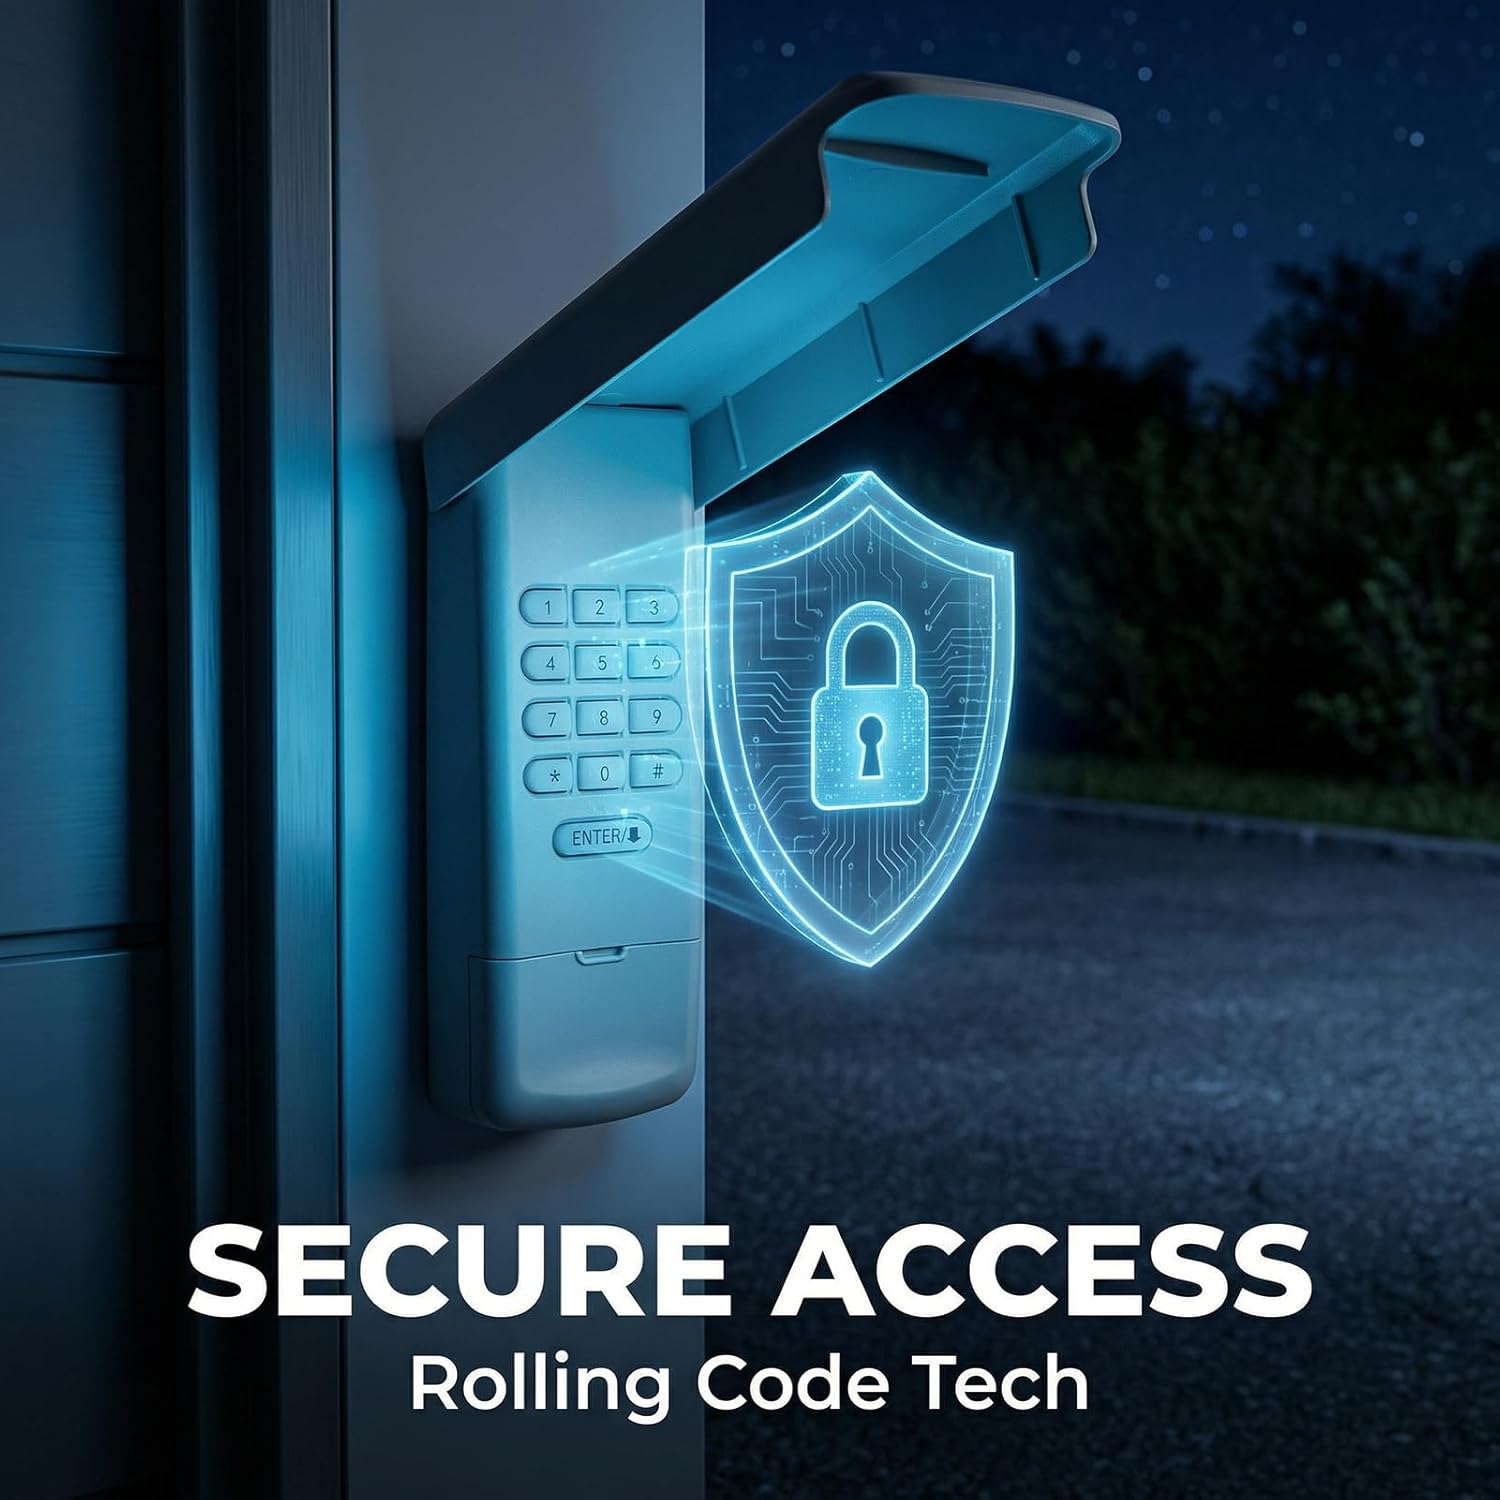
Image: The keypad's flip cover provides protection against various weather conditions.
7. Troubleshooting
If you encounter issues with your Lpyec Universal Garage Door Opener Keypad, consider the following:
- Keypad not responding: Check battery levels and replace if necessary. Ensure the keypad is within range of your garage door opener.
- Programming failure: Double-check the Learn Button color or Dip Switch settings for your specific garage door opener model. Ensure you are pressing the ENTER button the correct number of times during programming. Repeat the programming steps carefully.
- Intermittent operation: Verify that there are no obstructions between the keypad and the garage door opener. Check for potential radio frequency interference.
For any persistent programming issues or other concerns, please contact Lpyec customer support for assistance.
8. Specifications
| Model Number | AM668 |
| Item Weight | 7.4 ounces |
| Product Dimensions | 6.32 x 2.52 x 1.19 inches |
| Max Number of Supported Devices | 4 |
| Compatible Devices | Garage Door Openers |
| Special Features | Backlit, Easy Programming, Universal |
| Included Components | Keypad, Manual, Screws |
| Batteries Required | Yes (AAA Battery) |
9. Warranty & Support
9.1 Warranty Information
This Lpyec Universal Garage Door Opener Keypad Remote comes with a 24 Month Warranty from the date of purchase. Please retain your proof of purchase for warranty claims.
9.2 Customer Support
For any questions, technical assistance, or warranty inquiries, please contact Lpyec customer support. You can typically find contact information on the product packaging or by visiting the Lpyec store page online and clicking the "Ask a Question" button.