
Pataku Grey 17.6LBS
Pataku Portable Washing Machine Instruction Manual
Model: Grey 17.6LBS | Brand: Pataku
Introduction
The Pataku Portable Washing Machine is a compact and efficient twin-tub laundry solution designed for small living spaces such as apartments, dormitories, RVs, and camping. This semi-automatic washer and dryer combo offers a total capacity of 17.6 lbs (11 lbs for washing, 6.6 lbs for spinning), allowing for light to moderate laundry loads. Its user-friendly design, powerful performance, and energy-saving features make laundry convenient and hygienic.
Safety Information
Please read all instructions carefully before using the appliance to ensure safe operation and prevent injury or damage.
- Always ensure the washing machine is placed on a stable, level surface to prevent vibration and tipping during operation.
- Do not operate the machine with a damaged power cord or plug. If damaged, contact qualified service personnel for repair.
- Keep children and pets away from the appliance during operation.
- Do not overload the washing or spinning tubs beyond their specified capacities.
- Unplug the machine from the power outlet when not in use, before cleaning, or before performing any maintenance.
- Avoid spraying water directly onto the control panel or electrical components.
- Ensure the spin-drying bucket cover is properly closed during the spin cycle to prevent injury. The machine is designed to stop if the cover is opened during operation.
- Use only detergents suitable for washing machines.
Package Contents
Verify that all components are present in the package:
- Pulsator
- Water Inlet Hose
- Safety Cover
- Fixing Hoop
Product Overview


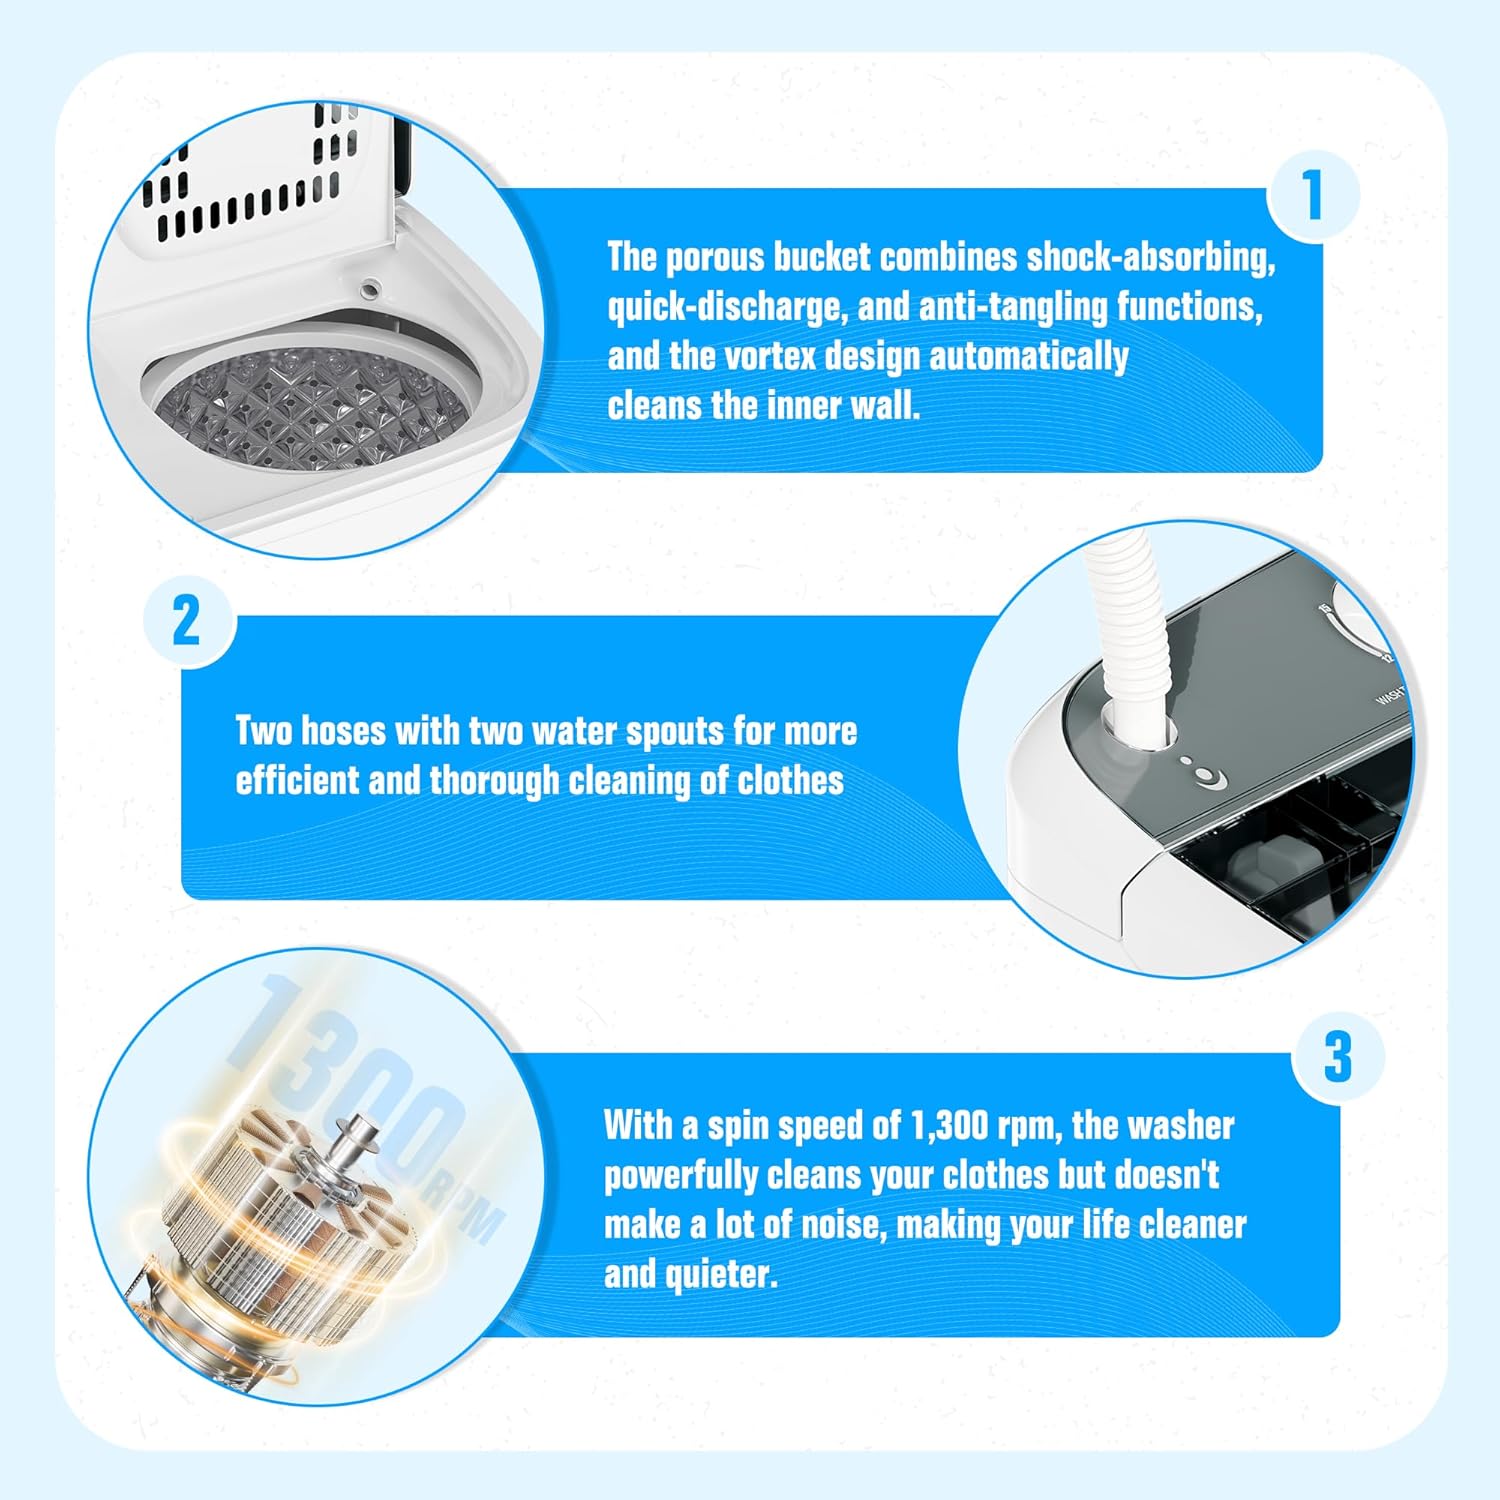


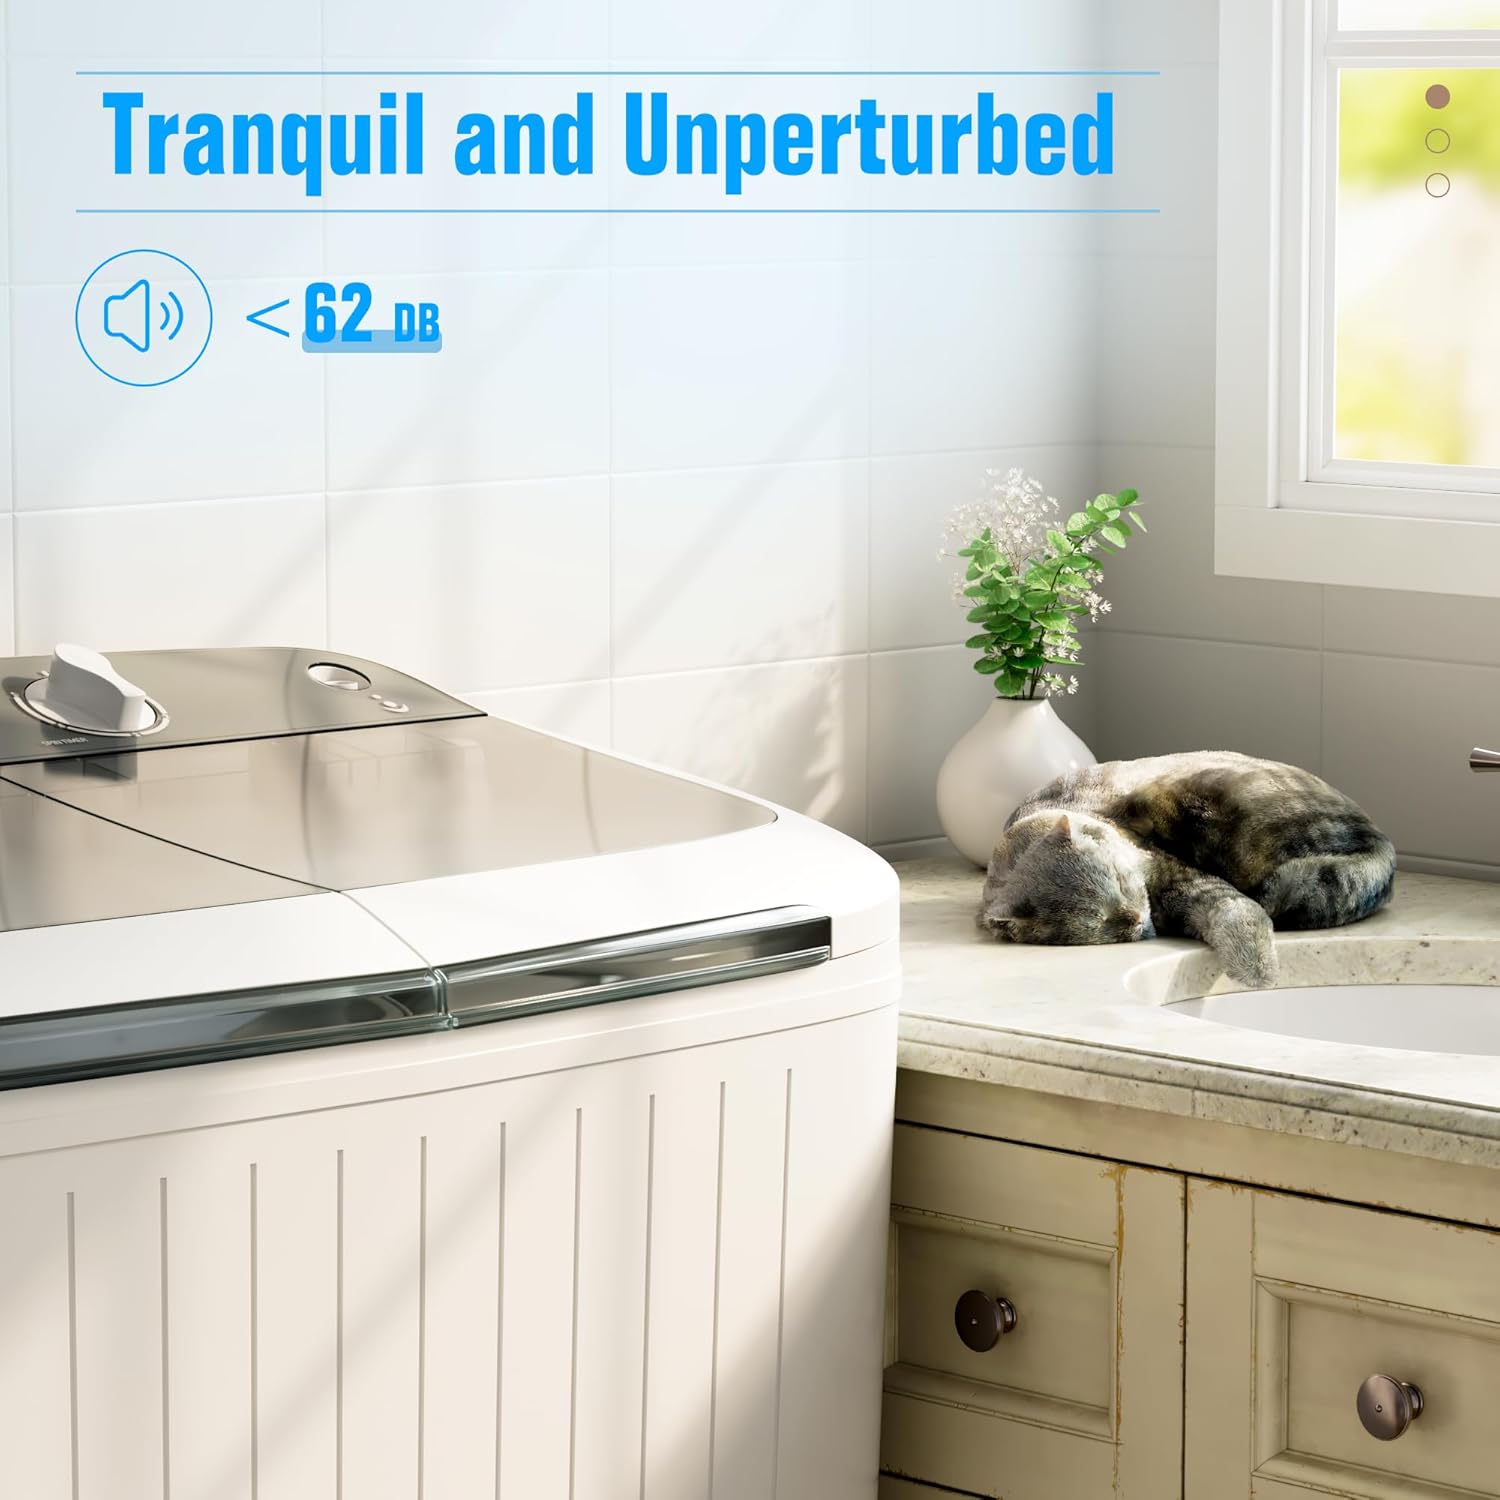
Setup
1. Placement
Place the washing machine on a firm, level surface. Ensure there is enough space around the machine for ventilation and operation. Its compact size makes it ideal for small areas like bathrooms, utility closets, or even RVs.
2. Water Supply Connection
Connect the provided water inlet hose to a water faucet. Insert the other end of the hose into the water inlet port on the washing machine. Ensure connections are secure to prevent leaks.
3. Drainage Setup
Position the drainage pipe to allow for proper water discharge. The drainage pipe hook can be used to secure the hose, preventing water leakage and ensuring efficient drainage into a sink or drain.
4. Power Connection
Plug the power cord into a grounded electrical outlet (120 Volts). Ensure the outlet meets the machine's power requirements.
Official product video demonstrating the setup and basic operation of the Pataku Portable Washing Machine, including water filling and spin-drying functions.
Operating Instructions
1. Washing Process
- Open the lid of the washing tub.
- Place clothes loosely into the washing tub, ensuring not to exceed the 11 lbs capacity.
- Add appropriate amount of water and detergent.
- Close the washing tub lid.
- Set the Wash Selector dial to either 'Gentle' or 'Normal' depending on the fabric type.
- Set the Wash Timer dial to the desired washing time (3-15 minutes). The machine will start automatically.
- For soaking function, allow clothes to soak for 0-20 minutes before starting the wash cycle.
2. Draining Water
- Once the wash cycle is complete, set the Wash Selector dial to 'Drain'.
- Ensure the drainage pipe is positioned correctly to allow water to flow out.
3. Spin Drying Process
- After draining, transfer the washed clothes from the washing tub to the spin-drying bucket. Distribute clothes evenly to prevent imbalance and excessive vibration.
- Place the safety cover over the clothes in the spin-drying bucket.
- Close the spin-drying bucket lid. The machine is designed to stop if the lid is opened during operation for safety.
- Set the Spin Timer dial to the desired spin time (0-5 minutes). The machine will start spinning.
- Once the spin cycle is complete, remove the clothes.
Maintenance
Regular maintenance ensures the longevity and optimal performance of your Pataku Portable Washing Machine.
- Cleaning the Exterior: Wipe the exterior of the machine with a soft, damp cloth. Do not use abrasive cleaners or solvents.
- Cleaning the Tubs: Periodically clean the inside of the washing and spinning tubs to prevent residue buildup. A mild detergent and water can be used.
- Lint Filter: If applicable, regularly clean the lint filter (often located in the spin tub or near the pulsator) to maintain efficient operation and prevent lint transfer to clothes.
- Drain Hose: Check the drainage hose for any blockages or kinks that might impede water flow.
- Storage: If storing the machine for an extended period, ensure both tubs are completely dry. Store in a cool, dry place away from direct sunlight.
Troubleshooting
Refer to the table below for common issues and their solutions.
| Problem | Possible Cause | Solution |
|---|---|---|
| Machine does not start | No power supply Lid not closed properly Timer not set | Check power connection and outlet Ensure both washing and spinning lids are fully closed Set the wash or spin timer dial |
| Water not draining | Drain hose kinked or blocked Drain selector not set to 'Drain' | Straighten the drain hose and check for blockages Turn the Wash Selector dial to 'Drain' |
| Excessive vibration or noise during spin | Uneven load distribution Machine not on a level surface | Redistribute clothes evenly in the spin tub Adjust machine's position to a stable, level surface |
| Poor washing performance | Overloading Insufficient water or detergent | Reduce laundry load Add more water or appropriate amount of detergent |
Specifications
| Feature | Specification |
|---|---|
| Brand | Pataku |
| Model | Grey 17.6LBS |
| Item Weight | 11 Pounds |
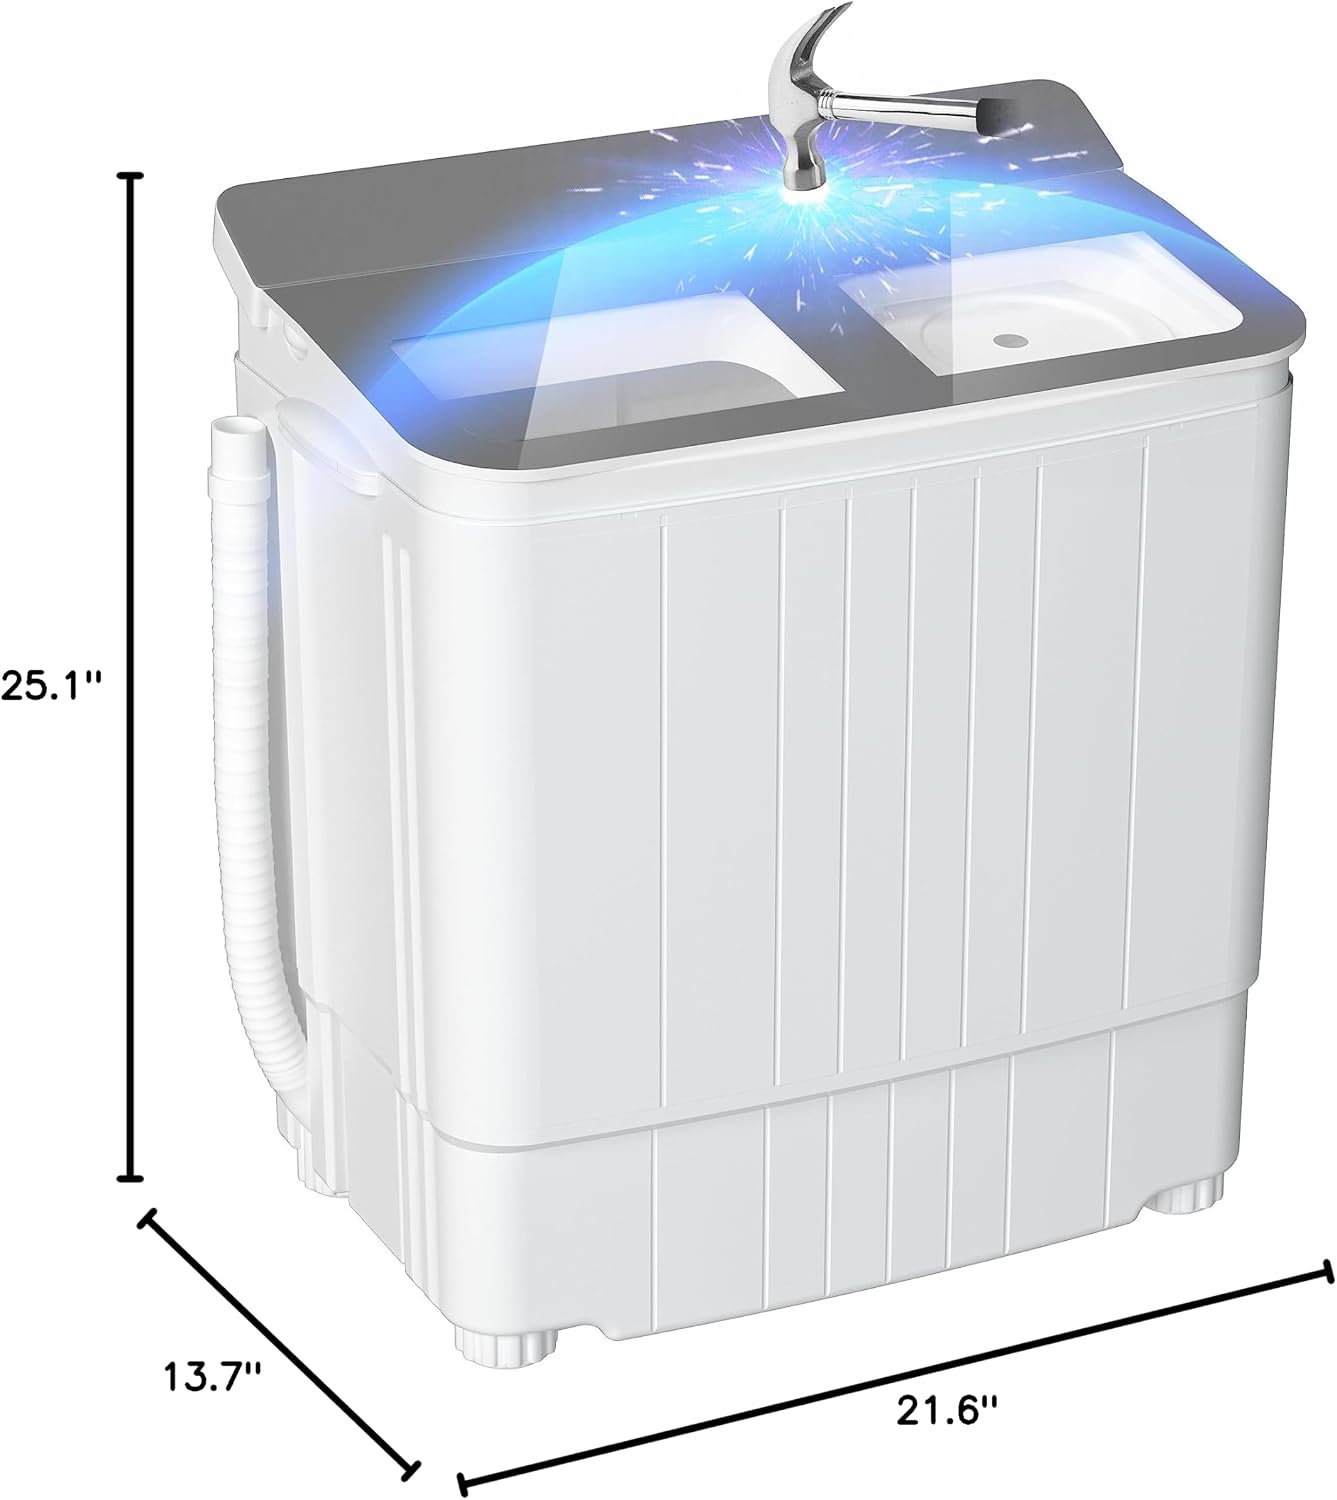
| Product Dimensions | 13.7"D x 21.6"W x 25.1"H |
| Capacity | 17.6 Pounds (Washing: 11 lbs, Spinning: 6.6 lbs) |
| Voltage | 120 Volts |
| Controller Type | Knob |
| Operation Mode | Semi Automatic |
| Maximum Rotational Speed | 1300 RPM |
| Finish Type | PPC Body, Glass Cover, Stainless Steel Tub |
| Laundry Appliance Drum Material | Stainless Steel |
| Number of Washing Cycles | 1 (Adjustable via Wash Selector) |
| Number of Drying Cycles | 1 (Adjustable via Spin Timer) |
| Special Feature | Automatic (refers to internal operation once timers are set) |
| Access Location | Top Load |
Warranty and Support
For warranty information and customer support, please refer to the documentation provided with your purchase or contact the retailer. Keep your purchase receipt as proof of purchase for any warranty claims.
Ask a question about this manual
Ask about setup, troubleshooting, compatibility, parts, safety, or missing instructions. Manuals+ will review the question and use this page’s manual context to help answer it.