ReadyWired QL-A220, QL-A220B, QL-F300, QL-F320, QL-F320B
ReadyWired Turntable Needle Stylus Instruction Manual
For JVC QL-A220, QL-A220B, QL-F300, QL-F320, QL-F320B Series Turntables
1. Introduction
This manual provides essential information for the proper installation, operation, and maintenance of your ReadyWired Turntable Needle Stylus. Designed for specific JVC turntable models, this stylus ensures accurate sound reproduction and extends the life of your vinyl records when used correctly.
Please read this manual thoroughly before installation and use to ensure optimal performance and longevity of your stylus.
2. Compatibility
The ReadyWired Turntable Needle Stylus is specifically designed to be compatible with the factory cartridge installed on the following JVC turntable models:
- JVC QL-A220
- JVC QLA220
- JVC QL-A220B
- JVC QLA220B
- JVC QL-F300
- JVC QLF300
- JVC QL-F320
- JVC QLF320
- JVC QL-F320B
Ensure your turntable model is listed above to guarantee proper fit and function.
3. Setup and Installation
Installing the new stylus requires careful handling to avoid damage to the delicate cantilever and diamond tip.
- Power Off: Disconnect your turntable from the power outlet before beginning installation.
- Locate Cartridge: Identify the existing cartridge on your turntable's tonearm. The stylus is the removable part at the front of the cartridge.
- Remove Old Stylus: Gently grasp the old stylus by its plastic housing (avoid touching the needle) and pull it forward and slightly downward to detach it from the cartridge body. Dispose of the old stylus responsibly.
- Inspect New Stylus: Carefully remove the new ReadyWired stylus from its packaging. Observe the small cantilever with the diamond tip extending from the plastic housing.
- Install New Stylus: Align the new stylus with the cartridge body. The top of the stylus housing should slide into the slot on the cartridge. Gently push the stylus upwards and backwards until it clicks securely into place. Do not force it.
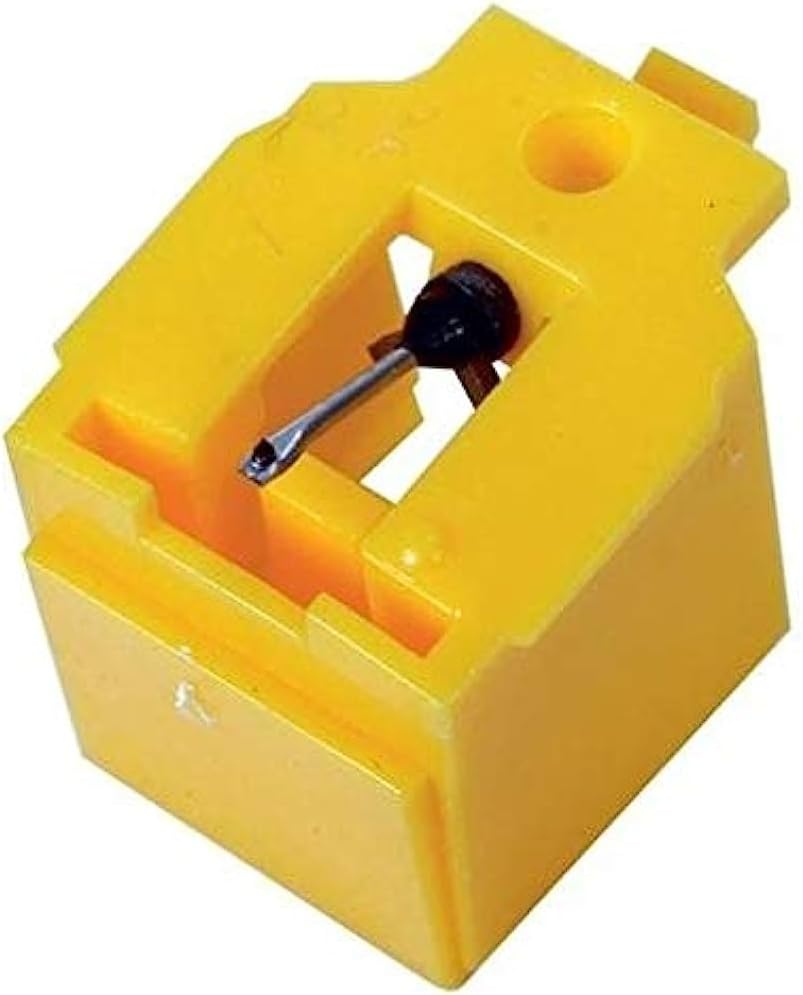
Image: Top-down view of the ReadyWired Turntable Needle Stylus, showing the yellow plastic housing and the metal cantilever with the diamond tip.

Image: Angled view of the ReadyWired Turntable Needle Stylus, highlighting its compact design and the exposed needle.
After installation, ensure the stylus is firmly seated and the cantilever is straight. Reconnect your turntable to power.
4. Operating Guidelines
Proper operation of your turntable with the new stylus will preserve both the stylus and your records.
- Tracking Force: Refer to your JVC turntable's original manual for the recommended tracking force for its factory cartridge. Set your tonearm's tracking force accordingly. An incorrect tracking force can cause premature wear to the stylus and records.
- Record Condition: Always play clean records. Dust and debris on records can significantly damage the stylus tip and degrade sound quality.
- Gentle Handling: Lower and raise the tonearm gently using the cueing lever. Avoid dropping the tonearm onto the record, as this can bend or break the cantilever.
5. Maintenance
Regular maintenance is crucial for extending the life of your stylus and maintaining sound quality.
- Stylus Cleaning: Use a dedicated stylus cleaning brush or fluid to gently remove dust and debris from the stylus tip. Always brush from back to front (from the cartridge body towards the tip) to avoid damaging the cantilever. Do not use your fingers or abrasive materials.
- Record Cleaning: Keep your records clean. Use a record brush before each play and consider a record cleaning solution for deeper cleaning.
- Stylus Replacement: A stylus typically lasts between 500 to 1000 hours of play, depending on care and record condition. Signs of wear include distorted sound, sibilance, or a dull sound. Replace the stylus when these signs become apparent to prevent damage to your records.
6. Troubleshooting
If you encounter issues with your new stylus, consider the following common problems and solutions:
- Distorted or Muffled Sound:
- Check Installation: Ensure the stylus is fully seated and clicked into the cartridge.
- Clean Stylus: Dust or debris on the stylus tip can cause distortion. Clean it carefully.
- Tracking Force: Verify the tracking force is set correctly according to your turntable's specifications.
- Skipping or Jumping:
- Record Condition: Inspect the record for scratches, dust, or warps.
- Tracking Force: Insufficient tracking force can cause skipping. Increase it slightly within the recommended range.
- Anti-Skate: Ensure your turntable's anti-skate setting is properly adjusted.
- No Sound or Low Volume:
- Stylus Contact: Confirm the stylus is making proper contact with the record groove.
- Connections: Check all audio cable connections from the turntable to your amplifier/receiver.
If problems persist after troubleshooting, the stylus may be worn or damaged, requiring replacement.
7. Specifications
| Feature | Detail |
|---|---|
| Product Type | Turntable Needle Stylus |
| Brand | ReadyWired |
| Compatibility | JVC QL-A220, QLA220, QL-A220B, QLA220B, QL-F300, QLF300, QL-F320, QLF320, QL-F320B (with factory cartridge) |
| ASIN | B0C7SPSSCM |
| Date First Available | September 28, 2022 |
8. Warranty and Support
This product is offered with a return policy allowing for refund or replacement within 30 days of purchase. For any questions, technical assistance, or warranty claims, please contact the seller, River City Electronics, through the platform where the purchase was made.
Please retain your proof of purchase for any support inquiries.
Ask a question about this manual
Ask about setup, troubleshooting, compatibility, parts, safety, or missing instructions. Manuals+ will review the question and use this page’s manual context to help answer it.