Introduction
The Diboniur 60-Minute Rechargeable Visual Timer is designed to assist with time management and improve time perception for individuals of all ages. Its visual countdown mechanism helps users, including children and those with learning differences, understand the passage of time intuitively. This manual provides detailed instructions for the proper setup, operation, and maintenance of your visual timer.

Image: Front view of the Diboniur 60-Minute Visual Timer, showing the white dial with numbers 0-60 and a red disk indicating remaining time.
Product Features
The Diboniur Visual Timer incorporates several features to enhance its utility:
- Visual Time Management: A red disk visually diminishes as time passes, providing a clear representation of remaining time.
- Rechargeable Design: Equipped with a built-in rechargeable battery, eliminating the need for frequent battery replacements.
- Silent Operation: Functions without any ticking sound, suitable for quiet environments like classrooms, libraries, or offices.
- Adjustable Alarm: Offers two alarm duration options (3 seconds and 30 seconds) and three volume settings (high, low, silent).
- User-Friendly: Simple knob operation for setting the desired countdown time.
- Versatile Use: Ideal for various activities including cooking, studying, exercise, and managing tasks at home or work.
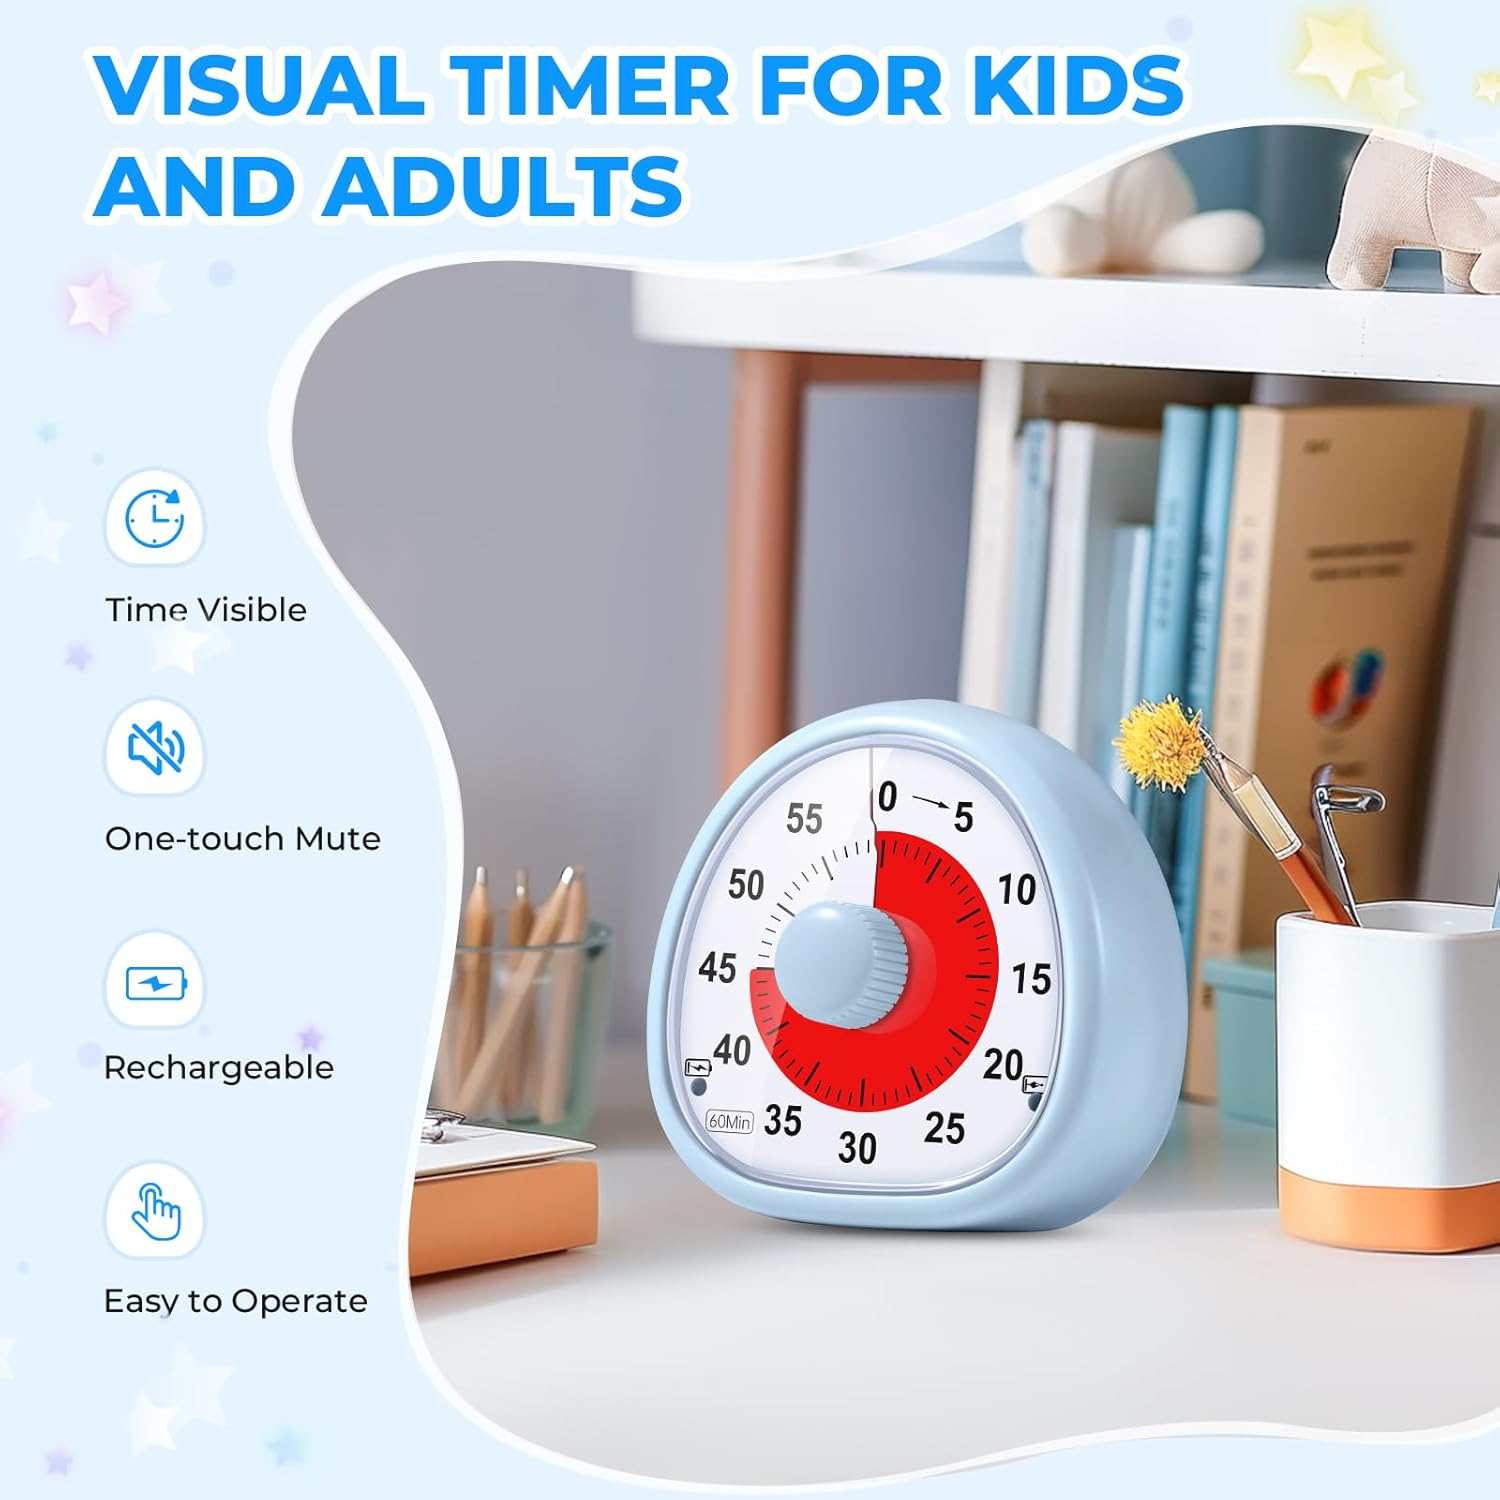
Image: The visual timer on a desk, with icons illustrating its features: Time Visible, One-touch Mute, Rechargeable, and Easy to Operate.
Setup
1. Initial Charging
The Diboniur Visual Timer features a rechargeable design. Before first use, it is recommended to fully charge the device. Locate the Type-C charging port on the back of the timer and connect it to a power source using a compatible cable (not always included). The charging indicator light will illuminate during charging and turn off when fully charged. A single charge provides extended use.

Image: The visual timer on a table, connected via a USB-C cable for charging, illustrating its rechargeable capability.
2. Familiarizing with Controls
Before operation, identify the key components:
- Countdown Knob: The central knob on the front for setting time.
- Red Disk: The visual indicator of remaining time.
- Charging Indicator Light: Located near the charging port.
- Battery Indicator Light: Indicates battery status.
- Alarm Stop Button: Located on the top/back to silence the alarm.
- Alarm Duration Switch: On the back, for 3-second or 30-second alarm.
- Volume Switch: On the back, for mute, low, or high volume.

Image: A detailed diagram labeling the various parts of the visual timer, including the red disk, countdown knob, charging port, and alarm settings.
Operating Instructions
1. Setting the Timer
- Ensure the timer is adequately charged.
- Rotate the central knob clockwise to the desired time setting, up to a maximum of 60 minutes. As you turn the knob, the red disk will appear, indicating the set duration.
- The red disk will gradually disappear as time elapses, providing a clear visual countdown.
Important Note:
When the red disk is at the 0 mark (no red visible), do not forcefully rotate the knob counter-clockwise. This can cause internal mechanical damage. Always rotate clockwise to set the time.

Image: A hand demonstrating how to turn the central knob clockwise to set the timer, with an arrow indicating the direction of rotation.
2. Adjusting Alarm Settings
The timer allows customization of the alarm sound:
- Alarm Duration: On the back of the device, locate the switch to select between a 3-second or 30-second alarm duration.
- Volume Control: Also on the back, a switch allows you to choose between high volume, low volume, or silent mode. Silent mode is ideal for environments where noise is undesirable.

Image: A split image showing the timer in a classroom setting (one-touch mute) and a kitchen setting (timely reminder), illustrating the alarm and mute functions.
3. Stopping the Alarm
When the set time expires, the alarm will sound. Press the alarm stop button, typically located on the top or back of the device, to silence it.
4. Resetting the Timer
To reset the timer for a new task, manually rotate the knob back to the 0 mark.

Image: A sequence of images showing the timer set for 30 minutes, 10 minutes later, and a reminder when the timer ends, demonstrating the visual countdown.
Maintenance
To ensure the longevity and proper functioning of your Diboniur Visual Timer, follow these maintenance guidelines:
- Cleaning: Wipe the timer with a soft, dry cloth. Avoid using abrasive cleaners, solvents, or harsh chemicals, as these can damage the surface and internal components.
- Water Exposure: Do not submerge the timer in water or expose it to excessive moisture. It is not waterproof.
- Storage: Store the timer in a cool, dry place away from direct sunlight and extreme temperatures.
- Handling: Handle the timer with care. Avoid dropping it or subjecting it to strong impacts, which could damage the internal mechanism.
Troubleshooting
If you encounter any issues with your visual timer, please refer to the following common solutions:
- Timer does not move or red disk does not disappear:
- Ensure the timer is adequately charged.
- Verify that the central knob has been rotated clockwise to set a time. The mechanism only engages when a time is set.
- Do not force the knob counter-clockwise from the 0 mark, as this can cause internal damage and prevent proper operation.
- Alarm does not sound:
- Check the volume switch on the back of the timer. Ensure it is not set to 'silent' mode.
- Confirm the timer is charged, as low battery might affect alarm functionality.
- Timer not charging:
- Ensure the Type-C charging cable is securely connected to both the timer and the power source.
- Try using a different charging cable or power adapter to rule out faulty accessories.
Specifications
| Feature | Detail |
|---|---|
| Product Dimensions | 9 x 9 x 8 cm |
| Item Weight | 140 Grams |
| Model Number | 60-Minute Visual Timer |
| Battery Type | 1 Lithium Ion battery (included) |
| Material | ABS |
| Color | Blue |
| Max Timing Duration | 60 Minutes |
Warranty and Support
For information regarding warranty coverage, technical support, or customer service, please refer to the documentation included with your purchase or visit the official Diboniur website. Please retain your proof of purchase for any warranty claims.