1. Introduction
This manual provides detailed instructions for the installation, operation, and maintenance of your Ant Esports Crystal Z3 Mini-Tower Computer Case. Please read this manual thoroughly before beginning assembly to ensure correct setup and optimal performance of your system. This case is designed to support E-ATX, ATX, Micro-ATX, and Mini-ITX motherboards and features pre-installed fans for efficient cooling.
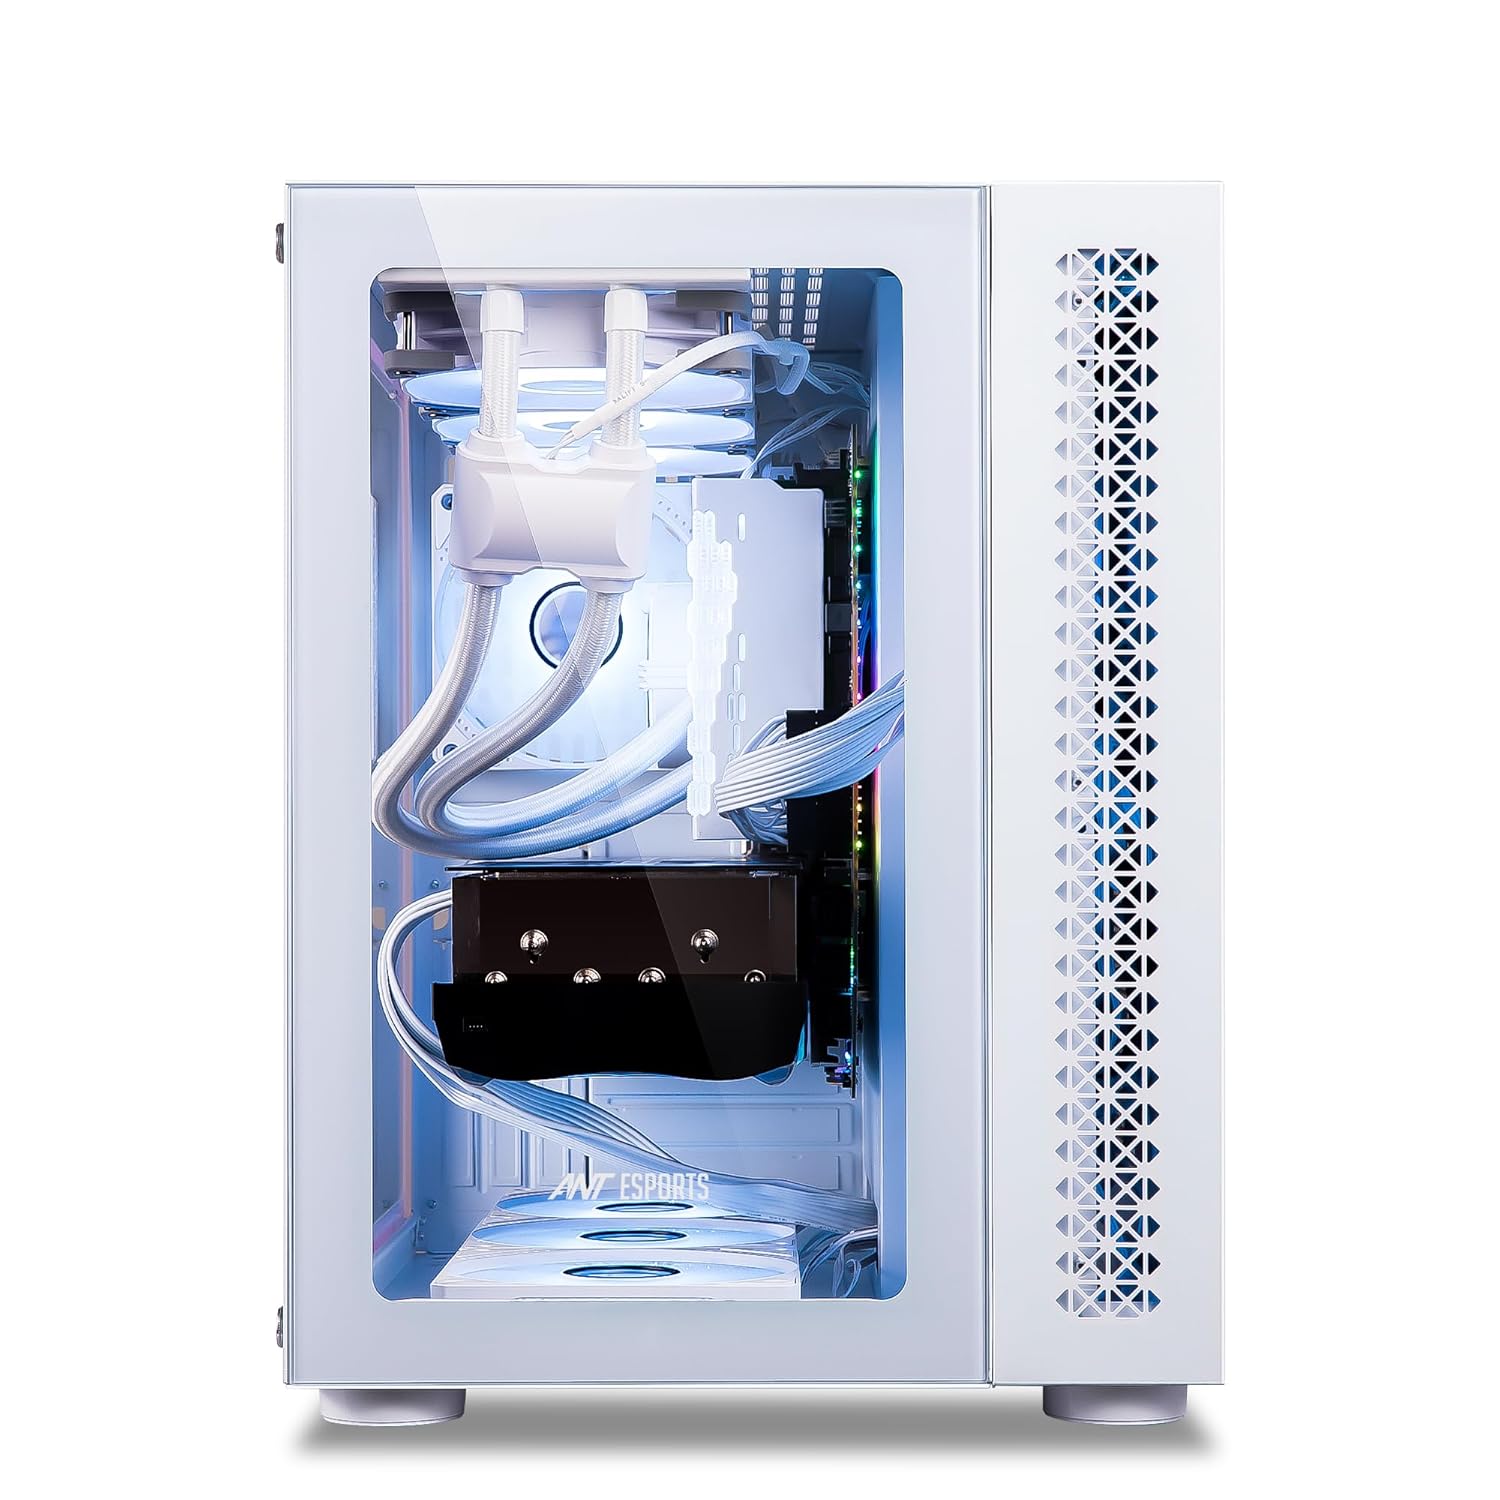
Figure 1: Ant Esports Crystal Z3 Mini-Tower Computer Case (White + Crystal) with internal components and blue LED fans.
2. Specifications
The Ant Esports Crystal Z3 Mini-Tower Computer Case offers robust features for a high-performance build. Key specifications are detailed below:

Figure 2: Detailed specifications for the Ant Esports Crystal Z3 Mini-Tower Computer Case.
- Chassis Dimensions (L x W x H): 417 x 300 x 385 mm
- Motherboard Type Support: E-ATX, ATX, Micro-ATX, Mini-ITX
- Materials: ABS + SPCC + Tempered Glass
- Drive Bays: 2 x 3.5-inch, 1 x 2.5-inch
- Fan Support:
- Top: 3 x 120mm / 2 x 140mm
- Bottom: 3 x 120mm
- Rear: 1 x 120mm
- Side: 3 x 120mm / 2 x 140mm
- Pre-Installed Fans: 3 x Side Fans, 1 x Rear Fan
- Liquid Cooling Support (Maximum):
- Top: 120 / 240 / 280 / 360 mm
- Rear: 120 mm
- Side: 120 / 240 mm
- Compatibility: VGA Card Length: 390 mm, CPU Cooler Height: 168 mm
- I/O Panel: 1 x USB 3.0, 2 x USB 2.0, 1 x Audio In, 1 x Mic, LED Control Button
- Expansion Slots: 7+3
3. Setup and Installation
Follow these steps for proper assembly and installation of components into your computer case.
3.1 Preparing the Case
- Unpack the Case: Carefully remove the case from its packaging. Inspect for any damage during shipping.
- Remove Side Panels: Unscrew the thumbscrews on the rear of the case to remove the tempered glass side panels. Set them aside on a soft, flat surface to prevent scratches.
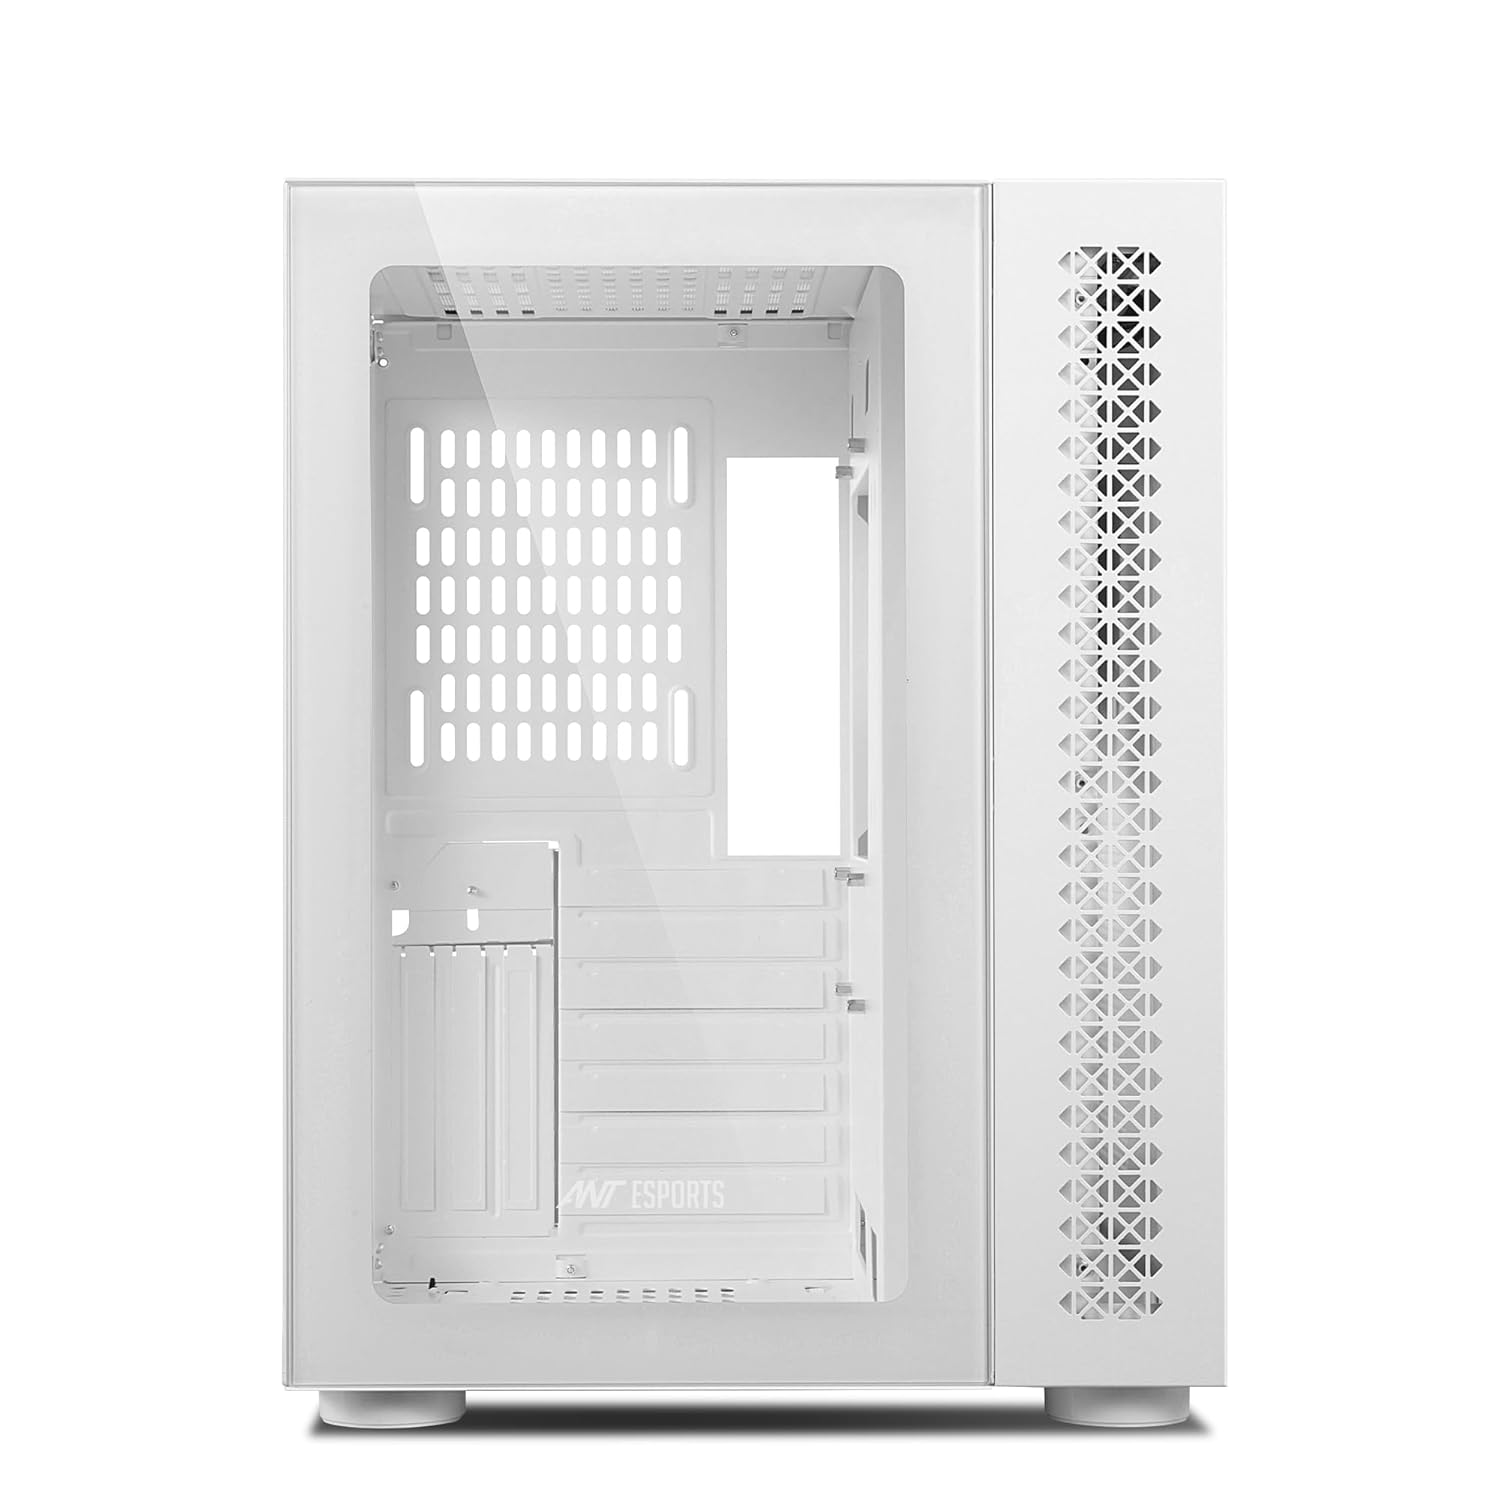
Figure 3: Interior view of the Ant Esports Crystal Z3 case with side panels removed.
3.2 Motherboard Installation
- Install Standoffs: Ensure the correct standoffs are installed for your motherboard form factor (E-ATX, ATX, Micro-ATX, Mini-ITX).
- Place Motherboard: Carefully align your motherboard with the standoffs and I/O shield opening.
- Secure Motherboard: Fasten the motherboard with the provided screws.
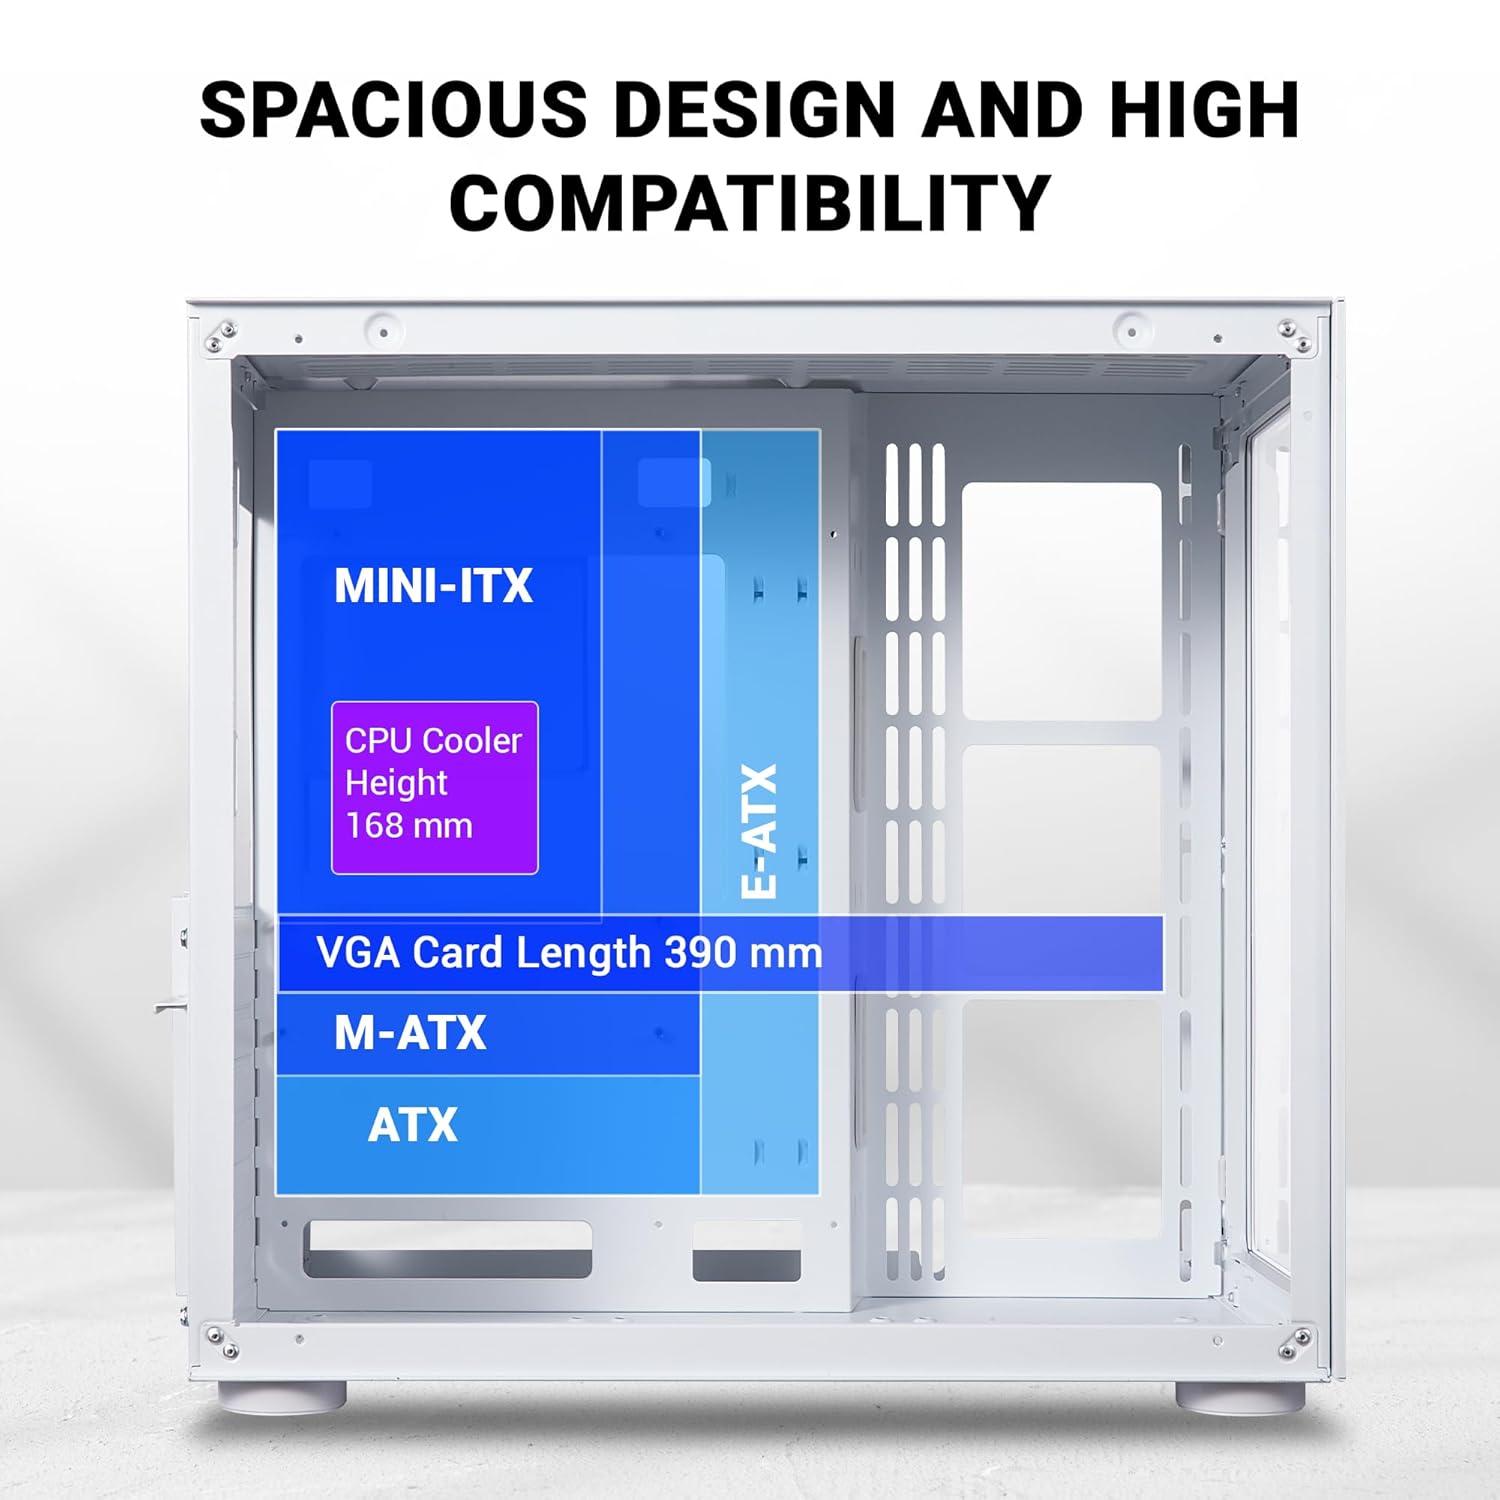
Figure 4: Motherboard compatibility and component clearance within the case.
3.3 Power Supply Unit (PSU) Installation
- Locate PSU Bay: The PSU bay is located at the rear bottom of the case.
- Mount PSU: Slide the PSU into the bay and secure it with screws from the rear of the case.
3.4 Storage Drive Installation (HDD/SSD)
The case supports 2 x 3.5-inch HDDs and 1 x 2.5-inch SSD, or 1 x HDD and 2 x SSDs.
- 3.5-inch Drives: Install 3.5-inch HDDs into the designated drive cages, typically located behind the motherboard tray or in a separate compartment.
- 2.5-inch Drives: Mount 2.5-inch SSDs onto the dedicated mounting points, usually on the back of the motherboard tray.

Figure 5: Flexible SSD and HDD mounting options.
3.5 Graphics Card (VGA) Installation
- Remove Expansion Slot Covers: Remove the necessary expansion slot covers at the rear of the case.
- Insert Graphics Card: Carefully insert your graphics card into the PCIe slot on the motherboard.
- Secure Graphics Card: Fasten the graphics card with screws. The case also supports vertical GPU mounting (bracket not included).

Figure 6: Support for large graphics cards and vertical GPU mounting.
3.6 Fan and Liquid Cooling Installation
The case comes with 3 pre-installed side fans and 1 rear fan. Additional fans and liquid cooling radiators can be installed as per the specifications.
- Fan Placement: Install additional fans in the top, bottom, or side positions as needed.
- Radiator Placement: Liquid cooling radiators can be installed in the top, rear, or side positions.

Figure 7: Multiple fan support locations.

Figure 8: Large liquid cooling support options.
3.7 Cable Management
Utilize the cable routing cutouts and tie-down points behind the motherboard tray to manage cables for a clean build and improved airflow.
4. Operating Instructions
Once all components are installed and connected, you can power on your system.
4.1 I/O Panel Functions
The top I/O panel provides convenient access to essential controls and ports:

Figure 9: I/O Panel layout and functions.
- Power Button: Press to turn the system on or off.
- Reset Button: Press to restart the system.
- LED Control Button: Cycles through various RGB lighting modes for compatible fans/components.
- USB 3.0 Port (x1): For high-speed data transfer.
- USB 2.0 Ports (x2): For standard peripheral connections.
- Audio In (Mic): For microphone input.
- Audio Out (Headphone): For headphone or speaker output.
5. Maintenance
Regular maintenance helps ensure optimal performance and longevity of your computer case and components.
5.1 Dust Filter Cleaning
The Ant Esports Crystal Z3 case features fine mesh dust filters to prevent dust accumulation inside the system.
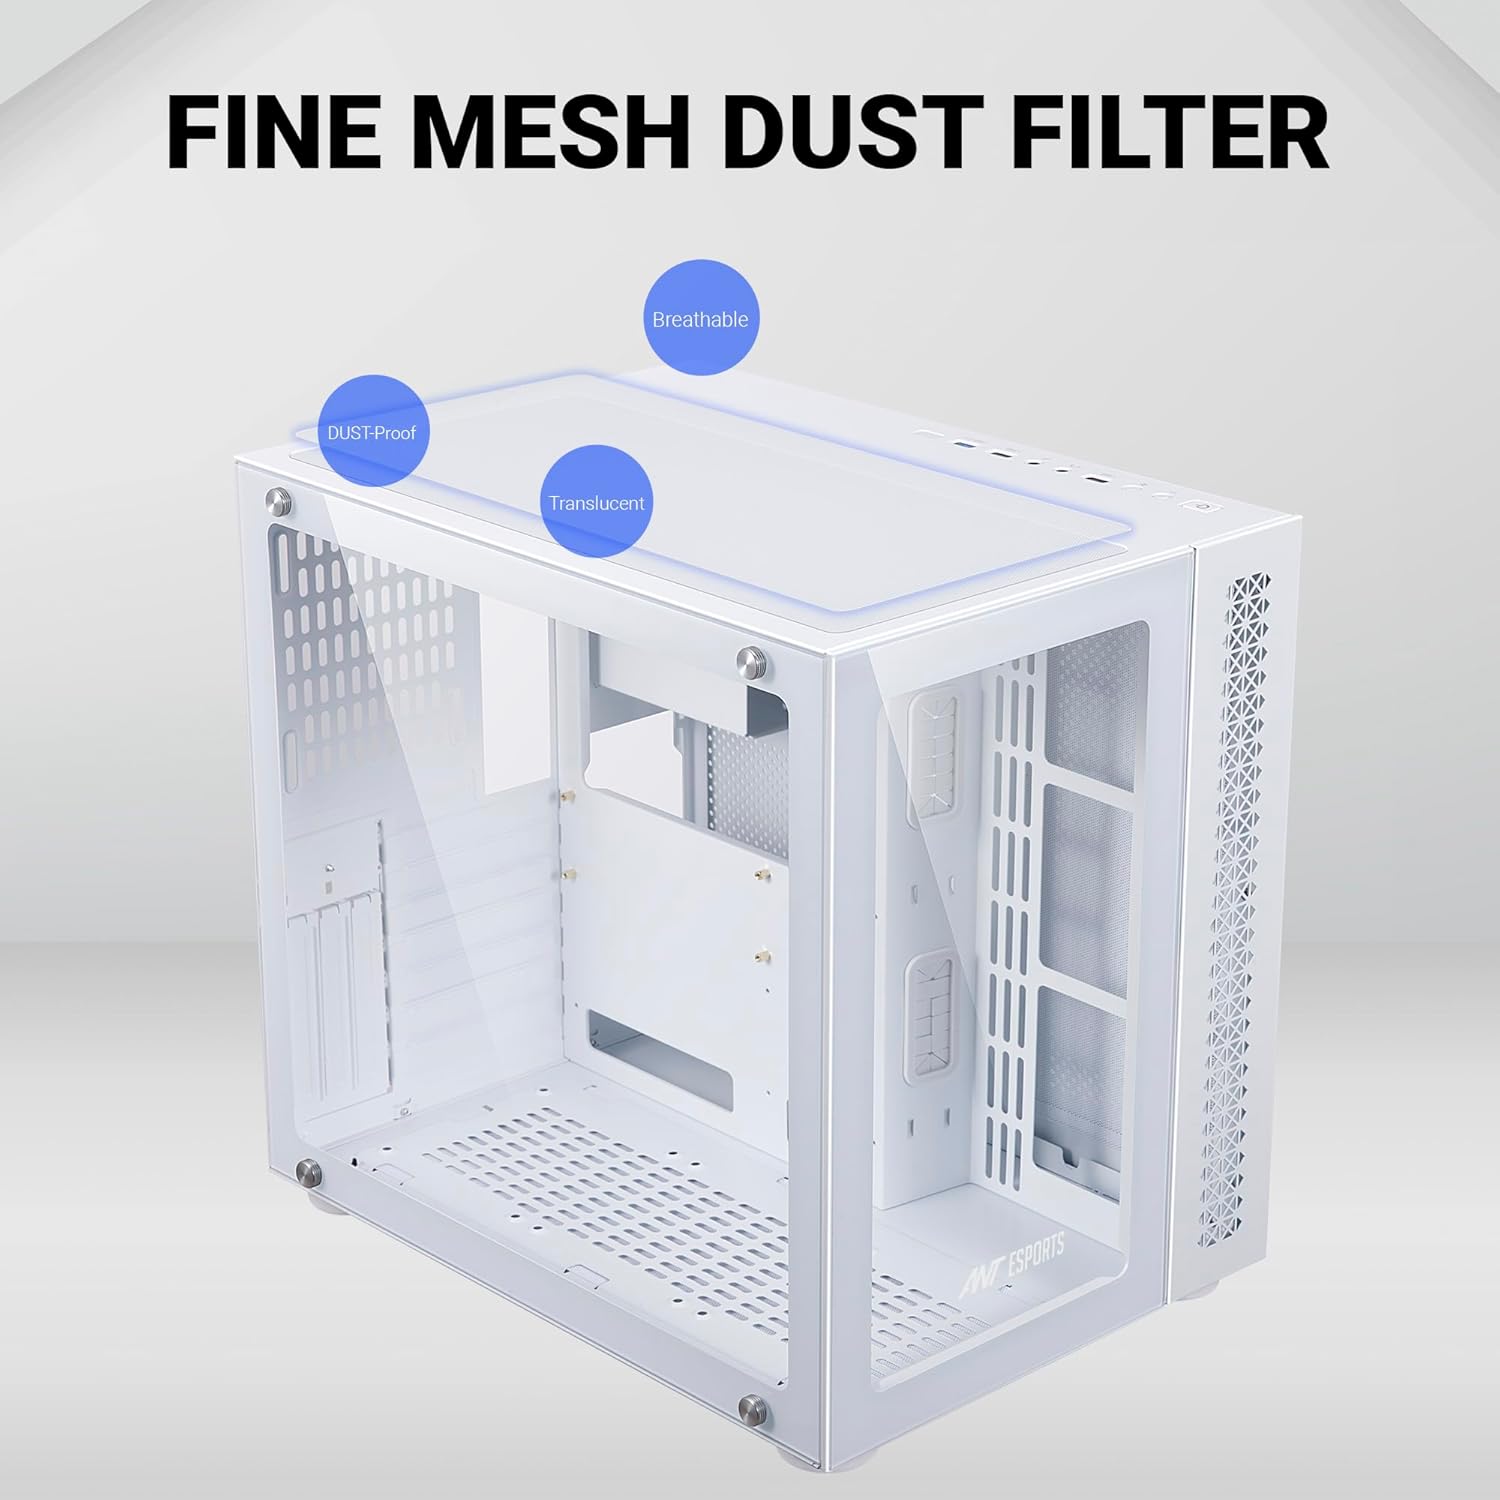
Figure 10: Fine mesh dust filter for improved airflow and dust protection.
- Frequency: Clean dust filters every 1-3 months, or more frequently in dusty environments.
- Removal: Gently slide out or unclip the dust filters from their respective locations (e.g., top, bottom).
- Cleaning: Use compressed air or a soft brush to remove accumulated dust. For stubborn dirt, you may rinse with water and ensure they are completely dry before reinstallation.
- Reinstallation: Carefully reattach the clean dust filters.
5.2 General Cleaning
- Exterior: Wipe the exterior surfaces with a soft, damp cloth. Avoid harsh chemicals.
- Tempered Glass: Use a microfiber cloth and a glass cleaner (non-ammonia based) to clean the tempered glass panels.
- Interior: Periodically use compressed air to clear dust from internal components and fan blades. Ensure the system is powered off and unplugged before cleaning the interior.
6. Troubleshooting
This section addresses common issues you might encounter.
6.1 System Not Powering On
- Power Cable: Ensure the power cable is securely connected to both the PSU and the wall outlet.
- PSU Switch: Verify that the power switch on the PSU is in the 'ON' position.
- Front Panel Connectors: Check that the front panel power button connector is correctly attached to the motherboard's F_PANEL header.
- Internal Connections: Confirm all internal power cables (24-pin ATX, 8-pin CPU, PCIe power) are firmly seated.
6.2 Fans Not Spinning / RGB Not Working
- Fan Connections: Ensure all fan power cables are correctly connected to the motherboard or a fan controller.
- RGB Connections: Verify that RGB cables are properly connected to the motherboard's RGB header or an RGB controller.
- LED Button: Use the LED control button on the I/O panel to cycle through modes or ensure it's not turned off.
6.3 USB Ports Not Functioning
- Internal USB Headers: Check that the internal USB 2.0 and USB 3.0 cables from the front panel are securely connected to the corresponding headers on the motherboard.
- Drivers: Ensure appropriate USB drivers are installed in your operating system.
7. Warranty and Support
For warranty information, technical support, or service inquiries, please refer to the official Ant Esports website or contact their customer support directly. Keep your proof of purchase for warranty claims.
Manufacturer: Ant Esports
Importer: Acro Engineering Company
Product specifications are subject to change without prior notice.