1. Important Safety Information
Please read this entire manual carefully before operating the DAEYEGIM 2 in 1 Portable Under Desk Treadmill. Keep this manual for future reference. Failure to follow these instructions could result in injury or damage to the product.
- Maximum User Weight: Do not exceed the maximum user weight of 330 lbs (150 kg).
- Placement: Place the treadmill on a flat, stable surface. Ensure there is adequate clear space (at least 2 feet) behind and on both sides of the treadmill for safe operation.
- Electrical Safety: Use only the provided power cord. Do not use extension cords. Ensure the power outlet is properly grounded. Unplug the treadmill when not in use or before cleaning/maintenance.
- Children and Pets: Keep children and pets away from the treadmill during operation. This appliance is not intended for use by persons with reduced physical, sensory or mental capabilities unless they have been given supervision or instruction concerning use of the appliance by a person responsible for their safety.
- Emergency Stop: Familiarize yourself with the emergency stop function.
- Footwear: Always wear appropriate athletic footwear when using the treadmill.
- Maintenance: Perform regular maintenance as described in this manual to ensure safe and optimal performance.
2. Product Overview
The DAEYEGIM 2 in 1 Portable Under Desk Treadmill is designed for both walking and light jogging, offering a convenient way to stay active at home or in the office. Its compact, installation-free design allows for easy setup and storage.
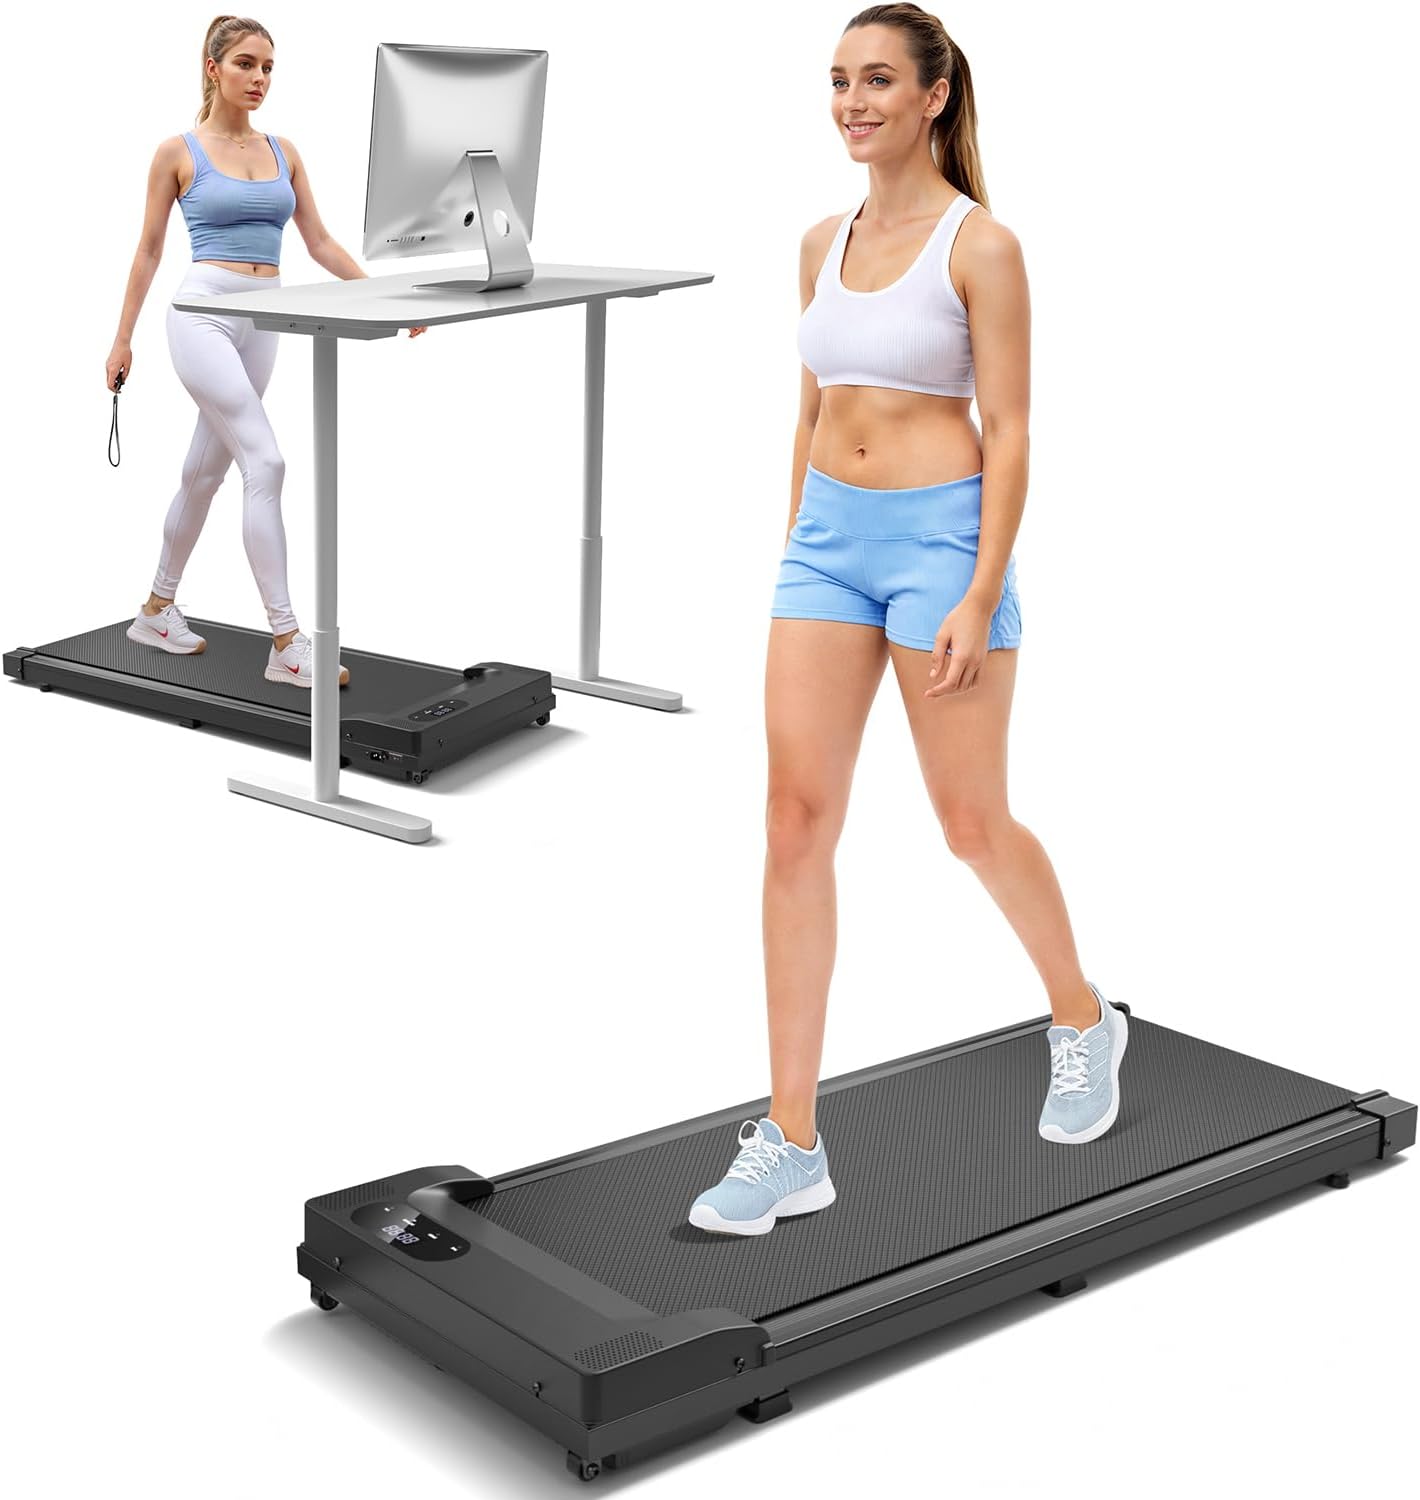
Figure 2.1: DAEYEGIM 2 in 1 Portable Under Desk Treadmill in use.
Key Features:
- Powerful and Quiet Motor: Equipped with a 2.5 HP motor, operating at less than 45 dB for a quiet exercise environment.
- LED Display & Smart Remote: Track speed, distance, time, and calories in real-time. Control speed and stop the machine with the included remote.
- Wide Non-Slip Running Belt: Features a 37 x 15 inch running area with 5 layers of non-slip material and 8 silicone shocks for enhanced safety, comfort, and impact reduction.
- Installation-Free & Space-Saving: No assembly required. Compact dimensions (45.6"L x 19.6"W x 4.5"H) and built-in wheels allow for easy movement and storage under furniture.
- Versatile Use: Supports walking (0.6-3.8 mph) and light jogging, suitable for various fitness levels and environments.

Figure 2.2: Illustration of the 2.5HP powerful and quiet motor.

Figure 2.3: Detail of the 5-layer non-slip running belt for shock absorption.
3. Setup and Assembly
The DAEYEGIM treadmill is designed for immediate use with no assembly required. Simply unbox, place, and plug in.
3.1 Unpacking
- Carefully remove the treadmill from its packaging.
- Remove all packing materials, including any protective films or ties.
- Verify that all included components are present: Treadmill unit, Remote Control, Power Cord, Lubricant, Tool Kit, User Manual.

Figure 3.1: Included components with the treadmill package.
3.2 Placement
- Choose a flat, stable, and level surface for the treadmill.
- Ensure there is at least 2 feet (60 cm) of clear space behind the treadmill and 1 foot (30 cm) on each side for safety.
- Avoid placing the treadmill on thick carpets, which may obstruct ventilation or affect performance.

Figure 3.2: Treadmill positioned for under-desk use.
3.3 Power Connection
- Locate the power input port on the treadmill.
- Connect the power cord securely to the treadmill.
- Plug the other end of the power cord into a standard, grounded electrical outlet.
- Flip the main power switch (usually located near the power cord input) to the "ON" position. The LED display should illuminate.
4. Operating Instructions
The treadmill is controlled primarily by the included remote control.
4.1 Remote Control Functions

Figure 4.1: Smart remote control for efficient speed adjustment.
- Start/Stop Button: Press to start or stop the treadmill belt.
- Speed Up (+): Increases the treadmill speed.
- Speed Down (-): Decreases the treadmill speed.
- Mode Button: (If applicable) Cycles through display modes (Time, Distance, Calories, Speed).
4.2 LED Display

Figure 4.2: LED display showing fitness data.
The integrated LED display shows real-time workout data:
- Time: Duration of your workout.
- Speed: Current speed in miles per hour (MPH).
- Distance: Total distance covered during the workout.
- Calories: Estimated calories burned.
4.3 Starting a Workout
- Ensure the treadmill is plugged in and the main power switch is ON.
- Stand on the side rails of the treadmill, not on the belt.
- Press the "Start" button on the remote control. The treadmill will typically start at a low speed (e.g., 0.6 MPH) after a short countdown.
- Carefully step onto the moving belt.
- Use the "+" and "-" buttons on the remote to adjust the speed to your desired level (range: 0.6 - 3.8 MPH).
4.4 Ending a Workout
- Gradually decrease the speed using the "-" button until the treadmill comes to a complete stop.
- Alternatively, press the "Stop" button on the remote control to immediately stop the treadmill.
- Once the belt has stopped, step off the treadmill.
- For safety, it is recommended to turn off the main power switch and unplug the treadmill after each use.
5. Maintenance
Regular maintenance ensures the longevity and optimal performance of your treadmill.
5.1 Cleaning
- Always unplug the treadmill before cleaning.
- Wipe down the frame and display with a soft, damp cloth. Do not use abrasive cleaners or solvents.
- Periodically vacuum underneath the treadmill to prevent dust and debris buildup.
5.2 Lubrication of the Running Belt
The running belt requires periodic lubrication to reduce friction and extend its lifespan. Lubricant is included with your treadmill.
- Unplug the treadmill.
- Loosen the rear roller bolts slightly to allow access under the belt (do not remove them completely).
- Lift the edge of the running belt and apply a small amount of the provided silicone lubricant directly onto the center of the deck, under the belt. Apply in an "S" pattern.
- Tighten the rear roller bolts back to their original tension.
- Plug in the treadmill and run it at a low speed (e.g., 1 MPH) for 2-3 minutes to distribute the lubricant evenly.
- Lubricate every 3-6 months depending on usage.
5.3 Belt Tension Adjustment
If the running belt feels like it's slipping or is off-center, it may need adjustment. Use the included tool kit.
- Slipping Belt: If the belt slips during use, turn the treadmill off and unplug it. Turn both rear roller adjustment bolts clockwise by a quarter turn. Test the belt. Repeat if necessary, but do not overtighten.
- Off-Center Belt: If the belt drifts to one side, turn the treadmill off and unplug it.
- If the belt drifts to the right, turn the right rear roller adjustment bolt clockwise by a quarter turn.
- If the belt drifts to the left, turn the left rear roller adjustment bolt clockwise by a quarter turn.
5.4 Storage
Thanks to its compact design and smooth moving wheels, the treadmill is easy to store.

Figure 5.1: Moving the treadmill using its built-in wheels.
- Ensure the treadmill is turned off and unplugged.
- Lift the end of the treadmill with the display and roll it to your desired storage location using the transport wheels.
- It can be stored flat under a sofa, bed, or upright against a wall (ensure it is stable and secure if stored upright).
6. Troubleshooting
If you encounter issues with your treadmill, refer to the following common problems and solutions:
| Problem | Possible Cause | Solution |
|---|---|---|
| Treadmill does not power on. |
|
|
| Belt slips or hesitates during use. |
|
|
| Unusual noise from the treadmill. |
|
|
| Remote control not working. |
|
|
If the problem persists after attempting these solutions, please contact DAEYEGIM customer support for assistance.
7. Specifications
| Feature | Detail |
|---|---|
| Brand | DAEYEGIM |
| Model Name | CR-A22 |
| Product Dimensions (L x W x H) | 45.6" x 19.6" x 4.5" (115.8 cm x 49.8 cm x 11.4 cm) |
| Item Weight | 37.9 Pounds (17.2 kg) |
| Maximum Weight Recommendation | 330 Pounds (150 kg) |
| Motor Horsepower | 2.5 HP (Input Power) |
| Speed Range | 0.6 - 3.8 Miles per Hour (1 - 6 km/h) |
| Noise Level | Less than 45 dB |
| Running Area (L x W) | Approx. 37" x 15" (94 cm x 38 cm) |
| Material | Alloy Steel, Plastic |
| Display Type | LED |
| Metrics Measured | Speed, Distance, Time, Calories Burned |
| Special Features | Compact Design, Lightweight, Portable, Wheeled, Remote Control |
| Assembly Required | No |
8. Warranty and Support
8.1 Warranty Information
This DAEYEGIM 2 in 1 Portable Under Desk Treadmill comes with a 1-year warranty from the date of purchase. This warranty covers manufacturing defects in materials and workmanship under normal use.
The warranty does not cover:
- Damage caused by improper use, neglect, or accident.
- Damage from unauthorized repairs or modifications.
- Normal wear and tear, including but not limited to the running belt.
8.2 Customer Support
For any questions, concerns, or warranty claims, please contact DAEYEGIM customer support. Please have your model number (CR-A22) and purchase information ready when contacting support.
You can typically find contact information on the product packaging, the official DAEYEGIM website, or through your point of purchase.
For more information, visit the official DAEYEGIM Store on Amazon.


