1. Safety Information
Please read all safety instructions carefully before using the FMART T8 Window Cleaning Robot. Failure to follow these instructions may result in electric shock, fire, or serious injury.
- Always connect the safety rope to a secure anchor point before placing the robot on the window.
- Ensure the power cord is securely connected and not damaged.
- Do not use the robot on cracked or damaged glass surfaces.
- Keep children and pets away from the operating robot.
- Use only the provided cleaning pads and recommended cleaning solutions.
- The robot is designed for smooth, vertical surfaces. Do not use on sloped or uneven surfaces.
- In case of power failure, the built-in UPS battery provides approximately 30 minutes of backup power to prevent the robot from falling. Retrieve the robot promptly during a power outage.
2. Product Overview
The FMART T8 Window Cleaning Robot is designed to automate the cleaning of various smooth surfaces such as glass, tiles, and mirrors. It features smart navigation, edge detection, and powerful suction for efficient cleaning.
Package Contents
Verify that all items are present in the package:
- FMART T8 Window Cleaning Robot
- Remote Control
- Power Adapter
- AC Power Cord
- DC Extension Cable (4.5m)
- Safety Rope
- Cleaning Solution Spray Bottle
- Microfiber Cleaning Pads (12 pieces)
- User Manual

Figure 2.1: All components included in the package.
3. Setup
3.1 Attaching Cleaning Pads
Attach the microfiber cleaning pads to the two rotating wheels on the underside of the robot. Ensure they are securely fastened.

Figure 3.1: Cleaning pads attached to the robot.
3.2 Connecting Power and Safety Rope
- Connect the power adapter to the robot.
- Connect the DC extension cable to the power adapter.
- Plug the AC power cord into a wall outlet.
- Securely attach the safety rope to the robot and then to a sturdy anchor point indoors, such as a heavy piece of furniture or a window frame. The safety rope is 5 meters (16 feet) long.

Figure 3.2: Installation and connection steps.
Video 3.1: A seller-provided tutorial demonstrating the setup and initial use of the FMART T8 window cleaning robot, including connecting components and placing it on a window.
4. Operating Instructions
4.1 Powering On and Placement
- Ensure the robot is connected to power and the safety rope is secured.
- Press and hold the power button on the robot until it powers on.
- Lightly spray one set of cleaning pads with glass cleaning solution.
- Place the robot firmly on the window surface. The robot will automatically adhere to the glass using its suction.
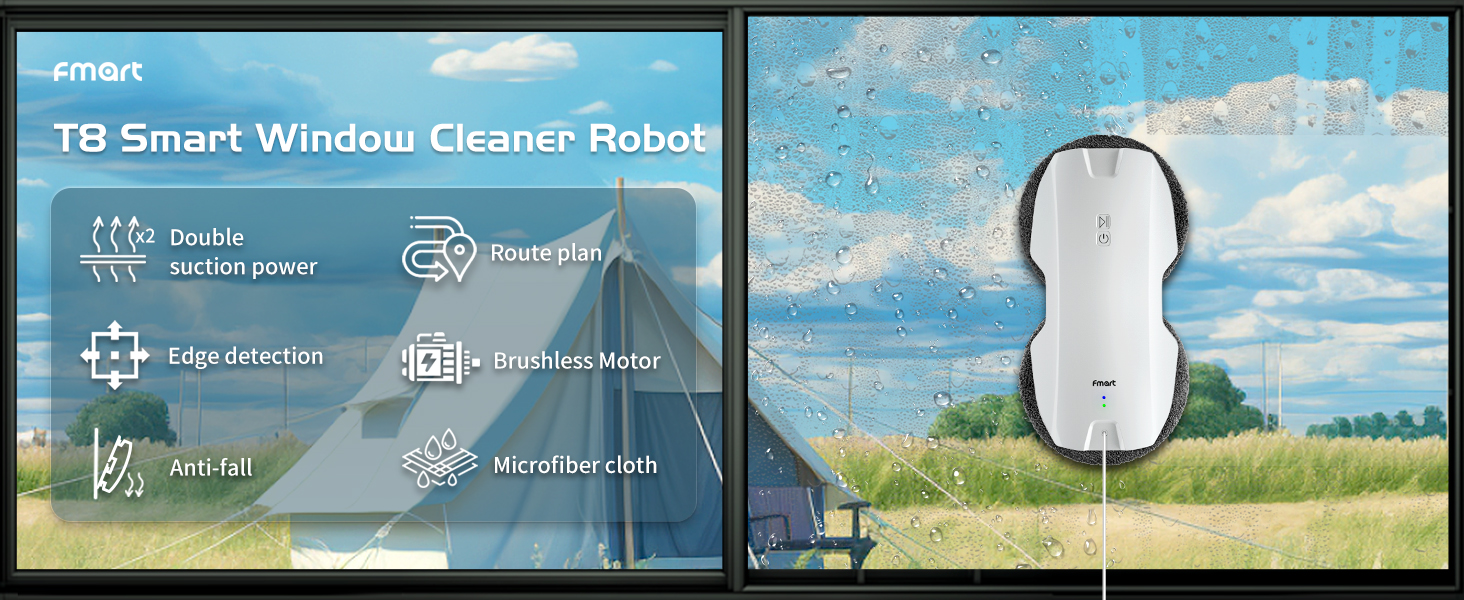
Figure 4.1: Robot in operation on a window.
4.2 Using the Remote Control
The remote control allows you to start, stop, and direct the robot manually.
- Start/Pause: Press the play/pause button to start or pause the cleaning cycle.
- Directional Control: Use the arrow buttons to manually steer the robot.
- Automatic Cleaning Modes: The robot can automatically plan a Z-shaped path for comprehensive cleaning.

Figure 4.2: Remote control for the robot.

Figure 4.3: Remote control, edge detection, and route planning features.
4.3 Cleaning Process
For optimal cleaning results, follow these steps:
- First Pass (Dissolve Stains): Use a damp cleaning pad (wrung out) for the initial pass to dissolve and remove heavy dirt.
- Second Pass (Wipe Glass): Replace with a dry cleaning pad and spray glass cleaning solution 6-8 times onto the pad. Run the robot for a second pass.
- Third Pass (Polish): For a streak-free finish, use a fresh, dry cleaning pad for a final polishing pass.

Figure 4.4: Recommended 3-step cleaning process.
5. Maintenance
5.1 Cleaning Pads
The microfiber cleaning pads can be removed and washed for reuse. It is recommended to wash them after each use to maintain cleaning effectiveness.
- Peel the dirty pads off the robot's rotating wheels.
- Hand wash the pads with mild detergent and warm water, or machine wash on a gentle cycle.
- Air dry the pads completely before reattaching them to the robot.
5.2 Robot Body
Wipe the robot's body with a soft, dry cloth to remove any dust or residue.
6. Troubleshooting
6.1 Indicator Lights
The robot features indicator lights to communicate its status:
- Blue Light On: Charging Complete
- Blue Light Flashing: Charging
- Green Light Flashing: Normal Operation
- Red Light Flashing: Failure Encountered / Need to Charge

Figure 6.1: Description of flashing lights.
6.2 Common Issues
- Robot not sticking: Ensure the surface is clean and dry. Check for sufficient power supply.
- Robot not moving: Check if the power cord is securely connected. Ensure the cleaning pads are not overly wet or dry.
- Streaks on window: Replace dirty cleaning pads. Use less cleaning solution or a different type of glass cleaner. Perform a final dry polish pass.
- Robot stops unexpectedly: Check power connection. If a red light is flashing, the battery may need charging or there's an error.
7. Specifications
| Feature | Specification |
|---|---|
| Brand | FMART |
| Model Name | T8 |
| Product Dimensions | 11.41"L x 5.59"W x 3.18"H |
| Item Weight | 2.2 pounds |
| Power Source | Corded Electric |
| Voltage | 14.8 Volts (DC) |
| Lithium Battery Voltage | 12 Volts (DC) |
| Battery Life (UPS) | Approx. 30 minutes (for fall prevention) |
| Special Features | 2.4G Remote, Auto Suction Adjustment, Maximum Load: 1393N, Power Cord: 4.5m, Smart Route Planning, Edge Detection |
| Surface Recommendation | Glass, Tile, Mirror |
8. Warranty and Support
FMART products are designed for reliability and performance. For warranty information, please refer to the warranty card included in your product packaging or visit the official FMART website.
If you encounter any issues or have questions regarding your FMART T8 Window Cleaning Robot, please contact our professional customer service team for assistance. Our team is dedicated to providing high-quality support.

Figure 8.1: FMART Professional Customer Service.