Introduction
This manual provides comprehensive instructions for the operation and maintenance of Singer Sewing Machines Models 17-22 and 17-23. These models are characterized by their right-hand operation, small cylinder, single needle, and central bobbin shuttle design. This reproduction manual aims to provide essential guidance for users of these classic Singer machines.

Figure 1: Overview of the Singer Sewing Machine Nos. 17-22 and 17-23. This illustration shows the complete machine mounted on its stand, highlighting its classic design and components.
Setup and Initial Preparation
Before operating your Singer sewing machine, ensure it is properly set up and prepared for use. This involves placing the machine on a stable surface and ensuring all components are securely in place.
Machine Placement
Position the machine on a sturdy, level table or stand. Ensure there is adequate space around the machine for comfortable operation and material handling.
Power Connection (if applicable)
For models equipped with an electric motor, connect the power cord to a suitable electrical outlet. Ensure the voltage matches the machine's requirements. For treadle or hand-crank models, no electrical connection is needed.
Operating Instructions
This section details the fundamental steps for operating your Singer sewing machine, including bobbin handling and needle threading.
To Take Out the Bobbin
The shuttle and bobbin are located in the left-hand end of the cylinder bed, enclosed by a flat, hinged cover. To access, slightly raise the back part of the cover so that it can be drawn over the screw head and let it drop down and hang by the hinge screw.
Lift the left-hand end of the latch lever on the front of the bobbin case and draw out the bobbin case; then turn its open end down, release the latch, and the bobbin will drop out.

Figure 2: Bobbin Removal and Winding. This image illustrates the process of taking out the bobbin and shows the machine's side profile, indicating the bobbin winding mechanism.
To Wind the Bobbin
Place the spool of bobbin thread upon the spool pin and wind a few turns by hand upon the bobbin. Place the bobbin upon the spindle of the bobbin winder and push the bobbin winder up until its rubber ring presses against the rim of the balance wheel. Run the machine as in sewing, at the same time guiding the thread so that the bobbin will be filled evenly.
To Thread the Needle
Place the spool of thread upon the spool pin in the highest part of the arm, or if a thread unwinder is used, pass the thread first through the hole near the upper end of the spool pin, then into the thread retainer at the back of the upper part of the arm head, down and from back toward you under and between the tension discs and over the thread guard wire, into the thread take-up spring, up and from the back through the eye in the take-up lever, down and into the eyelet in the face plate, into the thread guide just above the needle clamp and from left to right through the eye of the needle; two inches or more of thread should be left with which to commence stitching.

Figure 3: Needle Threading Path. This diagram provides a clear visual guide for correctly threading the upper thread through the machine's various guides and tension components to the needle.
Maintenance and Care
Proper maintenance is crucial for the longevity and optimal performance of your Singer sewing machine. This includes regular oiling and correct needle selection.
To Oil the Machine
All surfaces of metal which are in movable contact with each other must be kept lubricated; it interferes seriously with the results to be obtained and causes expense for repairs if the machine is not regularly and properly oiled.
There are oil holes in the arm as follows: Seven in the upper surface, three of them near the arm head, three near the spool pin and one near the balance wheel, one in back of arm head for oiling the take-up hinge and its cam and roller. There is a hole in the face plate through which the ends of the needle bar link can be oiled, but it is advisable to take off the face plate occasionally and to clean out the space inside and oil the parts with fresh oil; the round cover on the back of the arm should be turned up and parts inside lubricated.
There is an oil hole near the left hand end of the cylinder bed for oiling the bearings of the oscillating shuttle shaft and three large openings in the base through which to oil the bearings of the parts located inside; a drop of oil must occasionally be placed in the shuttle race. Be very careful that every movable joint and bearing in the machine has a drop of oil.
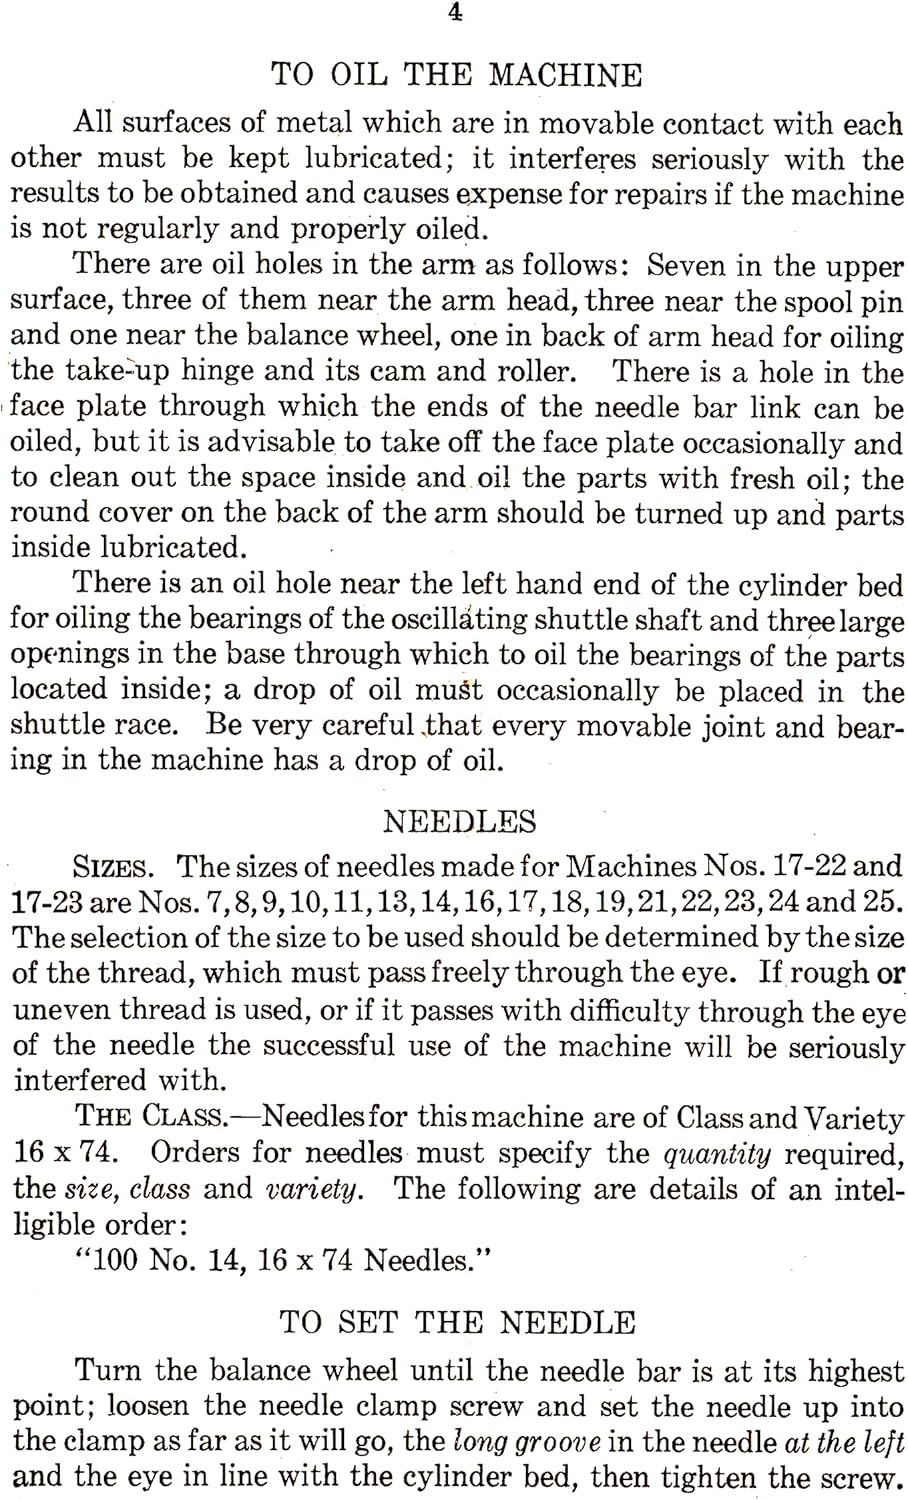
Figure 4: Oiling Points and Needle Information. This page from the original manual provides detailed instructions on where to apply oil for proper machine lubrication and lists compatible needle sizes.
Needles
SIZES. The sizes of needles made for Machines Nos. 17-22 and 17-23 are Nos. 7, 8, 9, 10, 11, 13, 14, 16, 17, 18, 19, 21, 22, 23, 24 and 25. The selection of the size to be used should be determined by the size of the thread, which must pass freely through the eye. If rough or uneven thread is used, or if it passes with difficulty through the eye of the needle the successful use of the machine will be seriously interfered with.
THE CLASS. Needles for this machine are of Class and Variety 16 x 74. Orders for needles must specify the quantity required, the size, class and variety. The following are details of an intelligible order:
- "100 No. 14, 16 x 74 Needles."
Troubleshooting
While this manual focuses on operation and maintenance, common issues can often be resolved by reviewing the instructions for proper threading, bobbin winding, and lubrication. Many sewing machine problems stem from incorrect setup or lack of maintenance.
- Skipped Stitches: Often caused by an incorrect needle (wrong size or type), a bent needle, or improper threading. Ensure the needle is inserted correctly and is not dull or damaged.
- Thread Breakage: Can result from incorrect tension, poor quality thread, improper threading, or a burr on the needle or machine parts. Re-thread the machine carefully and check for any rough spots.
- Uneven Stitches: May indicate incorrect tension settings or issues with the bobbin winding. Verify both upper and lower thread tensions.
- Machine Jamming: Typically due to tangled thread in the bobbin area or a foreign object. Carefully remove the bobbin case and clear any obstructions.
For persistent issues, consult a qualified sewing machine technician.
Product Specifications
| Feature | Detail |
|---|---|
| Manual Type | Reproduction Instruction Manual |
| Applicable Models | Singer Sewing Machines Nos. 17-22 and 17-23 |
| Manual Pages | 12 pages (inclusive of covers) |
| Manual Dimensions | 8 x 5 inches |
| Machine Type (Original) | Right Hand, Small Cylinder, One Needle, Central Bobbin Shuttle |
| Manufacturer (Manual Reproduction) | TabSynth |
| Item Model Number (Manual) | Singer 17-22 Manual |
Warranty and Support
This document is a reproduction of an original instruction manual for vintage Singer sewing machines. As such, it does not come with a product warranty from the original manufacturer of the sewing machine.
For inquiries regarding the reproduction manual itself, please contact the seller, TabSynth Design Works, through the platform where it was purchased. For support related to the operation or repair of your vintage Singer sewing machine, it is recommended to consult with experienced sewing machine technicians or vintage sewing machine communities.


