1. Introduction
Welcome to the instruction manual for your Singer 239 Fashion Mate sewing machine. This guide provides comprehensive information on setting up, operating, and maintaining your machine to ensure optimal performance and longevity. This document is a reproduction of the original 1968 manual, designed to assist both new and experienced users.
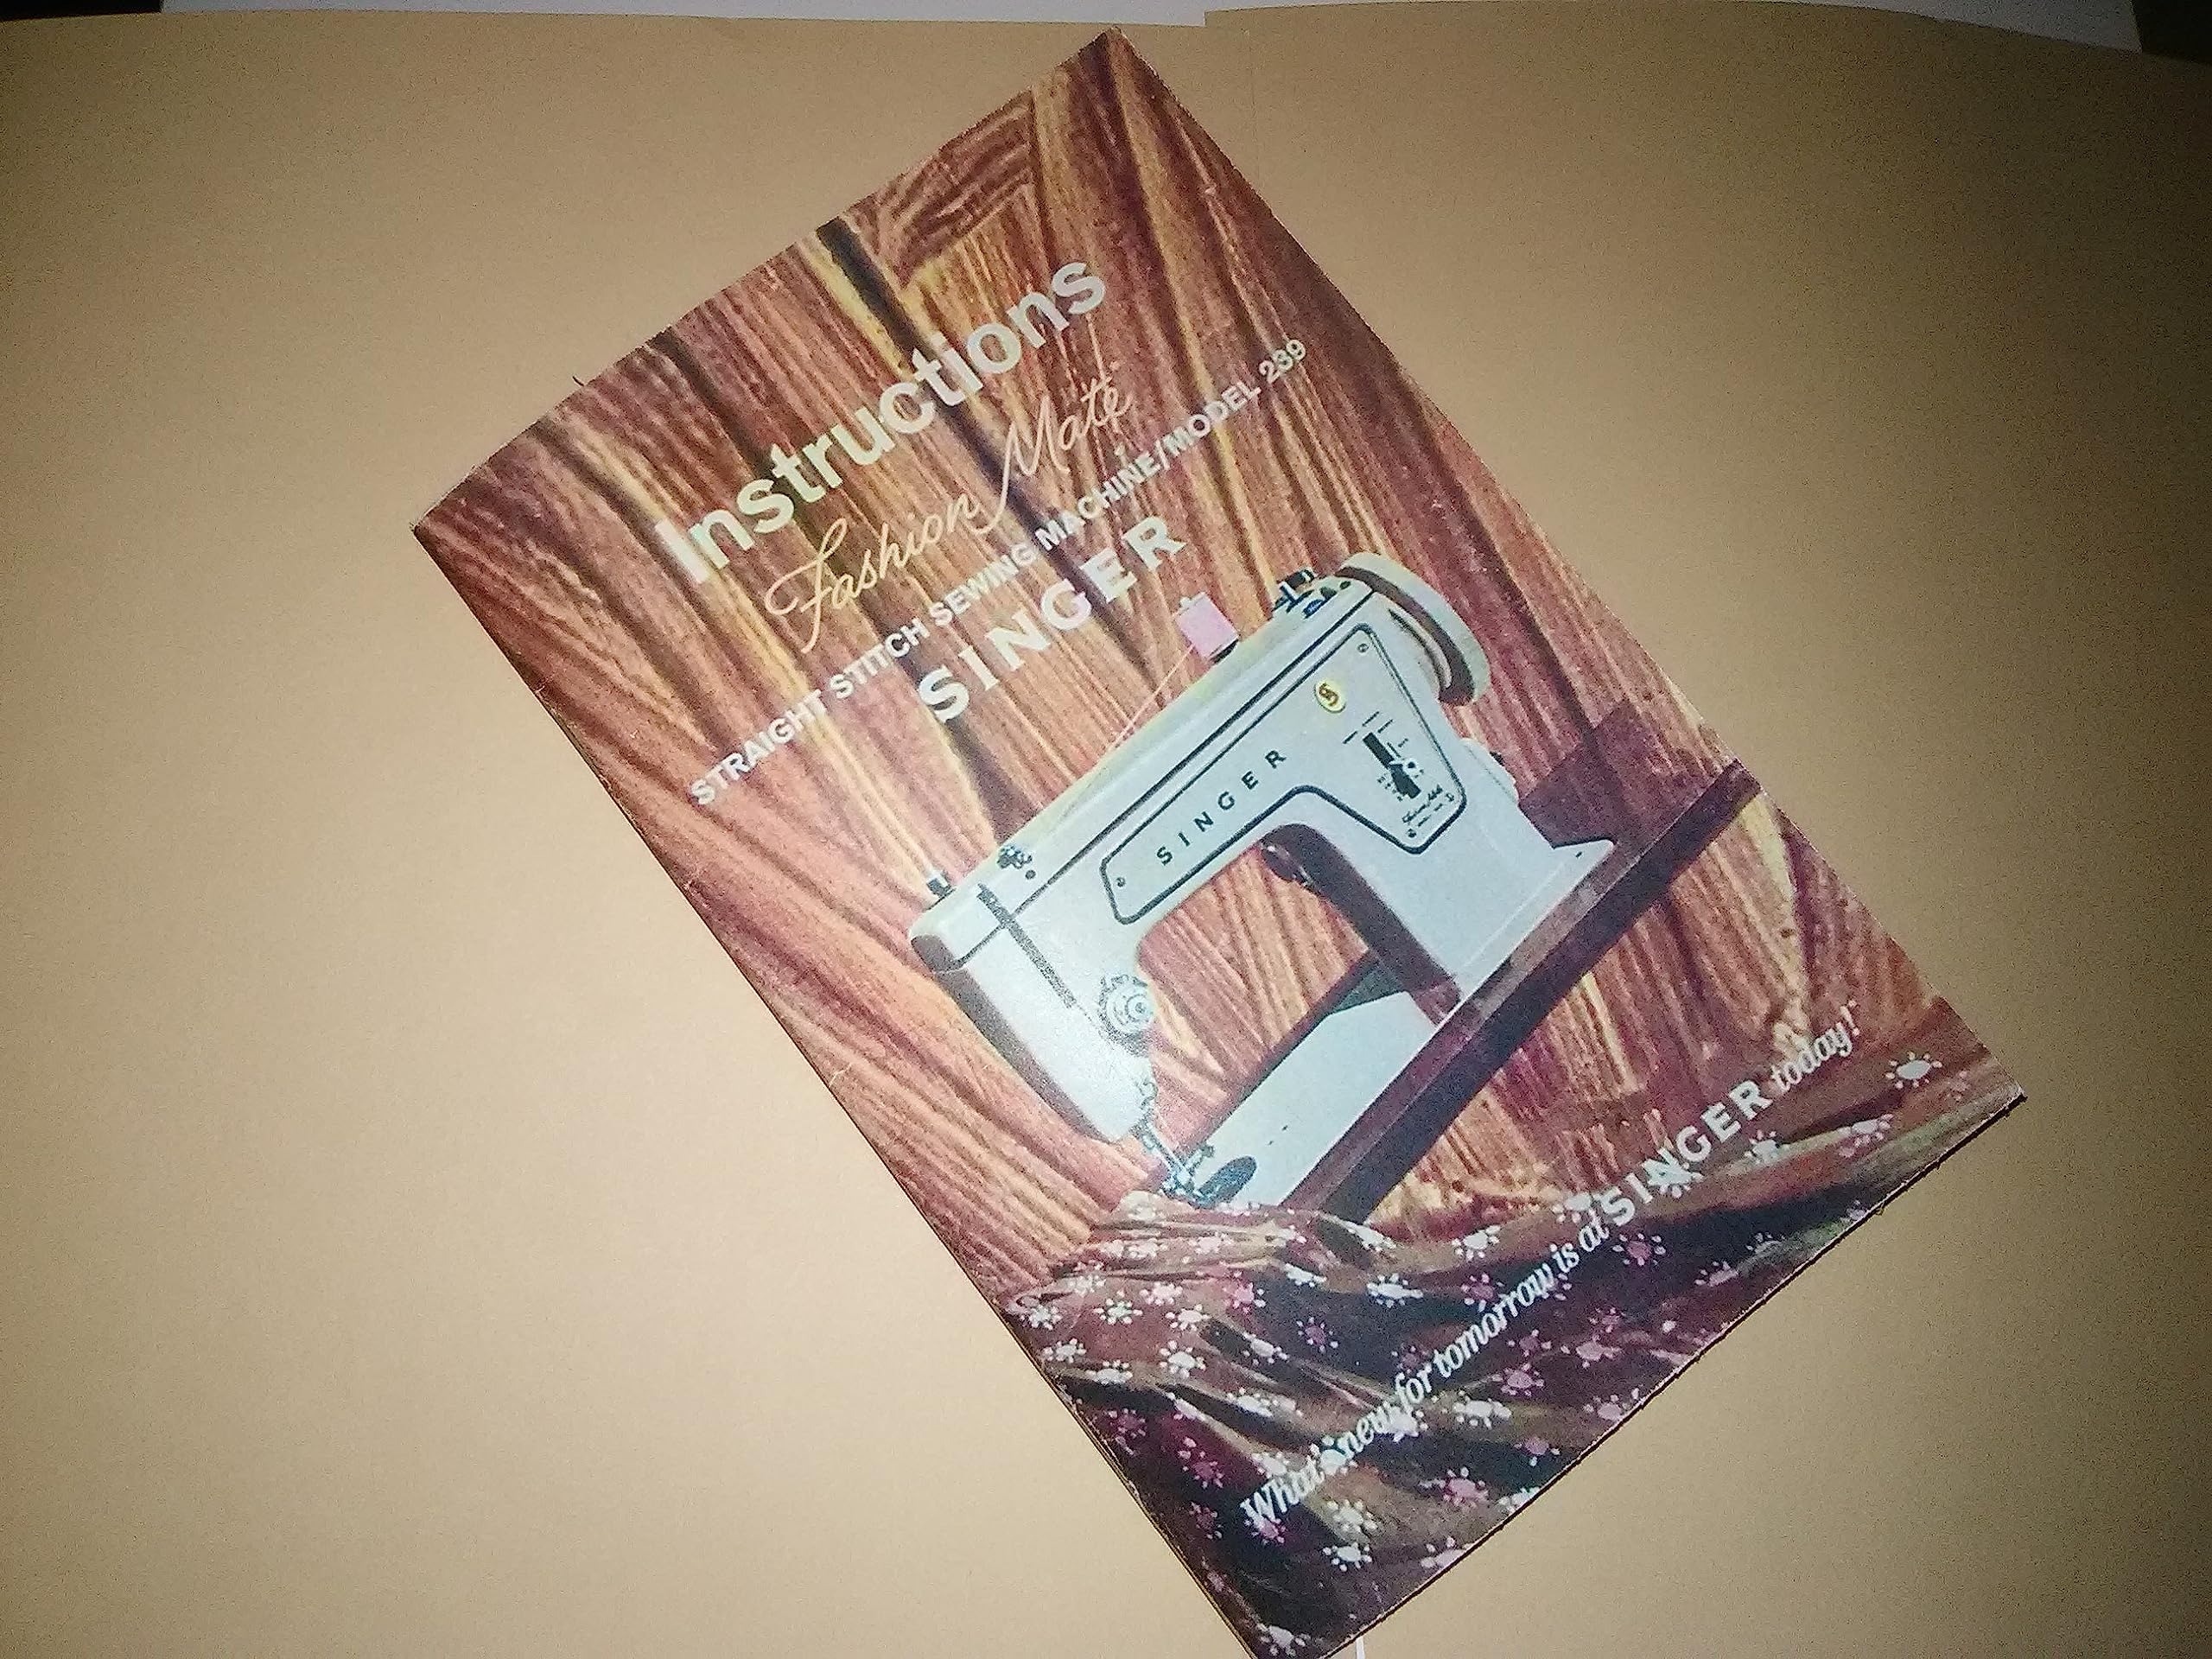
Figure 1.1: Front cover of the Singer 239 Fashion Mate Sewing Machine Instruction Manual. This image displays the title 'Instructions Fashion Mate Straight Stitch Sewing Machine/Model 239 SINGER' along with an illustration of the sewing machine.
2. Getting to Know Your Sewing Machine
Familiarize yourself with the various parts of your Singer 239 Fashion Mate sewing machine before beginning operation. Understanding each component's function is crucial for proper use and maintenance.
2.1. Principal Parts
Refer to your machine's diagrams for specific component locations. Key parts include the hand wheel, stitch length regulator, tension dial, presser foot, needle clamp, bobbin winder, and power switch.
2.2. Accessories
Your machine comes with various accessories designed to enhance its functionality. These may include different presser feet, bobbins, needles, and a screwdriver. Store these accessories safely when not in use.
3. Threading the Machine
Correct threading is essential for smooth operation and proper stitch formation. Follow these steps carefully for both the bobbin and upper thread.
3.1. The Bobbin Thread
- Wind the bobbin evenly with the desired thread.
- Insert the wound bobbin into the bobbin case, ensuring the thread feeds in the correct direction.
- Place the bobbin case into the shuttle race.
3.2. The Upper Thread
- Place the spool of thread on the spool pin.
- Guide the thread through the thread guides and tension discs.
- Pass the thread through the take-up lever.
- Thread the needle from front to back.
3.3. Raising the Bobbin Thread
After threading the upper thread, hold the upper thread end, turn the hand wheel towards you to lower and raise the needle, catching the bobbin thread. Pull both threads under the presser foot and to the back.
4. Operating the Machine
This section details the fundamental operations of your Singer 239 Fashion Mate, including basic stitching techniques.
4.1. Straight Stitching
- Positioning the Needle: Ensure the needle is correctly installed and tightened.
- Stitch Length and Width: Adjust the stitch length regulator to your desired setting. For straight stitching, the stitch width is typically set to zero or a straight stitch plate is used.
- Thread Tension: Adjust the upper thread tension dial to achieve balanced stitches. Test on a scrap fabric.
- Sewing a Seam: Place fabric under the presser foot, lower the presser foot, and begin sewing. Guide the fabric gently.
- Ending a Seam: Stitch to the fabric edge, raise the needle to its highest point, raise the presser foot, and pull the fabric away. Cut threads, leaving sufficient length.
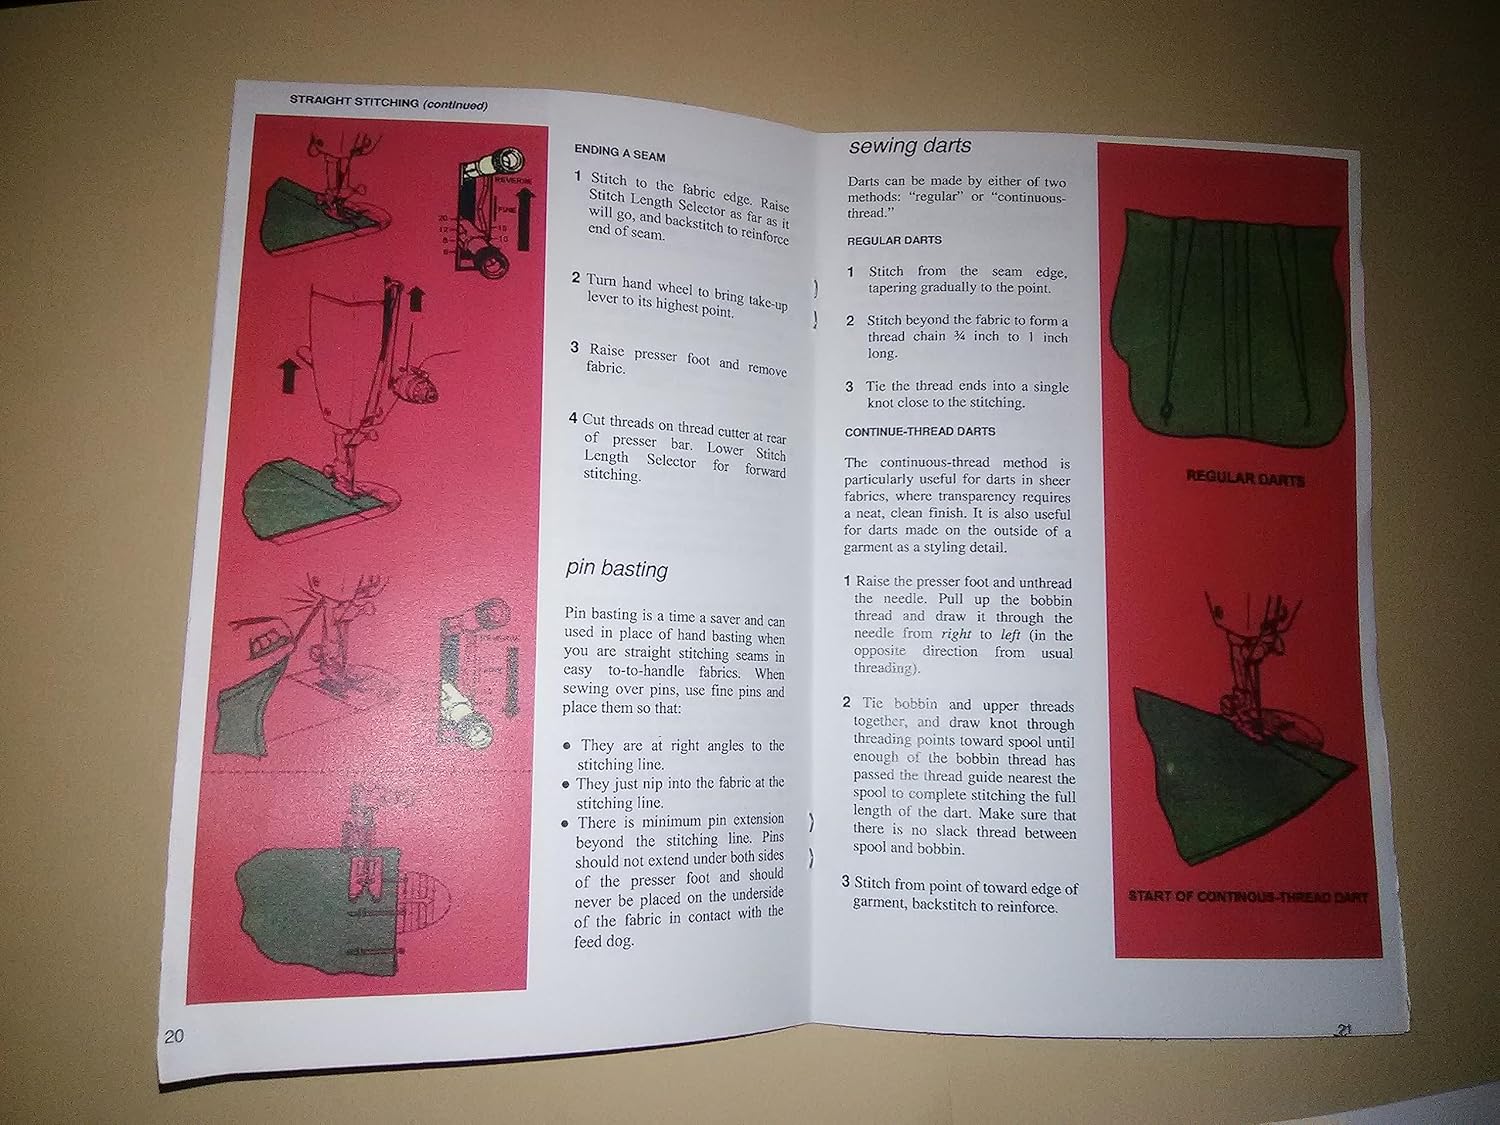
Figure 4.1: Detailed illustrations demonstrating techniques for ending a seam, pin basting, and sewing darts. The left side shows steps for lifting the presser foot and cutting threads, along with methods for pin basting. The right side illustrates regular and continuous-thread dart sewing.
4.2. Zig-Zag Stitching
The Fashion Mate model is capable of zig-zag stitching. Adjust the stitch width and length controls to achieve the desired zig-zag pattern. Experiment on scrap fabric to find the optimal settings for your project.
4.3. Sewing Darts
Darts are used to shape fabric. They can be sewn using either regular or continuous-thread methods. For regular darts, mark the dart on the fabric, fold, and stitch from the wide end to the point. For continuous-thread darts, the thread is carried between darts without cutting.
5. Maintenance
Regular cleaning and oiling will keep your Singer 239 Fashion Mate in excellent working condition.
5.1. Cleaning
Periodically clean lint and dust from the bobbin area, feed dogs, and tension discs using a small brush. Disconnect the machine from power before cleaning.
5.2. Oiling
Apply a small drop of sewing machine oil to designated oiling points as indicated in your machine's specific diagrams. Oiling frequency depends on usage, but generally, oil after every 8-10 hours of sewing.
5.3. Adjusting Belt Tension
If your machine uses a drive belt, check its tension periodically. A belt that is too loose may slip, while one that is too tight can cause strain on the motor. Adjust as needed according to your machine's design.
5.4. Changing Light Bulb
To replace the light bulb, ensure the machine is unplugged. Carefully unscrew the old bulb and screw in a new bulb of the correct wattage and type.
6. Troubleshooting
This section addresses common issues you might encounter and provides solutions.
6.1. Skipped Stitches
- Ensure the needle is inserted correctly and is not bent or dull.
- Use the correct needle size and type for your fabric and thread.
- Check that the machine is properly threaded.
6.2. Thread Breakage
- Verify that the machine is threaded correctly and the tension is not too tight.
- Check for burrs or rough spots on the needle plate or thread guides.
- Ensure the thread is of good quality and suitable for machine sewing.
6.3. Uneven Stitches
- Adjust the upper and bobbin thread tension until stitches are balanced.
- Clean lint from the bobbin case and tension discs.
- Ensure the presser foot pressure is appropriate for the fabric.
7. Specifications
Key specifications for the Singer 239 Fashion Mate sewing machine.
| Model Number | 239 Fashion Mate |
| Type | Straight Stitch Sewing Machine (with Zig-Zag capability) |
| Manual Reproduction Format | 8 x 5 inches, Full Color Print, 44 pages |
| Original Manual Year | 1968 |