Introduction
Thank you for choosing the YINZINR Countertop Dishwasher. This portable appliance is designed for convenience and efficiency, perfect for apartments, RVs, and small living spaces. It features a 6 L built-in water tank, an inlet hose option, 4 washing programs, 2 drying modes, and 360° spray for thorough cleaning. This manual provides essential information for safe operation, installation, maintenance, and troubleshooting.
Safety Instructions
Please read all instructions carefully before using the dishwasher to ensure safe and optimal performance. Keep this manual for future reference.
- Ensure the dishwasher is placed on a stable, level surface.
- Do not immerse the appliance, cord, or plug in water or other liquids.
- Always unplug the dishwasher before cleaning or performing maintenance.
- Keep children and pets away from the dishwasher during operation.
- Use only dishwasher-safe detergents.
- Avoid touching the heating element during or immediately after operation.
- Do not block the ventilation openings.
What's in the Box
Your YINZINR Countertop Dishwasher package includes the following components:
- YINZINR Countertop Dishwasher Unit
- Water Inlet Hose
- Drain Hose (pre-attached)
- Dish Rack
- Cutlery Basket
- User Manual
Setup and Installation
The YINZINR Countertop Dishwasher is designed for easy setup without the need for complex plumbing modifications. It can be used with its built-in water tank or connected to a water faucet.
Placement
Place the dishwasher on a flat, stable surface near a power outlet and a drain. Ensure there is adequate space around the unit for ventilation and opening the lid.

Image: The YINZINR Countertop Dishwasher positioned on a kitchen countertop, demonstrating a typical setup location.
Connecting Water Supply (Optional)
While the dishwasher has a built-in water tank, you can also connect it directly to a water faucet using the provided inlet hose for continuous water supply.
- Locate the water inlet port on the back of the dishwasher.
- Connect one end of the water inlet hose to this port.
- Connect the other end of the water inlet hose to your kitchen faucet. Ensure all connections are secure to prevent leaks.

Image: Rear view of the dishwasher, highlighting the pre-attached drain hose and the connection point for the water inlet hose.

Image: Installation diagrams showing both countertop placement with a connected hose and a potential embedded installation, emphasizing no drilling or waterway changes are typically needed.
Drainage
The dishwasher comes with a pre-attached drain hose. Ensure the drain hose is properly positioned into a sink or a dedicated drain to allow wastewater to exit the unit.
Power Connection
Plug the power cord into a grounded 110V electrical outlet.
Installation Video
Video: A demonstration of the simple installation process for the YINZINR Countertop Dishwasher, showing how to connect the water inlet hose to the unit and a faucet.
Operating Instructions
Loading the Dishwasher
Before loading, scrape off large food particles from dishes. Place dishes securely in the racks, ensuring they do not block the spray arms. The dishwasher can accommodate 12-20 pieces of cutlery at a time.

Image: The dishwasher interior showing properly loaded plates and bowls, demonstrating its capacity.
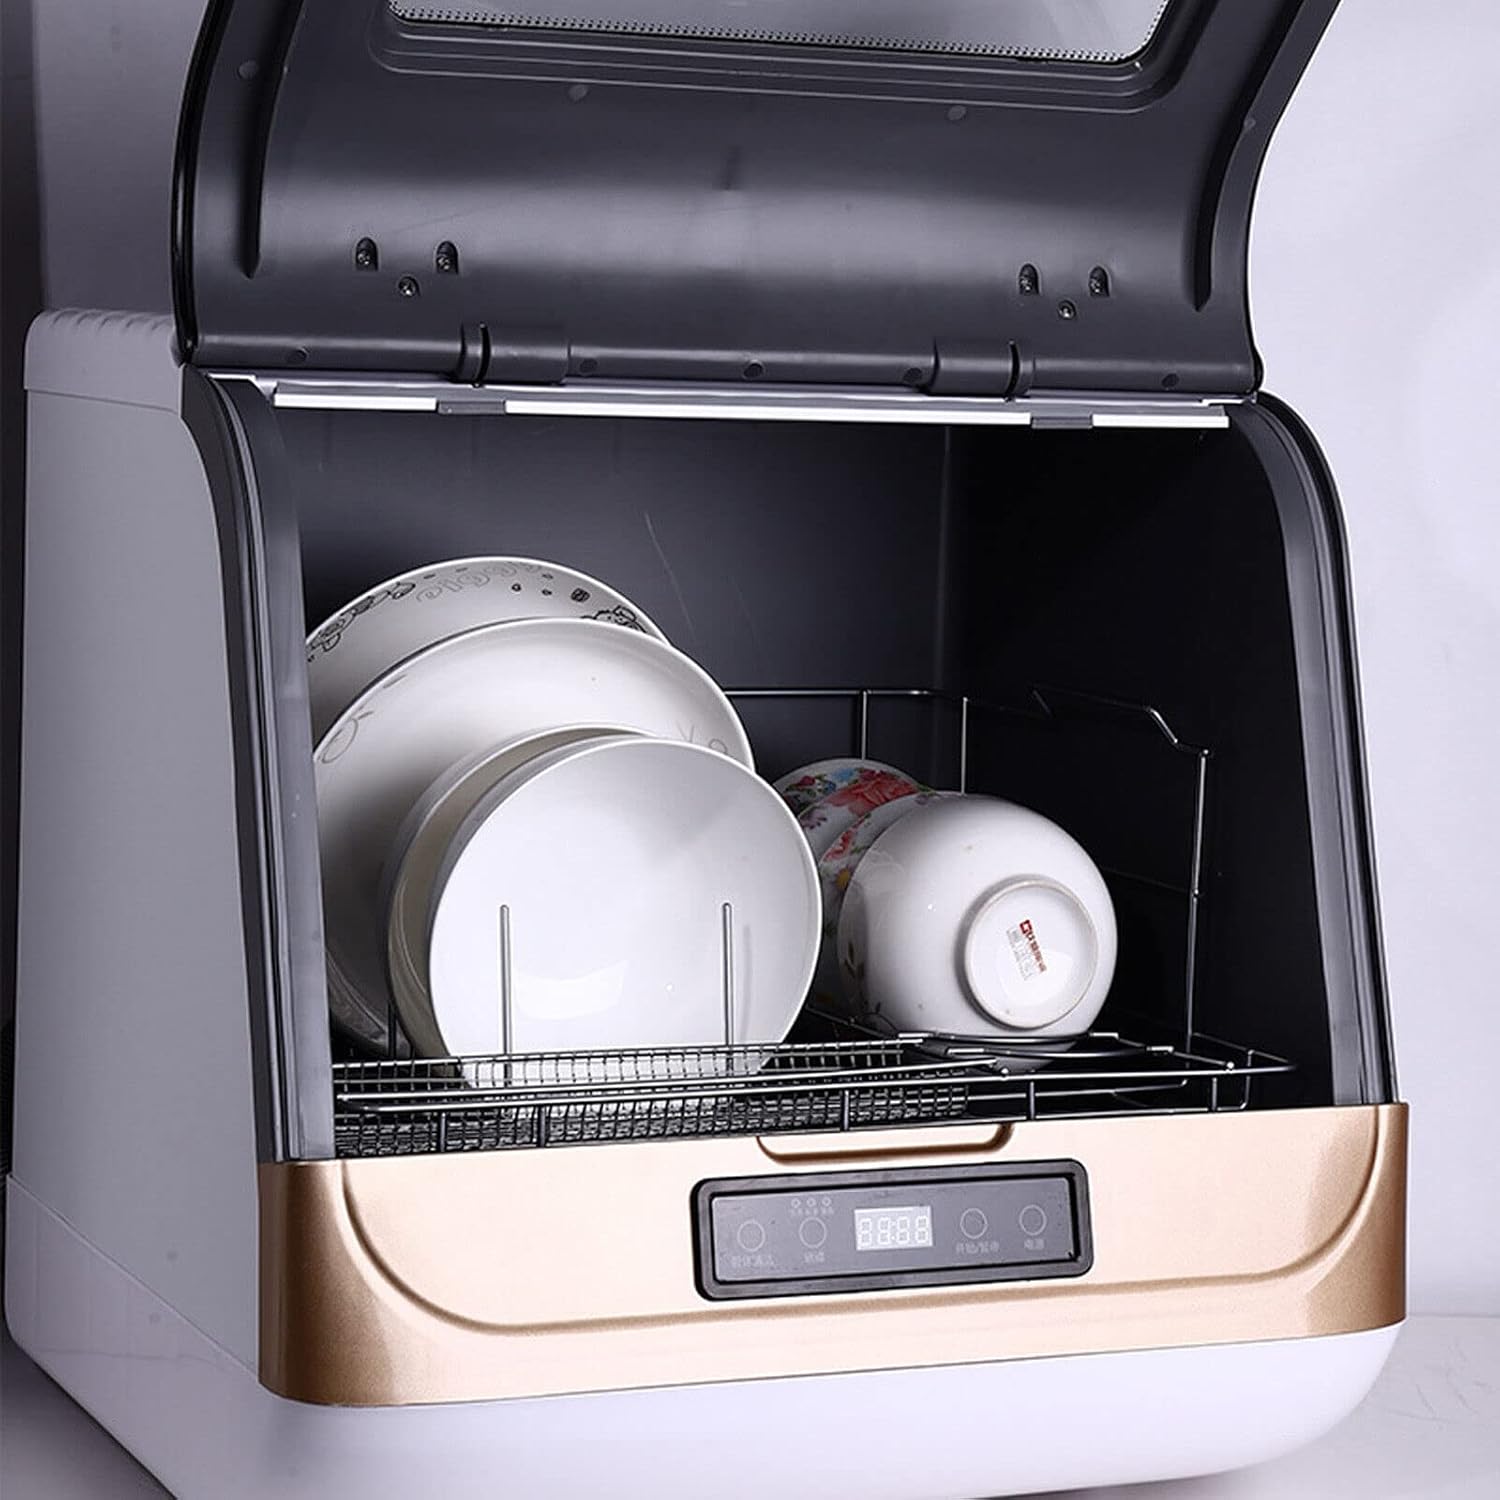
Image: A detailed view of the dishwasher's interior, showing how dishes are arranged on the rack and the position of the spray arm for effective cleaning.
Adding Water (if not connected to faucet)
If you are using the built-in water tank, open the lid and pour water into the designated inlet until the water level indicator shows it's full (6 L capacity).

Image: The dishwasher with its top lid open, illustrating the access point for manually filling the water tank.
Adding Detergent
Add the appropriate amount of dishwasher detergent to the dispenser. Refer to your detergent's instructions for dosage.
Selecting a Washing Program
The dishwasher offers 4 washing programs to suit different cleaning needs. Use the control panel to select your desired program.
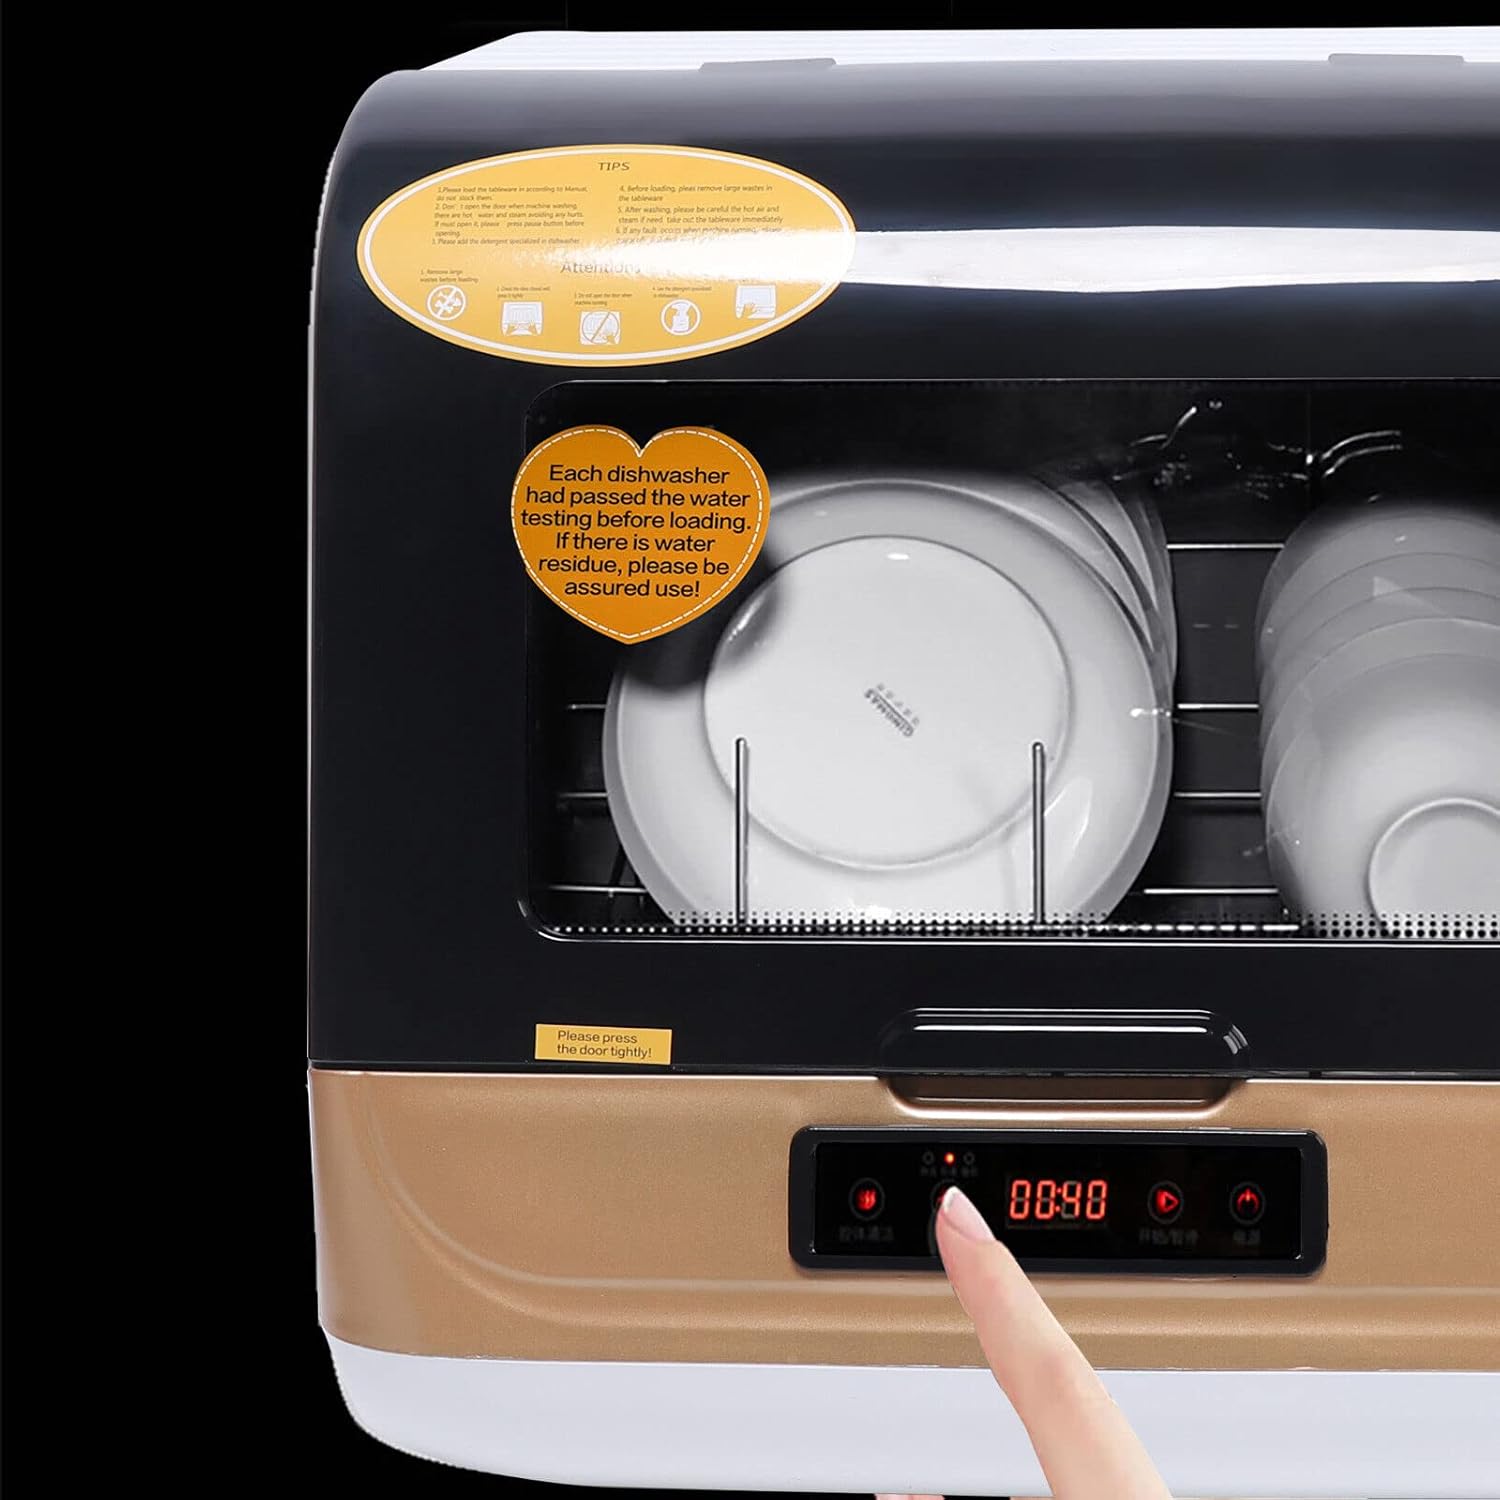
Image: A detailed view of the touch control panel, showing the digital timer and program selection buttons.
- Quick Wash: For lightly soiled dishes, completes cleaning in 30 minutes.
- Daily Wash: Standard program for everyday dishes.
- Heavy Wash: For heavily soiled dishes with stubborn oil stains, provides extended washing.
- Fruit Wash: A specialized program for cleaning fruits.
The dishwasher can intelligently judge the degree of soiling and automatically match the washing mode for optimal results.

Image: A visual guide illustrating how the dishwasher adapts its cleaning cycle based on the level of oil and food residue on dishes, from light to heavy.
Drying Modes
After washing, the dishwasher offers two drying modes to ensure dishes are dry and clean:
- Residual Drying: Utilizes residual heat from the wash cycle for drying.
- Air-Cooled Drying: Provides additional air circulation for enhanced drying.
The high-temperature steam and hot air drying features promote physical condensation and drying, reducing odor and ensuring hygiene.

Image: An illustrative diagram explaining the high-temperature disinfection and hot air drying process within the dishwasher, showing heat and air circulation.
Starting and Stopping
Press the Power button to turn on the dishwasher. Select your desired program and press the Start button. To pause or stop a cycle, press the Start/Pause button again.
Maintenance and Care
Regular maintenance ensures the longevity and efficiency of your dishwasher.
- Cleaning the Filters: Regularly check and clean the filters located at the bottom of the dishwasher to prevent food particle buildup.
- Wiping Down Interior: After each use, wipe down the interior with a damp cloth to remove any residue.
- Exterior Cleaning: Clean the exterior with a soft, damp cloth. Do not use abrasive cleaners.
- Descaling: Periodically run a cleaning cycle with a dishwasher cleaner or vinegar to remove mineral buildup, especially in hard water areas.
- Door Seal: Keep the door seal clean to ensure a tight closure and prevent leaks.
Troubleshooting
If you encounter issues with your dishwasher, refer to the following common problems and solutions:
| Problem | Possible Cause | Solution |
|---|---|---|
| Dishwasher does not start | Not plugged in; Door not closed properly; Power outage. | Check power connection; Ensure door is latched; Check circuit breaker. |
| Dishes not clean | Improper loading; Clogged spray arms; Insufficient detergent; Clogged filters. | Reload dishes correctly; Clean spray arm nozzles; Add more detergent; Clean filters. |
| Water not draining | Clogged drain hose; Clogged filter; Kink in drain hose. | Clear drain hose; Clean filter; Straighten drain hose. |
| Excessive noise | Dishes rattling; Foreign object in pump; Unit not level. | Rearrange dishes; Inspect pump area; Ensure unit is level. |
| Leaks | Loose hose connections; Damaged door seal; Overfilling water tank. | Tighten connections; Inspect and clean door seal; Do not overfill water tank. |
Specifications
| Feature | Detail |
|---|---|
| Brand | YINZINR |
| Model Number | 510*450*493mm |
| Form Factor | Freestanding |
| Voltage | 110 Volts |
| Washing Programs | 4 (Quick, Daily, Heavy, Fruit) |
| Drying Modes | 2 (Residual, Air-Cooled) |
| Water Tank Capacity | 6 Liters (Built-in) |
| Product Dimensions | 19.6"D x 17.7"W x 19.2"H (510*450*493mm) |
| Capacity (Cutlery) | 12-20 pieces |
| Special Features | Compact, Portable, 360° Spray, High-temperature Disinfection |
| Controls Type | Touch |
| Noise Level | 60 dB |
| Material | Glasses (likely referring to the door/viewing panel) |
| Manufacturer | ZENGXUEYA |
| UPC | 796713194517 |
Warranty and Support
For any product inquiries, technical support, or warranty claims, please contact YINZINR customer service. You may also consider purchasing extended protection plans for additional coverage.
- Protection Plans: Available options include 2-Year Protection Plan, 3-Year Protection Plan, and Complete Protect (monthly plan).
- Return Policy: Typically 30 days for refund/replacement.
- Manufacturer: ZENGXUEYA
- Seller: ZENGXUEYA (on Amazon)
For the most up-to-date support information, please refer to the product listing on Amazon or contact the seller directly.