1. Introduction
This instruction manual provides detailed information for the proper installation, operation, and maintenance of your Senzooe 1.14 inch TFT LCD 135 x 240 SPI Display Module. Please read this manual thoroughly before using the product to ensure optimal performance and longevity.
2. Product Overview
The Senzooe 1.14 inch TFT LCD is a compact display module featuring a 135 x 240 pixel resolution and utilizing a Serial Peripheral Interface (SPI) for communication. This module is designed for integration into various electronic projects requiring a small, color display.
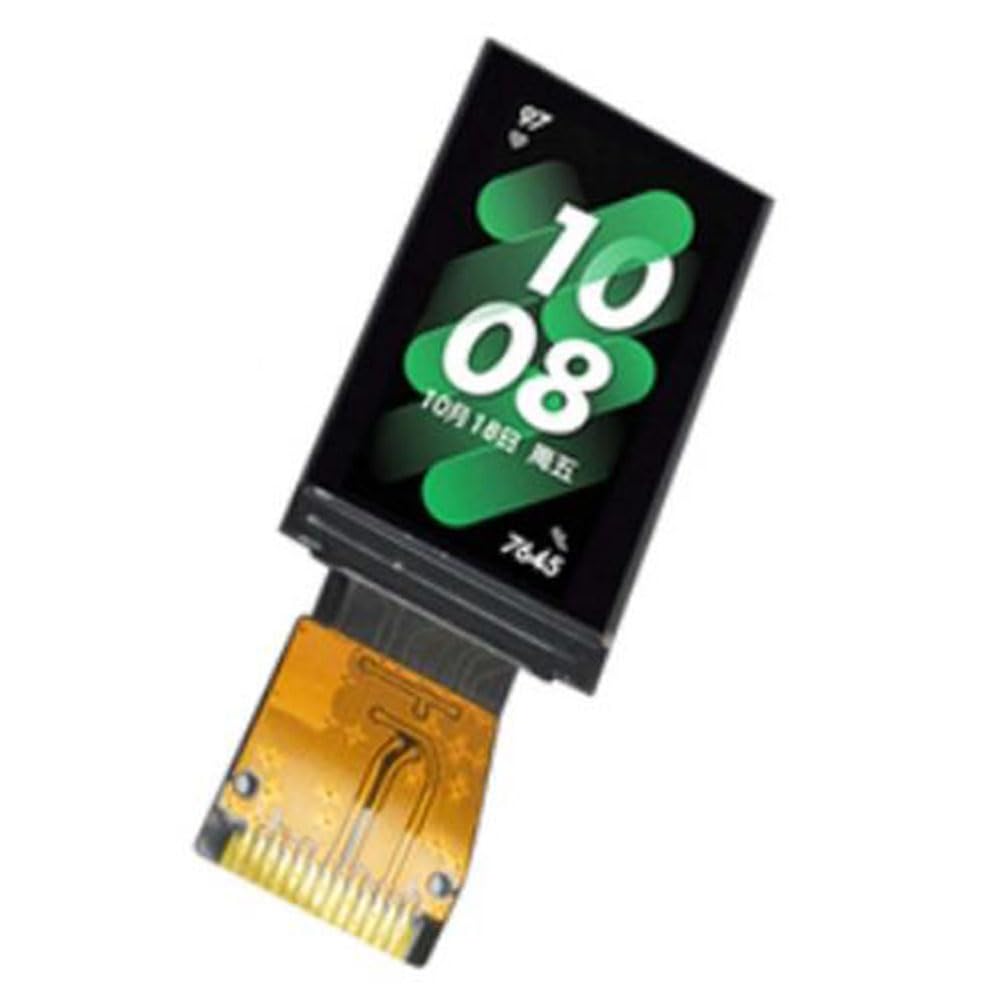
Figure 2.1: Front view of the 1.14 inch TFT LCD Display Module with an active display.

Figure 2.2: Front view of the 1.14 inch TFT LCD Display Module, unlit, showing the display area and connection pins.

Figure 2.3: Back view of the 1.14 inch TFT LCD Display Module, revealing the integrated circuit board and connection pads.
3. Features
- Display Size: 1.14 inches
- Resolution: 135 x 240 pixels
- Interface: SPI (Serial Peripheral Interface)
- Display Type: TFT LCD
- Compact and lightweight design (approximately 10g)
4. Package Contents
Please verify that all items are present upon opening the package:
- 1x Senzooe 1.14 inch TFT LCD 135 x 240 SPI Display Module
- (Optional) Pin headers or connecting cables (may vary by supplier)
5. Setup Instructions
5.1 Pinout Description
The module typically features a set of pins for power, ground, and SPI communication. Refer to the specific pin labels on your module for exact connections. Common SPI pins include:
- VCC: Power supply (e.g., 3.3V or 5V, check module specifications)
- GND: Ground
- SCK (SCL): Serial Clock
- MOSI (SDA): Master Out Slave In (Data)
- CS (CE): Chip Select
- DC (A0): Data/Command Select
- RST: Reset
- BL (LED): Backlight Control (optional)
5.2 Hardware Connection
- Power Connection: Connect the VCC pin to the appropriate power supply voltage (e.g., 3.3V from your microcontroller) and GND to the ground of your system.
- SPI Connection: Connect the SCK, MOSI, and CS pins to the corresponding SPI pins on your microcontroller.
- Control Pins: Connect the DC (Data/Command) and RST (Reset) pins to general-purpose input/output (GPIO) pins on your microcontroller.
- Backlight (Optional): If your module has a BL or LED pin, connect it to a GPIO pin or directly to VCC if constant backlight is desired.
Always ensure correct voltage levels to prevent damage to the display module or your microcontroller.
5.3 Software Setup
To operate the display, you will need to use a compatible library for your chosen microcontroller platform (e.g., Arduino, ESP32, Raspberry Pi). Popular libraries for TFT displays often include support for the ST7789V or similar display controllers, which are commonly used in 1.14 inch TFT LCDs.
- Install the appropriate display library (e.g., Adafruit GFX Library, Adafruit ST7735/ST7789 Library).
- Initialize the display with the correct pin assignments and display resolution (135x240).
- Refer to the library's documentation and examples for specific initialization code and drawing functions.
6. Operating Instructions
Once the hardware is connected and the software library is set up, you can begin programming the display.
6.1 Basic Display Functions
- Initialization: Call the display's initialization function in your setup code. This typically involves setting up SPI communication and configuring the display controller.
- Clearing the Screen: Use functions like
fillScreen(color)to clear the display to a specific color. - Drawing Primitives: Libraries provide functions for drawing pixels, lines, rectangles, circles, etc. (e.g.,
drawPixel(x, y, color),drawLine(x0, y0, x1, y1, color)). - Displaying Text: Set text color, size, and position, then use
print()orprintln()functions to display text. - Displaying Images: Convert images to a compatible format (e.g., bitmap arrays) and use image drawing functions provided by the library.
Consult the documentation of your chosen display library for a comprehensive list of available functions and examples.
7. Maintenance
- Cleaning: Use a soft, dry, lint-free cloth to gently wipe the display surface. Avoid abrasive materials or harsh chemical cleaners.
- Storage: Store the module in a dry, dust-free environment, away from direct sunlight and extreme temperatures.
- Handling: Avoid applying excessive pressure to the display surface. Handle the module by its edges to prevent damage to the screen or circuit board.
- Power: Always ensure the correct power supply voltage is used. Incorrect voltage can permanently damage the module.
8. Troubleshooting
8.1 Display Not Lighting Up
- Check power connections (VCC and GND).
- Verify the backlight (BL/LED) pin connection and ensure it is receiving power or a high signal if controlled by GPIO.
- Ensure the display is properly initialized in your software.
8.2 No Image or Garbled Display
- Double-check all SPI connections (SCK, MOSI, CS, DC, RST) for correct wiring and continuity.
- Confirm that the correct display controller (e.g., ST7789V) and resolution (135x240) are specified in your software library initialization.
- Ensure the SPI clock speed is compatible with the display module.
- Verify that the reset pin is correctly toggled during initialization.
8.3 Incorrect Colors
- Check if the color format (e.g., RGB565) is correctly configured in your software.
- Some displays may require a color inversion command. Consult your library's documentation.
9. Specifications
| Feature | Specification |
|---|---|
| Display Size | 1.14 inches |
| Resolution | 135 x 240 pixels |
| Interface | SPI (Serial Peripheral Interface) |
| Display Type | TFT LCD |
| Weight | Approximately 10 g |
| Manufacturer | Senzooe |
| ASIN | B0C744WPC6 |
10. Warranty and Support
For warranty information and technical support, please refer to the documentation provided by your retailer or contact the manufacturer directly. Keep your purchase receipt as proof of purchase.
Manufacturer: Senzooe