1. Introduction
This instruction manual provides essential information for the safe and effective use of your new Tolxh 5-inch, 9-hole replacement sanding pad. This pad is designed as a direct replacement for specific Bosch random orbital sander models. Please read this manual thoroughly before installation and operation to ensure proper function and longevity of the product.
2. Safety Information
Always observe general power tool safety guidelines when working with sanding equipment. Failure to do so may result in injury or damage to the tool.
- Disconnect Power: Always unplug the sander from the power source before performing any assembly, disassembly, or maintenance.
- Wear Personal Protective Equipment (PPE): Use safety glasses, hearing protection, and a dust mask when operating a sander.
- Inspect Components: Before each use, inspect the sanding pad and the sander for any damage, wear, or loose parts. Do not use if damaged.
- Secure Workpiece: Ensure the material being sanded is securely clamped or held to prevent movement.
- Proper Ventilation: Work in a well-ventilated area to minimize inhalation of sanding dust.
3. Product Components
The Tolxh replacement sanding pad is a circular, 5-inch diameter pad featuring 9 dust collection holes and a hook-and-loop (Velcro-style) surface for attaching sanding discs. It is constructed from durable materials designed for long-lasting performance.

Figure 1: Top view of the Tolxh 5-inch, 9-hole sanding pad, showing the mounting holes and overall shape.
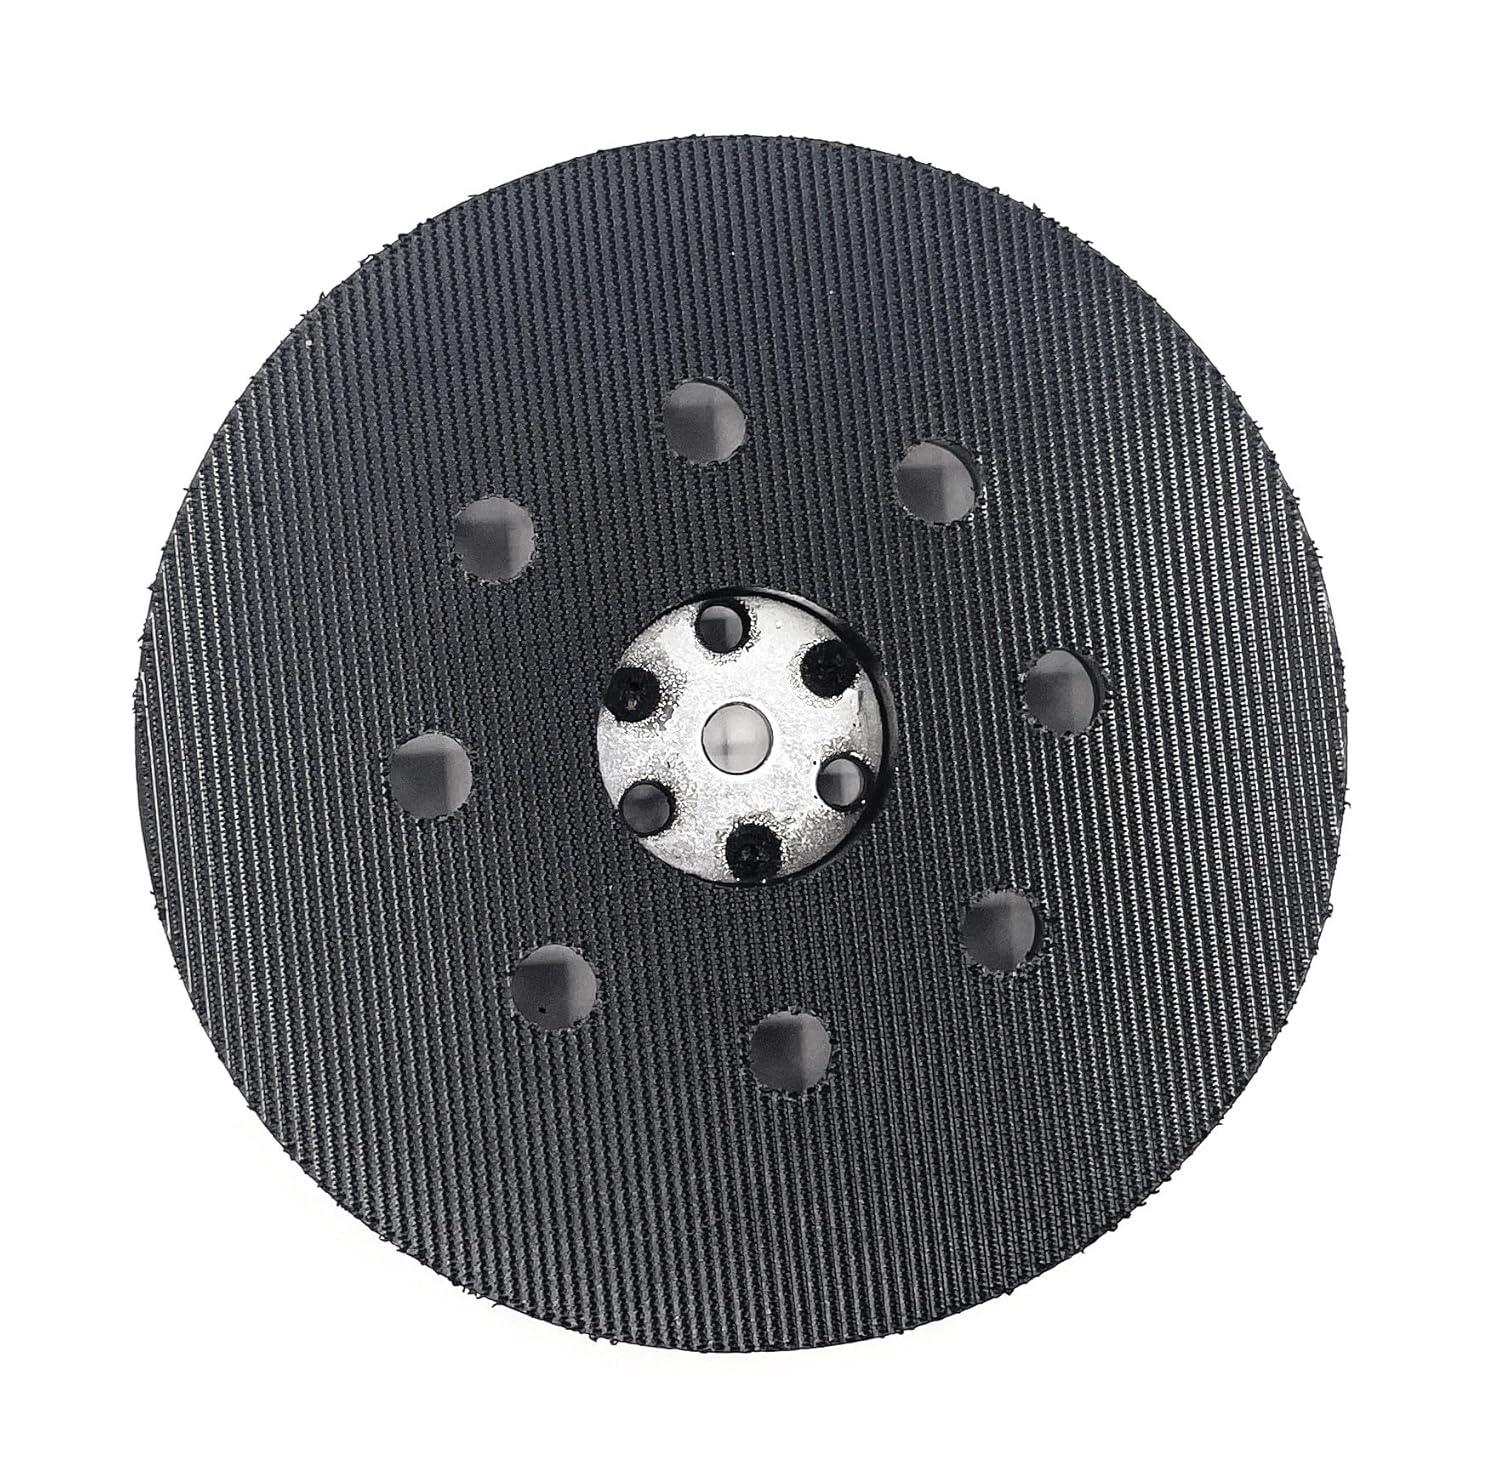
Figure 2: Bottom view of the Tolxh 5-inch, 9-hole sanding pad, illustrating the hook-and-loop surface for attaching sanding discs and the dust collection holes.
4. Compatibility
This Tolxh replacement sanding pad is compatible with the following Bosch random orbital sander models:
- Bosch 1295DP
- Bosch 1295D
- Bosch 1295DH
- Bosch 1295DVS
- Bosch 3107DVS
- Bosch 3725DVS
Please verify your sander's model number before installation to ensure proper fitment.
5. Setup and Installation
Follow these steps to replace the sanding pad on your Bosch random orbital sander:
- Disconnect Power: Unplug your random orbital sander from the electrical outlet.
- Remove Old Pad:
- Locate the screws that secure the old sanding pad to the sander's base. These are typically 3 or 4 screws.
- Using an appropriate screwdriver (usually a Phillips head), carefully remove these screws.
- Gently pull the old sanding pad away from the sander.
- Clean Mounting Surface: Inspect the sander's mounting surface for any debris, dust, or residue. Clean it thoroughly to ensure a flat and secure attachment for the new pad.
- Install New Pad:
- Align the new Tolxh sanding pad with the mounting holes on the sander's base. Ensure the dust collection holes on the pad align with the corresponding holes on the sander.
- Insert the screws into the mounting holes.
- Tighten the screws firmly, but do not overtighten, as this can strip the threads or damage the pad. Tighten them in a star pattern if there are more than two screws to ensure even pressure.
- Verify Attachment: Gently tug on the installed pad to ensure it is securely fastened and does not wobble.

Figure 3: Side view of the sanding pad, showing its thickness and profile, which aids in proper alignment during installation.
6. Operating Instructions
Once the new sanding pad is securely installed, you can attach a compatible 5-inch, 9-hole hook-and-loop sanding disc. Ensure the holes on the sanding disc align with the holes on the pad for effective dust collection.
- Attach Sanding Disc: Press the hook-and-loop sanding disc firmly onto the pad, aligning the holes.
- Connect Dust Collection: If your sander has a dust collection system, ensure it is properly attached and functioning.
- Begin Sanding: With the sander unplugged, place it on the workpiece. Then, plug in the sander and turn it on. Allow the sander to reach full speed before applying gentle, even pressure.
- Move Evenly: Move the sander in overlapping passes across the surface, avoiding excessive pressure or dwelling in one spot, which can cause gouging or uneven sanding.
- Turn Off Safely: Turn off the sander before lifting it from the workpiece.
7. Maintenance
Regular maintenance will extend the life of your sanding pad and ensure optimal performance.
- Clean Pad: After each use, remove any accumulated dust or debris from the hook-and-loop surface of the pad. A stiff brush or compressed air can be used.
- Inspect Hook-and-Loop: Periodically check the hook-and-loop fasteners for wear. If the sanding discs no longer adhere firmly, it may be time to replace the pad.
- Storage: Store the sanding pad in a clean, dry environment away from direct sunlight and extreme temperatures.
8. Troubleshooting
| Problem | Possible Cause | Solution |
|---|---|---|
| Sanding disc does not adhere to the pad. | Worn hook-and-loop surface on the pad or disc. Debris on the pad. | Clean the pad's surface. Replace the sanding disc. If the pad's hook-and-loop is severely worn, replace the sanding pad. |
| Excessive vibration or uneven sanding. | Pad not securely attached. Damaged pad. Incorrectly aligned sanding disc. | Ensure mounting screws are tight. Inspect pad for damage and replace if necessary. Realign sanding disc. |
| Poor dust collection. | Sanding disc holes not aligned with pad holes. Dust collection system clogged or not properly attached. | Ensure sanding disc holes align with pad holes. Check and clear dust collection system. |
9. Specifications
| Feature | Detail |
|---|---|
| Product Type | Replacement Sanding Pad |
| Brand | Tolxh |
| Diameter | 5 inches |
| Hole Configuration | 9 holes |
| Attachment Type | Hook-and-Loop (Velcro-style) |
| Material | Durable composite material |
| Item Dimensions (L x W x H) | 5 x 5 x 0.04 inches |
| Item Weight | 3.52 ounces |
| Compatible Sander Models | Bosch 1295DP, 1295D, 1295DH, 1295DVS, 3107DVS, 3725DVS |
10. Warranty and Support
Tolxh is committed to customer satisfaction. This product is manufactured to meet high-quality standards and is functionally equivalent to the original part. If you encounter any issues or are not satisfied with your purchase, please contact the seller or Tolxh customer support for assistance. We aim to provide a satisfactory solution to any concerns.
For support, please refer to the contact information provided by your retailer or on the product packaging.