
BoxWave ClearTouch Crystal
BoxWave ClearTouch Crystal Screen Protector Instruction Manual
For Auna iTuner 320 BT
Introduction
Thank you for choosing the BoxWave ClearTouch Crystal Screen Protector. This manual provides detailed instructions for the proper installation, care, and maintenance of your screen protector, designed specifically for the Auna iTuner 320 BT. The ClearTouch Crystal protector offers high transparency and scratch resistance to maintain the pristine condition of your device's screen.

Image: The Auna iTuner 320 BT device, the compatible unit for this screen protector.
Package Contents
Each BoxWave ClearTouch Crystal Screen Protector package includes the following items:
- Two (2) BoxWave ClearTouch Crystal Screen Protectors
- One (1) ClearTouch Applicator Card
- One (1) Microfiber Cleaning Cloth
- One (1) Dust Removing Sticker (may be included)
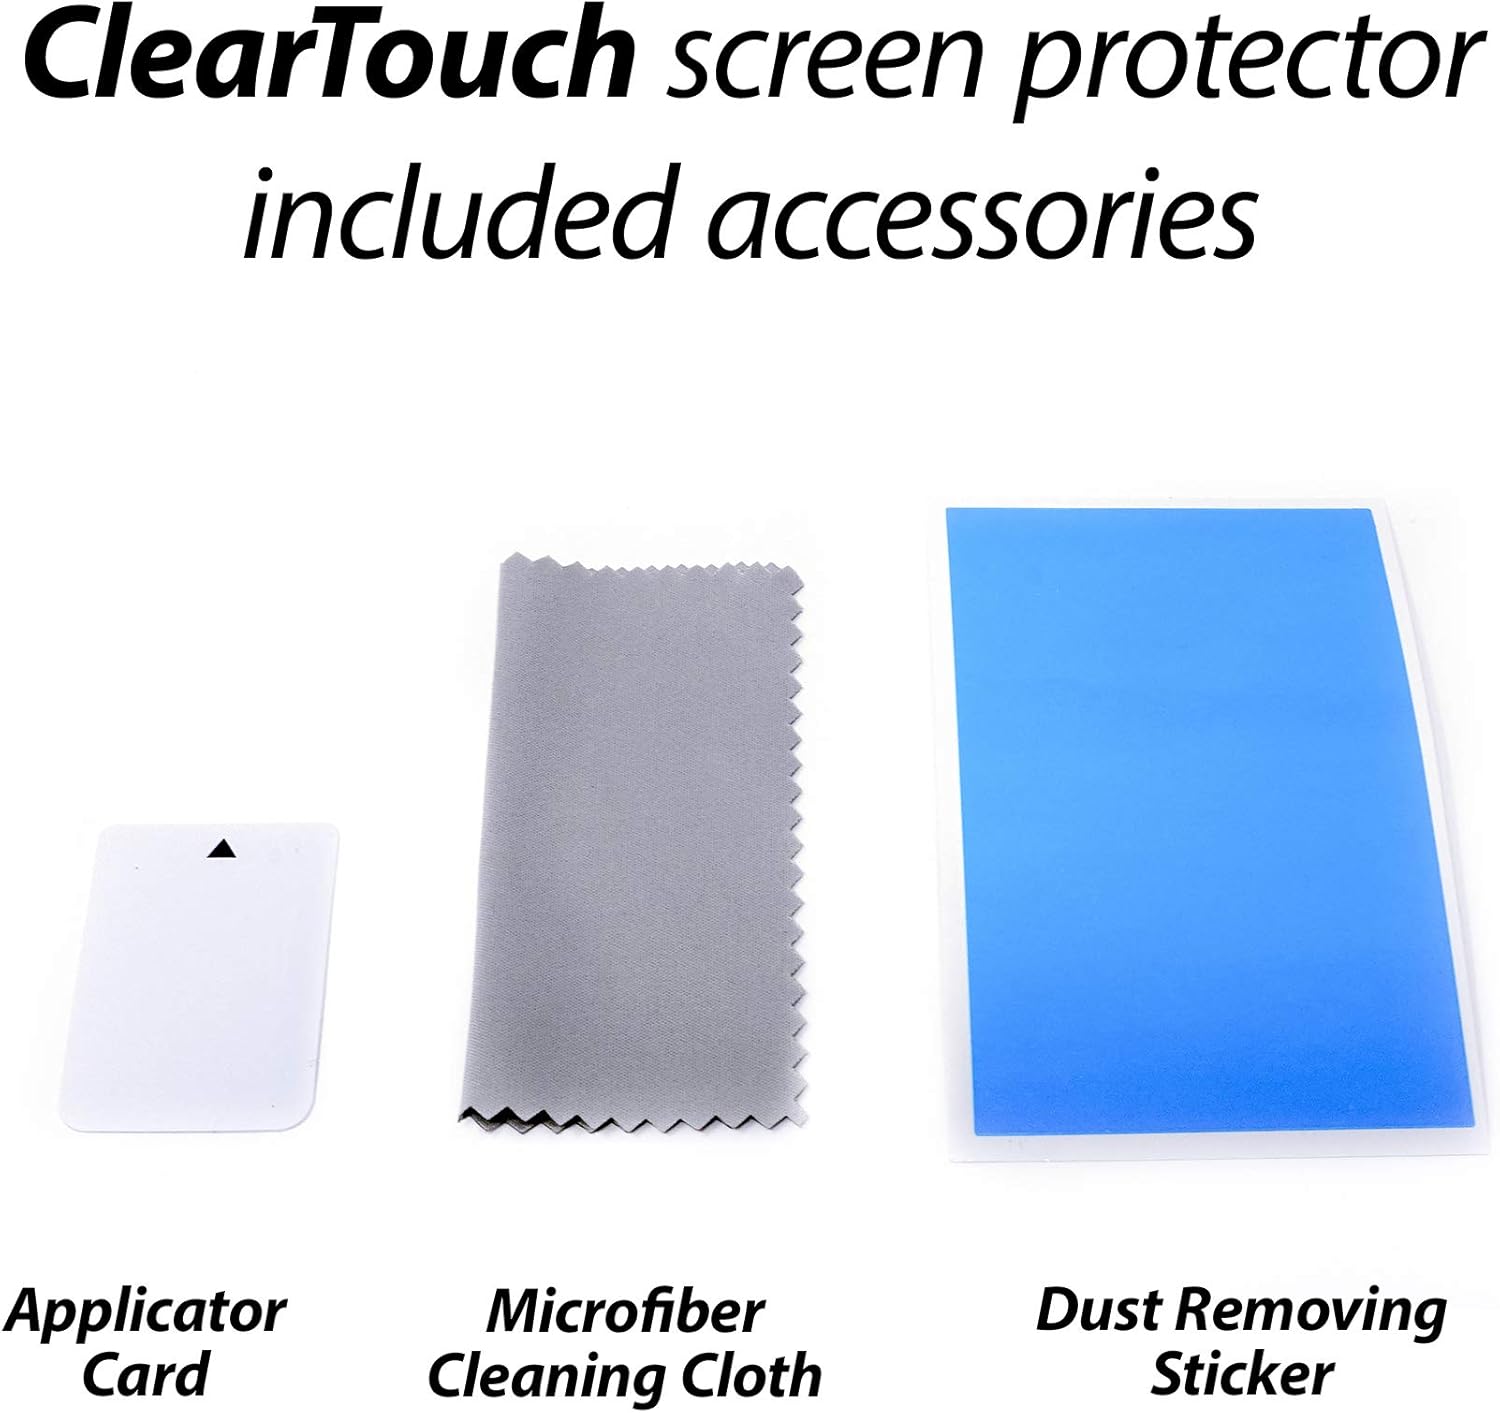
Image: The BoxWave ClearTouch Crystal Screen Protector retail packaging, showing two screen protectors, an applicator card, and a microfiber cleaning cloth.
Installation Guide
Follow these steps carefully for optimal installation of your screen protector. Perform installation in a clean, dust-free environment.
- Prepare Your Device: Ensure the Auna iTuner 320 BT screen is completely clean. Use the included microfiber cloth to remove all dust, fingerprints, and smudges. For stubborn marks, a screen cleaner (not included) can be used, followed by thorough drying with the microfiber cloth.
- Remove Dust: Use the dust-removing sticker (if included) to lift any remaining dust particles from the screen surface. Gently dab the sticker across the screen.
- Align the Protector: Carefully peel back a small portion of the protective film labeled "Step 1" or similar from one corner of the screen protector. Align the exposed edge of the screen protector with the corresponding edge of your Auna iTuner 320 BT screen. Ensure all cutouts (if any) for speakers, cameras, or sensors are correctly positioned.
- Apply Gradually: Once aligned, slowly and steadily peel back the rest of the "Step 1" film while simultaneously applying the screen protector to the device screen. Use the applicator card to gently smooth out any air bubbles as you go, pushing them towards the nearest edge.
- Remove Top Film: After the screen protector is fully adhered, carefully peel off the top protective film, usually labeled "Step 2" or similar.
- Final Smoothing: Use the microfiber cloth to gently wipe down the newly installed screen protector, removing any remaining small bubbles or marks. Note that the special low-tack adhesive may take approximately 2 days of regular use to fully adhere around the edges, during which any small air gaps should clear out.

Image: A graphic illustrating the precision design process, emphasizing the custom fit of the screen protector for the device.
Operating and Care
Once installed, the BoxWave ClearTouch Crystal Screen Protector requires minimal special operation. It is designed to be highly transparent and responsive, allowing normal use of your Auna iTuner 320 BT screen.
- Touch Sensitivity: The screen protector is engineered to maintain the original touch sensitivity of your device.
- Clarity: Enjoy 99% visual transparency for vibrant colors and clear viewing.
- Protection: The protector shields your screen from scratches, dust, and minor abrasions during daily use.
Maintenance
To keep your screen protector clean and clear, follow these simple maintenance guidelines:
- Cleaning: Use the included microfiber cleaning cloth to gently wipe away dust, fingerprints, and smudges. Avoid using harsh chemicals or abrasive materials, as these can damage the protector's surface.
- Avoid Sharp Objects: While the protector is scratch-resistant, extreme pressure or sharp objects can still cause damage.
- Replacement: If the screen protector becomes heavily scratched or damaged, it can be easily removed without leaving residue and replaced with a new one from the 2-pack.

Image: A close-up view of the screen protector accessories: an applicator card, a microfiber cleaning cloth, and a dust removing sticker.
Troubleshooting
Here are solutions to common issues you might encounter during or after installation:
- Air Bubbles:
- Small Bubbles: Many small bubbles will dissipate naturally within 24-48 hours as the adhesive cures.
- Large Bubbles: Gently lift the nearest edge of the screen protector and reapply, using the applicator card to push the air out as you lay it back down.
- Dust Particles Under Protector:
- If a dust particle is causing a bubble, carefully lift the nearest edge of the protector. Use a dust-removing sticker or a piece of tape to gently lift the dust particle from the screen or the adhesive side of the protector. Reapply the protector.
- Misalignment:
- If the protector is significantly misaligned, carefully peel it off entirely. Clean the screen thoroughly again and attempt reinstallation with careful alignment. The glueless adhesive allows for reapplication.
- Edges Not Sticking:
- Ensure the screen is perfectly clean, especially along the edges. Apply firm, consistent pressure with the applicator card along the edges. As noted, the adhesive may take up to 2 days to fully cure and seal the edges.
Specifications
| Product Name | BoxWave ClearTouch Crystal Screen Protector |
| Compatibility | Auna iTuner 320 BT |
| Material | Polyethylene Terephthalate (PET) |
| Transparency | 99% Visual Transparency |
| Special Features | Scratch Resistant, Glueless Adhesive, Precision Cut |
| Surface Description | Glossy |
| Package Quantity | 2 Screen Protectors |
| Manufacturer | BoxWave |
Warranty and Support
BoxWave products are designed for quality and durability. For any questions, concerns, or support regarding your ClearTouch Crystal Screen Protector, please contact BoxWave customer service directly. Refer to the product packaging or the official BoxWave website for the most current contact information.
For more information, visit the official BoxWave website.
Ask a question about this manual
Ask about setup, troubleshooting, compatibility, parts, safety, or missing instructions. Manuals+ will review the question and use this page’s manual context to help answer it.