Introduction
This manual provides detailed instructions for the installation, operation, and maintenance of your aoonav 12.1 Inch Android Snapdragon 665 Car Radio. Please read this manual thoroughly before using the product to ensure proper functionality and safety.
Applicable Models & Years
This car radio is designed for the following vehicle models and years:
- GMC Yukon Auto AC: 2007-2012
- Chevrolet Suburban Auto AC: 2007-2012
- Chevrolet Tahoe Auto AC: 2007-2012
- Chevrolet Silverado Auto AC: 2007-2012
Note: This unit is not compatible with manually air-conditioned vehicles. Please ensure your vehicle has automatic air conditioning before purchase.
Specifications
| Item Weight | 9.08 pounds |
| Package Dimensions | 18 x 15 x 8 inches |
| Display Size | 12.1 Inches |
| Voice Command | Touchscreen |
| Vehicle Service Type | Car |
| Special Feature | Bluetooth, Radar Warning, Touchscreen, Wireless Carplay |
| Connectivity Technology | Bluetooth, Ethernet, USB, Wi-Fi |
| Map Type | Worldwide |
| Audio Output Mode | AUX |
| Mounting Type | Panel Mount |
| Resolution | 1280 x 800 |
What's in the Box
- Power Adapter
- Accessories
- Frame
Setup and Installation
Follow these steps for proper installation of your aoonav car radio. Professional installation is recommended.
Installation Overview
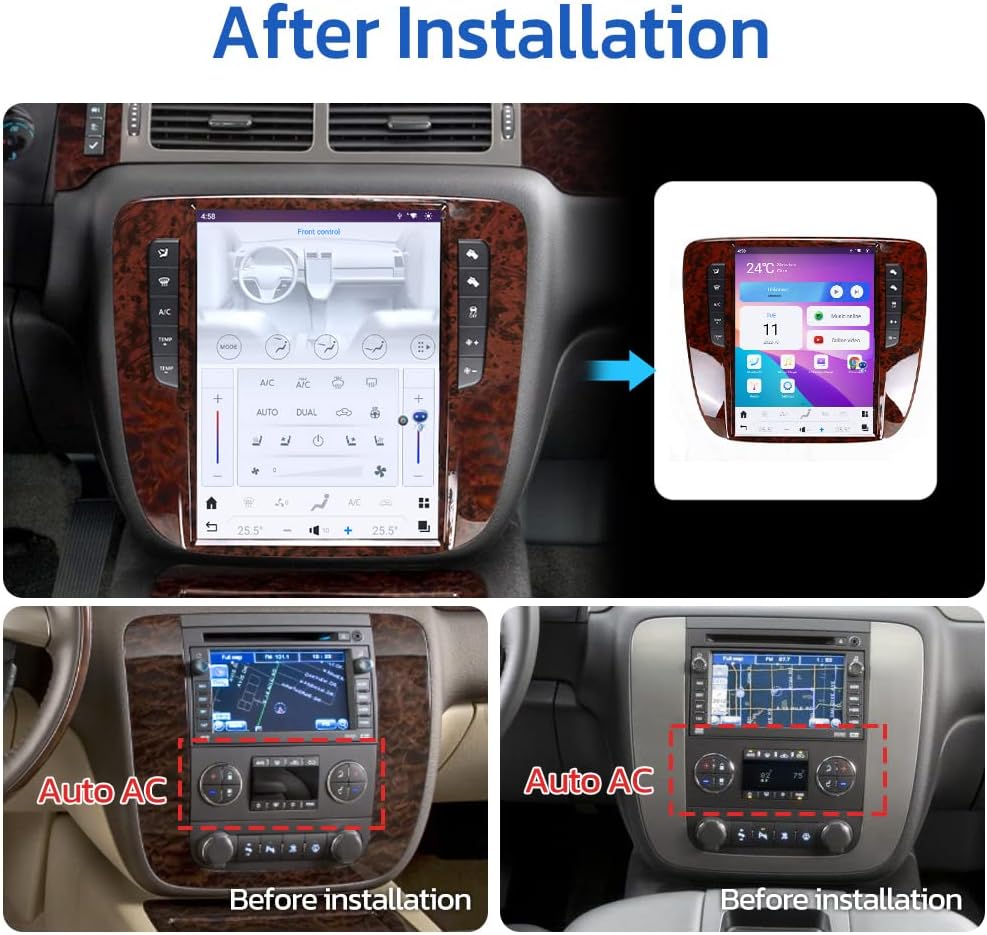
Image: Comparison of the car dashboard before and after installing the aoonav 12.1 Inch Android Car Radio.
Detailed Installation Video Guide
Video: Step-by-step installation guide for the aoonav Android radio in GMC Yukon/Tahoe Silverado models (2007-2013).
Video: Another detailed installation video for the aoonav Android radio in GMC Yukon/Tahoe Silverado vehicles.
CAN-BUS Setup
After powering up the radio, you need to set CAN-BUS correctly to get your steering wheel controls to work. Click Settings in the main menu, go to Factory and input password 3368. Choose Car Mode XP-GM/Chevrolet-ALL-XP(L) if there isn't an OEM Amplifier in your car. Alternatively, choose XP-GM/Chevrolet-Enclave-XP if there is a factory amplifier in your car.
Important: Wrong or missing CAN-BUS setups lead to unworking steering wheel controls. The CAN-BUS box should always be connected to the rear power plug beforehand.
4G Antenna Installation
Remove the adhesive tape from the 4G antenna and stick it inside the center console for optimal signal reception.

Image: The 4G antenna is installed inside the center console for enhanced connectivity.
GPS Antenna Placement
The GPS antenna can be placed on the A-pillar of the car for best satellite reception.
Operating Instructions
Your aoonav car radio offers a wide range of features for an enhanced driving experience.
Wireless CarPlay & Android Auto
Connect your smartphone via Bluetooth or charging cable to access music, navigation, and phone calls directly from the 12.1-inch touchscreen.
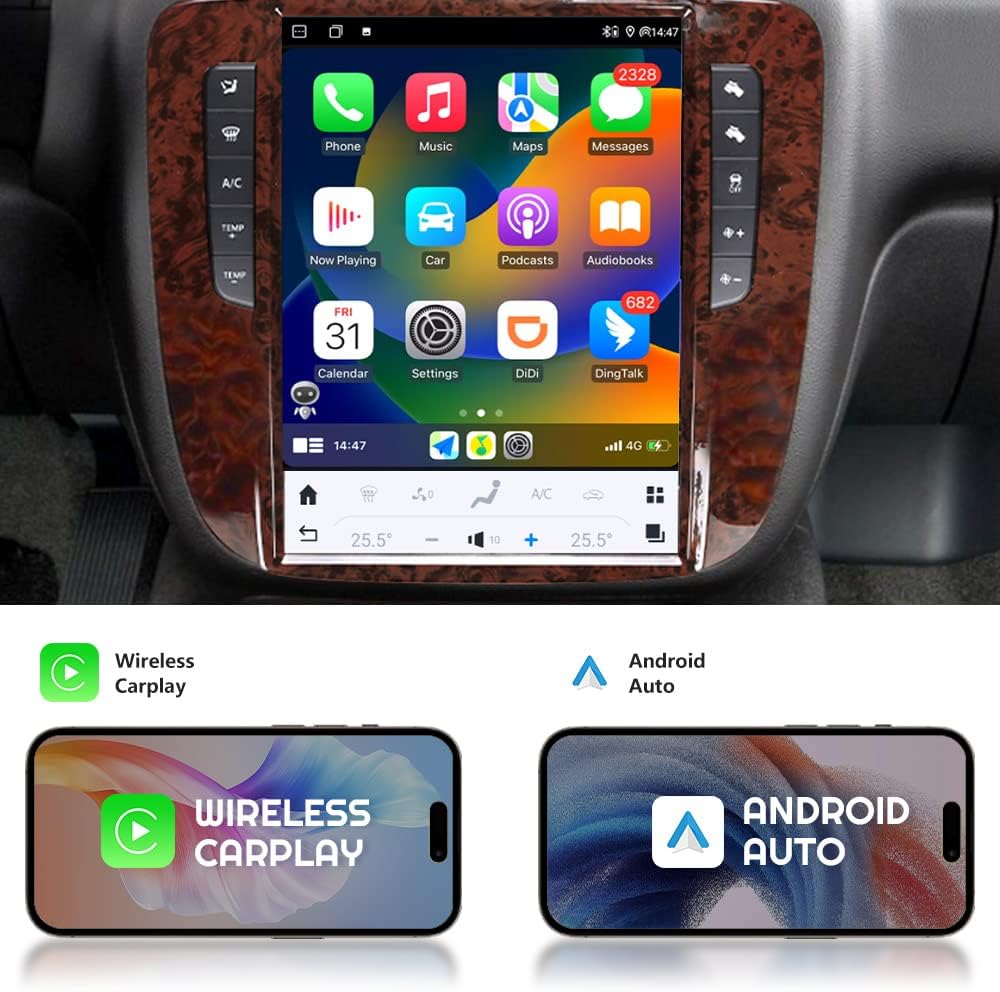
Image: The car stereo displaying the Wireless CarPlay and Android Auto interfaces.

Image: Overview of built-in wireless and wired Apple CarPlay and Android Auto functionality.
Bluetooth 5.0 Connectivity
Benefit from stable Bluetooth 5.0 for hands-free calling, music streaming, and external device control. Supports phone book download and music playback.

Image: Illustration of Bluetooth 5.0 features including phone calls, music, and contact access.

Image: The car radio displaying the Bluetooth phone call interface.
GPS Navigation
The unit features built-in GPS navigation. Use online maps like Google Maps and Waze via Wi-Fi hotspot, or utilize offline maps. Never get lost with precise positioning.

Image: The car radio displaying a GPS navigation map with various map applications.

Image: Display showing online and offline navigation options with various map applications.
On-Screen Climate Control
The T-Style radio replacement multimedia center replaces the factory display screen and climate control center. Climate controls are recreated on-screen, allowing access to all related features.

Image: The car radio displaying the on-screen climate control interface.
Day/Night Mode Change
Set the system to immediate or automatic mode. With the car lights on, the system will automatically switch to a dark night theme interface for safer night driving. Compatible with some third-party apps with dark mode functionality.
DSP Equalizer
Utilize the built-in DSP Equalizer to customize your audio experience. Adjust settings for subwoofer, high pitch, and various sound modes like Rock, Classical, Jazz, Popular, Vocal, and Normal. You can also create custom presets.

Image: The car radio displaying the DSP Equalizer interface for audio customization.
Steering Wheel Controls
The unit supports original car steering wheel button controls for convenient operation.

Image: Display showing the integration of steering wheel controls with the car radio.
Rear View Camera Support
The rearview camera powers on automatically when shifting into reverse gear, eliminating most blind spots and greatly improving traffic safety. Supports original rear camera and headrest TV projection.

Image: The car radio displaying the rear view camera feed with guidelines.

Image: Illustration of OEM factory camera support for enhanced safety.
Android Radio Display Video
Video: A demonstration of the aoonav Android radio's display and user interface in a GMC Yukon/Tahoe Silverado.
Maintenance
To ensure the longevity and optimal performance of your aoonav car radio, follow these general maintenance guidelines:
- Regularly clean the touchscreen with a soft, lint-free cloth. Avoid abrasive cleaners.
- Keep the unit free from dust and debris.
- Ensure all connections are secure and free from corrosion.
- Avoid exposing the unit to extreme temperatures or direct sunlight for prolonged periods.
Troubleshooting
If you encounter any issues with your aoonav car radio, refer to the following common troubleshooting tips:
- No Power: Check all power connections and fuses. Ensure the ignition is on.
- No Sound: Verify speaker connections, volume levels, and audio settings (DSP). Check if the mute function is active.
- Touchscreen Unresponsive: Try restarting the unit. If the issue persists, perform a factory reset (refer to CAN-BUS setup section for factory settings access).
- GPS Signal Loss: Ensure the GPS antenna is correctly installed and has a clear line of sight to the sky.
- Steering Wheel Controls Not Working: Recheck CAN-BUS setup in factory settings. Ensure the correct car mode is selected.
- Bluetooth Connectivity Issues: Ensure Bluetooth is enabled on both the car radio and your device. Try unpairing and re-pairing the devices.
- Rear Camera Not Displaying: Check the camera cable connection to the 'CCD-V' input. Ensure the reverse gear signal wire is correctly connected.
For persistent issues, please contact customer support.
Warranty and Support
Your aoonav car radio comes with a one-year warranty and lifetime after-sales service.
Contact Support
If you have any questions or require assistance, you can contact us via Amazon or email:
Email: autostereo@163.com

Image: Service information detailing contact methods for support.