SAMA M203
SAMA M203 M-ATX/ITX Computer Case Instruction Manual
Model: M203
Introduction
This manual provides detailed instructions for the installation, operation, and maintenance of your SAMA M203 M-ATX/ITX Computer Case. Please read this manual thoroughly before beginning assembly to ensure proper setup and optimal performance.

Image: Front-angled view of the SAMA M203 computer case, showcasing the tempered glass side panel and three front-mounted F-RGB fans, along with one rear F-RGB fan.
Product Features
- Motherboard Support: Vertical M-ATX/ITX form factors.
- Front Panel I/O: USB 3.0 x 1, USB 2.0 x 2, HD Audio (Headphone/Microphone).
- Drive Bays: 3.5-inch HDD x 1, 2.5-inch SSD x 4.
- CPU Cooler Clearance: Up to 160mm height.
- Graphics Card Length: Up to 330mm.
- Cable Management: 22mm backline space.
- Expansion Slots: 4 PCI slots.
- Cooling System: Pre-installed F-RGB fans. Supports front 3x120mm (or 2x140mm) fans/240/280mm radiators, rear 1x120mm fan/120mm radiator, top 2x120mm fans/120/240mm radiators.
- Dimensions: 380 x 205 x 425mm (Chassis).
- Material: Tempered Glass side panel.
Setup and Installation
1. Preparing the Case
Before installing components, ensure the case is placed on a stable, flat surface. Carefully remove the tempered glass side panel by unscrewing the four thumb screws and gently pulling it away from the chassis. It is recommended to lay the case on its side during component installation.
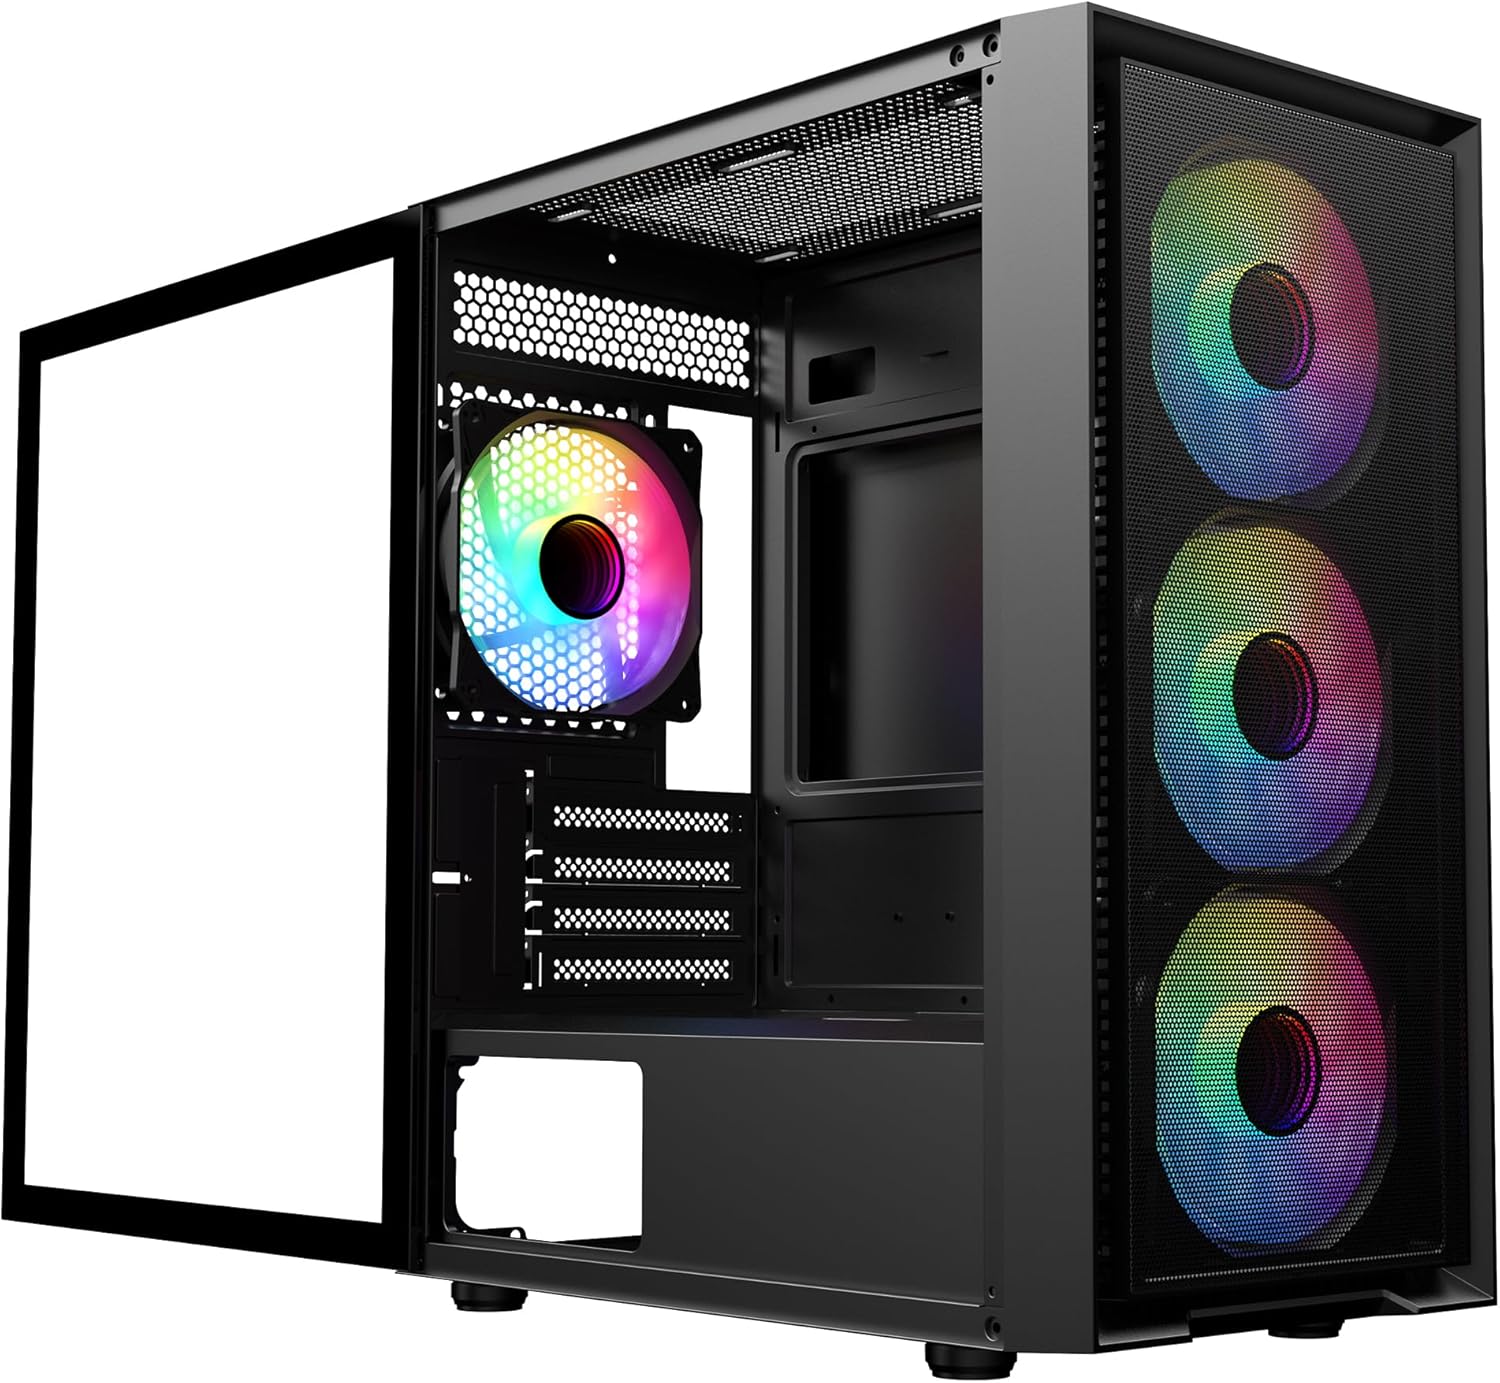
Image: The SAMA M203 computer case with its tempered glass side panel removed, revealing the interior for component installation.
2. Motherboard Installation
The SAMA M203 supports vertical M-ATX and ITX motherboards. Install the necessary standoffs for your motherboard form factor. Carefully align your motherboard with the standoffs and the rear I/O shield opening, then secure it with screws.

Image: Diagram illustrating the vertical M-ATX and ITX motherboard compatibility within the SAMA M203 case.
3. Drive Installation (HDD/SSD)
The case provides support for one 3.5-inch HDD and up to four 2.5-inch SSDs. Refer to the internal layout diagram for specific mounting locations. The 3.5-inch HDD typically mounts in the bottom HDD cage. 2.5-inch SSDs can be mounted on the motherboard tray or within the PSU shroud area.
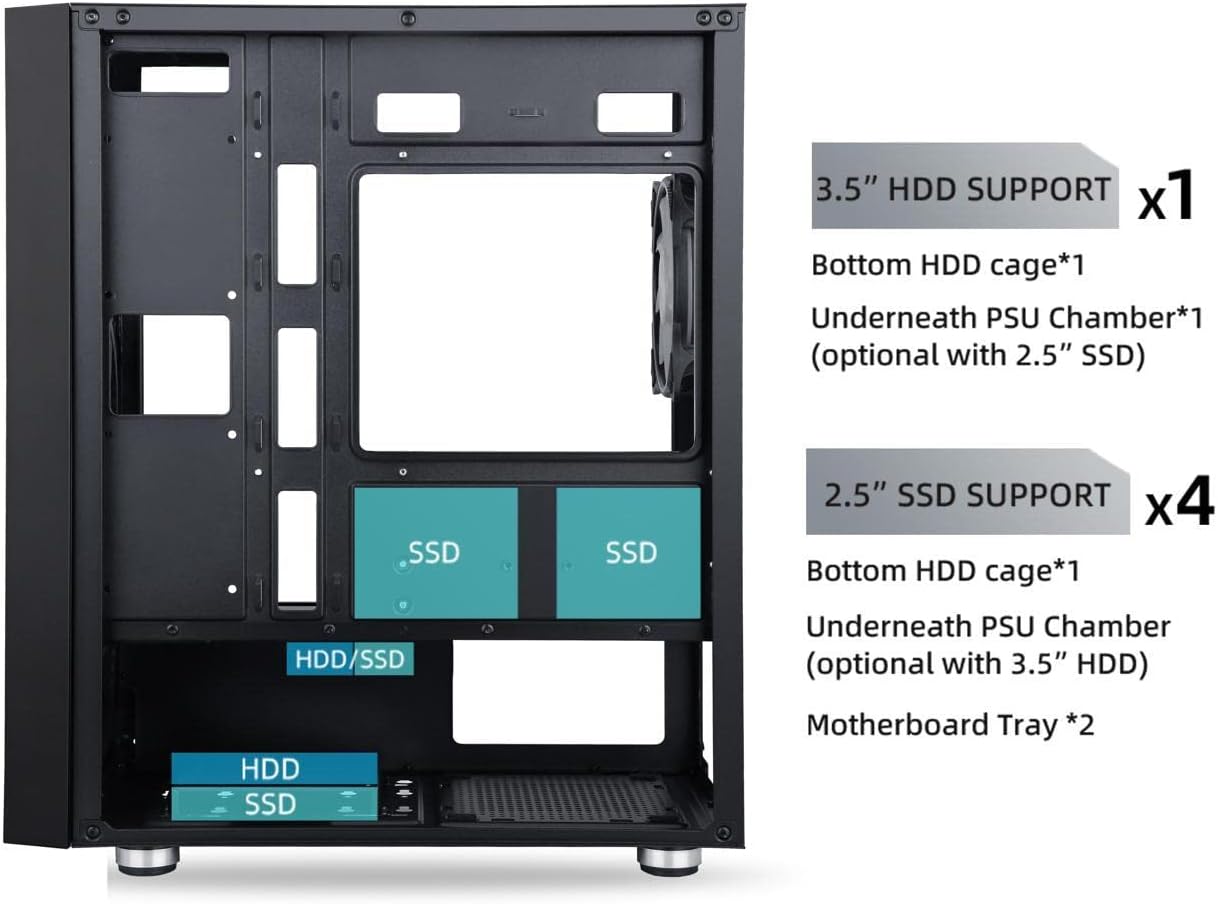
Image: Diagram showing the internal layout of the SAMA M203 case, highlighting the locations for 3.5-inch HDD and 2.5-inch SSD installations.
4. Power Supply Unit (PSU) Installation
Install your power supply unit into the dedicated compartment at the bottom rear of the case. Secure it with screws from the exterior rear of the chassis.
5. Graphics Card and Expansion Card Installation
Remove the necessary PCI slot covers from the rear of the case. Note that some PCI slot covers are break-off type. Carefully insert your graphics card or other expansion cards into the motherboard's PCI-E slots and secure them with screws.
6. Cooling System Setup
The SAMA M203 comes with pre-installed F-RGB fans. Additional fans or radiators can be installed in the front, top, and rear positions as per the specifications. Ensure proper airflow direction for optimal cooling.

Image: Diagram detailing the fan and radiator support locations and sizes for the front, top, and rear of the SAMA M203 case.
7. Cable Management
Utilize the 22mm backline space and cable routing cutouts to organize cables behind the motherboard tray. Connect all power cables from the PSU to the motherboard and components. Connect the front panel I/O cables (USB 3.0, USB 2.0, HD Audio, Power, Reset, LED) to the corresponding headers on your motherboard.

Image: Close-up view of the SAMA M203's top panel, showing the front I/O ports including Power, Reset, USB 3.0, USB 2.0, HD Audio, and Microphone jacks.
Operating Instructions
After all components are securely installed and cables connected, replace the tempered glass side panel. Connect your peripherals (monitor, keyboard, mouse) and power cable. Press the power button on the top panel to start your computer. The F-RGB fans will illuminate upon power-on. If your motherboard supports RGB control, you may be able to customize fan lighting.
Maintenance
Dust Filters
The SAMA M203 case includes dust filters on the top and bottom to prevent dust accumulation. Regularly clean these filters to maintain optimal airflow and cooling performance. The front mesh also acts as a filter and can be cleaned.
- Top Filter: Magnetic, easily removable for cleaning.
- Bottom Filter: Located under the PSU, slide out for cleaning.
- Front Mesh: Can be cleaned with a soft brush or compressed air.
General Cleaning
Use a soft, dry cloth to wipe down the exterior of the case. For the tempered glass panel, use a glass cleaner and a microfiber cloth. Avoid abrasive cleaners or solvents.
Troubleshooting
- Computer Does Not Power On:
- Ensure the power supply is switched on and properly connected to the wall outlet and motherboard.
- Verify all front panel connectors (especially the power switch) are correctly attached to the motherboard headers.
- Check that all internal power cables (24-pin ATX, CPU, GPU) are securely connected.
- Fans Not Spinning or RGB Not Working:
- Confirm that the fan power connectors (Molex) are securely plugged into the power supply.
- If RGB is not working, ensure any RGB control cables are properly connected to the motherboard or a dedicated controller (if applicable).
- Excessive Fan Noise:
- Check if any cables are obstructing fan blades.
- Ensure fans are securely mounted and not vibrating against the chassis.
- Clean dust from fan blades and dust filters.
- Components Not Fitting:
- CPU Cooler: Ensure your CPU cooler height does not exceed 160mm.
- Graphics Card: Ensure your graphics card length does not exceed 330mm.
- Motherboard: Verify your motherboard is M-ATX or ITX form factor.
Specifications
| Feature | Detail |
|---|---|
| Brand | SAMA |
| Model | M203 |
| Motherboard Support | M-ATX, ITX |
| Case Type | Mini-Tower |
| Material | Tempered Glass (Side Panel) |
| Front I/O Ports | 1x USB 3.0, 2x USB 2.0, HD Audio (Headphone/Microphone) |
| 3.5" HDD Support | 1 |
| 2.5" SSD Support | 4 |
| CPU Cooler Height Limit | 160mm |
| Graphics Card Length Limit | 330mm |
| Backline Space | 22mm |
| Expansion Slots | 4 PCI |
| Pre-installed Fans | 4 F-RGB Fans |
| Fan Support (Front) | 3x 120mm or 2x 140mm |
| Radiator Support (Front) | 240mm, 280mm |
| Fan Support (Rear) | 1x 120mm |
| Radiator Support (Rear) | 120mm |
| Fan Support (Top) | 2x 120mm |
| Radiator Support (Top) | 120mm, 240mm |
| Chassis Dimensions (L x W x H) | 380 x 205 x 425mm |
| Product Dimensions (L x W x H) | 48.26 x 38.1 x 17.78 cm |
| Item Weight | 5.15 kg |
| Power Supply Mounting Type | Bottom Mount |
| Cooling Method | Air, Water |
Warranty and Support
For warranty information and technical support, please refer to the official SAMA website or contact your retailer. Keep your proof of purchase for warranty claims.
Ask a question about this manual
Ask about setup, troubleshooting, compatibility, parts, safety, or missing instructions. Manuals+ will review the question and use this page’s manual context to help answer it.