
1. Introduction
This manual provides comprehensive instructions for the installation, operation, and maintenance of your Dual XCP1101SP 7-inch Digital Media Touch Screen Car Stereo. Please read this manual thoroughly before using the product to ensure proper functionality and to prevent damage. Keep this manual for future reference.
The Dual XCP1101SP features a 7-inch LED digital media touch screen, built-in Bluetooth for hands-free calling and audio streaming, a push-to-talk assistant for Siri or Google Assistant, USB fast charging, microSD card support, and includes a backup camera and two 6.5-inch speakers.
2. Safety Information
- Professional Installation Recommended: Due to the complexity of car audio systems, professional installation is highly recommended. Incorrect wiring can cause damage to the unit or your vehicle.
- Power Source: Connect the unit only to a 12V DC negative ground electrical system.
- Avoid Water and Moisture: Do not expose the unit to water or excessive moisture.
- Ventilation: Ensure adequate ventilation around the unit to prevent overheating.
- Driving Safety: Do not operate the unit in a way that distracts you from driving. Always prioritize road safety.
- Volume Control: Keep the volume at a level that allows you to hear outside traffic and emergency vehicles.
3. Package Contents
Verify that all items are present in your package:
- Dual XCP1101SP 7-inch Digital Media Touch Screen Receiver
- Wiring Harness
- Mounting Hardware
- Backup Camera with Cable
- Two 6.5-inch Dual Cone Speakers
- Instruction Manual (this document)
4. Installation
Proper installation is crucial for optimal performance. If you are unsure about any steps, consult a qualified professional.
4.1 Mounting the Head Unit
The XCP1101SP is designed for a standard Double DIN opening. Ensure sufficient space behind the dashboard for wiring and connections. Secure the unit using the provided mounting hardware.
4.2 Wiring Connections
Refer to the wiring diagram for detailed connections. Incorrect wiring can cause damage. Always disconnect the vehicle's negative battery terminal before beginning installation.
- Yellow Wire: Connect to constant 12V power.
- Red Wire: Connect to accessory 12V power (switched with ignition).
- Black Wire: Connect to vehicle chassis ground.
- Blue/White Wire: Connect to amplifier remote turn-on or power antenna.
- Speaker Wires: Connect to the included 6.5-inch speakers, ensuring correct polarity (+/-) for each speaker.
- Backup Camera Input: Connect the camera's video output to the unit's camera input. Connect the camera's power to the reverse light circuit.
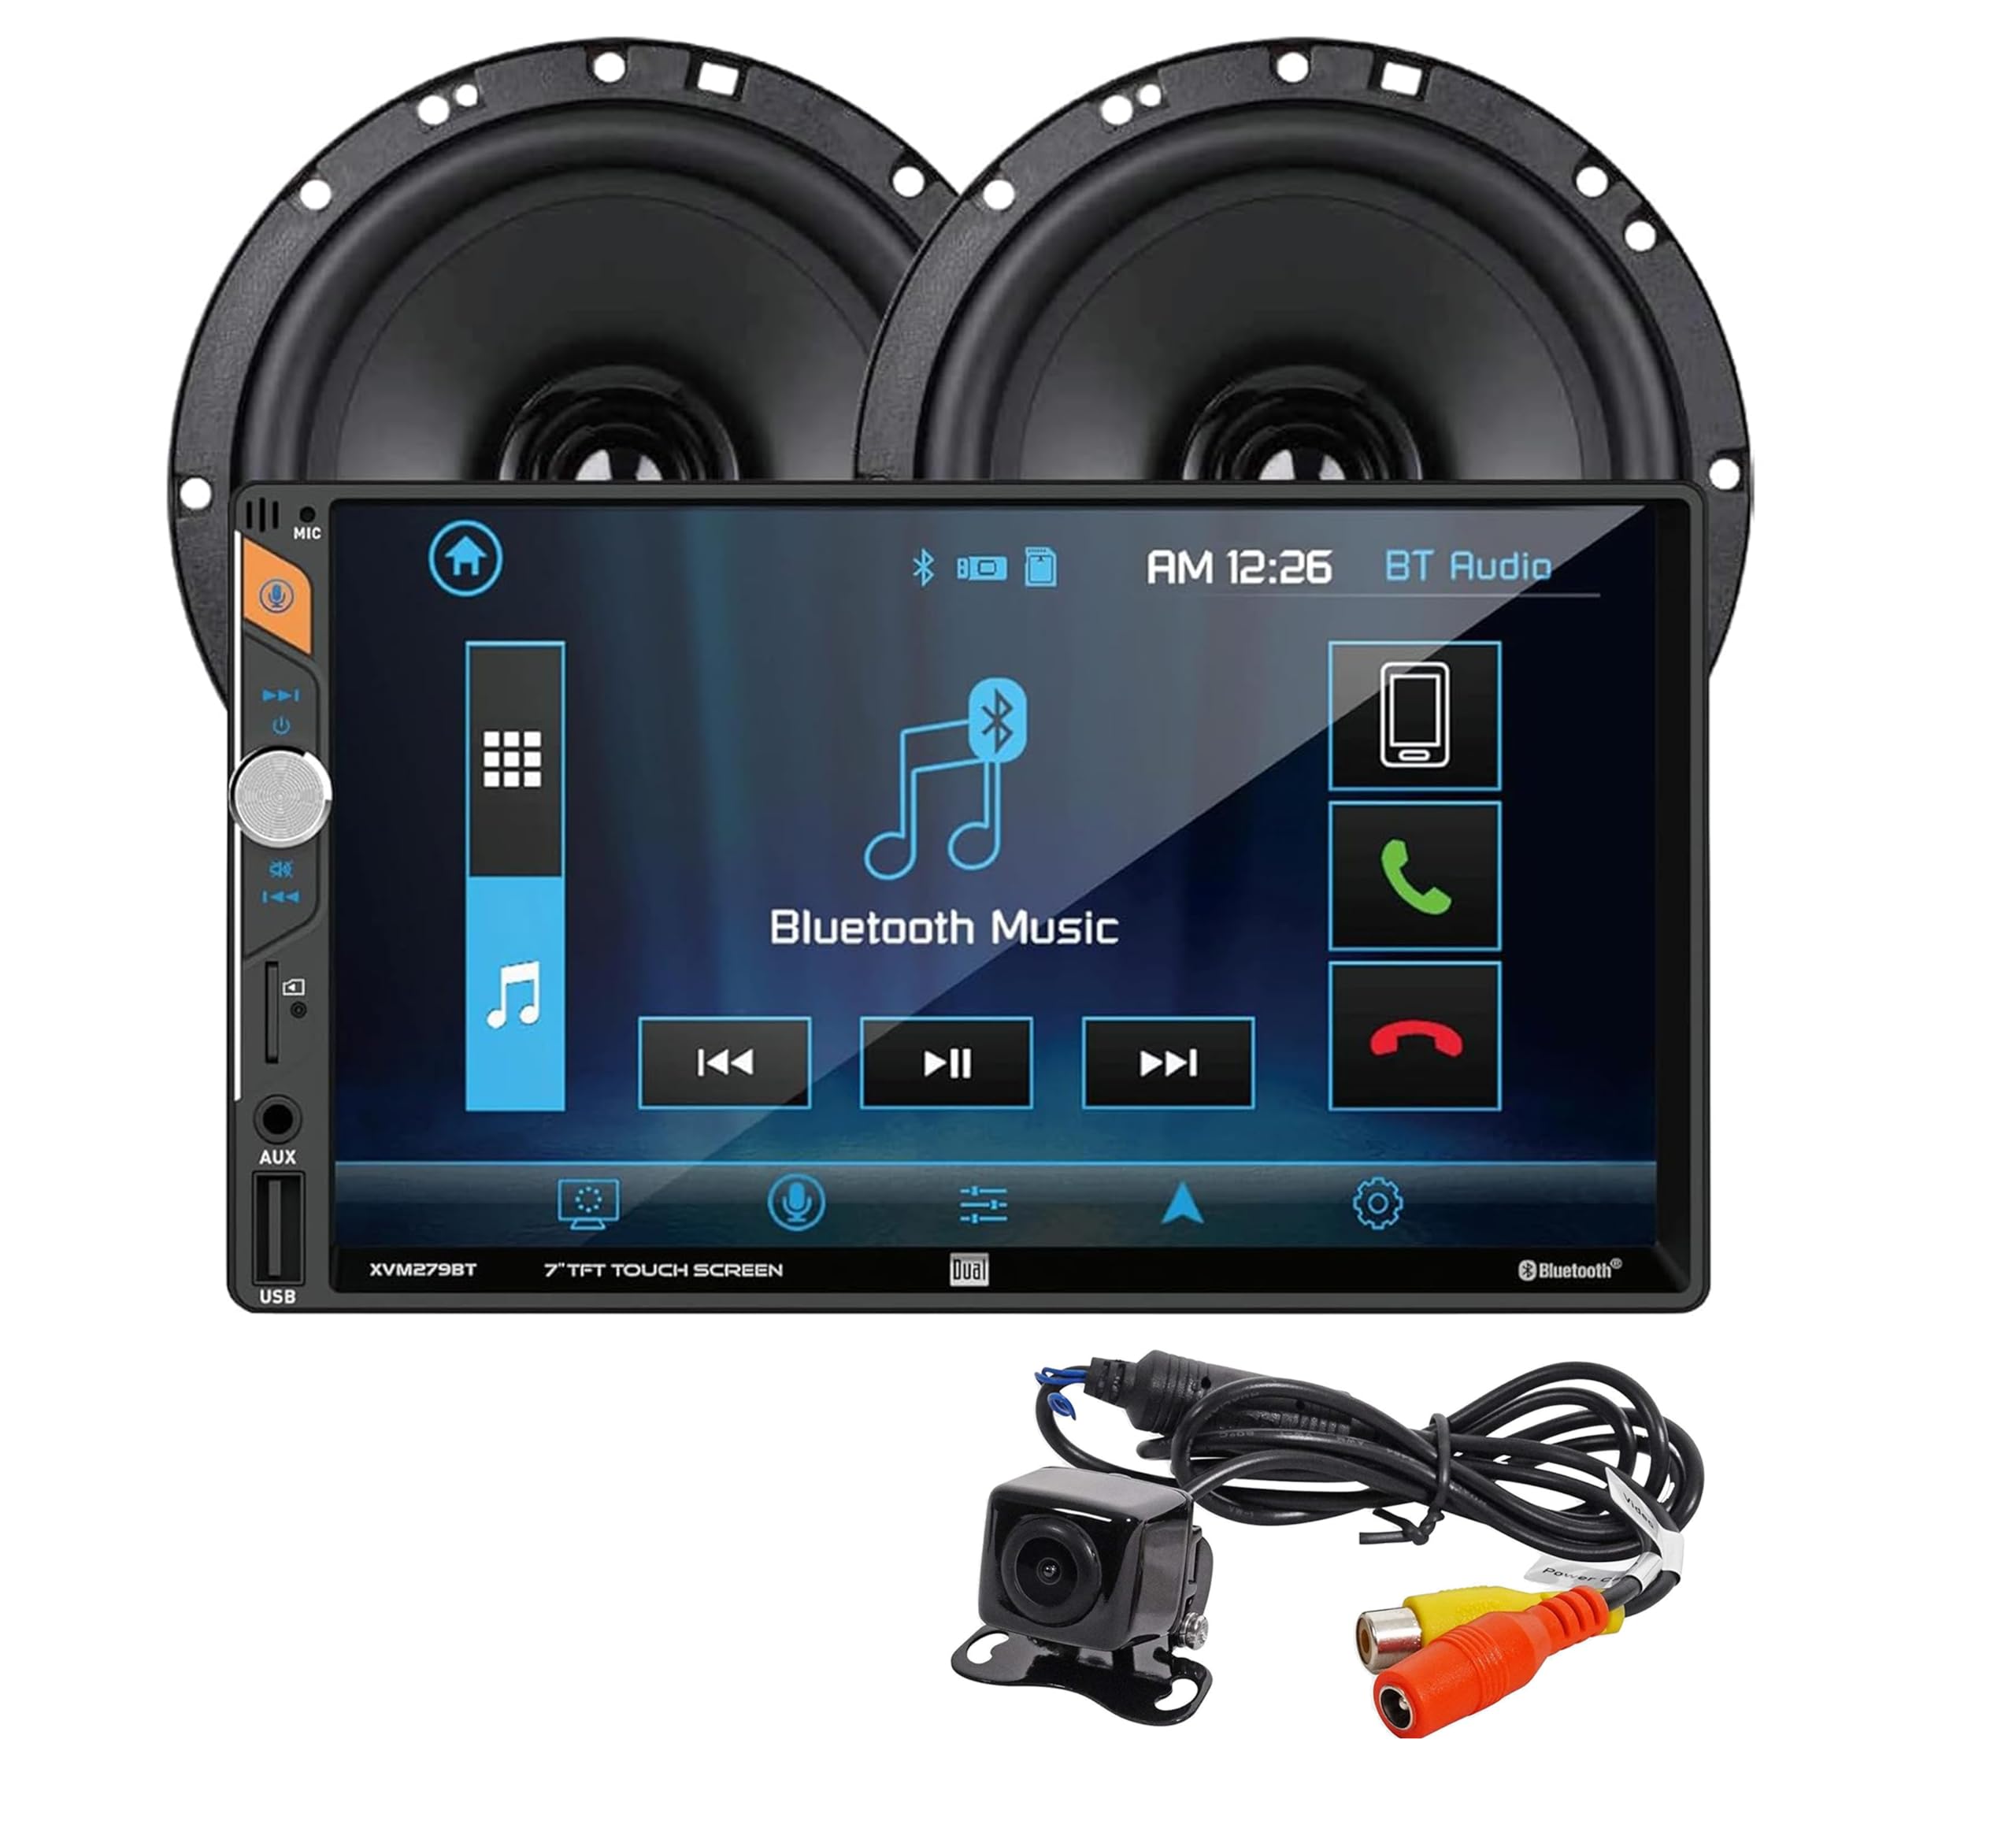
Image 1: The Dual XCP1101SP head unit, bundled with two 6.5-inch speakers and a backup camera, illustrating the complete package components.
5. Basic Operation
5.1 Power On/Off
Press the power button (usually located on the front panel) to turn the unit on or off. The unit will automatically power on when the vehicle's ignition is turned on (if wired correctly).
5.2 Volume Control
Adjust the volume using the rotary knob or touch screen controls. Rotate clockwise to increase volume, counter-clockwise to decrease.
5.3 Source Selection
Tap the 'Source' or 'Mode' icon on the touch screen to cycle through available audio sources: AM/FM Radio, Bluetooth Audio, USB, microSD, and Auxiliary Input.
5.4 Touch Screen Interface
Navigate the unit's functions by tapping the icons and menus displayed on the 7-inch touch screen. The interface is designed for intuitive use.
6. Bluetooth Operation
The XCP1101SP features built-in Bluetooth for wireless audio and hands-free communication.
6.1 Pairing a Device
- Ensure Bluetooth is enabled on your mobile device.
- On the XCP1101SP, select the Bluetooth source.
- Search for available devices on your mobile phone. The unit will appear as "Dual XCP1101SP" or similar.
- Select the unit from your phone's list and confirm the pairing. A confirmation message will appear on the unit's screen.
6.2 Hands-Free Calling
Once paired, you can make and receive calls directly through the unit. Use the touch screen to dial numbers, answer, or end calls. The built-in microphone allows for clear communication.
6.3 Audio Streaming
Stream music from your paired device to the XCP1101SP. Use the unit's controls for playback (play/pause, skip track).
6.4 Voice Assistant
Press the dedicated voice activation button on the unit to activate Siri or Google Assistant on your connected smartphone. This allows for voice commands for navigation, calls, and music playback.
7. USB and microSD Operation
The unit supports media playback from USB drives and microSD cards.
7.1 Connecting USB/microSD
Insert a USB drive into the USB port or a microSD card into the designated slot. The unit will automatically switch to the USB/microSD source and begin playback of compatible media files.
7.2 Media Playback
Use the touch screen controls to navigate folders, select tracks, and control playback (play/pause, skip, repeat, shuffle).
7.3 USB Fast Charging
The USB port also provides fast charging capabilities for compatible devices.
8. Backup Camera Operation
The included backup camera enhances safety by providing a clear view behind your vehicle.
8.1 Automatic Activation
When the vehicle is shifted into reverse, the unit will automatically display the backup camera feed on the 7-inch screen (if wired correctly to the reverse light trigger).
8.2 Manual Activation
A dedicated camera icon or option may be available on the main menu to manually view the camera feed at any time.
9. Audio Settings
Customize your audio experience using the built-in equalizer.
9.1 Equalizer Presets
Access the audio settings menu to select from 7 preset EQ curves: Pop, Jazz, Rock, Flat, Classic, Beat, and User. The 'User' setting allows for manual adjustment of bass, treble, and other audio parameters.
10. Dual iPlug Smart Remote App
Enhance control over your XCP1101SP with the Dual iPlug Smart Remote app, available for Apple and Android devices.
Download the app from your device's app store. Once installed and connected via Bluetooth, the app provides remote control functionality for various unit features, including source selection, volume, and playback controls.
11. Troubleshooting
If you encounter issues, refer to the following common problems and solutions:
| Problem | Possible Cause | Solution |
|---|---|---|
| No Power | Blown fuse, incorrect wiring, loose connection. | Check vehicle fuses and the unit's fuse. Verify all power and ground connections. |
| No Sound | Volume too low, incorrect source, speaker wiring issues, amplifier not powered. | Increase volume. Select correct audio source. Check speaker connections and amplifier status. |
| Bluetooth Not Connecting | Bluetooth not enabled, device not in pairing mode, interference. | Ensure Bluetooth is on for both devices. Put unit in pairing mode. Try restarting both devices. |
| Backup Camera Not Displaying | Camera not powered, video cable loose, reverse trigger wire not connected. | Check camera power and video cable connections. Verify the reverse trigger wire is connected to the vehicle's reverse light circuit. |
| Unit Overheating | Poor ventilation, excessive load. | Ensure adequate space around the unit for airflow. Reduce prolonged high-volume usage. |
If problems persist, contact Dual Electronics customer support or a qualified service technician.
12. Specifications
- Model: XCP1101SP
- Screen Size: 7-inch LED Digital Media Touch Screen
- Power Output: 200 Watts Max (50W x 4 channels)
- Connectivity: Bluetooth, USB, Auxiliary (3.5mm Jack)
- Media Support: USB, microSD
- Controller Type: Android, Google Assistant (via connected smartphone)
- Special Features: Hands-free calling, audio streaming, voice activation, USB fast charging, backup camera input, AM/FM tuner with 30 presets, 7 preset EQ curves.
- Item Weight: Approximately 4.99 pounds (2.27 Kilograms)
- Package Dimensions: 14 x 10 x 10 inches
13. Warranty and Support
Dual Electronics products are engineered for reliability and performance.
13.1 Warranty Information
This product comes with a standard 1-year warranty from the date of purchase. You can extend your warranty to 2 years by registering your product online at Dualav.com. Please retain your proof of purchase for warranty claims.
13.2 Customer Support
For technical assistance, troubleshooting, or warranty inquiries, please visit the Dual Electronics website or contact their customer service department. Refer to the official website for the most current contact information.


