
Introduction
This instruction manual provides comprehensive guidance for the assembly and finishing of your Moebius Models 2850 1/25 scale 1961 Pontiac Catalina plastic model kit. Please read all instructions carefully before beginning assembly. Familiarize yourself with all parts and steps to ensure a successful and enjoyable building experience.
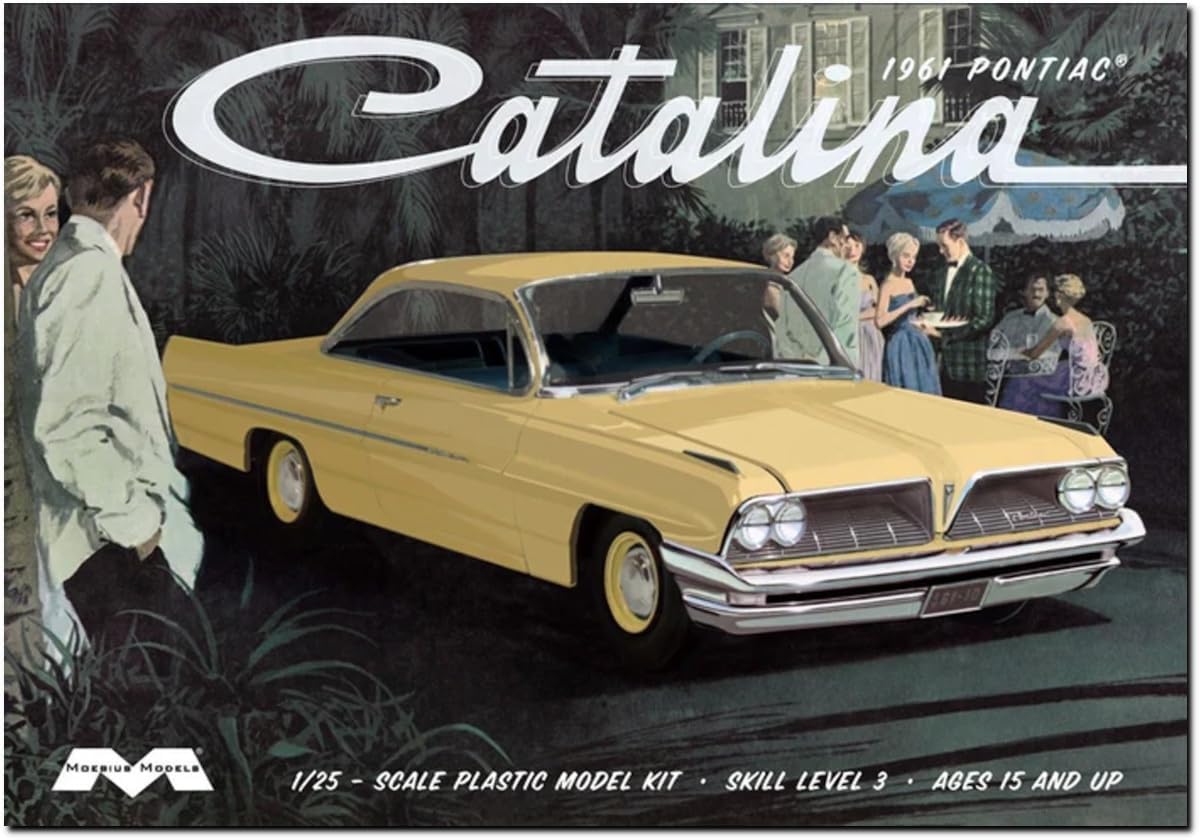
Image 1.1: The box art for the Moebius Models 1961 Pontiac Catalina model kit. It depicts a classic yellow 1961 Pontiac Catalina coupe parked in front of a house, with several elegantly dressed individuals gathered around it, suggesting a social event. The car is the central focus, showcasing its design and color.
Safety Information
This model kit contains small parts and sharp components. Adult supervision is recommended for builders under 15 years of age. Always use appropriate safety measures when handling tools, adhesives, and paints. Work in a well-ventilated area when using paints and glues. Keep all materials out of reach of small children and pets.
- Ventilation: Ensure adequate airflow when painting or gluing.
- Sharp Objects: Handle hobby knives and other sharp tools with extreme care.
- Chemicals: Read and follow all safety warnings on adhesive and paint products.
- Small Parts: Choking hazard for young children.
Tools and Materials Required
The following tools and materials are recommended for optimal assembly:
- Plastic cement (liquid or tube type)
- Hobby knife or sprue cutters
- Small files or sandpaper (various grits)
- Tweezers
- Small paintbrushes
- Masking tape (for painting)
- Model paints (acrylic or enamel, as desired)
- Decal setting solution (optional)
- Clear coat spray (optional)
Setup
Before starting assembly, prepare your workspace. Ensure it is clean, well-lit, and free from clutter. Organize your tools and parts. Carefully remove parts from the sprues using sprue cutters or a hobby knife, trimming any excess plastic (flash) with a file or sandpaper. Test-fit parts before applying adhesive.
Assembly Instructions
Follow these steps in sequence for best results. Refer to the included diagram sheets for part identification.
1. Chassis Assembly
- Attach the front and rear suspension components to the chassis frame.
- Assemble the exhaust system and glue it to the underside of the chassis.
- Install the drive shaft.
2. Engine Assembly
- Assemble the engine block halves.
- Attach cylinder heads, intake manifold, and carburetor.
- Add details such as the air cleaner, fan, and belts.
- Paint engine components before final installation into the chassis.
3. Interior Assembly
- Assemble the dashboard and steering wheel.
- Attach seats to the interior tub.
- Paint interior components as desired.
- Glue the completed interior tub into the chassis.
4. Body Assembly
- Clean and prepare the body shell.
- Install clear window parts from the inside. Use clear glue to avoid fogging.
- Attach the grille, bumpers, and exterior trim.
- Paint the body shell before attaching it to the chassis.
5. Wheel and Tire Installation
- Assemble the wheels and tires.
- Attach the completed wheel assemblies to the axles on the chassis.
6. Final Assembly and Detailing
- Carefully attach the painted body to the completed chassis.
- Add any remaining small exterior details such as mirrors, wipers, and emblems.
- Apply decals as per the decal placement guide.
- Apply a clear coat for protection and a uniform finish (optional).
Painting Guide
Painting is a crucial step for a realistic finish. Consider using primer before applying main colors. Allow each coat of paint to dry thoroughly before applying the next. Refer to historical references for accurate color schemes for the 1961 Pontiac Catalina, or choose your own custom colors.
- Primer: Improves paint adhesion and provides a uniform base.
- Base Coats: Apply thin, even coats to avoid obscuring details.
- Detail Painting: Use fine brushes for small components and trim.
- Clear Coat: Protects paint and decals, and provides a consistent sheen.
Decal Application
Decals add important markings and details. Cut each decal carefully from the sheet. Dip the decal in lukewarm water for 10-20 seconds until it slides freely on its backing paper. Position the decal on the model using tweezers, then gently slide the backing paper away. Blot excess water with a soft cloth. For irregular surfaces, a decal setting solution can help the decal conform better.
Maintenance
Once assembled, your model requires minimal maintenance. Keep it displayed in a dust-free environment, away from direct sunlight and extreme temperature fluctuations, which can cause decals to yellow or plastic to warp. Dust gently with a soft brush or compressed air.
Troubleshooting
- Parts not fitting: Ensure all flash is removed. Lightly sand mating surfaces. Do not force parts.
- Paint issues (e.g., brush strokes, uneven finish): Apply thinner coats. Allow sufficient drying time between coats. Use appropriate paint thinners if necessary.
- Decals silvering (air trapped under decal): Ensure surface is glossy before application. Use decal setting solution to help decals conform. Puncture small bubbles with a sharp needle and apply more setting solution.
- Missing parts: Double-check the sprues and packaging. If a part is genuinely missing, contact Moebius Models customer support.
Specifications
- Model: 1961 Pontiac Catalina
- Scale: 1/25
- Part Number: 2850 (MOE2850)
- Brand: Moebius Models
- Recommended Age: 15 years and up (Skill Level 3)
- Product Dimensions (Box): 7.87 x 3.15 x 1.97 inches
- Item Weight (Box): 15.8 ounces
Warranty and Support
Moebius Models strives to provide high-quality products. If you encounter any issues with missing or defective parts, please contact Moebius Models customer support directly. Keep your proof of purchase. Specific warranty details may vary; refer to the manufacturer's official website for the most current information.
For further assistance or inquiries, please visit the official Moebius Models website or contact their customer service department.