
1. Introduction
This manual provides detailed instructions for the installation, operation, and maintenance of your Moupaa Trimmer Line Spool and Spool Cover Replacement Kit. This kit is designed to replace worn or damaged components in compatible Black & Decker string trimmers, ensuring efficient and reliable performance. Please read this manual thoroughly before installation and use.
2. Product Contents
The Moupaa Trimmer Line Spool and Spool Cover Replacement Kit includes the following components:
- 4 x Trimmer Line Spools (pre-wound with 30 feet of 0.065 inch diameter line)
- 2 x Spool Covers
- 2 x Spool Springs

Image: Overview of the Moupaa Trimmer Line Spool and Spool Cover Replacement Kit, showing four pre-wound spools, two orange spool covers, and two metal springs.
3. Compatibility
This replacement kit is compatible with a wide range of Black & Decker string trimmer models. Please verify your trimmer model against the list below to ensure compatibility:
Applicable US Market Models:
- GH900, GH912, GH600, GH610, GH400, GH500
- NST2018, NST2118, NST1118, NST1018, NST1024, NST1810
- BESTA510, BESTA512, BESTE620
- ST4525, ST6600, ST7000, ST7200, ST7500, ST7700, ST7701, ST8600, ST9000
- LST220, LST201, LST300, LST400, LST420, LST136, LST120, LST140, LST1018, LST522, LSTE523, LSTE525
- MTC220, MTE912
- CST1000, CST1100, CST1200, CST2000
Applicable European Market Models:
- GLC1825L, GLC1825N, GL280, GL301, GLC13, GLC2500, GLC3000, GLC3630L, GLC425, GL430, GL4525, GL530, GL540, GL544, GL545, GL555, GL560, GL570, GL580, GL5028, GLC1423L
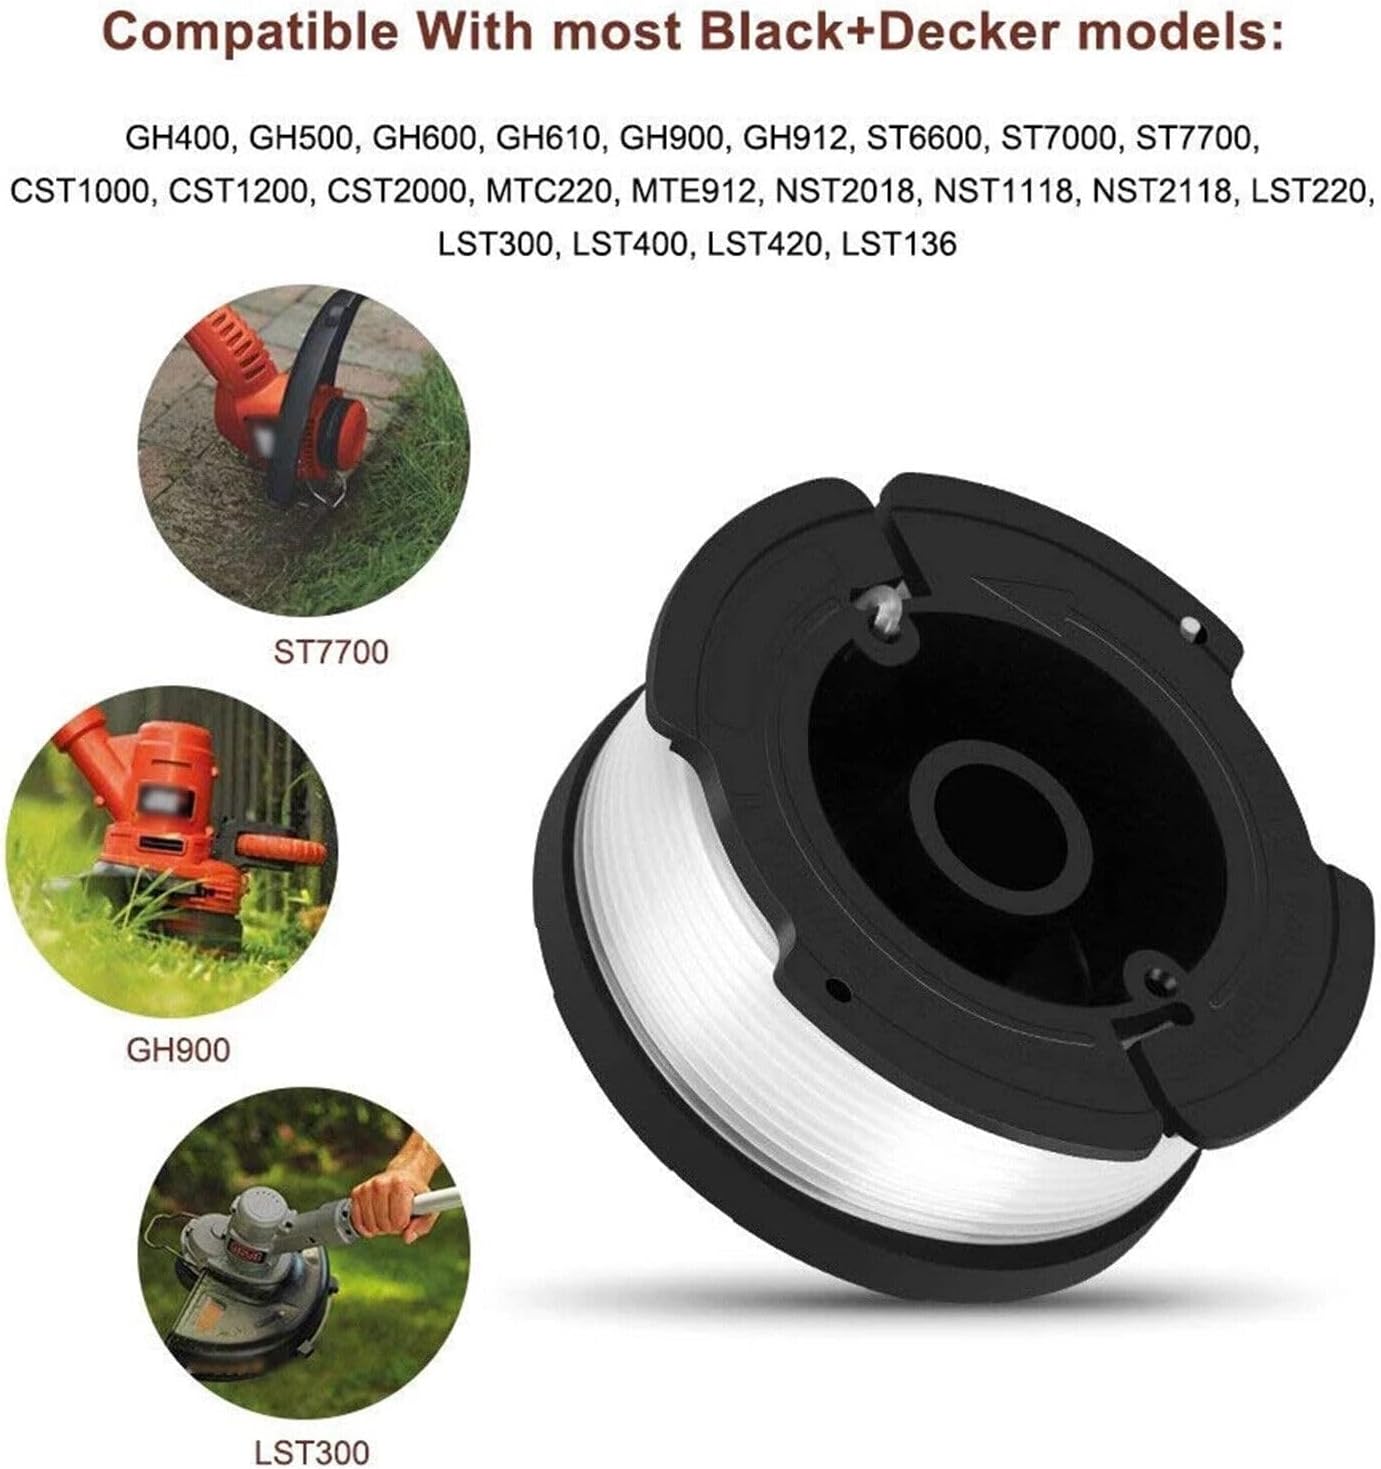
Image: Visual representation of compatible Black & Decker trimmer models, including ST7700, GH900, and LST300, alongside a spool.
4. Features
The Moupaa Trimmer Line Spool and Spool Cover Replacement Kit offers several key features:
- High Quality: Manufactured to highly match original equipment specifications, ensuring durability and performance.
- Easy Installation: Designed for quick and easy snap-in installation without the need for additional tools.
- Pre-wound Line: Each spool comes pre-wound with 30 feet of 0.065 inch diameter line, ready for immediate use.
- Automatic Feed Spool: Utilizes an auto-feed mechanism, reducing the need for manual line adjustments during operation.
- Efficient Cutting: Engineered to use centrifugal force and aerodynamics, reducing drag for faster and more efficient cutting of lawns and weeds.
- Durable Material: The trimmer line is made of polyamide, providing flexibility and resilience to cushion impacts on hard surfaces.

Image: Diagram illustrating the polyamide material and round shape of the trimmer line, highlighting its durability and safety.
5. Installation Instructions
Follow these steps to replace the trimmer line spool and cover:
- Turn off the engine and remove the cap: Ensure the trimmer is powered off and unplugged (if electric) or the spark plug wire is disconnected (if gas-powered). Locate the spool cap at the bottom of the trimmer head and remove it.
- Replace the spool into the trimmer head: Carefully remove the old spool and any remaining line. Place the new pre-wound spool into the trimmer head, ensuring the line is fed through the eyelet.
- Line up the retainer with the slot on the outside of the head: If replacing the spool cover, ensure the spring is correctly seated in the new cover. Align the tabs or retainers on the spool cover with the corresponding slots on the trimmer head.
- Cover the trimmer cap: Press the spool cover firmly onto the trimmer head until it snaps securely into place. Ensure it is fully seated and does not wobble.

Image: Four-panel illustration demonstrating the installation steps: 1. Turning off and removing cap, 2. Replacing the spool, 3. Aligning the retainer, and 4. Covering the trimmer cap.

Image: A close-up view of a trimmer head with the spool, spring, and cover disassembled, showing how the components fit together.
6. Operating Instructions
Once the new spool and cover are installed, your trimmer is ready for operation. The auto-feed system will automatically advance the line as needed during use. To ensure optimal performance:
- Always operate your string trimmer according to its original manufacturer's instructions.
- Maintain a consistent cutting height for even results.
- Avoid hitting hard surfaces (e.g., concrete, rocks) excessively, as this can prematurely wear the line and potentially damage the spool or trimmer head.
- If the line does not feed automatically, briefly tap the trimmer head on the ground while the trimmer is running (if your model supports this feature) to activate the auto-feed mechanism.

Image: A composite image showing multiple spools and a string trimmer actively cutting grass, demonstrating the product in use.
7. Maintenance
Proper maintenance will extend the life of your replacement parts and trimmer:
- Clean Regularly: After each use, clean any grass clippings, dirt, or debris from the spool cover and trimmer head. This prevents buildup that could impede line feeding.
- Inspect for Wear: Periodically inspect the spool cover for cracks or excessive wear, especially around the line exit eyelets. Replace if damaged.
- Store Properly: Store unused spools in a cool, dry place away from direct sunlight to maintain line integrity.
8. Safety Precautions
Your safety is paramount. When using a string trimmer and handling replacement parts, always observe the following precautions:
- Wear Protective Gear: Always wear appropriate personal protective equipment (PPE), including safety goggles or glasses, long trousers, and sturdy footwear, to protect against flying debris.
- Power Off Before Maintenance: Always turn off and unplug the trimmer (or disconnect the spark plug wire for gas models) before performing any maintenance, installation, or inspection.
- Keep Bystanders Away: Ensure that children, pets, and other bystanders are at a safe distance from the operating area.
- Inspect Before Use: Before each use, inspect the trimmer head, spool, and line for any damage or loose parts. Do not operate if components are damaged.
9. Specifications
Key specifications for the Moupaa Trimmer Line Spool and Spool Cover Replacement Kit:
| Specification | Detail |
|---|---|
| Material | ABS (Spool Cover), Nylon (Trimmer Line) |
| Line Length per Spool | 30 feet (Approx.) |
| Line Diameter | 0.065 inch (Approx.) |
| Part Numbers | AF-100-3ZP, AF-100-BKP |
10. Troubleshooting
If you encounter issues with your replacement kit, consider the following common troubleshooting tips:
- Line Not Feeding: Ensure the spool is correctly seated and the line is not tangled. Check for debris inside the trimmer head that might obstruct the line. Briefly tap the trimmer head on the ground while running (if applicable to your model) to activate the auto-feed.
- Excessive Line Breakage: This can be caused by hitting hard surfaces, using the wrong line diameter, or old/brittle line. Ensure you are using the correct line and avoid impacts.
- Spool Cover Not Securing: Check for any debris preventing the cover from snapping into place. Ensure the spring is correctly positioned and not bent.
11. Warranty and Support
For specific warranty information or technical support regarding your Moupaa Trimmer Line Spool and Spool Cover Replacement Kit, please refer to the product listing on the retailer's website or contact Moupaa customer service directly. Keep your purchase receipt as proof of purchase.