1. Introduction
Thank you for choosing the LDHTHOPI Cordless Paint Sprayer. This manual provides essential information for the safe and efficient operation, maintenance, and troubleshooting of your new paint sprayer. Please read this manual thoroughly before first use and retain it for future reference.
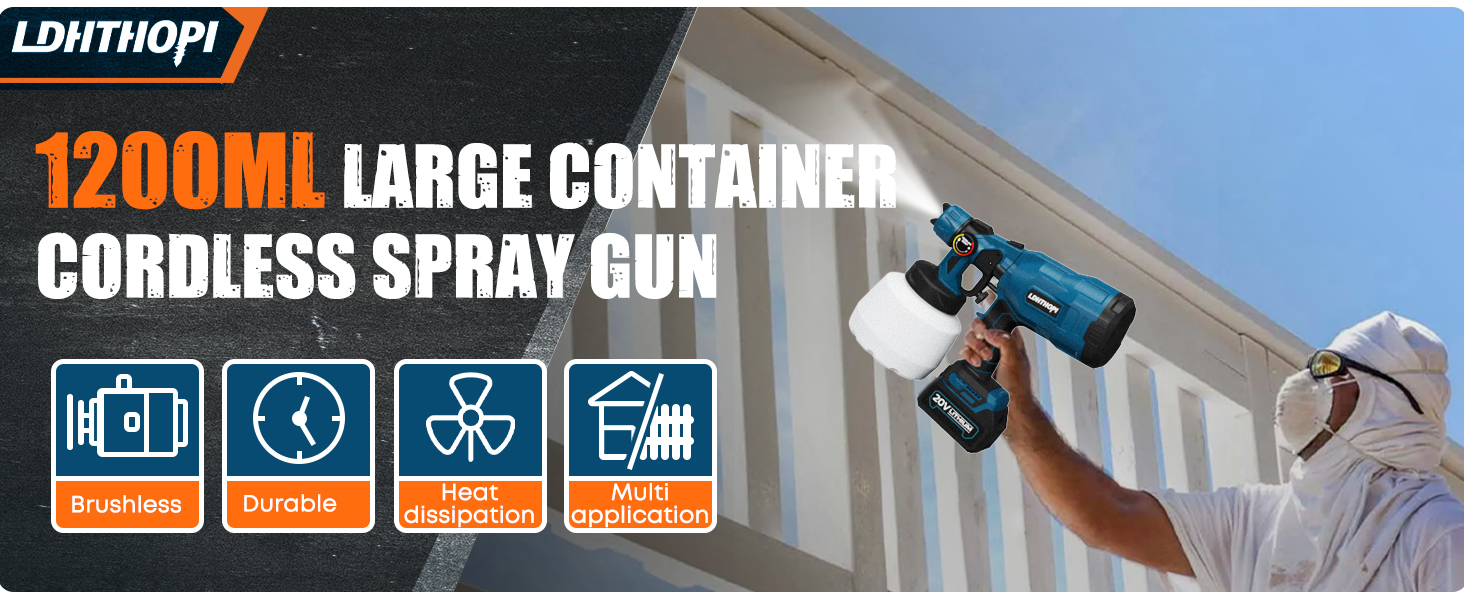
This high-power electric HVLP (High Volume Low Pressure) paint sprayer is designed for various painting tasks, offering portability and ease of use for both indoor and outdoor projects.
2. Safety Information
WARNING: Read all safety warnings, instructions, illustrations, and specifications provided with this power tool. Failure to follow all instructions listed below may result in electric shock, fire, and/or serious injury.
- Always wear appropriate personal protective equipment (PPE), including safety glasses, gloves, and a respirator, when operating the paint sprayer.
- Ensure the work area is well-ventilated to prevent the accumulation of flammable vapors.
- Keep children and bystanders away while operating the paint sprayer.
- Do not spray near open flames, pilot lights, or other ignition sources.
- Never point the spray gun at yourself or others.
- Always disconnect the battery before cleaning, performing maintenance, or when the sprayer is not in use.
- Use only paints and solvents compatible with the sprayer's components. Refer to paint manufacturer's instructions for proper thinning and compatibility.
- Do not immerse the motor unit in water or other liquids.
- Store the sprayer and its accessories in a dry, secure place out of reach of children.
3. Package Contents
Verify that all items listed below are included in your package. If any parts are missing or damaged, please contact customer support.
- LDHTHOPI Cordless Paint Sprayer Gun
- 1200ml Paint Container
- 4000mAh Lithium-Ion Battery (20V)
- Battery Charger
- 5 Copper Nozzles (1.0mm, 1.5mm, 1.8mm, 2.0mm, 2.5mm)
- Viscosity Measuring Cup
- Cleaning Brush
- User Manual
4. Product Overview
Familiarize yourself with the components of your LDHTHOPI Cordless Paint Sprayer:


5. Setup
5.1 Charging the Battery
- Connect the battery charger to a standard power outlet.
- Slide the battery onto the charger until it clicks into place.
- Allow the battery to charge fully before first use. The indicator light on the charger will show charging status.
5.2 Attaching the Container and Battery
- Ensure the paint container is empty and clean.
- Screw the paint container onto the sprayer body until it is securely fastened.
- Slide the fully charged battery into the battery slot on the handle until it clicks into place.
5.3 Nozzle Selection and Installation
The sprayer comes with 5 copper nozzles of different sizes (1.0mm, 1.5mm, 1.8mm, 2.0mm, 2.5mm). Choose the appropriate nozzle based on the viscosity of your paint and desired spray pattern.

- Unscrew the air cap and nozzle ring from the front of the sprayer.
- Insert the chosen nozzle into the nozzle seat.
- Place the air cap over the nozzle and secure it with the nozzle ring, tightening firmly.
5.4 Paint Preparation (Thinning and Filtering)
Proper paint preparation is crucial for optimal spray performance and to prevent clogging. Always refer to the paint manufacturer's instructions for thinning recommendations.
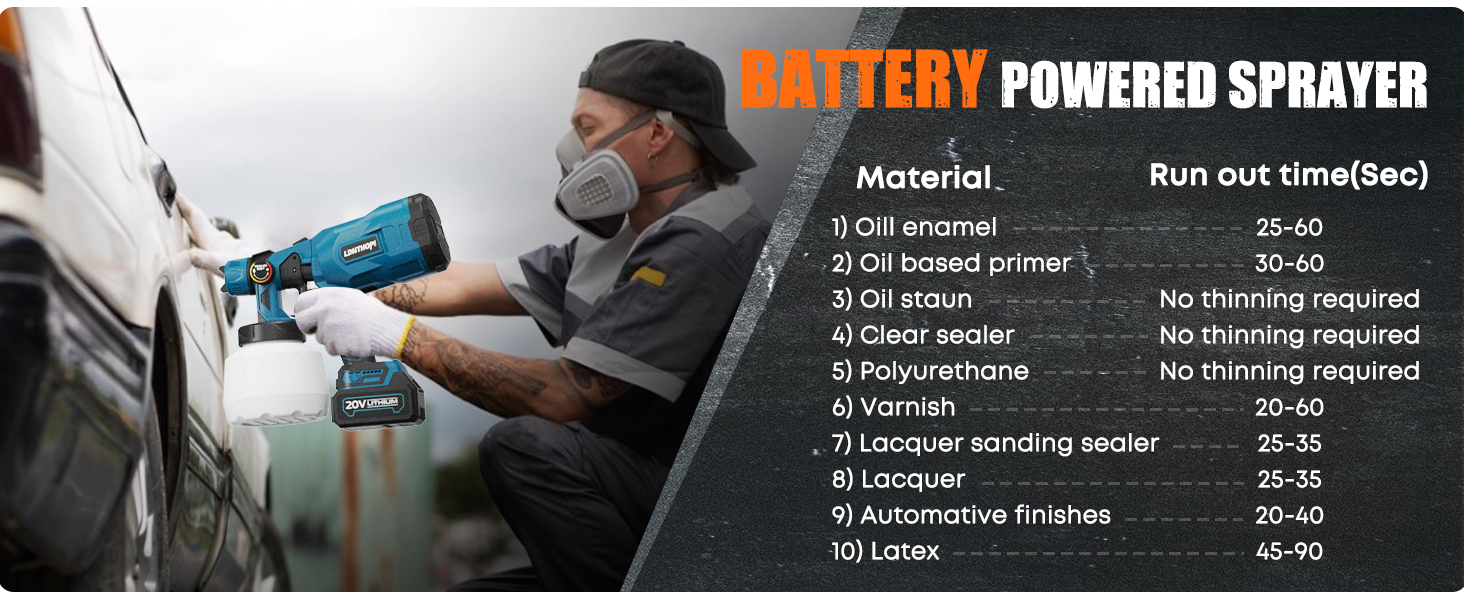
- Pour paint into the provided viscosity measuring cup.
- Time how long it takes for the paint to completely drain from the cup. Refer to the paint thinning guide (if available) or paint manufacturer's recommendations for ideal run-out times.
- If the paint is too thick, add the recommended thinner (e.g., water for latex, mineral spirits for oil-based) gradually and mix thoroughly. Re-test viscosity until desired consistency is achieved.
- Filter the thinned paint through a paint strainer or filter paper to remove any lumps or debris that could clog the sprayer.
- Pour the prepared paint into the sprayer's container.
6. Operating Instructions
6.1 Adjusting Spray Pattern
The sprayer offers three adjustable spray patterns: horizontal, vertical, and circular (dot). Rotate the air cap to select the desired pattern.

- Horizontal (180°): Ideal for spraying vertical surfaces like fences or walls.
- Vertical (90°): Suitable for spraying horizontal surfaces like decks or tabletops.
- Circular (45° Dot): Best for small areas, edges, or corners.
6.2 Adjusting Paint Flow
The flow adjustment key (located near the trigger) controls the amount of paint sprayed. Turn it clockwise to increase flow and counter-clockwise to decrease flow. Start with a lower setting and gradually increase until the desired coverage is achieved.
6.3 Spraying Technique
- Before spraying your actual project, test the spray pattern and flow on a piece of scrap material (e.g., cardboard) to ensure proper settings.
- Hold the sprayer approximately 6-12 inches (15-30 cm) from the surface, depending on the desired coverage and paint type.
- Move the sprayer in smooth, even strokes, overlapping each pass by about 50% to ensure uniform coverage.
- Release the trigger at the end of each stroke to avoid paint buildup.
- Apply multiple thin coats rather than one thick coat to prevent drips and achieve a smoother finish.

7. Maintenance
Regular cleaning and maintenance will prolong the life of your paint sprayer and ensure consistent performance.
7.1 Cleaning After Use
- Disconnect the battery.
- Empty any remaining paint from the container back into its original can.
- Pour a small amount of appropriate cleaning solution (water for latex paint, mineral spirits for oil-based paint) into the container.
- Reattach the container and spray the cleaning solution into a waste container until clear liquid emerges.
- Repeat with fresh cleaning solution if necessary.
- Disassemble the nozzle, air cap, and container. Clean all parts thoroughly with the cleaning brush and appropriate solution.
- Wipe down the exterior of the sprayer with a damp cloth. Do not allow liquid to enter the motor housing.
- Allow all parts to dry completely before reassembling or storing.
7.2 Nozzle Cleaning
The small holes in the nozzles can easily clog. Use the provided cleaning brush or a thin wire to clear any blockages. Never use metal objects that could damage the nozzle opening.
7.3 Storage
Store the clean and dry paint sprayer and its accessories in a cool, dry place, away from direct sunlight and extreme temperatures. Ensure the battery is removed from the sprayer during storage.
8. Troubleshooting
| Problem | Possible Cause | Solution |
|---|---|---|
| No spray or weak spray | Clogged nozzle; paint too thick; low battery; air cap loose. | Clean nozzle; thin paint; charge battery; tighten air cap. |
| Uneven spray pattern | Incorrect air cap position; partially clogged nozzle; inconsistent spraying technique. | Adjust air cap; clean nozzle; practice technique on scrap material. |
| Paint drips or runs | Paint too thin; too much paint flow; spraying too close to surface; moving too slowly. | Thicken paint; reduce flow; increase distance; move faster. |
| Sprayer not turning on | Battery not inserted correctly; battery discharged; faulty switch. | Reinsert battery; charge battery; contact support if switch is faulty. |
9. Specifications
The following are the technical specifications for the LDHTHOPI Cordless Paint Sprayer Model KF370039-01:
| Feature | Specification |
|---|---|
| Model Number | KF370039-01 |
| Brand | LDHTHOPI |
| Power Source | Battery Powered |
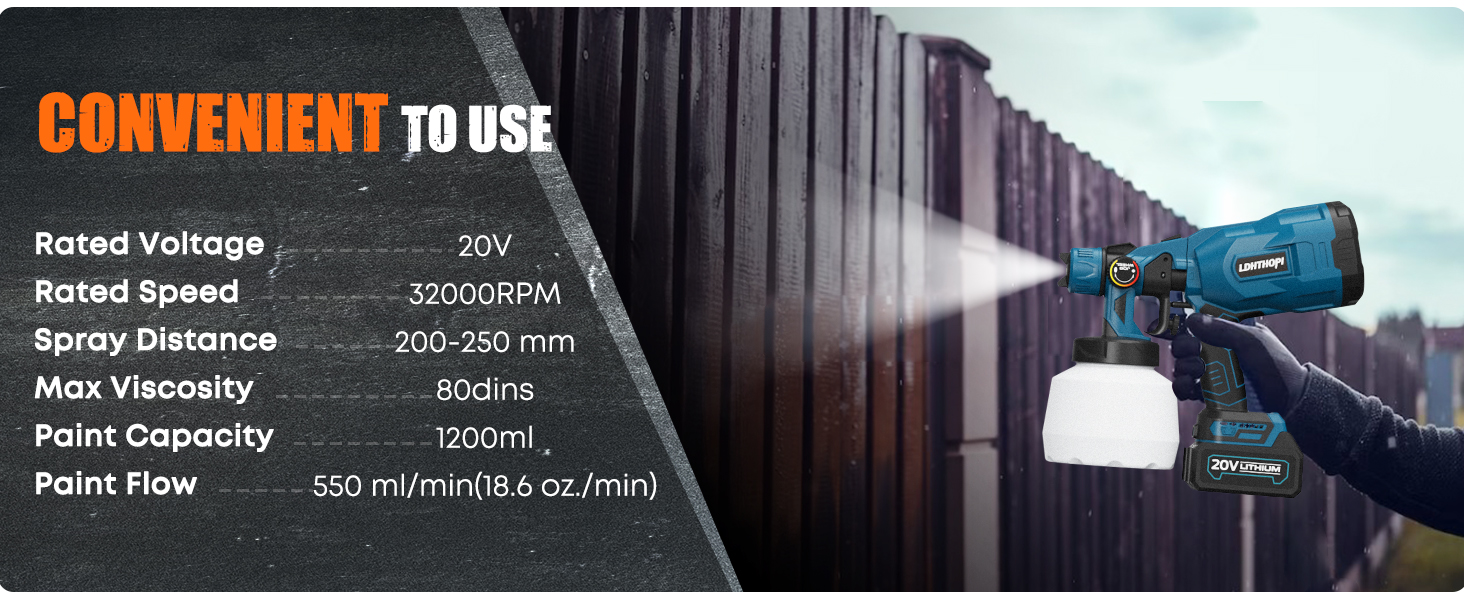
| Rated Voltage | 20V |
| Battery Capacity | 4000mAh (Lithium-Ion) |
| Motor Power | 1000W |
| Rated Speed | 32000 RPM |
| Tank Volume | 1200 ml |
| Max Viscosity | 80 DIN-s |
| Paint Flow | 550 ml/min (18.6 oz./min) |
| Spray Distance | 200-250 mm |
| Nozzle Sizes | 1.0mm, 1.5mm, 1.8mm, 2.0mm, 2.5mm (Copper) |
| Item Weight | 2.18 Kilograms |
| Material | Metal, Plastic |
10. Warranty & Support
LDHTHOPI products are manufactured to high-quality standards. For warranty information, technical support, or service inquiries, please refer to the warranty card included in your package or contact LDHTHOPI customer service directly. Please have your model number (KF370039-01) and purchase date available when contacting support.