Introduction
This manual provides instructions for the proper installation and maintenance of your ReadyWired Turntable Belt. This belt is designed to ensure optimal performance for compatible Technics turntable models.
Compatibility: This belt is 100% compatible with Technics SL-H50, A-6600, SL-B250, SL-3200, SG-X5, SG-X7, SL-210M, SL-210MC turntable models.
Safety Information
Always disconnect the turntable from the power source before performing any installation or maintenance. Handle components with care to avoid damage.
Setup and Installation
Replacing a turntable belt typically involves accessing the platter and motor pulley. Refer to your specific Technics turntable's service manual for detailed instructions on disassembling the platter.
- Prepare the Turntable: Disconnect the turntable from the power outlet. Remove the dust cover and any slipmat or record currently on the platter.
- Remove the Platter: Carefully lift the turntable platter. Some models may require removing a retaining clip or screw. Consult your turntable's specific manual if unsure.
- Remove Old Belt: Locate the old belt, which will likely be stretched, cracked, or broken. Carefully remove it from the motor pulley and the sub-platter (if applicable).
- Install New Belt: Place the new ReadyWired turntable belt around the sub-platter (or inner rim of the platter, depending on the model). Ensure it is seated evenly.
- Position on Motor Pulley: Carefully guide the belt onto the motor pulley. Ensure the belt is not twisted and sits securely on both the sub-platter/platter and the motor pulley.
- Reassemble: Gently place the platter back onto the spindle. Rotate the platter manually a few times to ensure the belt is properly aligned and moves freely without rubbing.
- Test: Reconnect the turntable to power and test its operation at both 33 1/3 and 45 RPM speeds to confirm stable rotation.
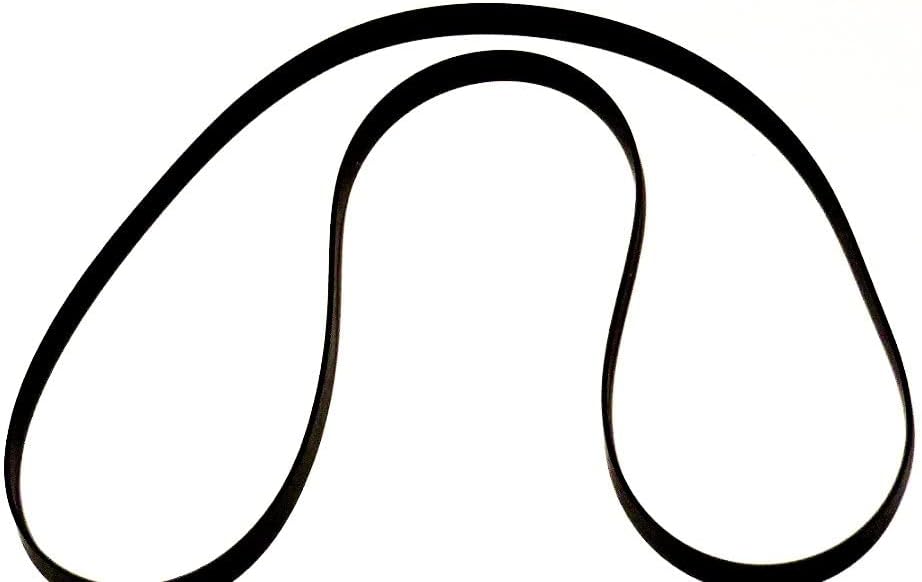
Figure 1: The ReadyWired Turntable Belt. This image shows the belt's elongated loop shape, ready for installation around the turntable's platter and motor pulley.
Operating Considerations
Once installed, the turntable belt requires no special operation. Its function is to transmit rotational power from the motor to the platter, ensuring consistent playback speed.
- Ensure the turntable is placed on a stable, level surface to prevent vibrations that could affect belt performance.
- Avoid touching the belt directly with oily hands, as this can degrade the rubber material over time.
Maintenance
Proper maintenance extends the life of your turntable belt and ensures consistent audio quality.
- Regular Inspection: Periodically inspect the belt for signs of wear, such as cracking, stretching, or loss of elasticity. A worn belt can lead to inconsistent playback speed (wow and flutter).
- Cleaning: If necessary, gently clean the belt and the motor pulley with a lint-free cloth dampened with isopropyl alcohol. Ensure all surfaces are dry before reassembly.
- Storage: If the turntable is to be stored for an extended period, it is advisable to remove the belt to prevent it from developing flat spots or stretching under tension.

Figure 2: The ReadyWired Turntable Belt in a coiled state. This view highlights the material and flexibility of the belt, suitable for compact storage.
Troubleshooting
| Problem | Possible Cause | Solution |
|---|---|---|
| Inconsistent Playback Speed (Wow/Flutter) | Worn, stretched, or dirty belt; dirty motor pulley. | Inspect and clean the belt and motor pulley. Replace the belt if signs of wear are present. |
| Turntable Not Spinning | Belt is broken or dislodged; motor issue (less likely for new belt). | Check if the belt is properly seated on the motor pulley and platter. Reinstall or replace if broken. |
| Belt Slipping | Oily residue on belt or pulley; belt not seated correctly. | Clean the belt and pulley with isopropyl alcohol. Ensure the belt is properly aligned. |
Specifications
- Product Type: Turntable Drive Belt
- Brand: ReadyWired
- Compatibility: Technics SL-H50, A-6600, SL-B250, SL-3200, SG-X5, SG-X7, SL-210M, SL-210MC
- Material: High-quality rubber compound
- Dimensions: Approximately 4 x 3 x 1 inches (packaged)
- Manufacturer: ReadyWired
- Country of Origin: China
Warranty and Support
ReadyWired guarantees 100% compatibility for the listed models. For support or warranty inquiries, please contact your retailer or visit the ReadyWired official website.
Return Policy: Typically 30 days for refund/replacement, as per retailer's policy.
Manufacturer: ReadyWired
Contact: Refer to your purchase documentation or the seller's information for direct support channels.