
Introduction
This manual provides detailed instructions for the assembly, operation, and maintenance of your CXWXC Bike Repair Stand. Designed for home and shop mechanics, this stand offers a stable and secure platform for various bicycle maintenance tasks, accommodating bikes up to 88 lbs (40 kg), including e-bikes, mountain bikes, and road bikes. Please read this manual thoroughly before initial use to ensure proper setup and safe operation.
Safety Information
- Always ensure the stand is placed on a flat, stable, and non-slip surface before mounting a bicycle.
- Do not exceed the maximum load capacity of 88 lbs (40 kg). Overloading can cause instability and damage.
- Ensure all quick-release levers and clamps are securely tightened before performing any work on the bicycle.
- Keep hands and clothing clear of moving parts, especially when adjusting height or rotating the clamp.
- Children should not operate or play near the bike repair stand.
- Regularly inspect the stand for any signs of wear, damage, or loose components. Do not use if damaged.
Package Contents
Verify that all components are present before assembly:
- Main Stand Assembly (with integrated clamp)
- Tool Tray
- Handlebar Stabilizer Rod
- Instruction Manual (this document)
Setup Instructions
- Unfolding the Stand:
Place the folded stand on a flat surface. Release the quick-release levers on the tripod legs. Carefully extend the three legs outwards until they are fully spread, forming a stable triangular base. Ensure the leg braces are locked into position. Tighten the quick-release levers to secure the legs.

Image: The CXWXC Bike Repair Stand shown both unfolded with key dimensions (height 44.45"-66.45", base width 52.36") and in its compact folded state, highlighting the quick-release mechanism for the legs.
- Adjusting Height:
Loosen the quick-release collar on the main vertical pole. Extend the upper section to your desired working height (between 44.45" and 66.45"). Securely tighten the quick-release collar to lock the height.
- Attaching the Tool Tray:
Slide the tool tray onto the designated slot on the main vertical pole. Ensure it is seated firmly. The tool tray features a built-in magnetic strip for securing small metal parts like screws and bolts.

Image: A detailed view of the black plastic tool tray, showing various compartments for tools and a highlighted magnetic strip designed to hold small metal components securely.
- Installing the Handlebar Stabilizer:
Attach the handlebar stabilizer rod to the main stand and the bicycle's handlebar to prevent the front wheel from turning during maintenance.
Operating Instructions
- Opening the Clamp:
Locate the quick-release lever on the main clamp. Pull the lever upwards to release the lock, then rotate the handle to open the clamp jaws to a width suitable for your bike's frame tube (25-45 mm diameter).

Image: A diagram illustrating the clamp's quick-release lever, showing the 'Release' (upward pull) and 'Lock' (downward push) positions.
- Mounting the Bicycle:
Carefully lift your bicycle and position a suitable frame tube (e.g., top tube or seat post) between the open jaws of the clamp. Ensure the bike is balanced before fully securing.
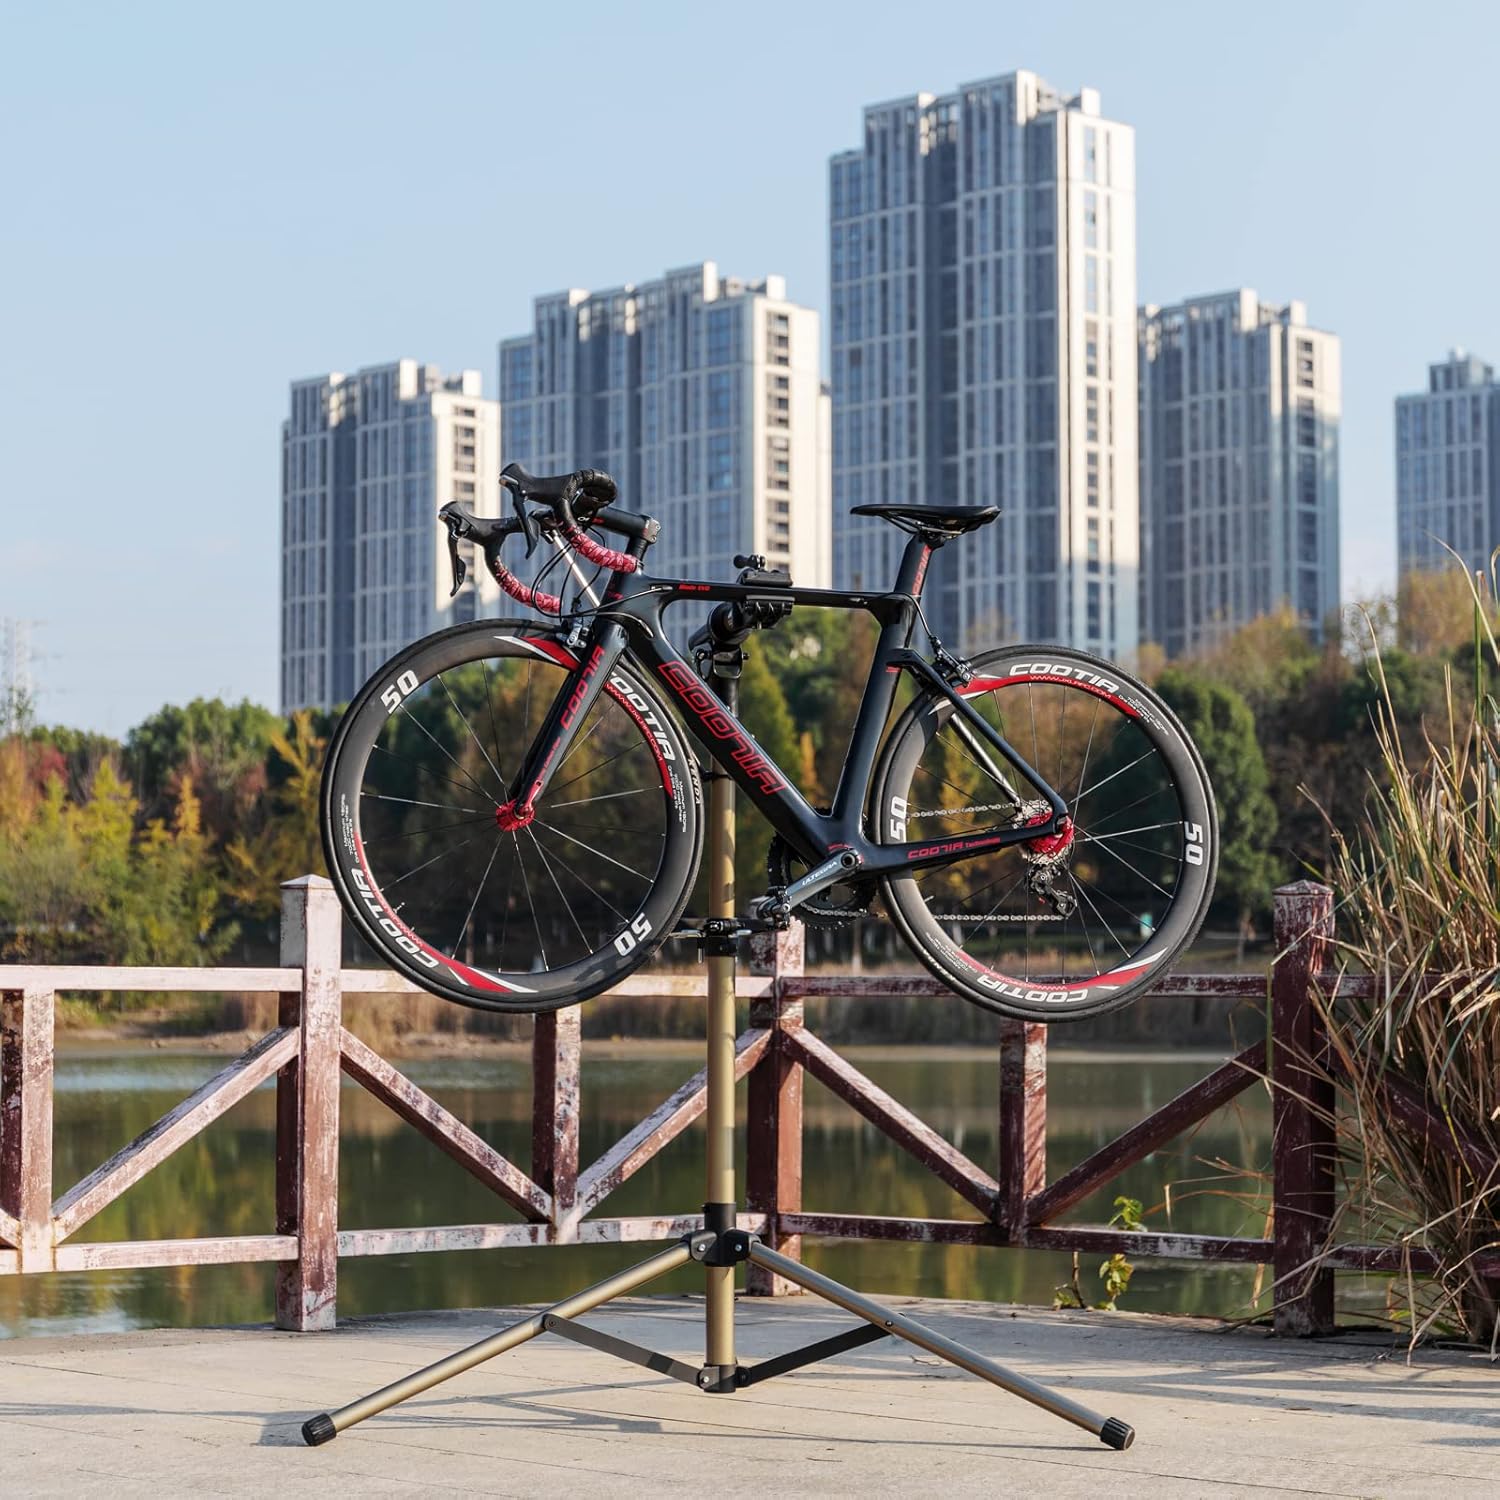
Image: A road bike securely mounted on the CXWXC Bike Repair Stand, positioned outdoors with a scenic background, demonstrating the stand's stability.
- Securing the Clamp:
Rotate the clamp handle to close the jaws firmly around the bike frame tube. Once snug, push the quick-release lever downwards to lock the clamp securely. Do not overtighten, as this can damage the frame.
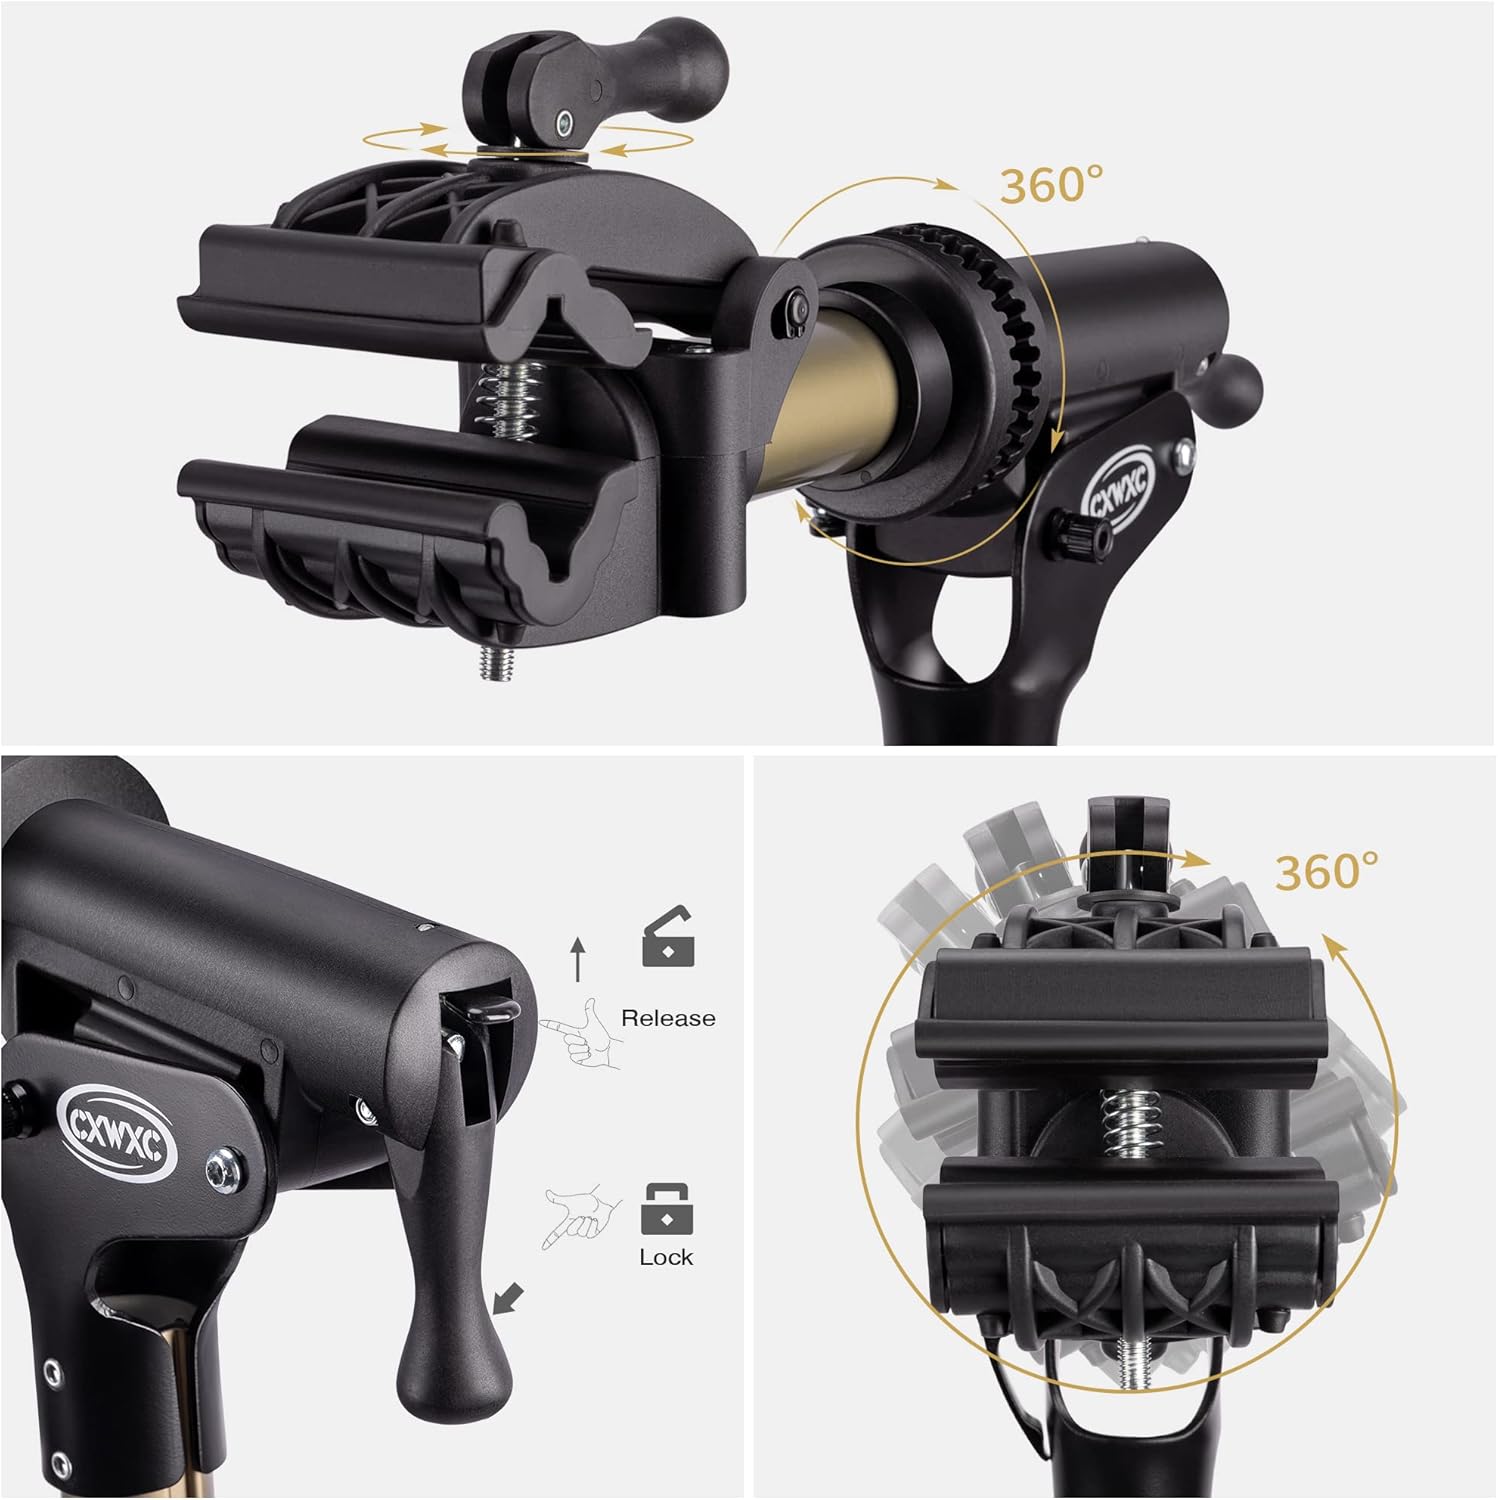
Image: A close-up showing the robust clamp mechanism, highlighting its 360-degree rotation capability and the textured jaws designed to securely hold a bike frame.
- Rotating the Bicycle:
The clamp head allows for 360-degree rotation. Loosen the rotation knob slightly, adjust the bike to the desired angle for optimal access, then tighten the knob to lock it in place.

Image: A diagram demonstrating the 360-degree rotational movement of the bike clamp, allowing for versatile positioning of the bicycle during maintenance.
Maintenance
- Cleaning: Wipe down the stand with a damp cloth after each use to remove dirt, grease, and grime. Avoid abrasive cleaners that could damage the finish.
- Lubrication: Periodically apply a small amount of silicone spray or light grease to the moving parts, such as the quick-release mechanisms and height adjustment pole, to ensure smooth operation.
- Storage: When not in use, fold the stand for compact storage. Store in a dry environment to prevent corrosion.
Troubleshooting
- Stand feels unstable: Ensure the tripod legs are fully extended and the quick-release levers are securely tightened. Verify the stand is on a flat, level surface.
- Clamp not holding bike securely: Ensure the clamp jaws are properly closed and the quick-release lever is in the locked position. Adjust the tension by rotating the handle before locking the lever. The clamp is designed for tube diameters between 25-45 mm.
- Difficulty adjusting height: Loosen the quick-release collar completely before attempting to adjust the height. Clean the inner and outer poles if they are sticking, and apply a light lubricant if necessary.
Specifications
| Brand | CXWXC |
| Model | Max. 88lbs |
| Load Capacity | 88 Pounds (40 kg) |
| Adjustable Height | 44.45" - 66.45" (113 cm - 169 cm) |
| Clamp Compatibility | 25-45 mm tube diameter |
| Item Weight | 14.42 pounds (6.55 kg) |
| Material | Durable Alloy (Metal), ABS Plastic (Clamps) |
| Base Type | Tripod |
| Finish Type | Powder Coated |
Warranty and Support
For warranty information or technical support, please refer to the product packaging or contact CXWXC customer service directly. Keep your purchase receipt as proof of purchase.
Official Product Videos
No official seller videos were provided for this product in the available data.