
Rolanstar hq-dnzh031-02
Rolanstar Computer Desk with Power Outlets & LED Light
Model: hq-dnzh031-02
Introduction
This manual provides detailed instructions for the assembly, operation, maintenance, and troubleshooting of your new Rolanstar Computer Desk. This desk is designed to enhance your workspace with integrated power outlets, customizable LED lighting, and ample storage solutions. Please read this manual thoroughly before assembly and use to ensure proper function and safety.

Image: The Rolanstar Computer Desk featuring its integrated blue LED lighting, power outlets, and three storage drawers.
Important Safety Warnings
- Always follow proper lifting techniques when assembling the desk.
- Do not overload the desk beyond its maximum static load capacity of 176 lb (79.8 kg) to ensure stability and safety.
- Secure the desk to the wall using appropriate hardware to prevent tipping, especially if it will be used near a wall or in an area with heavy traffic.
- Ensure all electrical connections for the power outlets and LED lights are properly secured and not exposed to moisture.
- Keep children and pets away from the assembly area. Small parts can be a choking hazard.
Package Contents
Before beginning assembly, please verify that all parts listed in your product packaging are present and undamaged. Refer to the included parts list and hardware pack for a complete inventory. If any parts are missing or damaged, please contact Rolanstar customer support.
Assembly Instructions
Assembly typically requires one person. Please refer to the detailed diagrams and step-by-step instructions provided in your product packaging for the most accurate guidance. The following are general steps:
- Unpack and Identify Parts: Carefully remove all components from the packaging. Lay them out on a clean, soft surface to prevent scratches. Identify each part using the provided parts list.
- Assemble the Frame: Begin by attaching the metal legs and support beams according to the diagrams. Ensure all screws are finger-tightened initially.
- Attach Desktop and Shelves: Secure the main desktop and the lower storage shelves to the assembled frame.
- Install Monitor Stand: Attach the monitor stand to the desktop. Ensure it is securely fastened.
- Assemble Fabric Drawers: The three fabric drawers are designed for easy assembly. Fold them into shape and insert the bottom panel. While generally straightforward, ensure they are correctly aligned for smooth operation.
- Install Power Outlet Strip: Carefully place the power outlet strip into its designated slot on the monitor stand. Connect the internal wiring as instructed in the detailed manual.
- Install LED Light Strip: Adhere the LED light strip to the underside of the monitor stand or desktop as indicated. Connect it to the power source.
- Final Tightening: Once all components are in place, systematically tighten all screws and fasteners using the appropriate tools. Do not overtighten.

Image: Overview of the desk dimensions and a detailed view of a fabric storage drawer, illustrating its structure.
Operating Instructions
1. Power Outlets
The desk is equipped with a built-in power strip for convenient device charging and power supply. It includes:
- 2 AC Outlets: 120V/12A
- 2 USB Ports: 5V/2.4A
- 1 Type-C Port: 5V/3A
To use, simply plug the desk's main power cord into a wall outlet. Then, connect your devices to the integrated outlets and USB/Type-C ports on the monitor stand.

Image: A close-up view of the integrated power strip, showing the two AC outlets, two USB ports, and one Type-C port.
2. LED Lighting System
The desk features a multifunctional RGB LED light strip with over 60,000 color options. Control the lights using the provided smart controller or a compatible smartphone application.
- Power On/Off: Use the power button on the controller or app.
- Color Selection: Choose from a wide spectrum of colors.
- Brightness Adjustment: Adjust the intensity of the light.
- Mode Selection: Cycle through various lighting modes (e.g., static, dynamic, fading).
- Music Sync Mode: The lights can synchronize with music, creating dynamic visual effects.
- Timer Settings: Set timers for automatic power off.
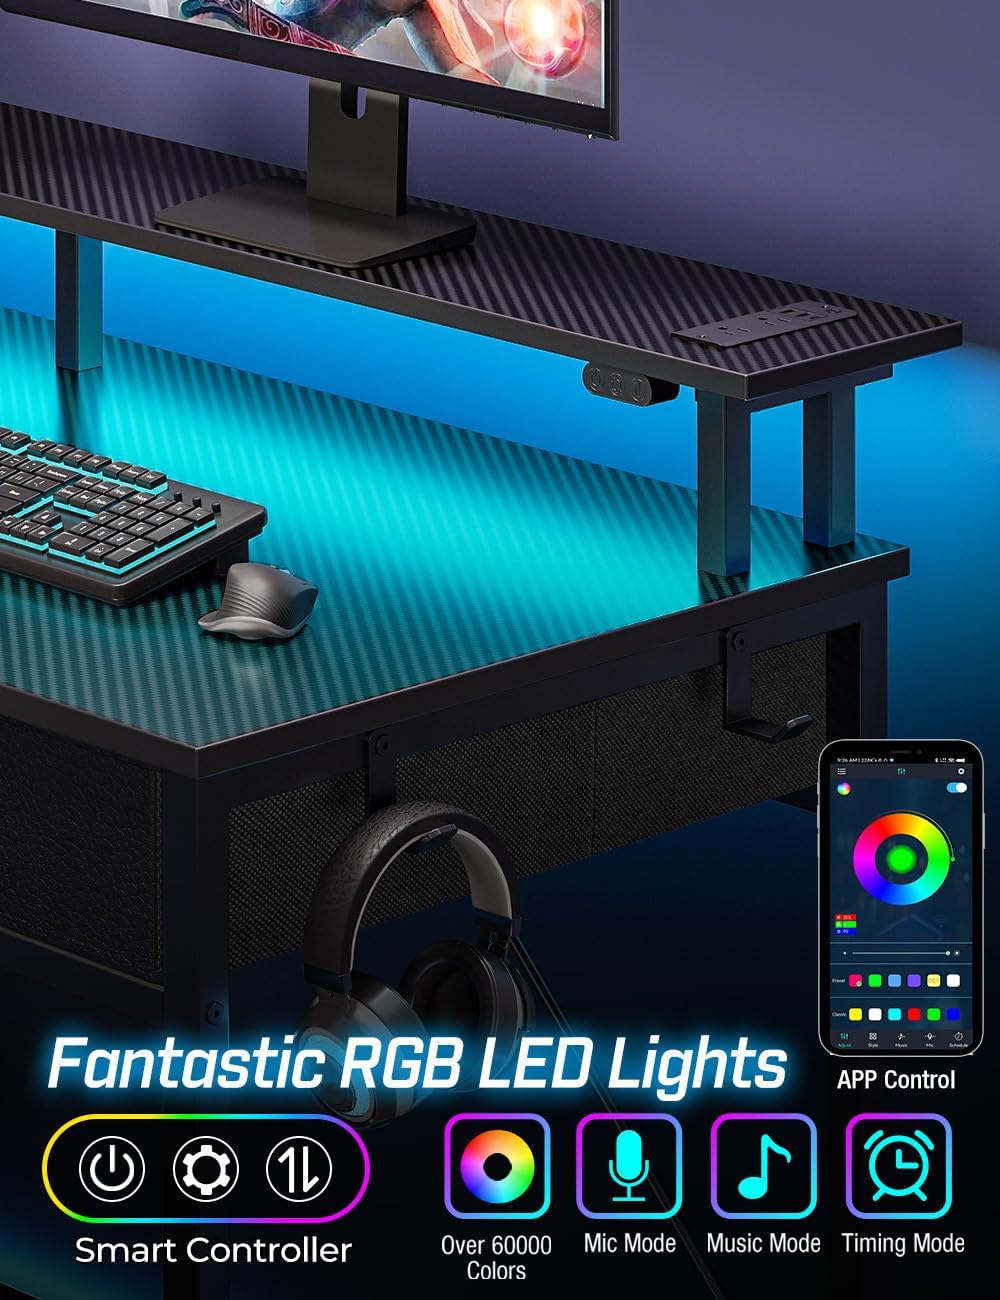
Image: The LED light strip illuminating the desk surface, with the smart controller and phone app interface for control.
3. Storage Drawers
The desk includes three fabric drawers designed for organizing documents, office supplies, or gaming equipment. Each drawer can support up to 8 lb.
4. Monitor Stand
The elevated monitor stand helps promote correct sitting posture by raising your monitor to an ergonomic viewing height, reducing neck and eye strain.
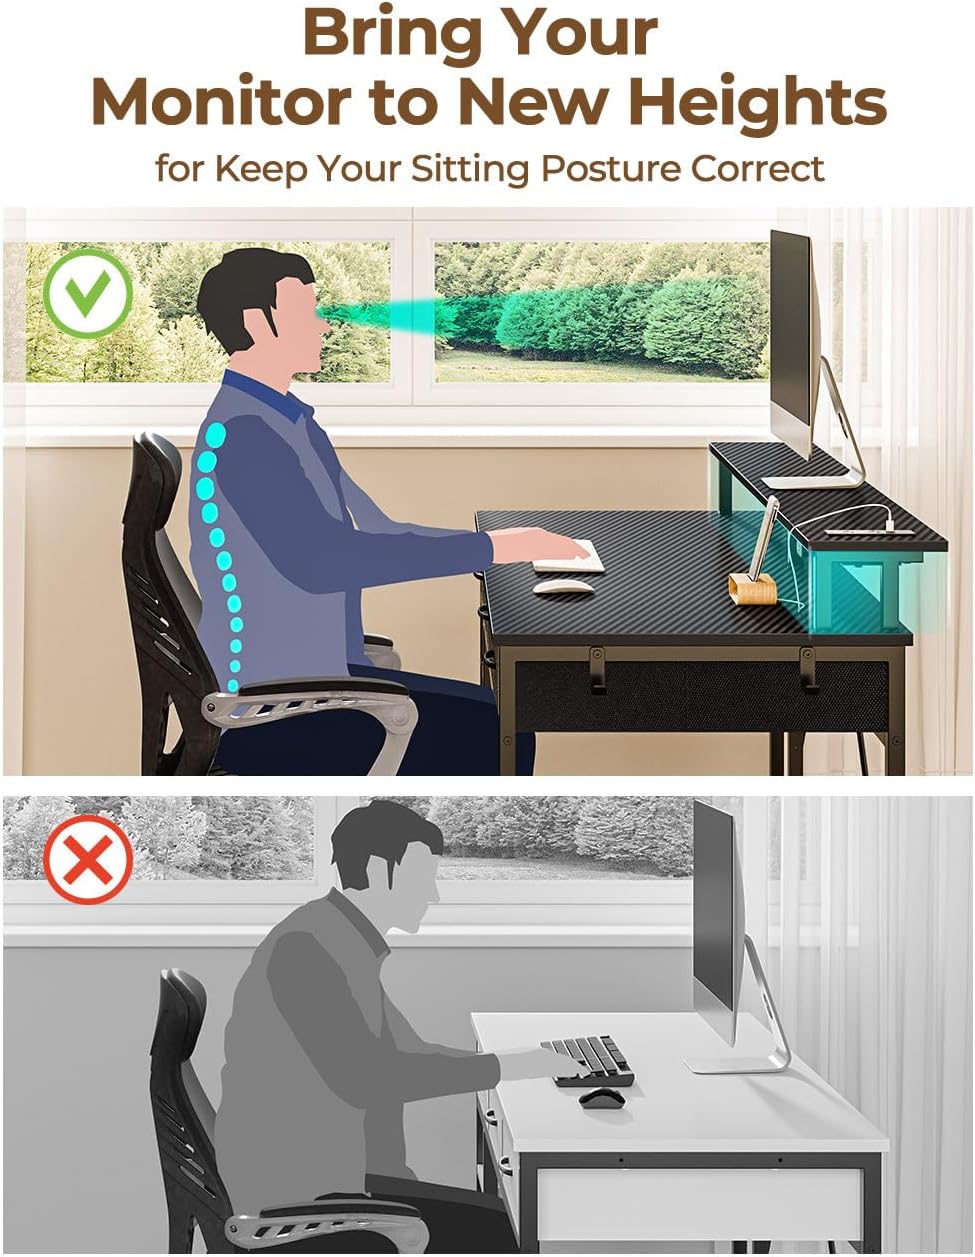
Image: A visual guide demonstrating the benefits of using a monitor stand for maintaining proper ergonomic posture.
Maintenance
- Cleaning: Wipe the desk surfaces with a soft, damp cloth. Avoid harsh chemicals or abrasive cleaners that may damage the finish. For the metal frame, use a dry cloth or a mild cleaner.
- Dusting: Regularly dust the desk and LED light strip to maintain optimal performance and appearance.
- Drawer Care: The fabric drawers can be spot cleaned with a mild detergent and allowed to air dry. Do not machine wash.
- Electrical Components: Ensure the power outlets and LED light connections remain dry and free of debris. Do not attempt to disassemble electrical components.
- Fasteners: Periodically check all screws and fasteners to ensure they are tight. Retighten if necessary to maintain stability.
Troubleshooting
| Problem | Possible Cause | Solution |
|---|---|---|
| LED lights not turning on or functioning incorrectly. | Loose connection; power issue; controller malfunction. | Check all power connections. Ensure the desk's main power cord is plugged in. Verify controller batteries (if applicable) or app connection. |
| Power outlets/USB ports not working. | Desk not plugged in; internal wiring issue; overloaded circuit. | Ensure the desk's main power cord is securely plugged into a functional wall outlet. Check if the power strip's internal connection is secure. Avoid exceeding the rated capacity. |
| Desk is wobbly or unstable. | Loose fasteners; uneven floor. | Retighten all assembly screws. Adjust the leveling feet (if present) to compensate for uneven flooring. |
| Fabric drawers do not fit or slide smoothly. | Incorrect assembly of drawers; obstruction. | Ensure the fabric drawers are correctly folded and the bottom panel is fully inserted. Check for any obstructions in the drawer slots. |
Specifications
| Feature | Detail |
|---|---|
| Brand | Rolanstar |
| Model Number | hq-dnzh031-02 |
| Product Dimensions (D x W x H) | 18.9" x 47.2" x 30.5" |
| Color | Carbon Black |
| Style | Modern |
| Base Material | Alloy Steel |
| Top Material Type | Engineered Wood (FSC-Certified) |
| Finish Type | Laminated (Melamine) |
| Special Features | Built-In Power Strip (2 AC, 2 USB, 1 Type-C), RGB LED Light, Monitor Stand, 3 Fabric Drawers |
| Number of Drawers | 3 |
| Number of Shelves | 2 (lower shelves) |
| Item Weight | 36.2 Pounds |
| Maximum Weight Recommendation | 176 Pounds |
| Assembly Required | Yes |
| Recommended People for Assembly | 1 |
| Includes All Assembly Tools | No (Refer to packaging for required tools) |
Warranty and Support
Warranty Information
Please note that this product is listed with No Warranty. For specific details regarding returns or replacements for damaged or missing parts upon delivery, please refer to the retailer's policy where the product was purchased.
Customer Support
For any questions, concerns, or assistance with assembly or product functionality, please contact Rolanstar customer support through their official website or the retailer's customer service portal. When contacting support, please have your model number (hq-dnzh031-02) and purchase information readily available.
Ask a question about this manual
Ask about setup, troubleshooting, compatibility, parts, safety, or missing instructions. Manuals+ will review the question and use this page’s manual context to help answer it.