1. Introduction
This manual provides instructions for setting up, operating, and maintaining your AOPEN 22SA2Q Hbi 21.5-inch Full HD monitor. Please read this manual thoroughly before using the product to ensure proper and safe operation.
The AOPEN 22SA2Q Hbi is a 21.5-inch Full HD (1920 x 1080) monitor designed for both gaming and office use. It features AMD FreeSync technology, a refresh rate of up to 100Hz, and a 1ms (TVR) response time for smooth visuals. The monitor also incorporates AOPEN VisionCare technologies to reduce eye strain and offers a sleek, ultra-thin design with versatile connectivity options.

Image 1.1: Front view of the AOPEN 22SA2Q Hbi monitor.
2. Package Contents
Verify that all items listed below are present in your product package:
- 1 x AOPEN 22SA2Q H Widescreen LCD Monitor
- 1 x HDMI Cable
- 1 x Power Cord (US)
If any items are missing or damaged, please contact your retailer or AOPEN customer support.
3. Setup Instructions
3.1 Assembling the Stand
- Carefully remove the monitor and stand components from the packaging.
- Attach the stand base to the stand arm. Secure it with the provided screw(s).
- Align the stand arm with the mounting slot on the back of the monitor. Gently push until it clicks into place or secure with screws if applicable.
3.2 Connecting the Monitor
The monitor supports HDMI and VGA connections.

Image 3.1: Rear view of the monitor with port labels.
- Power Connection: Connect the power cord to the monitor's power input and then to a power outlet.
- Video Connection (HDMI): Connect one end of the HDMI cable (included) to the HDMI port on your computer's graphics card and the other end to the HDMI port on the monitor.
- Video Connection (VGA): Alternatively, connect a VGA cable (not included) to the VGA port on your computer and the VGA port on the monitor.
- Power On: Press the power button on the monitor to turn it on.
3.3 VESA Wall Mounting
The monitor is VESA mounting compliant (75 x 75mm). To wall mount the monitor, remove the stand and attach a compatible VESA mount (sold separately) to the designated mounting holes on the back of the monitor. Ensure the mount can support the weight of the monitor.
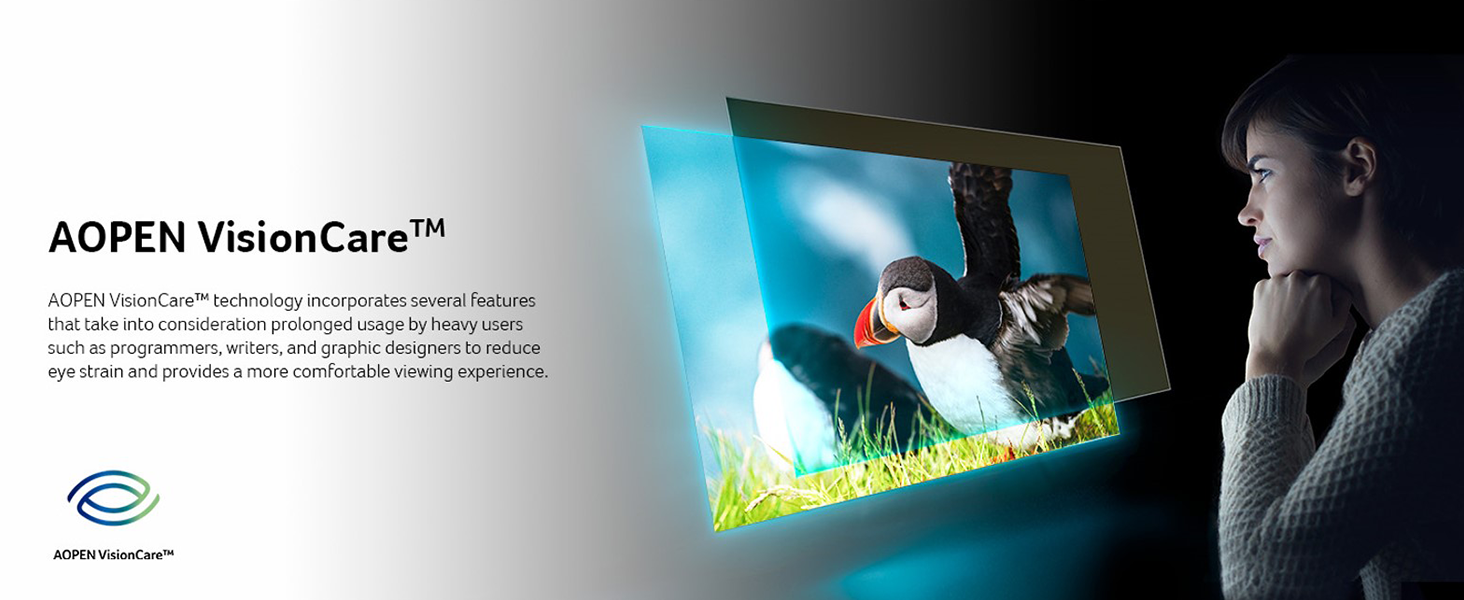
Image 3.2: Monitor installed on a VESA wall mount.
4. Operating Instructions
4.1 Power On/Off
Press the power button, usually located on the bottom right or rear of the monitor, to turn the monitor on or off.
4.2 On-Screen Display (OSD) Menu
The OSD menu allows you to adjust various monitor settings. Use the control buttons (typically located on the bottom or rear of the monitor) to navigate and select options.
- Brightness/Contrast: Adjust the display's brightness and contrast levels.
- Color Settings: Modify color temperature, gamma, and individual RGB levels.
- Input Select: Manually switch between HDMI and VGA input sources.
- Audio: Adjust volume if the monitor has built-in speakers or an audio output.
- OSD Settings: Adjust OSD language, transparency, and timeout.
4.3 Tilt Adjustment
The monitor allows for tilt adjustment. Gently hold the top and bottom edges of the monitor and tilt it to your desired viewing angle. Do not apply excessive force.
5. Key Features
5.1 Full HD (1920 x 1080) Resolution
Experience clear and detailed visuals with a native resolution of 1920 x 1080 pixels. This Full HD resolution ensures sharp images for both work and entertainment.

Image 5.1: Visual comparison of Full HD (1080p) versus 720p resolution.
5.2 AMD FreeSync Technology
AMD FreeSync technology synchronizes the monitor's refresh rate with your graphics card's frame rate, eliminating screen tearing and stuttering for a smoother visual experience, especially during fast-paced gaming.

Image 5.2: AMD FreeSync in action, preventing screen tearing.
5.3 High Refresh Rate and Response Time
- Refresh Rate: Up to 100Hz via HDMI port, and 75Hz via VGA port. A higher refresh rate provides smoother motion and reduced input lag.
- Response Time: 1ms (TVR - Turbo Visual Response). This ultra-fast response time minimizes ghosting and motion blur, crucial for fast-moving content.


Image 5.3: Visual representation of 100Hz refresh rate and 1ms (TVR) response time benefits.
5.4 AOPEN VisionCare™ Technologies
AOPEN VisionCare™ includes several features designed to reduce eye strain during prolonged use, promoting a more comfortable viewing experience.

Image 5.4: AOPEN VisionCare™ protecting eyes from blue light.
5.5 Ultra-Thin Stylish Design
With an ultra-thin profile of only 7.2mm and a ZeroFrame design, the monitor offers a sleek aesthetic and maximizes screen space, making it suitable for various environments.

Image 5.5: The ultra-thin profile of the AOPEN 22SA2Q Hbi monitor.
6. Maintenance
6.1 Cleaning the Monitor
- Always power off the monitor and unplug the power cord before cleaning.
- Use a soft, lint-free cloth slightly dampened with water or a non-abrasive screen cleaner.
- Do not spray cleaner directly onto the screen. Apply it to the cloth first.
- Avoid using benzene, thinner, ammonia-based cleaners, or abrasive cleaning agents, as these can damage the monitor's surface.
6.2 Storage
When storing the monitor for an extended period, ensure it is powered off, unplugged, and stored in a cool, dry place away from direct sunlight and extreme temperatures. Use the original packaging if available for best protection.
7. Troubleshooting
| Problem | Possible Cause | Solution |
|---|---|---|
| No image on screen |
|
|
| Image is blurry or distorted |
|
|
| Screen tearing or stuttering (during gaming) |
|
|
If the problem persists after trying these solutions, please contact AOPEN customer support.
8. Specifications
| Feature | Detail |
|---|---|
| Model Name | AOPEN 22SA2Q Hbi |
| Model Number | UM.WS2AA.H01 |
| Screen Size | 21.5 Inches |
| Resolution | Full HD (1920 x 1080) |
| Aspect Ratio | 16:9 |
| Refresh Rate | 100 Hz (HDMI), 75 Hz (VGA) |
| Response Time | 1ms (TVR) |
| Adaptive Sync | AMD FreeSync Technology |
| Connectivity | 1 x HDMI 1.4, 1 x VGA |
| VESA Mount Compatibility | 75 x 75mm |
| Additional Features | Tilt Adjustment, Ultra-Slim Design, AOPEN VisionCare™ |
| Dimensions (D x W x H) | 7.44"D x 19.37"W x 14.21"H |

Image 8.1: Monitor dimensions.
9. Warranty and Support
9.1 Warranty Information
This AOPEN monitor comes with a 3 Years Limited Warranty, covering parts and labor. Please retain your proof of purchase for warranty claims. The warranty period begins from the date of purchase.
9.2 Customer Support
For technical assistance, troubleshooting, or warranty inquiries, please visit the official AOPEN support website or contact their customer service department. Refer to the AOPEN website for the most current contact information.