
1. Introduction
Thank you for choosing the KOOPER Smart Fresh 3-in-1 Air Cooler. This appliance is designed to provide cooling, humidification, and ventilation for your indoor environment. To ensure safe and efficient operation, please read this manual thoroughly before use and retain it for future reference.
2. Safety Instructions
Always observe the following basic safety precautions when using electrical appliances:
- Read all instructions carefully before operating the appliance.
- Do not immerse the appliance, cord, or plug in water or other liquids.
- Unplug the appliance from the power outlet before cleaning, maintenance, or when not in use.
- Keep the appliance out of reach of children and pets.
- Ensure the voltage indicated on the appliance matches your local power supply before connecting.
- Do not operate the appliance with a damaged cord or plug, or if it has malfunctioned or been damaged in any way.
- Place the appliance on a stable, level surface to prevent tipping.
- Do not block air inlets or outlets. Maintain adequate clearance around the unit.
- Do not insert objects into any openings.
- Use only manufacturer-recommended attachments and accessories.
- This appliance is for indoor use only.
3. Product Overview
Familiarize yourself with the components of your KOOPER Smart Fresh 3-in-1 Air Cooler:

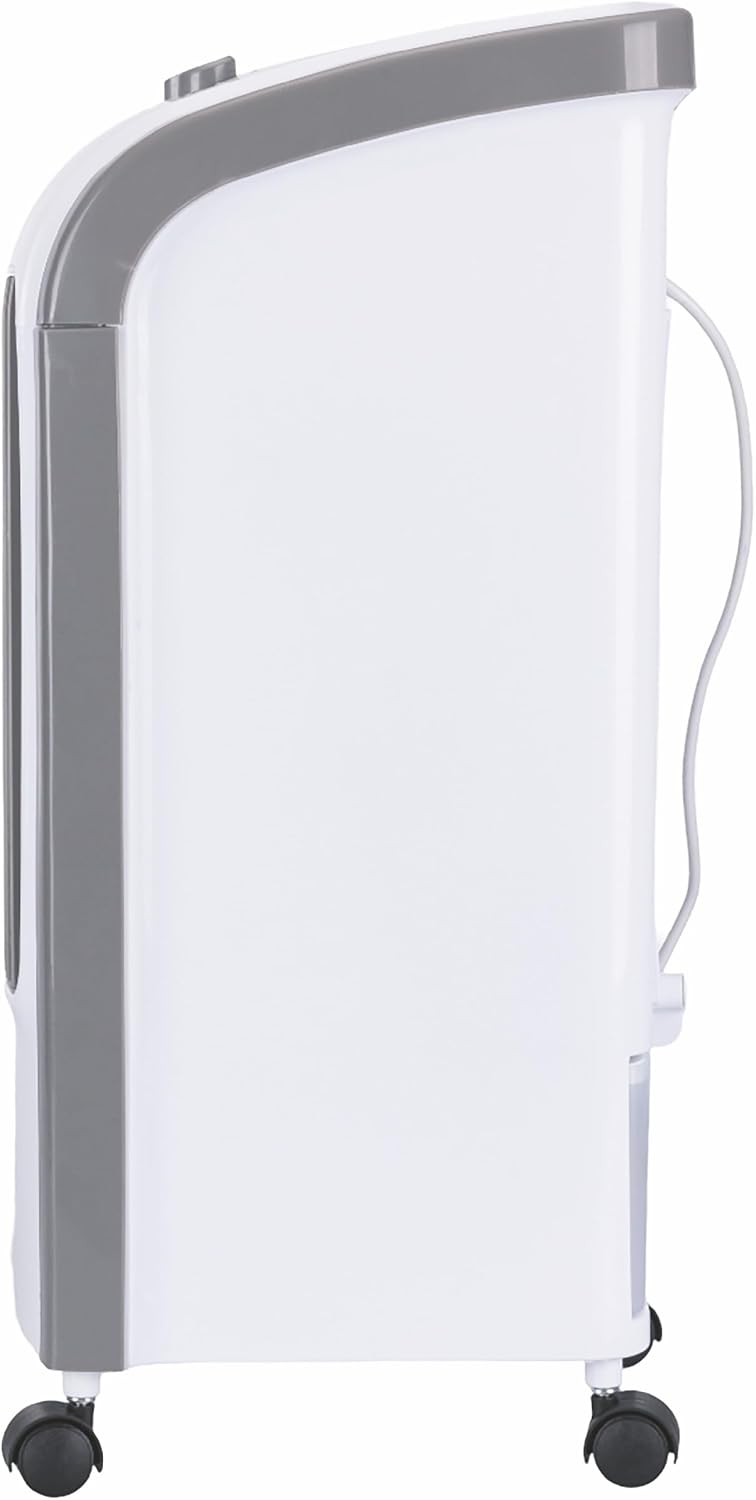

Components:
- Control Panel: For adjusting settings (Figure 4).
- Air Outlet Grille: Directs airflow.
- Water Tank: 4-liter capacity for humidification and cooling (Figure 10).
- Water Level Indicator: Shows current water level (Figure 5).
- Air Filter / Evaporative Panel: Located at the rear, for air filtration and water evaporation (Figure 12).
- Wheels: Four pivoting wheels for easy mobility.
- Ice Packs (2 included): For enhanced cooling effect (Figure 11).

4. Setup
- Unpacking: Carefully remove the air cooler from its packaging. Retain packaging for storage or transport.
- Placement: Place the air cooler on a firm, level surface. Ensure there is at least 20 cm of space around the unit for proper airflow.
- Filling the Water Tank:
- Pull the water tank release handle located at the rear of the unit (Figure 8).
- Carefully pull out the water tank (Figure 9).
- Fill the tank with clean water. Do not exceed the 'MAX' level indicated on the water level indicator (Figure 5) and inside the tank (Figure 10).
- For enhanced cooling, place the two included ice packs (Figure 11) in the freezer until frozen, then add them to the water tank.
- Slide the water tank back into the unit until it clicks securely into place.

Figure 5: Water level indicator showing MIN and MAX marks. 
Figure 6: Water tank pull handle. 
Figure 7: User pulling the water tank release handle. 
Figure 8: Water tank being pulled out. 
Figure 9: Empty water tank with internal pump. 
Figure 10: Two ice packs included for enhanced cooling. - Power Connection: Plug the power cord into a suitable electrical outlet.
5. Operating Instructions
Operate your air cooler using the control panel (Figure 4):
- Power On/Off: Press the Power button () to turn the unit on or off.
- Fan Speed (Intensity): Press the LOW, MED, or HIGH buttons to select the desired airflow intensity. The corresponding indicator light will illuminate.
- Oscillation (Swing): Press the SWING button () to activate the automatic 60° oscillation function, which distributes air across a wider area. Press again to stop oscillation.
- Cooling/Humidification: Press the COOL button () to activate the cooling and humidification function. This function requires water in the tank. The unit will draw water from the tank to cool and humidify the air. Press again to deactivate.
Important: Do not activate the COOL function if the water tank is empty. This may damage the pump.
6. Maintenance
Regular cleaning and maintenance ensure optimal performance and longevity of your air cooler.
6.1. Cleaning the Exterior
- Always unplug the appliance before cleaning.
- Wipe the exterior surfaces with a soft, damp cloth. Do not use abrasive cleaners or solvents.
- Ensure no water enters the control panel or other electrical parts.
6.2. Cleaning the Water Tank
- Empty and clean the water tank regularly, especially if the unit is not used for an extended period.
- Remove the water tank as described in the Setup section (Figures 7-9).
- Wash the tank with mild soap and water, then rinse thoroughly.
- Allow the tank to air dry completely before reinserting it into the unit.
6.3. Cleaning the Air Filter / Evaporative Panel
- The air filter and evaporative panel (Figure 12) should be cleaned periodically, depending on usage and air quality.
- Unplug the unit.
- Carefully remove the rear filter panel.
- Rinse the filter and evaporative panel under running water to remove dust and debris. For stubborn dirt, use a soft brush and mild detergent.
- Allow both components to dry completely before reassembling them into the unit.

6.4. Storage
- If storing the appliance for an extended period, ensure the water tank is empty and clean, and all components are dry.
- Store the unit in a cool, dry place, preferably in its original packaging.
7. Troubleshooting
Before contacting customer support, please refer to the following troubleshooting guide:
| Problem | Possible Cause | Solution |
|---|---|---|
| Unit does not turn on | No power supply Power cord not properly connected | Check if the unit is plugged in and the power outlet is working. Ensure the power cord is securely connected. |
| Weak airflow | Air filter is dirty Air inlets/outlets are blocked | Clean the air filter (Section 6.3). Ensure there is no obstruction around the unit. |
| No cooling/humidification effect | Water tank is empty COOL function not activated Evaporative panel is dry or dirty | Fill the water tank (Section 4.3). Press the COOL button on the control panel. Ensure the evaporative panel is wet and clean (Section 6.3). |
| Unusual noise | Unit not on a level surface Foreign object inside Water pump issue | Place the unit on a stable, level surface. Unplug and check for any foreign objects. If noise persists, contact support. Ensure water tank is filled to appropriate level. If noise persists, contact support. |
8. Specifications
| Brand | Kooper |
| Model Number | 5913691 |
| Functions | Cooling, Humidification, Ventilation |
| Power (Wattage) | 80 W |
| Voltage | 220-240 V |
| Frequency | 50-60 Hz |
| Water Tank Capacity | 4 Liters |
| Dimensions (L x W x H) | 23.5 cm x 25 cm x 57 cm |
| Oscillation | 60° Automatic |
| Fan Speeds | 3 (Low, Medium, High) |
| Material | Plastic |
| Cord Length | 1.8 m |
| Insulation Class | II |
9. Warranty and Support
For warranty information, please refer to the documentation provided at the time of purchase. If you require technical assistance or have questions not covered in this manual, please contact Kooper customer support through their official channels or your retailer.